How Do You Level A Dishwasher
Imagine this: water pooling around your feet every time you run the dishwasher, dishes coming out only partially clean, or a disconcerting rattle that vibrates through your entire kitchen during the wash cycle. It's a domestic drama no one wants to star in, but it often begins with a seemingly minor culprit: an unlevel dishwasher. The good news? You don't need to be a plumbing pro to fix it.
This article provides a friendly, step-by-step guide to leveling your dishwasher, ensuring optimal performance, preventing leaks, and extending the life of your appliance.
The Foundation of Clean: Why Leveling Matters
Before diving into the how-to, let’s understand why leveling your dishwasher is so crucial.
A level dishwasher ensures proper water distribution during each cycle. Uneven water distribution can leave some dishes dirty while others are properly cleaned.
More critically, an unlevel dishwasher can lead to leaks. Gaskets and seals are designed to work with a level appliance.
An unlevel dishwasher can also create excessive noise and vibrations as moving parts aren’t properly aligned. Over time, this can cause damage.
Gather Your Tools and Supplies
Fortunately, leveling a dishwasher doesn't require an extensive toolkit.
You'll need a level (a standard bubble level or a digital level will do), a screwdriver (usually a Phillips head), an adjustable wrench, and perhaps some shims if the legs don't quite reach.
Make sure you have a flashlight as well, as you might need to peek into dimly lit areas under the dishwasher.
Step-by-Step: Leveling Your Dishwasher
Now for the fun part! Follow these steps to get your dishwasher sitting pretty and performing like a champ.
Step 1: Safety First
Before you start, disconnect the dishwasher from its power source. Locate the circuit breaker that controls the dishwasher and switch it off.
This will prevent any accidental shocks while you're working.
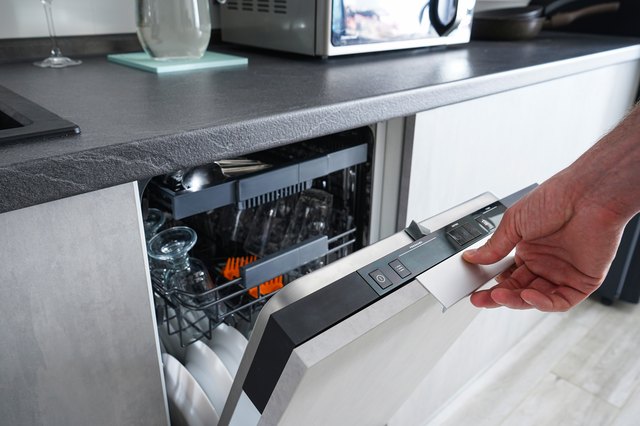
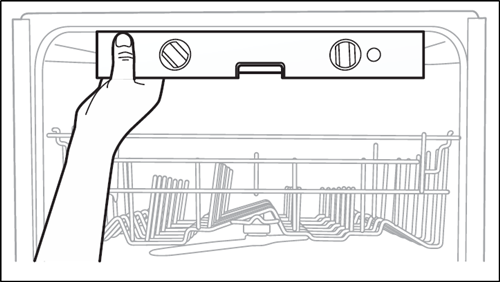
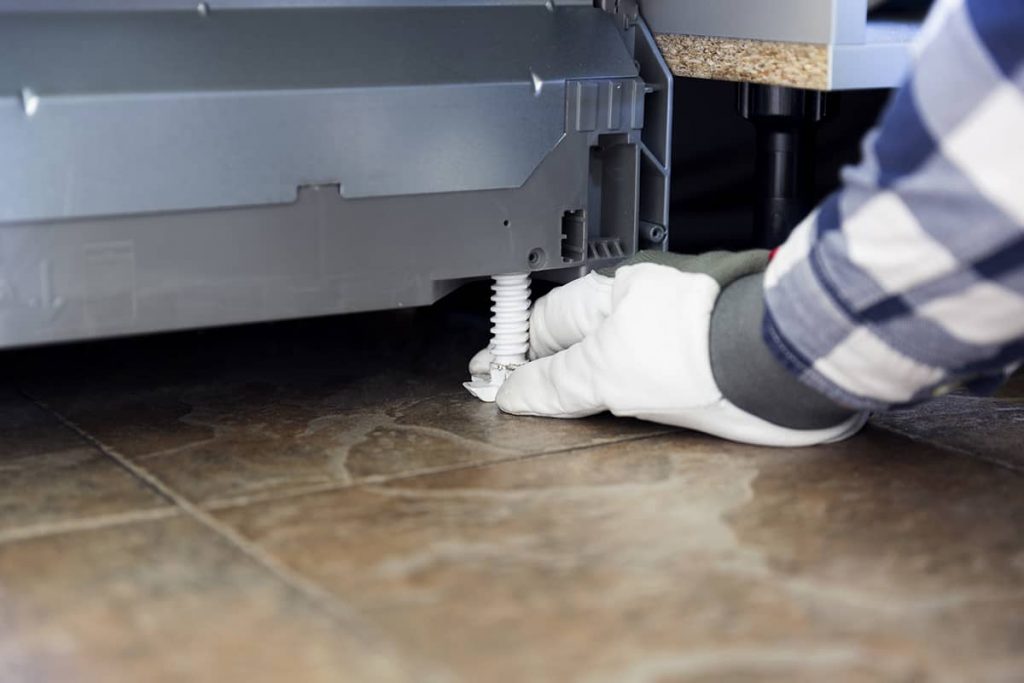
Step 2: Accessing the Legs
Most dishwashers have adjustable legs, usually located at the front and sometimes at the rear of the unit.
The front legs are typically easy to access, but you may need to remove a lower access panel or kickplate to reach them. This panel is usually held in place by screws.
For the rear legs, you might need to gently pull the dishwasher out from under the counter a few inches to get better access.
Step 3: Front Leg Adjustment
Start with the front legs. Place your level on the bottom rack inside the dishwasher, running it from left to right.
Observe the bubble. If the bubble is not centered, one of the front legs needs adjustment.
Use your adjustable wrench or screwdriver to turn the leg clockwise to raise that side, or counter-clockwise to lower it.
Adjust the leg in small increments, checking the level after each adjustment. Be patient; it may take a few tries to get it perfectly level.
Step 4: Side-to-Side Leveling
Once the front is level, place the level on the bottom rack, running it from front to back.
If the bubble isn't centered, you'll need to adjust the rear legs. As mentioned, these can be trickier to access.
Again, use your wrench or screwdriver to adjust the rear legs. If you can't reach the rear legs from the front, you may need to carefully slide the dishwasher out a bit further.
Step 5: The Rock Test
After you've made your adjustments, give the dishwasher a gentle push from side to side and front to back.
If it rocks or wobbles, it's not quite level. Go back and make further adjustments to the legs until the rocking stops.
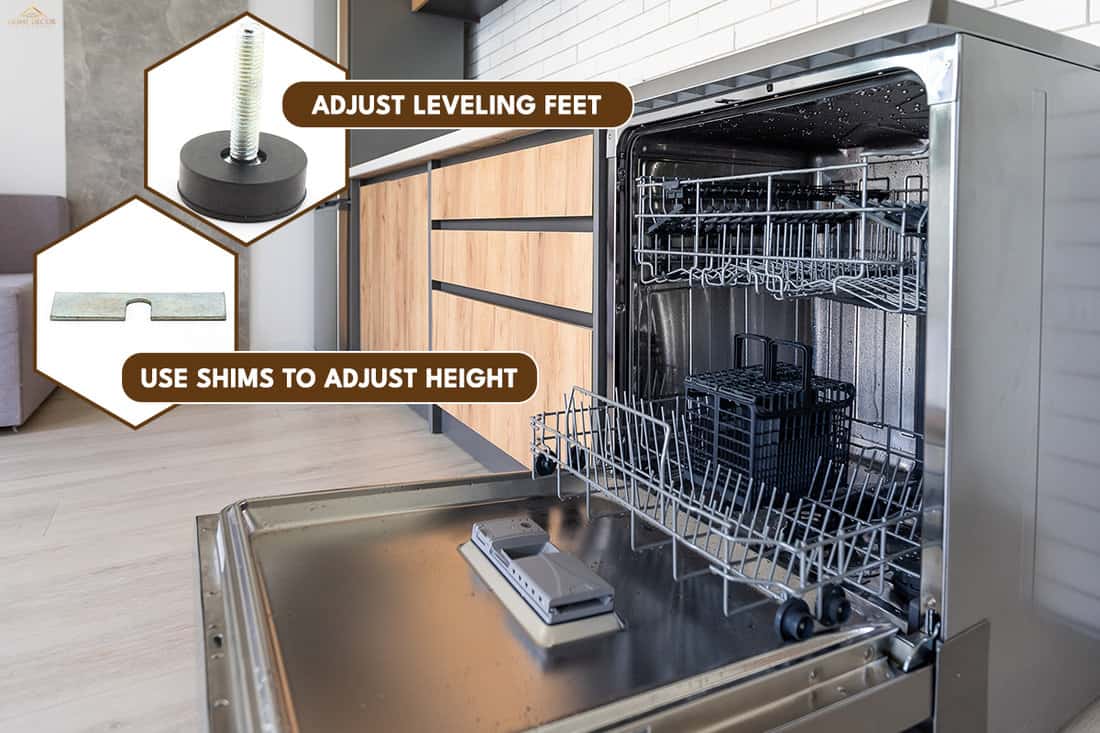
Step 6: Fine-Tuning with Shims (If Needed)
Sometimes, the adjustable legs don't quite provide enough height to achieve perfect leveling, particularly if your floor is significantly uneven.
In these cases, you can use shims – thin, tapered pieces of wood or plastic – under the legs to fine-tune the level.
Slide the shims under the legs, checking the level after each shim is added. Once the dishwasher is level, you can break off any excess shim material.
Step 7: Secure and Reconnect
Once you're satisfied with the leveling, gently slide the dishwasher back into place under the counter.
Make sure the water and drain lines are properly connected, and then turn the circuit breaker back on.
Run a test cycle to check for leaks and to ensure that the dishwasher is running smoothly and quietly.
Troubleshooting Common Issues
Sometimes, even with the best intentions, things don't go exactly as planned. Here are a few common issues you might encounter and how to handle them.
Stripped Leg Threads: If the leg threads are stripped, the leg won't adjust properly. You may need to replace the leg or use shims for that corner.
Difficult Access: If you can't access the rear legs easily, consider using a small mirror and flashlight to help you see what you're doing. Having a second person assist can also be helpful.
Persistent Leaks: If you're still experiencing leaks after leveling the dishwasher, check the door gaskets and water line connections. These may need to be tightened or replaced.
Preventative Measures: Keeping Your Dishwasher Level
Once you've successfully leveled your dishwasher, there are a few things you can do to keep it that way.
Avoid placing heavy objects on the dishwasher door, as this can put stress on the frame and cause it to shift. Regularly check the level of the dishwasher, especially if you notice any changes in its performance or noise level.
If you have small children or pets, be mindful of them bumping into the dishwasher, which could knock it out of alignment.
The Broader Significance: Appliance Longevity and Efficiency
Taking the time to level your dishwasher isn’t just about avoiding puddles on your kitchen floor.
It's an investment in the longevity and efficiency of your appliance. A level dishwasher operates more smoothly, reducing wear and tear on its internal components.
It also uses water and energy more efficiently, saving you money on your utility bills.
By addressing this seemingly small issue, you can extend the lifespan of your dishwasher and avoid costly repairs or replacements down the road.
Leveling Up Your Home Maintenance Game
Leveling a dishwasher is a relatively simple task that can have a significant impact on the performance and lifespan of your appliance.
By following these steps, you can ensure that your dishwasher is running at its best, providing you with clean dishes and a quieter, more efficient kitchen.
And remember, taking care of your appliances is an act of self-care, creating a more comfortable and functional home for you and your family. So, grab your level and get ready to conquer that dishwasher challenge!