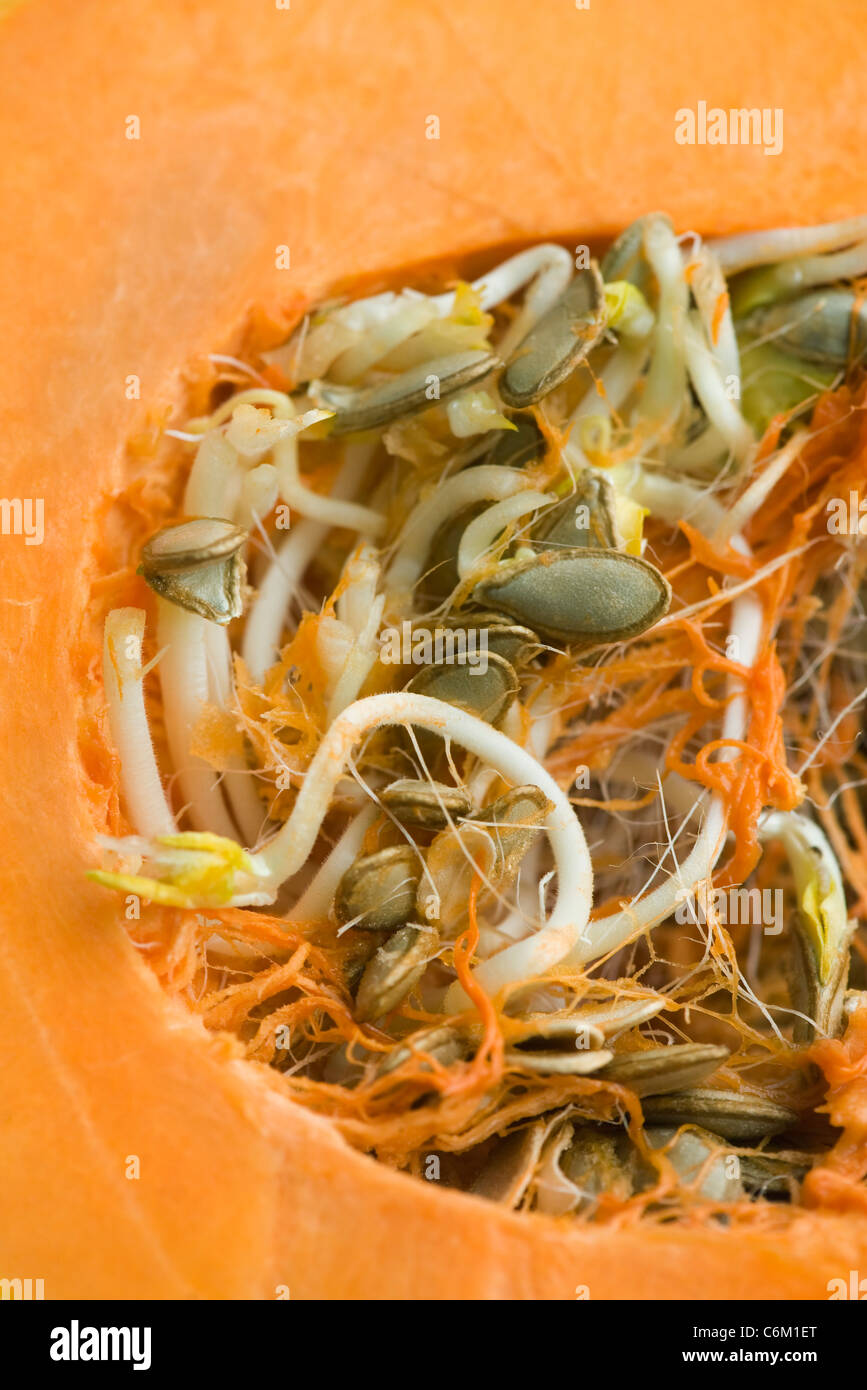
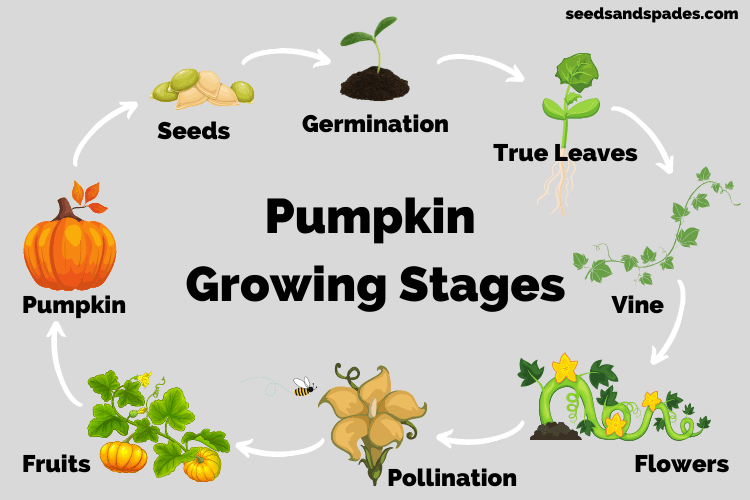
How Do You Sprout Pumpkin Seeds
The autumn air hangs crisp and cool, carrying the scent of decaying leaves and woodsmoke. Inside, a warm kitchen glows, illuminated by the soft light of a late afternoon sun. On the counter, a pile of plump, pale pumpkin seeds awaits their transformation – a journey from discarded byproduct to tiny sprouts brimming with potential.
Sprouting pumpkin seeds is a surprisingly simple yet rewarding process, transforming an often-wasted part of the pumpkin into a nutritious snack or a valuable addition to your garden. This article will guide you through the easy steps to successfully sprout your own pumpkin seeds, revealing the science and significance behind this ancient practice.
Why Sprout Pumpkin Seeds?
For centuries, cultures around the globe have recognized the nutritional powerhouse hidden within seeds. Sprouting, in particular, unlocks a seed’s full potential.
The sprouting process increases the bioavailability of nutrients, making them easier for our bodies to absorb. According to the Mayo Clinic, sprouted grains and seeds can be more digestible and contain higher levels of vitamins and minerals.
Think of it like this: the seed is waking up, beginning the process of creating a plant. Enzymes are activated, breaking down complex carbohydrates and proteins, making them more accessible.
Getting Started: Selecting and Preparing Your Seeds
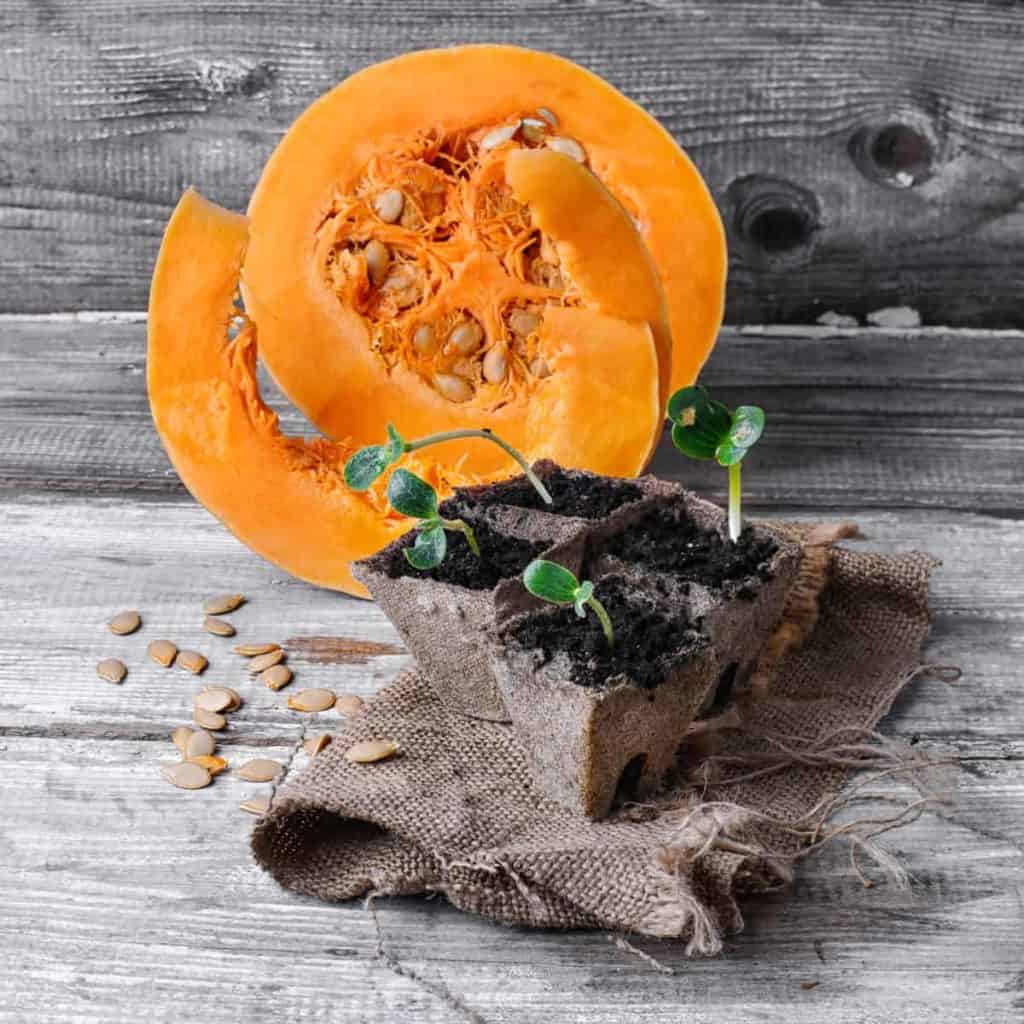
The first step towards sprouting success lies in selecting the right seeds. Ideally, you'll want to use seeds from a pumpkin you've recently harvested yourself.
Seeds from store-bought pumpkins can work too, but be sure to choose organically grown pumpkins to avoid potential pesticide exposure. Once you've scooped out the seeds, rinse them thoroughly to remove any remaining pumpkin flesh.
This is crucial as residual pulp can promote mold growth during the sprouting process. Place the rinsed seeds in a colander and gently rub them to remove any stubborn fibers.
A Note on Hybrid Pumpkins
Keep in mind that if you're planning to plant the sprouted seeds, the results from hybrid pumpkins may be unpredictable. Hybrid pumpkins are bred for specific characteristics, and their offspring may not inherit those same traits.
If you want to ensure that your plants produce pumpkins identical to the parent, choose seeds from an heirloom or open-pollinated variety. According to the Seed Savers Exchange, saving seeds from heirloom varieties helps preserve genetic diversity.
The Sprouting Process: A Step-by-Step Guide
Now for the exciting part: turning those dormant seeds into tiny sprouts! The process is quite simple and requires minimal equipment.
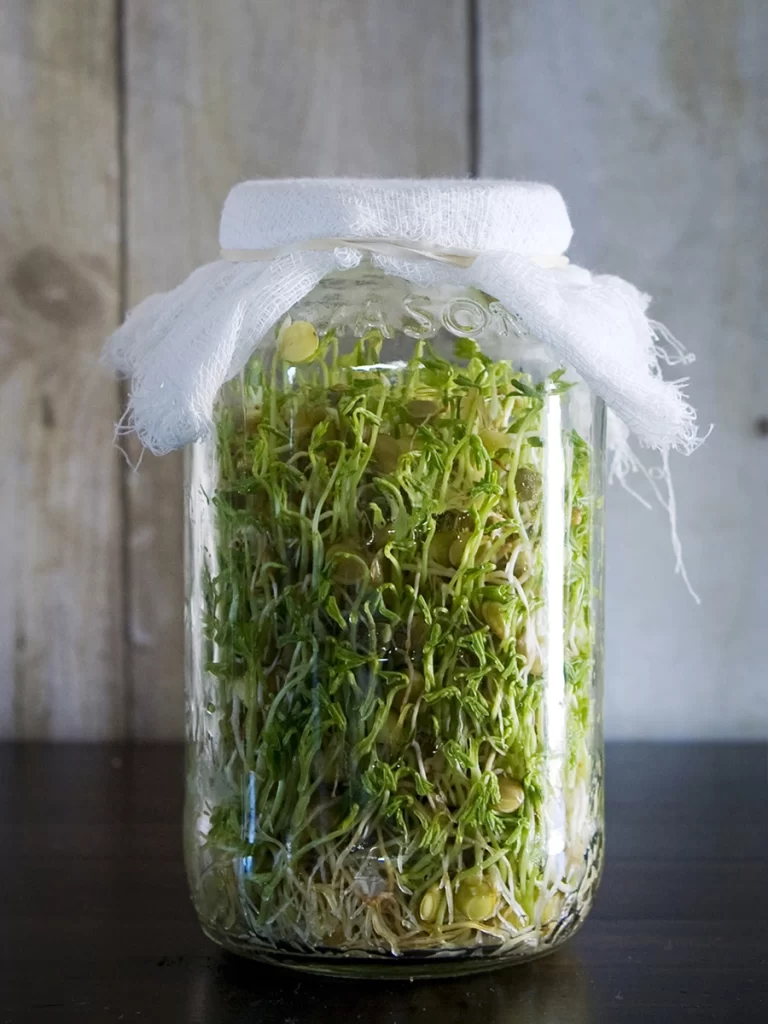
All you'll need is a clean glass jar, a sprouting lid or cheesecloth, and fresh water. Remember cleanliness is key to prevent mold and bacteria growth.
Step 1: Soaking the Seeds
Place the cleaned pumpkin seeds in the glass jar and cover them with cool, filtered water. You'll want to use about two to three times the volume of water compared to the volume of seeds.
This soaking process rehydrates the seeds and initiates the germination process. Let the seeds soak for at least 8 hours, or preferably overnight.
According to the USDA National Nutrient Database, soaking seeds can also help reduce levels of phytic acid, which can inhibit mineral absorption.
Step 2: Draining and Rinsing
After the soaking period, drain the water from the jar using a sprouting lid or by securing cheesecloth with a rubber band. Rinse the seeds thoroughly with fresh water.
This removes any released enzymes or accumulated debris. Repeat this rinsing process twice a day – once in the morning and once in the evening – for the next 2-3 days.
The key is to keep the seeds moist but not submerged in water, as this can lead to rotting.
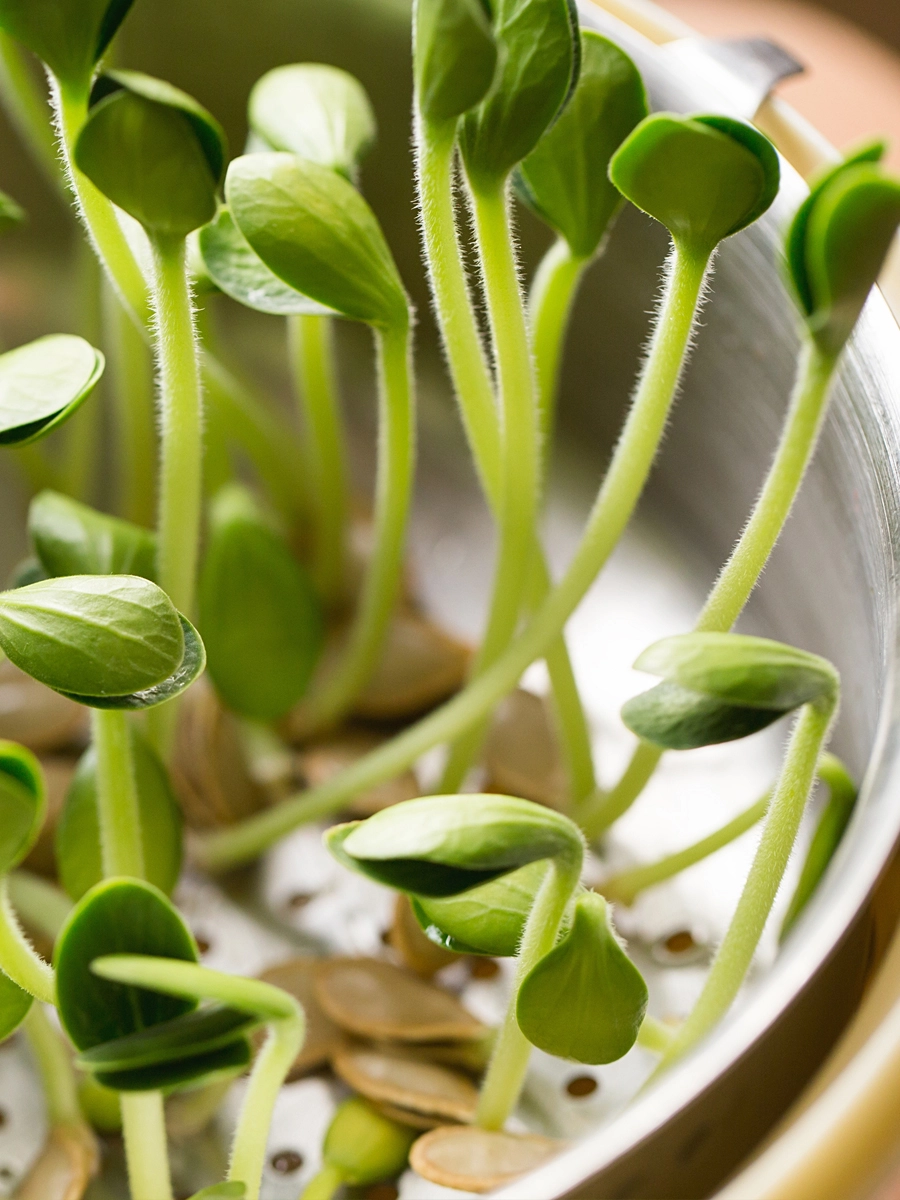
Step 3: Sprouting and Observation
After rinsing, invert the jar and prop it at an angle to allow for proper drainage and air circulation. Place the jar in a location with indirect sunlight and good airflow.
Avoid direct sunlight, as this can overheat the seeds and inhibit sprouting. You should start to see tiny sprouts emerging from the seeds within 24-48 hours.
Continue rinsing and draining the seeds twice a day until the sprouts reach your desired length, typically about ¼ to ½ inch. Observe the seeds closely and discard any that appear moldy or discolored.
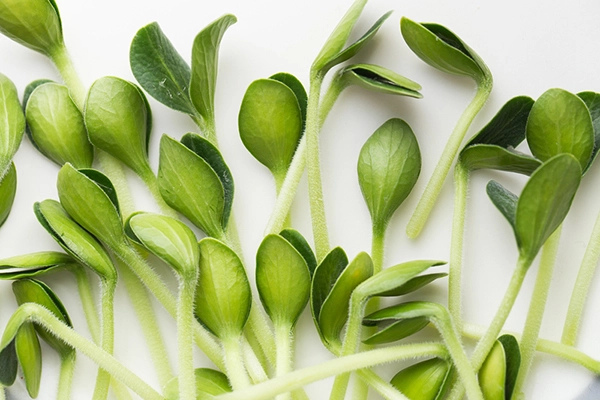
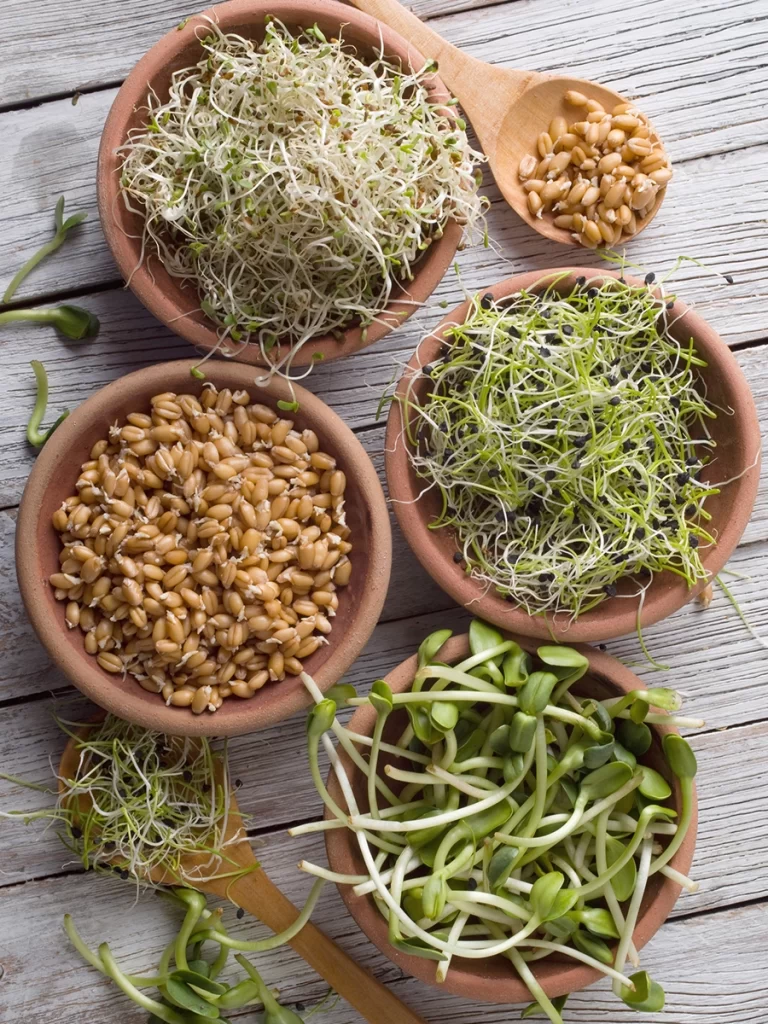
Using Your Sprouted Pumpkin Seeds
Once the sprouts have reached the desired length, it's time to enjoy the fruits (or rather, seeds) of your labor! Sprouted pumpkin seeds can be eaten raw as a snack, adding a boost of nutrients to your diet.
They also make a delicious addition to salads, trail mixes, and smoothies. Alternatively, you can use them to add a crunchy texture to soups and stir-fries.
For longer storage, you can dry the sprouted seeds in a dehydrator or low oven. Remember to store dried seeds in an airtight container in a cool, dark place.
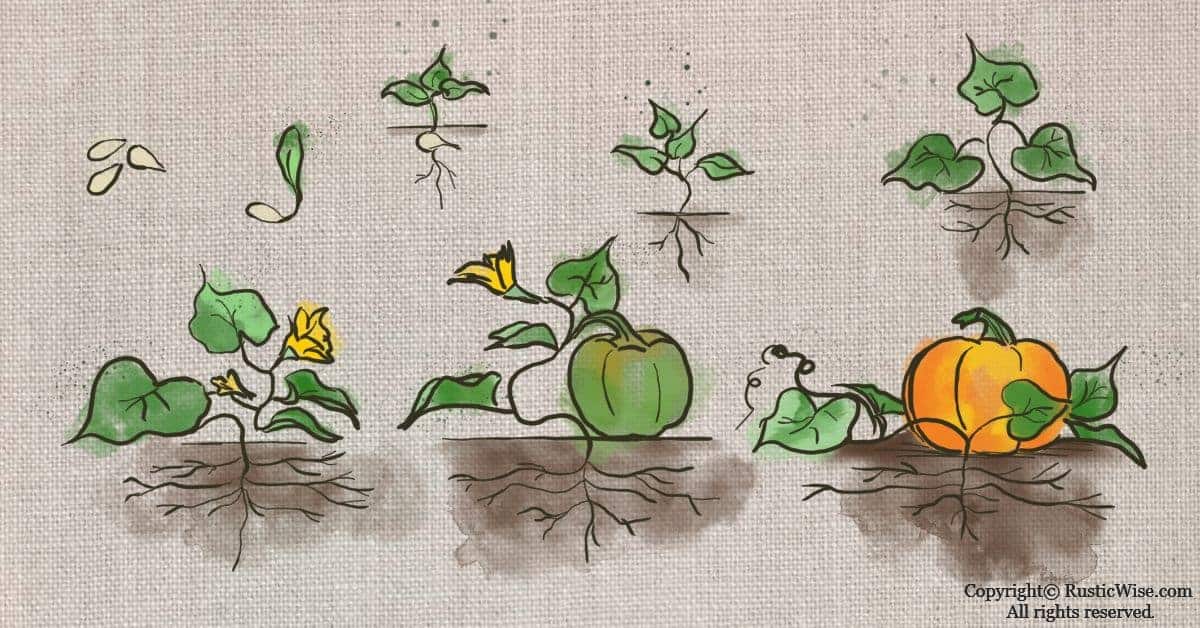
Planting Your Sprouted Seeds
If you're planning to plant your sprouted seeds in the garden, do so with care. Gently plant the seeds in well-draining soil, ensuring that the sprouts are pointing upwards.
Keep the soil consistently moist until the seedlings emerge. Be mindful of the weather conditions and protect the young seedlings from frost or extreme heat.
According to the Old Farmer's Almanac, pumpkins thrive in warm weather and require plenty of sunlight and water.
Troubleshooting: Common Sprouting Issues
While sprouting pumpkin seeds is generally straightforward, you may encounter a few challenges along the way.
One common issue is mold growth, which is often caused by poor ventilation or inadequate rinsing. If you notice any mold, discard the affected seeds immediately and start with a fresh batch.
Another potential problem is uneven sprouting. This can be due to variations in seed quality or inconsistent moisture levels.
To minimize uneven sprouting, try to select seeds of similar size and maturity and ensure that they are rinsed and drained thoroughly.
A Rewarding Journey
Sprouting pumpkin seeds is more than just a culinary or gardening endeavor; it's a connection to the natural world and a celebration of the life cycle. It's about taking something often discarded and transforming it into something valuable, something that nourishes our bodies and our gardens.
The satisfaction of watching those tiny sprouts emerge is a small but profound reminder of the resilience and potential that lies dormant within even the smallest of seeds. Embrace the journey, experiment with different methods, and discover the joy of sprouting your own pumpkin seeds.
As the days shorten and the leaves continue to fall, let us remember the lessons of the season: that even in decay, there is life; and that within the humblest of beginnings, great things can grow.


:max_bytes(150000):strip_icc()/GettyImages-1473663633-68f47bc0738b49628039cb561d20a98c.jpg)