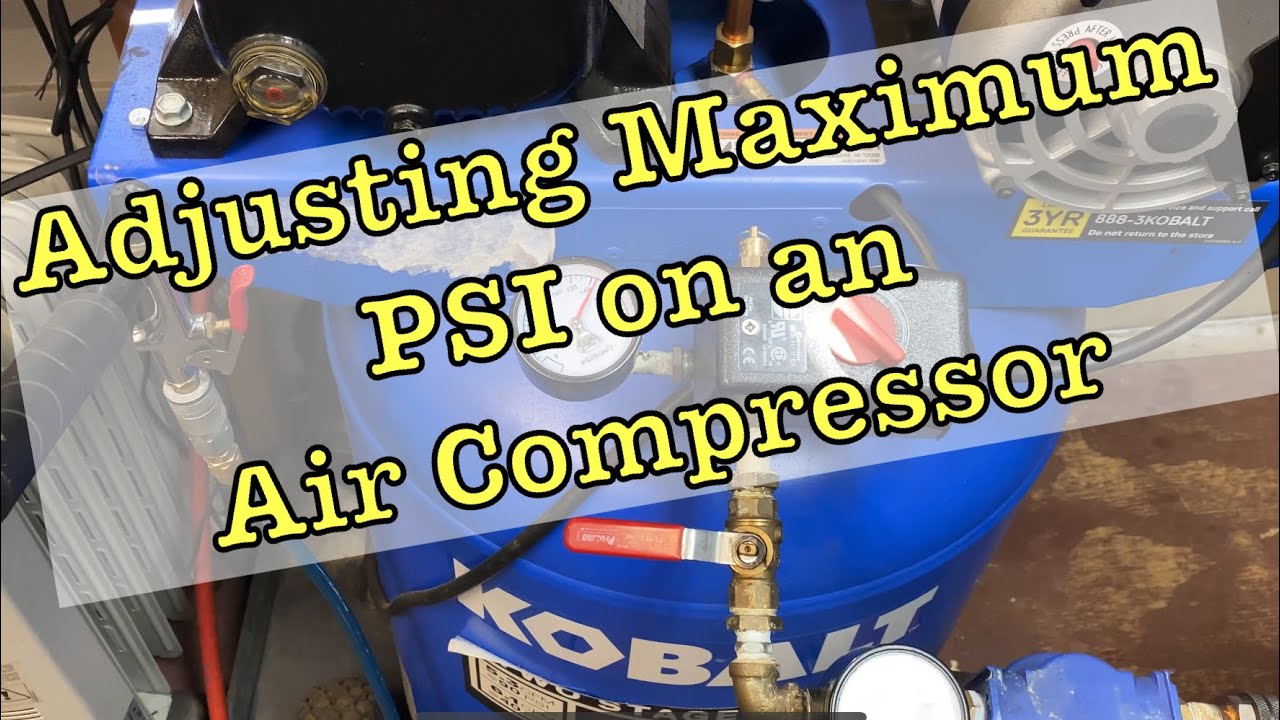
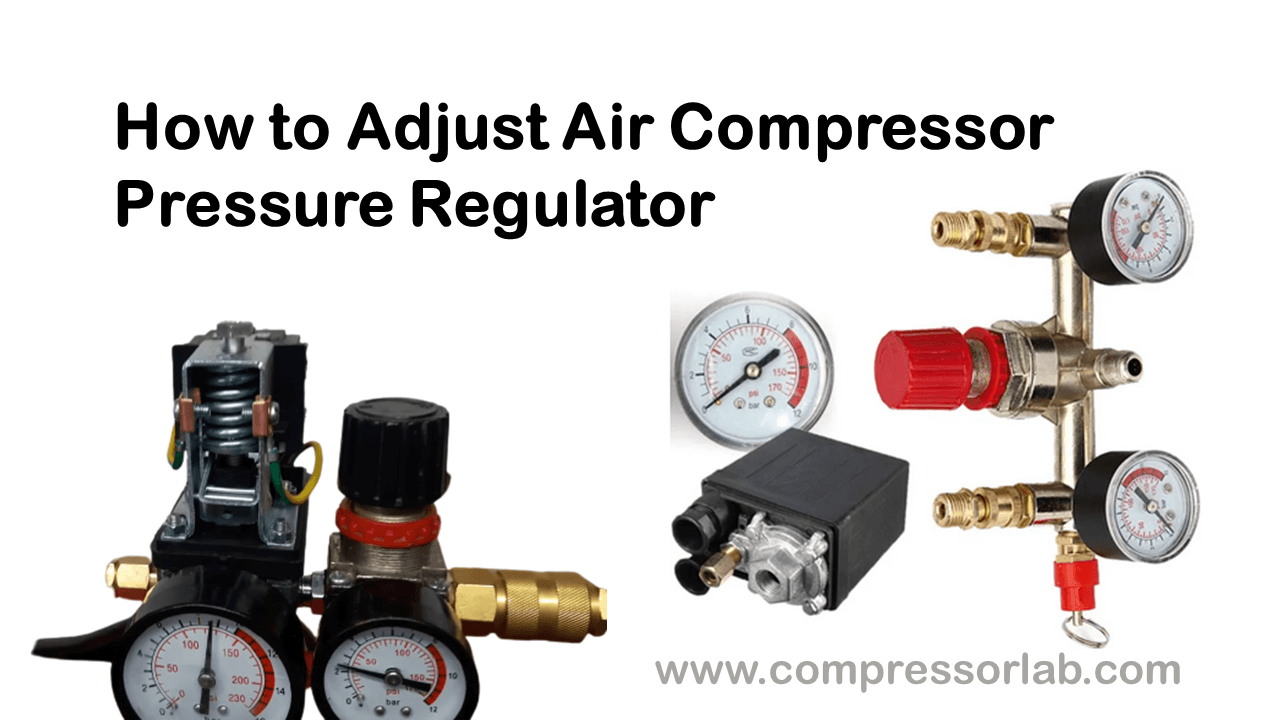
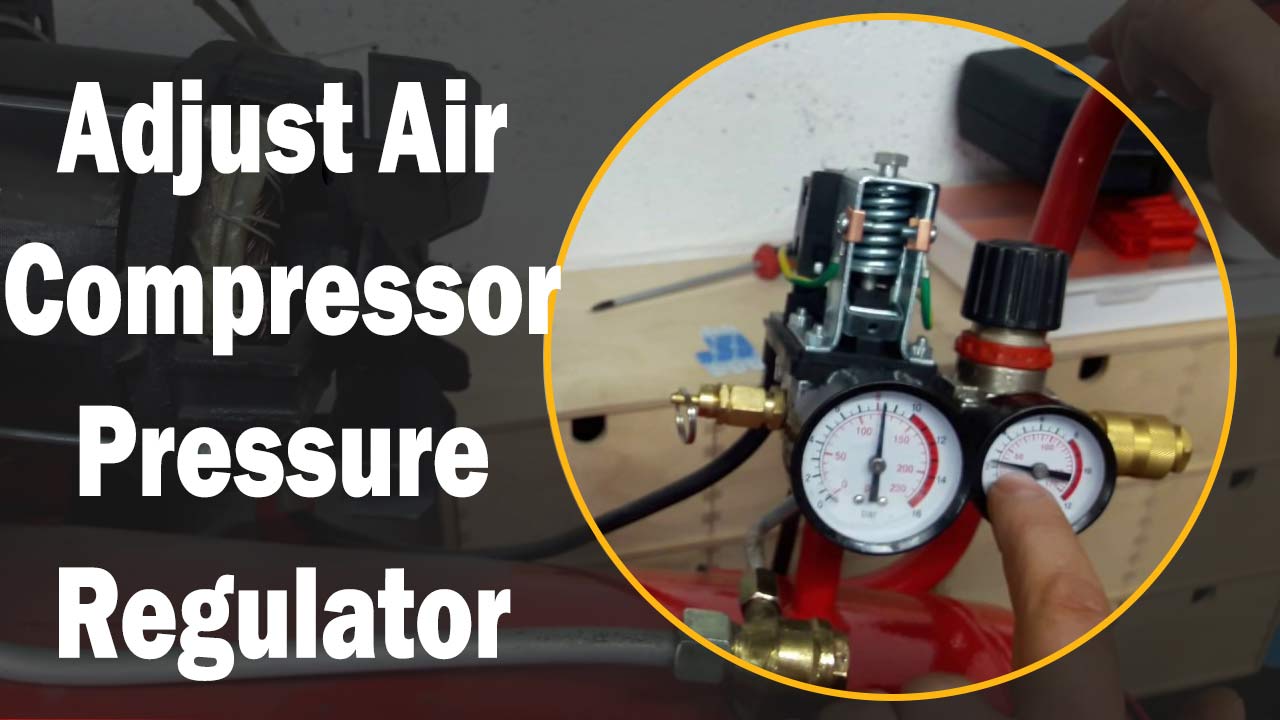
How To Adjust Air Pressure On Air Compressor
Air compressors, ubiquitous in workshops and construction sites, are essential tools. Their effective use, however, hinges on a seemingly simple, yet crucial task: adjusting the air pressure.
Improper pressure settings can lead to tool malfunction, damage to materials, and even dangerous situations. Understanding how to accurately adjust the air pressure on your air compressor is paramount for both performance and safety.
Understanding Air Compressor Pressure: The Nut Graf
The process of adjusting air pressure on an air compressor involves understanding its core components. This includes locating the pressure regulator, identifying pressure gauges, and mastering the adjustment knob or dial.
This article provides a step-by-step guide to safely and effectively adjust the air pressure, ensuring optimal performance and minimizing the risk of damage or injury. By following these guidelines, users can confidently operate their air compressors for a variety of tasks, from inflating tires to powering pneumatic tools.
Safety First: Preparation is Key
Before any adjustments, ensure the air compressor is disconnected from the power source. This prevents accidental activation and potential injury.
Always wear appropriate safety gear, including eye protection, to safeguard against debris or sudden pressure releases. Review the compressor's user manual for specific safety recommendations and guidelines relevant to your model.
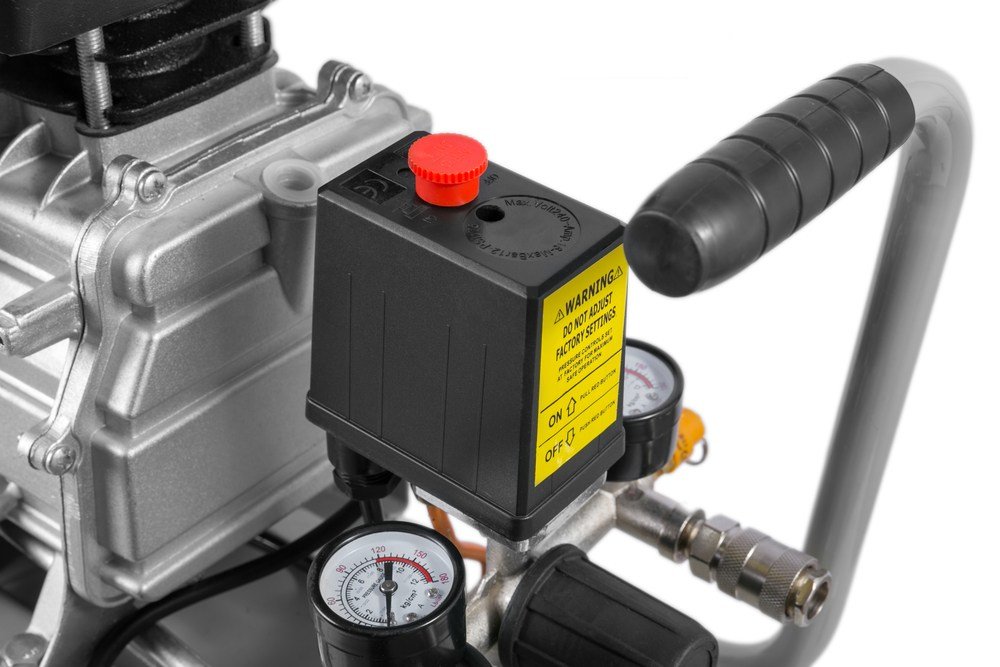
Locating Key Components
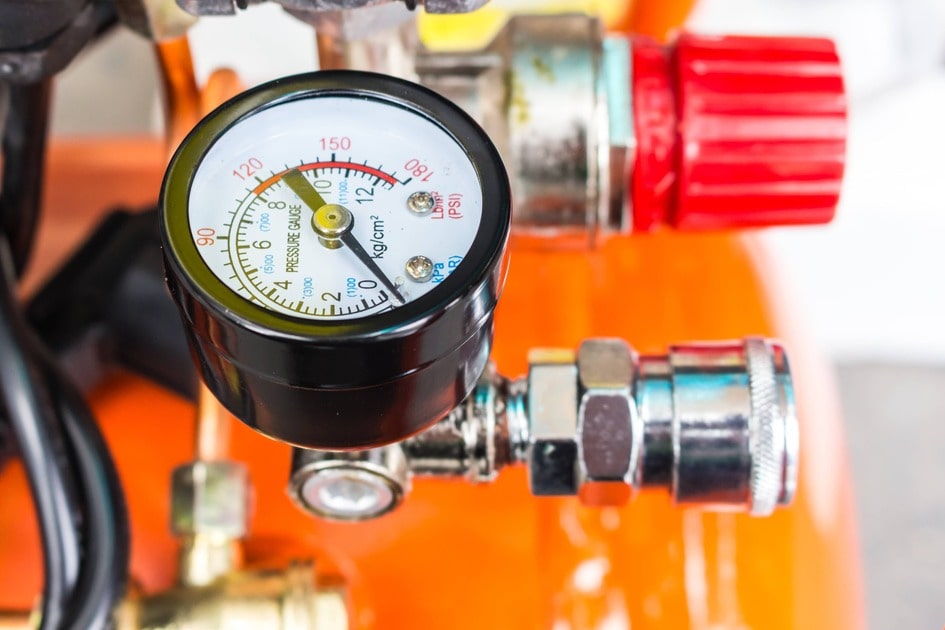
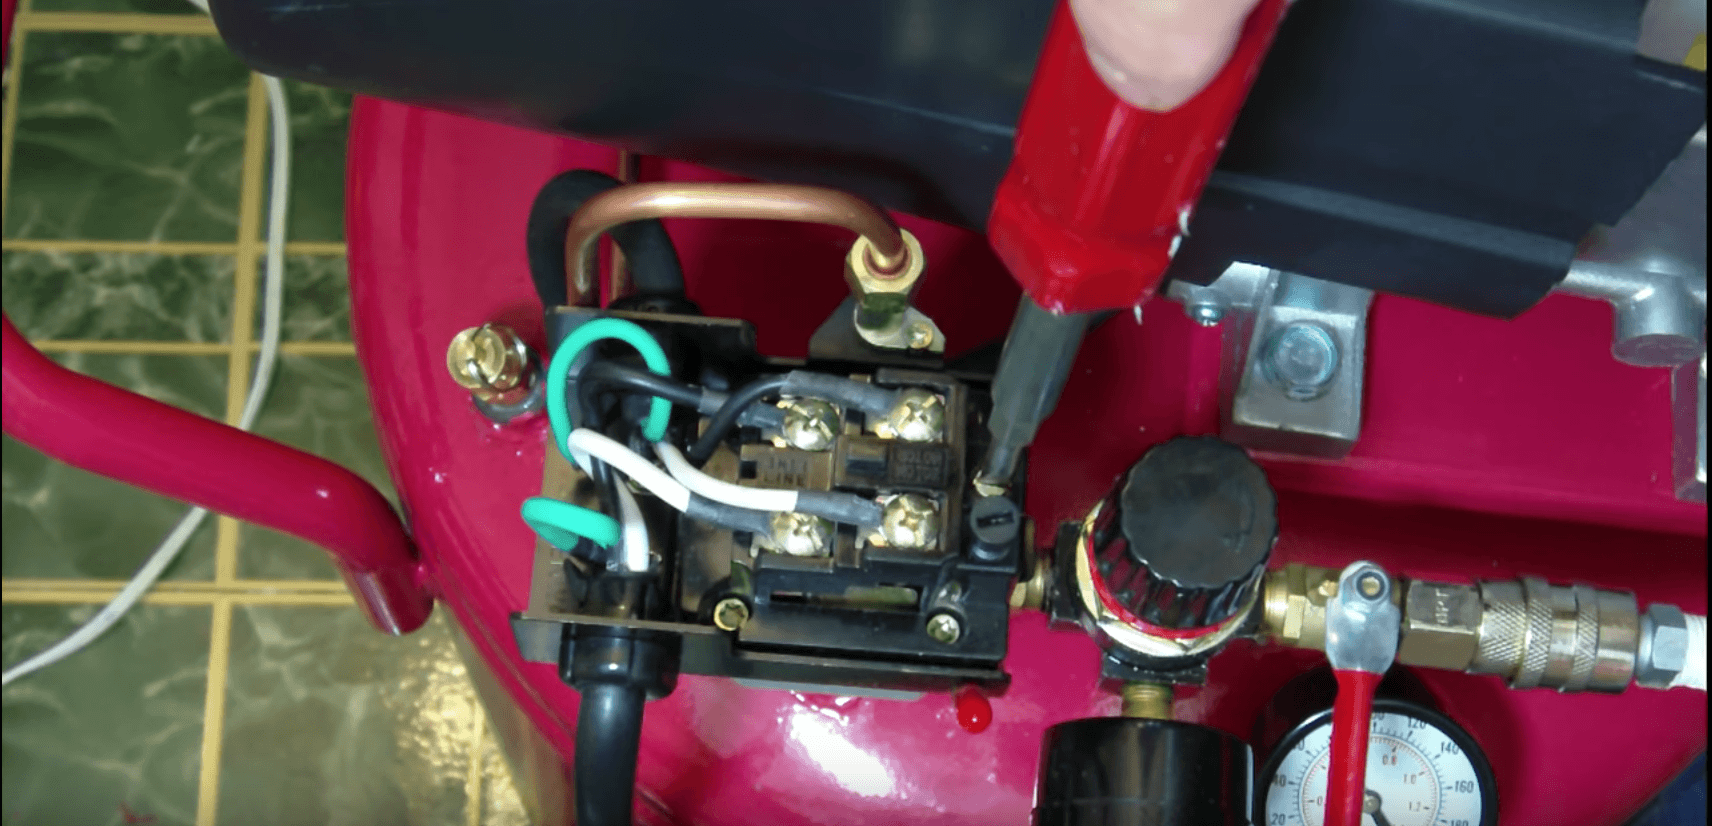
The pressure regulator is the primary control for adjusting the output pressure. It is typically a knob or dial located near the air outlet.
Most compressors have two pressure gauges: one indicating the tank pressure and the other showing the regulated output pressure. The tank pressure reflects the total air stored within the compressor's reservoir.
The output pressure gauge displays the pressure delivered to your connected tools or applications.
Step-by-Step Adjustment Process
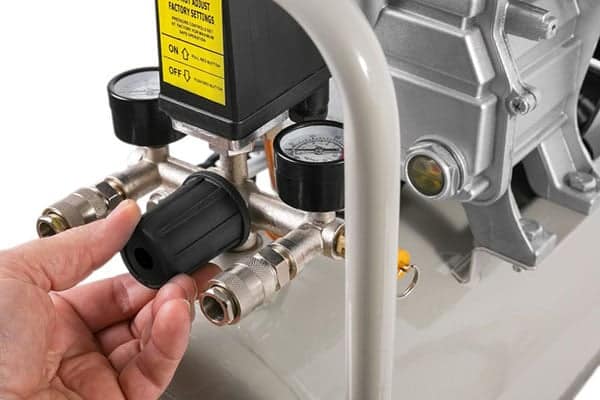
Begin by turning the pressure regulator knob counter-clockwise to its lowest setting. This ensures that you start with minimal pressure and avoid sudden bursts.
Connect the air hose and tool you intend to use to the compressor's air outlet. This allows you to monitor the pressure under load.
Turn the pressure regulator knob clockwise to increase the output pressure. Observe the output pressure gauge as you make adjustments.
Gradually increase the pressure until it reaches the recommended level for your tool. Consult the tool's manual for the specific PSI (pounds per square inch) or BAR (barometric pressure) requirements.
Once the desired pressure is reached, test the tool to ensure it operates correctly. Make minor adjustments to the regulator as needed to fine-tune the performance.
Troubleshooting Common Issues
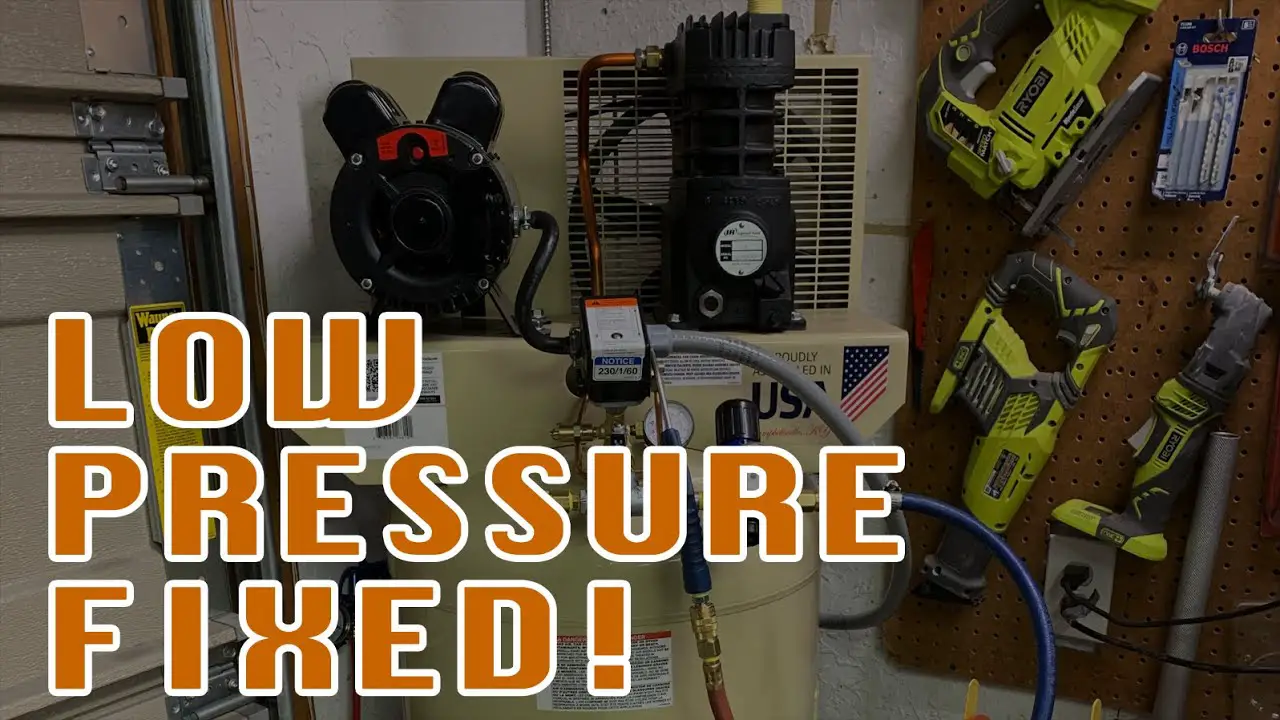
If the pressure doesn't adjust properly, check for leaks in the air hose or connections. Leaks can cause pressure drops and inconsistent performance.
Ensure the air filter is clean and free of debris. A clogged filter can restrict airflow and affect pressure regulation.
If the compressor fails to build pressure, inspect the check valve and pressure switch. These components may require cleaning or replacement.
Advanced Tips for Optimal Performance
For consistent pressure, maintain a full tank of air. Frequent cycling of the compressor can lead to pressure fluctuations.
Consider using an air pressure regulator with a filter and lubricator for pneumatic tools. This extends the tool's lifespan and improves performance.
Regularly drain the air tank to remove accumulated moisture. Water buildup can corrode the tank and affect air quality.
Choosing the Right Pressure for the Job
Different tools require different air pressure settings. Using excessive pressure can damage the tool or the workpiece.
Always refer to the tool's manual for recommended pressure ranges. A nail gun, for example, might require 90-100 PSI, while an airbrush may only need 20-30 PSI.
Experiment with different pressure settings to find the optimal balance between power and control. Start with the lowest recommended pressure and gradually increase it until you achieve the desired results.
Maintenance and Longevity
Regular maintenance is crucial for the longevity of your air compressor. This includes draining the tank, cleaning the air filter, and inspecting hoses for leaks.
Follow the manufacturer's recommendations for oil changes and other preventative maintenance tasks. Proper maintenance ensures reliable performance and extends the compressor's lifespan.
Store the compressor in a dry, clean environment to prevent corrosion and damage. Protect it from extreme temperatures and direct sunlight.
The Future of Air Compressor Technology
Air compressor technology is constantly evolving, with advancements in efficiency and portability. Cordless and oil-free compressors are becoming increasingly popular for their convenience and reduced maintenance requirements.
Smart compressors with digital displays and programmable settings offer greater control and precision. These advanced features simplify pressure adjustments and improve overall performance.
As technology advances, users can expect even more innovative and user-friendly air compressor solutions in the future.
Conclusion: Mastering Air Pressure for Success
Adjusting air pressure on an air compressor is a fundamental skill for any DIY enthusiast or professional. By understanding the components, following the proper procedures, and prioritizing safety, users can unlock the full potential of their air compressors.
Accurate pressure settings ensure optimal performance, prevent damage, and extend the lifespan of both the compressor and connected tools. Mastering this skill empowers users to tackle a wide range of projects with confidence and precision.
Remember to always consult the user manuals for both the air compressor and the tools being used to ensure safe and effective operation. Safe practices always comes first.