How To Change Your Skin In Minecraft 1.11 2

Minecraft players, act fast! Your skin customization options in Minecraft 1.11.2 are about to get easier than ever.
This guide provides the essential steps to change your character's appearance, ensuring you stand out in the blocky world.
Understanding Skin Customization in Minecraft 1.11.2
Changing your skin in Minecraft allows you to personalize your character's appearance.
With Minecraft 1.11.2, the process has been streamlined, but understanding the basics is crucial.
Let's dive into how to do it.
Method 1: Using the Minecraft Launcher
The official Minecraft Launcher is the primary tool for managing your account and game settings.
This method involves accessing your profile through the launcher and uploading your desired skin file.
Step 1: Open the Minecraft Launcher.
Ensure you are logged in with your Mojang or Microsoft account.
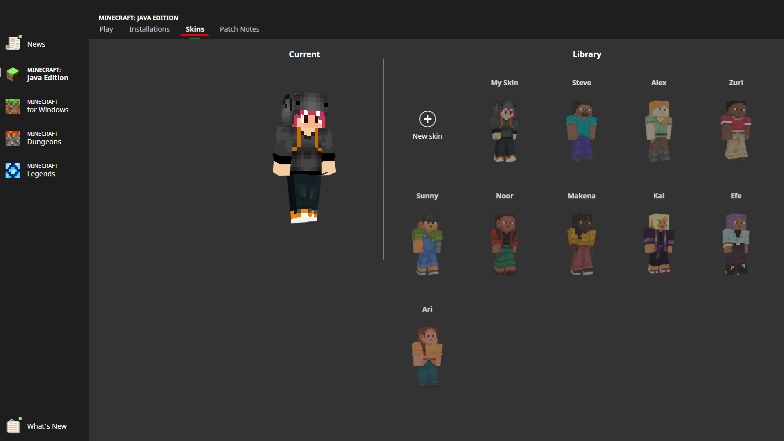
Step 2: Navigate to the "Skins" tab.
This tab is usually located at the top of the launcher window, next to the "Play" button.
Step 3: Click the "Add Skin" button.
A new window will appear, allowing you to customize your skin.
Step 4: Choose your skin file.
Browse your computer for the .png file of your desired skin.
Select the file and click "Open".
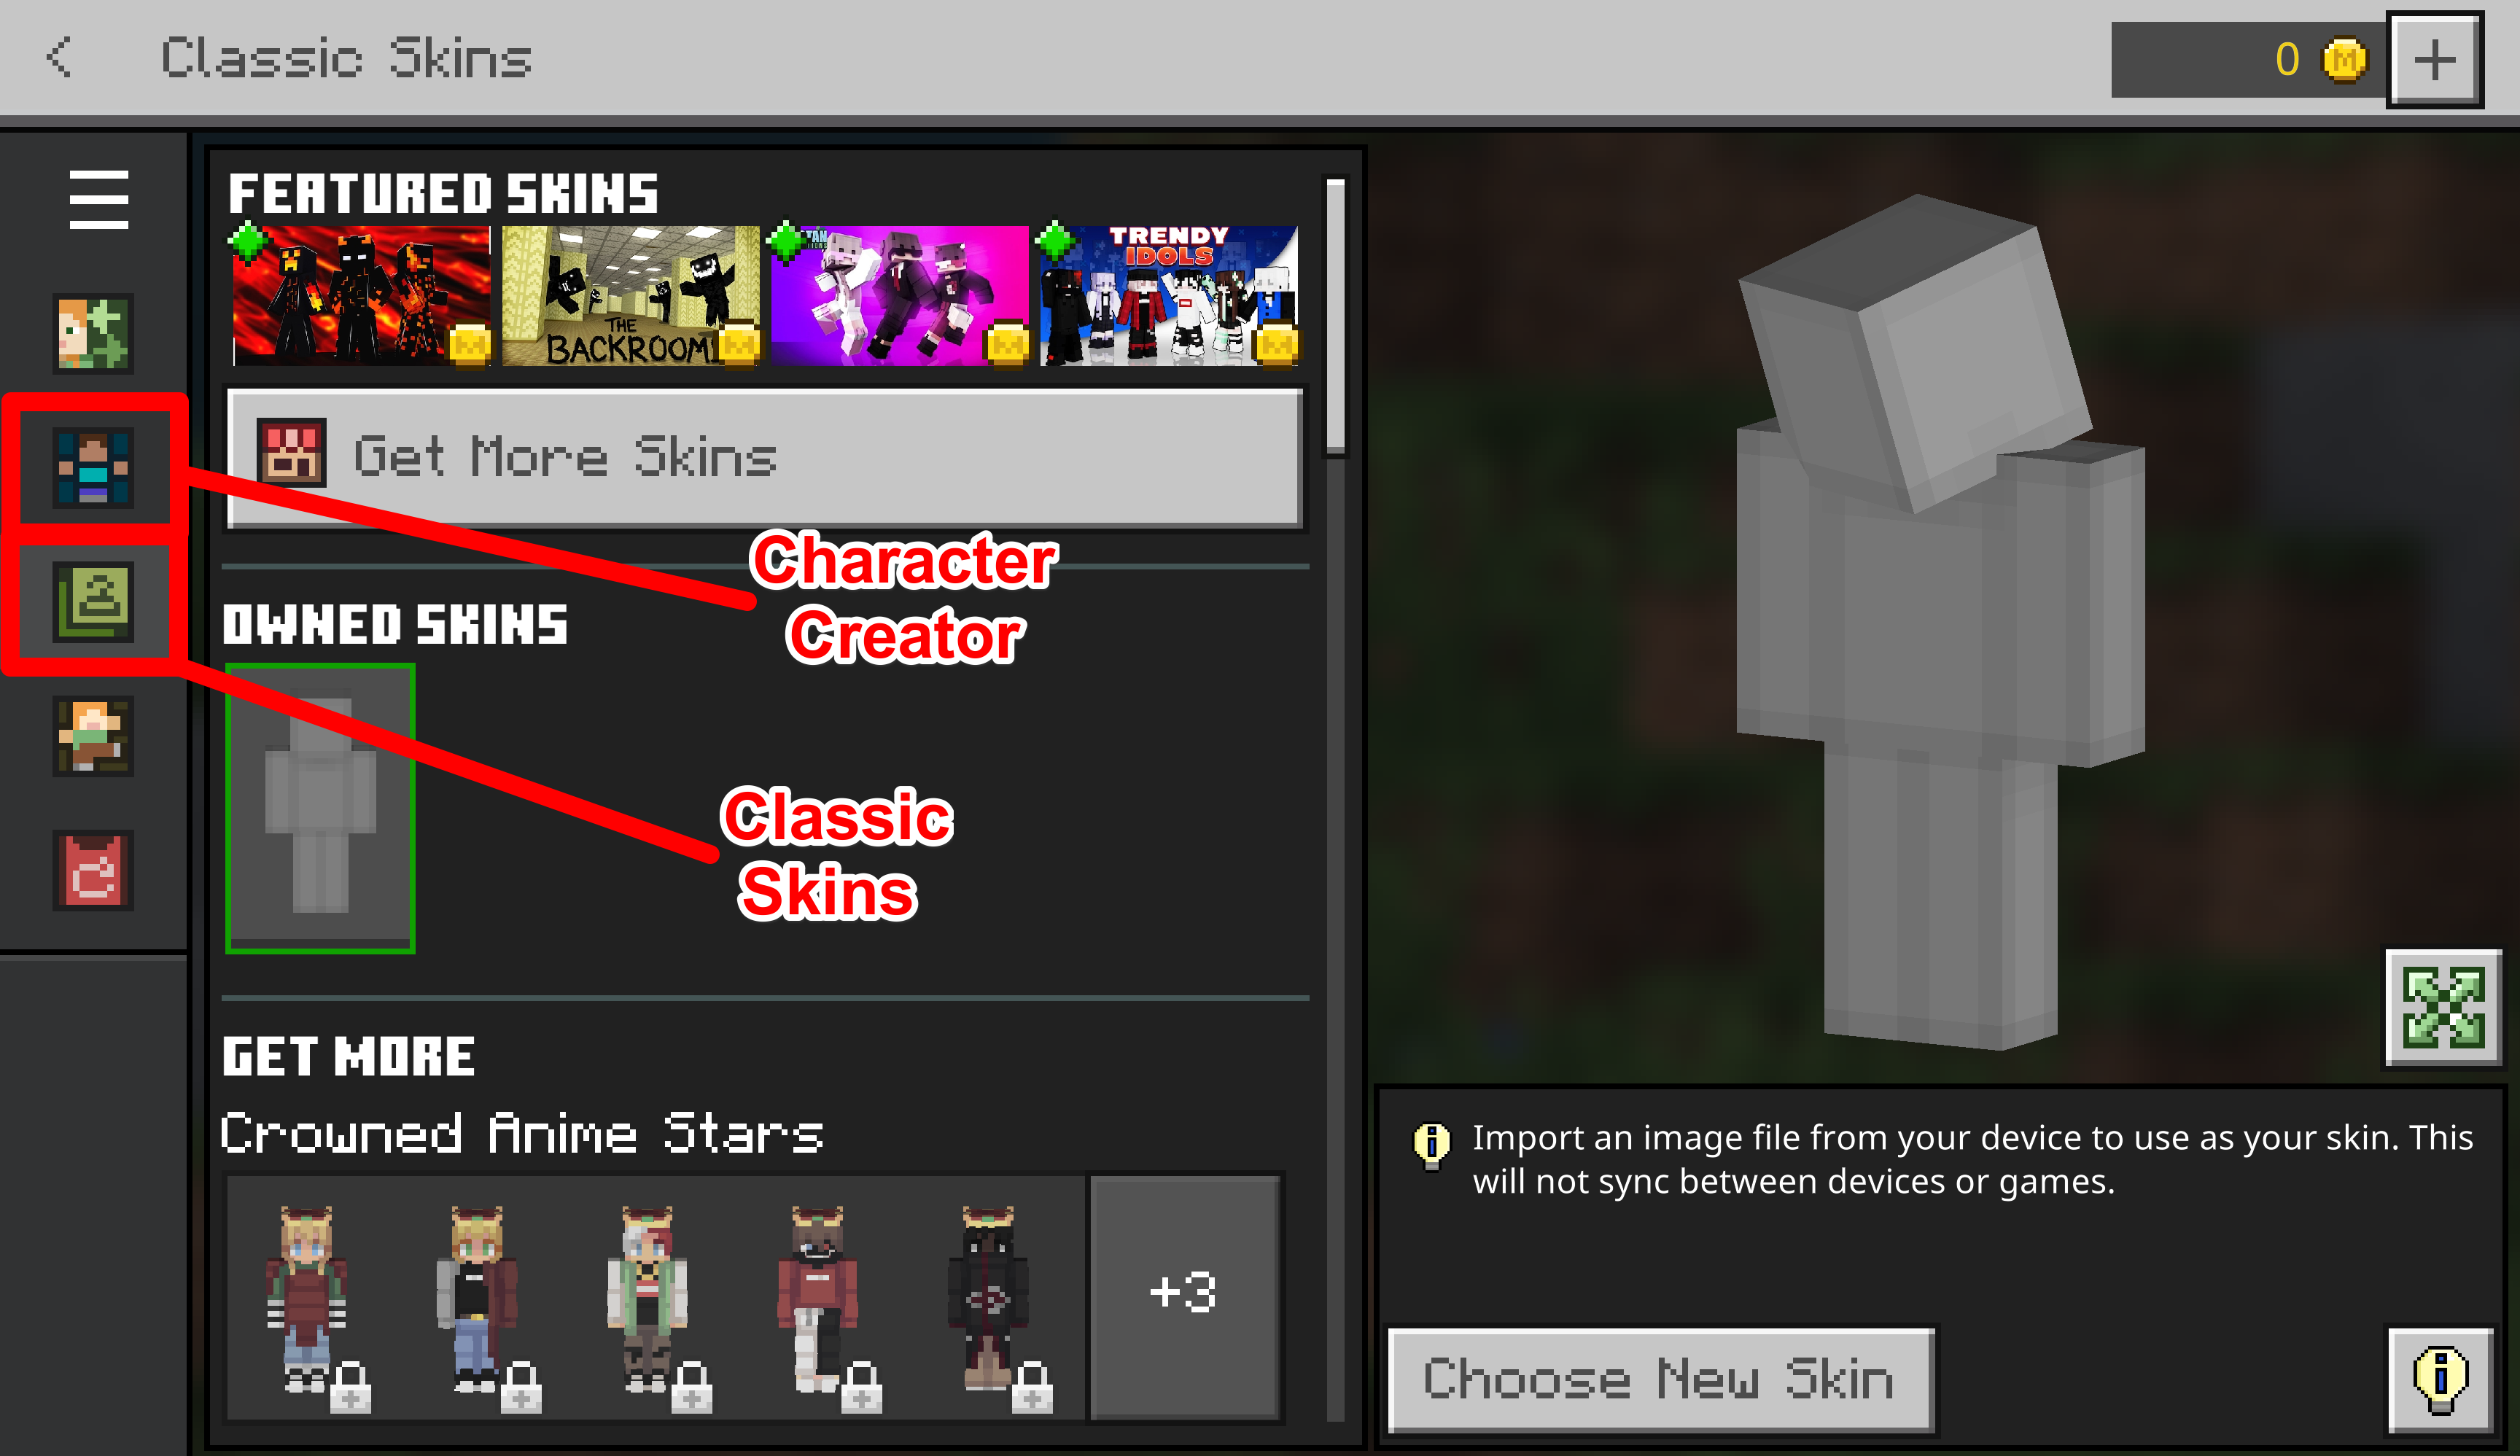
Step 5: Select skin type.
Select if the skin is "Slim" (Alex model) or "Classic" (Steve model).
Step 6: Save and Use
Click "Save and Use" to save the skin to your account and to be active in game.
If the skin does not appear immediately, restart your game for the changes to take effect.
Method 2: Using Third-Party Websites
Several third-party websites offer skin customization and uploading services.
While these can be convenient, always exercise caution when using external sites, ensuring they are reputable and secure.
Step 1: Find a reputable skin website.
Look for sites with positive reviews and secure connections (HTTPS).
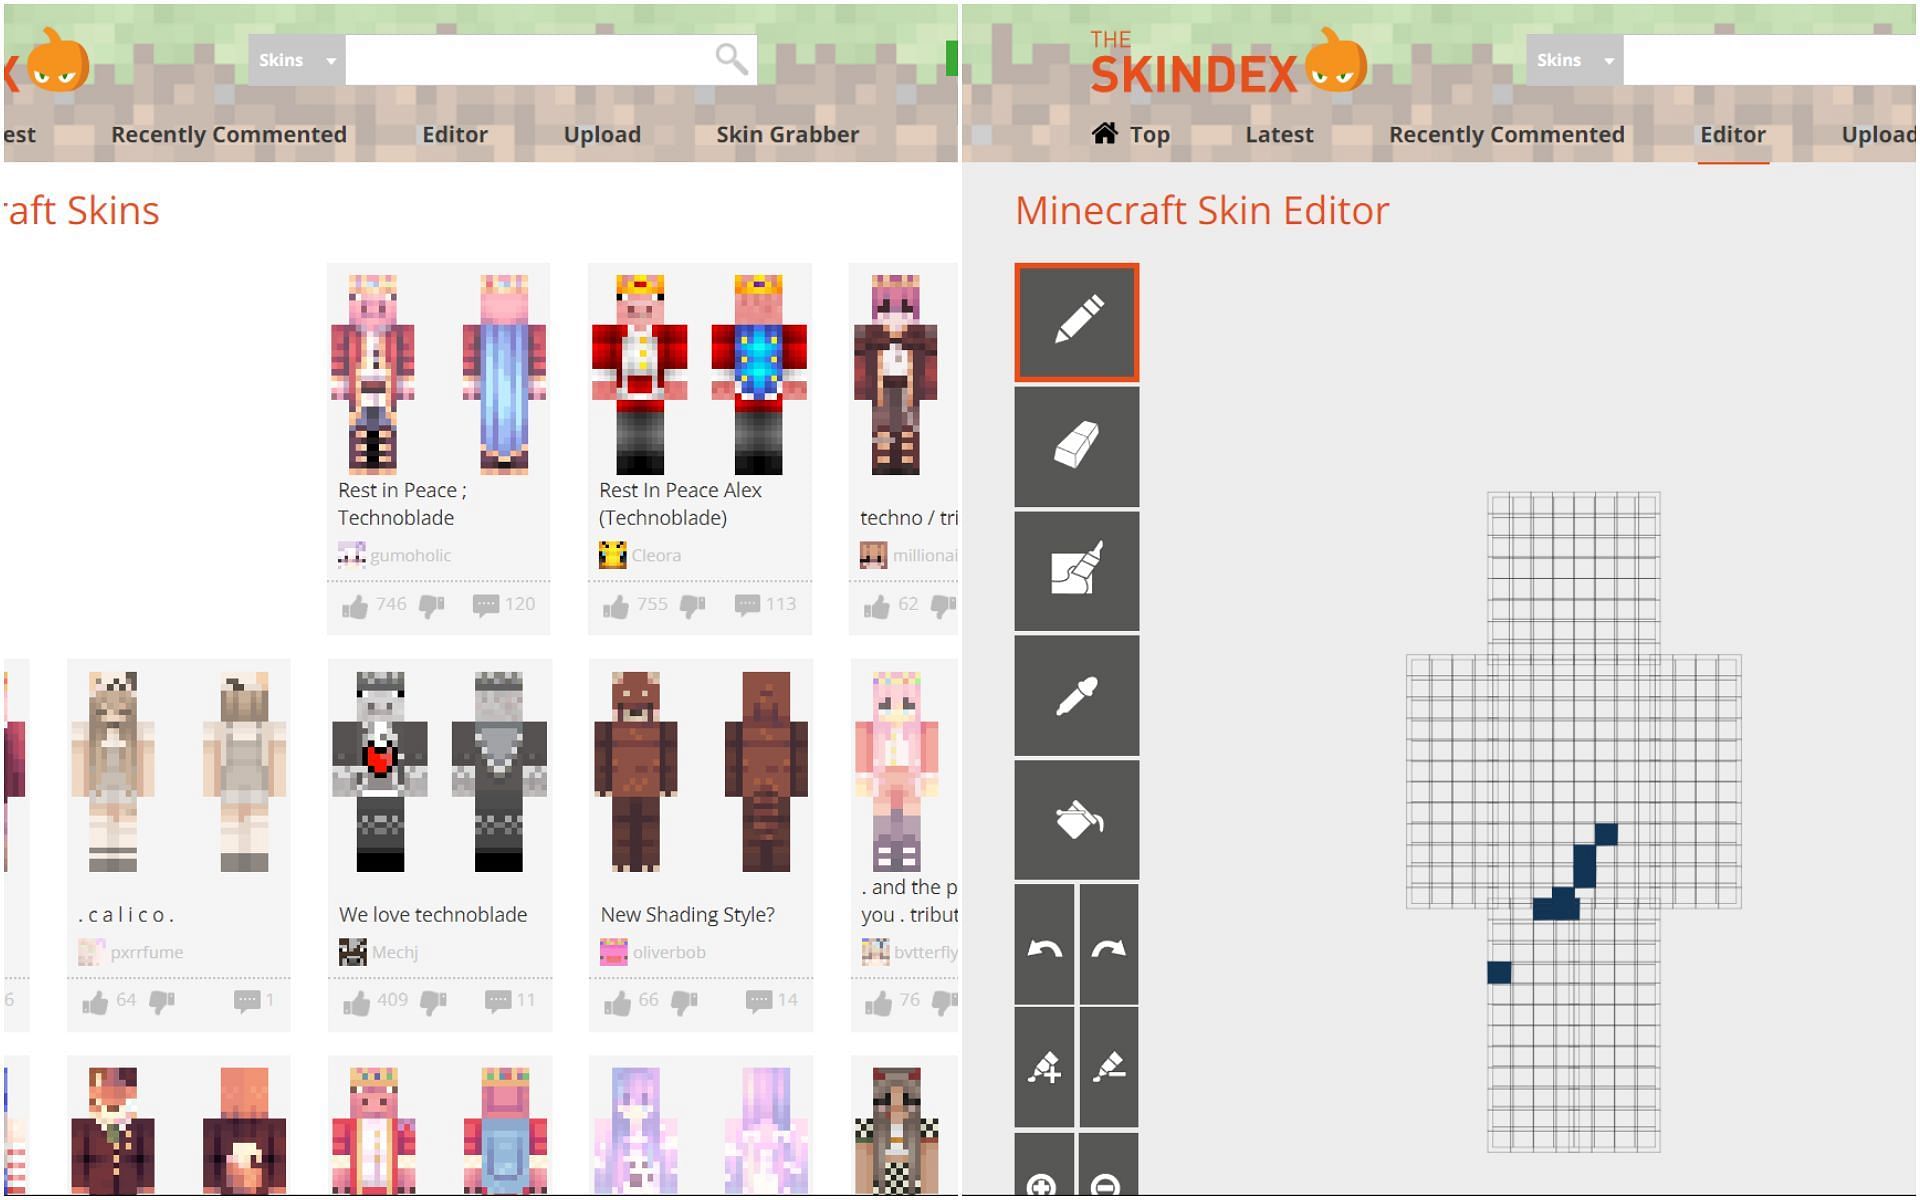
Example sites include Planet Minecraft or The Skindex.
Step 2: Download your desired skin.
Browse the available skins or create your own using the site's editor.
Download the skin file in .png format.
Step 3: Upload the skin through the Minecraft Launcher.
Follow the steps outlined in Method 1 to upload the downloaded skin file to your Minecraft account.
Troubleshooting Common Issues
Skin not appearing: Ensure you have restarted your Minecraft game after changing the skin.
Incorrect skin display: Double-check that the skin file is in the correct .png format and that you have selected the correct skin model in the Minecraft Launcher.
Account issues: If you are experiencing problems with your Mojang or Microsoft account, contact their respective support teams for assistance.
By following these instructions, you can quickly and easily change your Minecraft 1.11.2 skin.
Stay tuned for updates on future skin customization options as Minecraft continues to evolve.