How To Chantge Units In Fusion

Fusion 360, Autodesk's popular cloud-based 3D CAD, CAM, and CAE software, offers users a flexible environment for design and manufacturing. A common question among both new and experienced users revolves around a fundamental aspect of the software: modifying the default units.
This article provides a comprehensive guide on how to change units in Fusion 360, ensuring accuracy and consistency across projects.
Understanding Unit Settings in Fusion 360
The ability to switch between different unit systems is crucial for collaboration, compatibility with various manufacturing processes, and personal preference. Fusion 360 allows users to work in either metric (millimeters, centimeters, meters) or imperial (inches, feet) units.
Understanding how to manage these settings is paramount to avoiding errors and streamlining workflows.
Changing Units in New Designs
The unit setting for a new design is established at the outset of the project. You can set this up as follows:
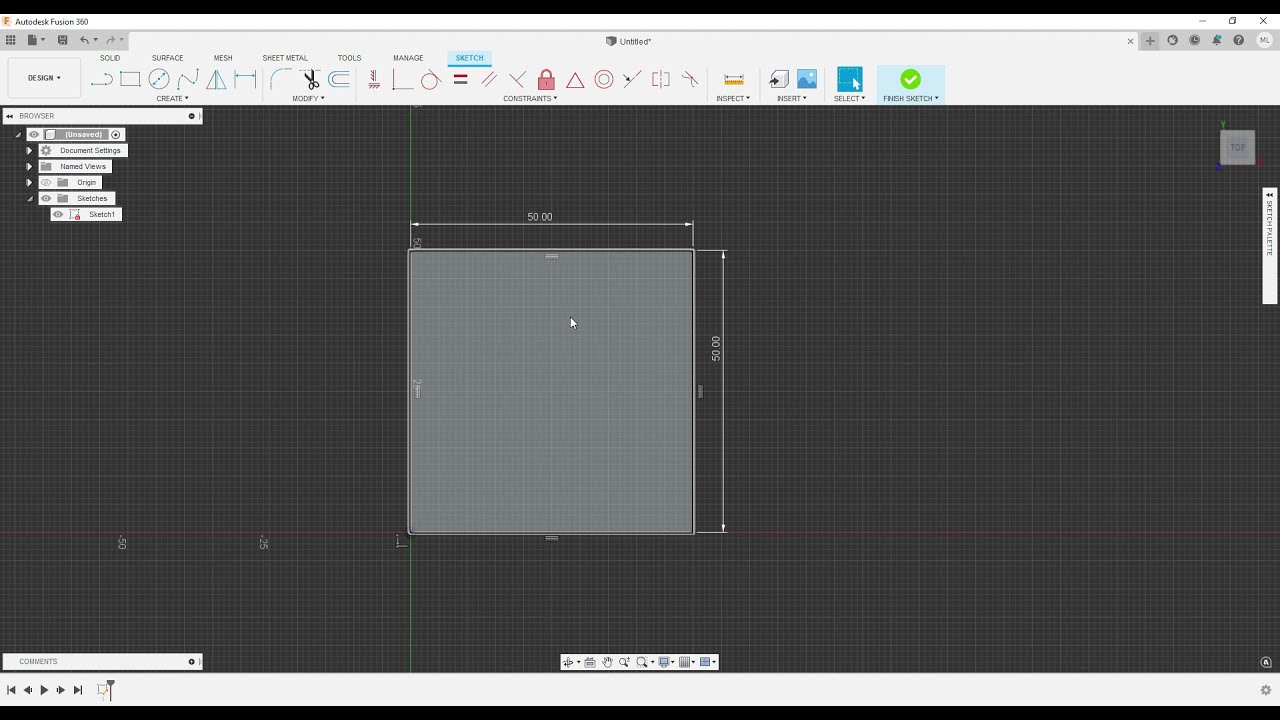
Step 1: Create a New Design
First, ensure you have Fusion 360 open and are ready to initiate a new design. Click on the "File" menu in the upper left corner of the application window.
From the dropdown menu, select "New Design."
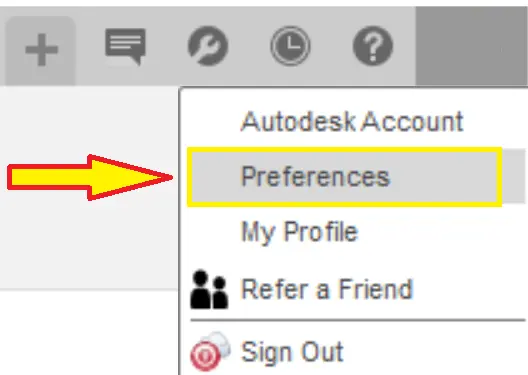
Step 2: Access Document Settings
Once a new design window opens, navigate to the "Document Settings" panel. This panel can typically be found in the browser on the left side of the Fusion 360 interface.
If the browser is not visible, go to "View" > "Browser" to display it.
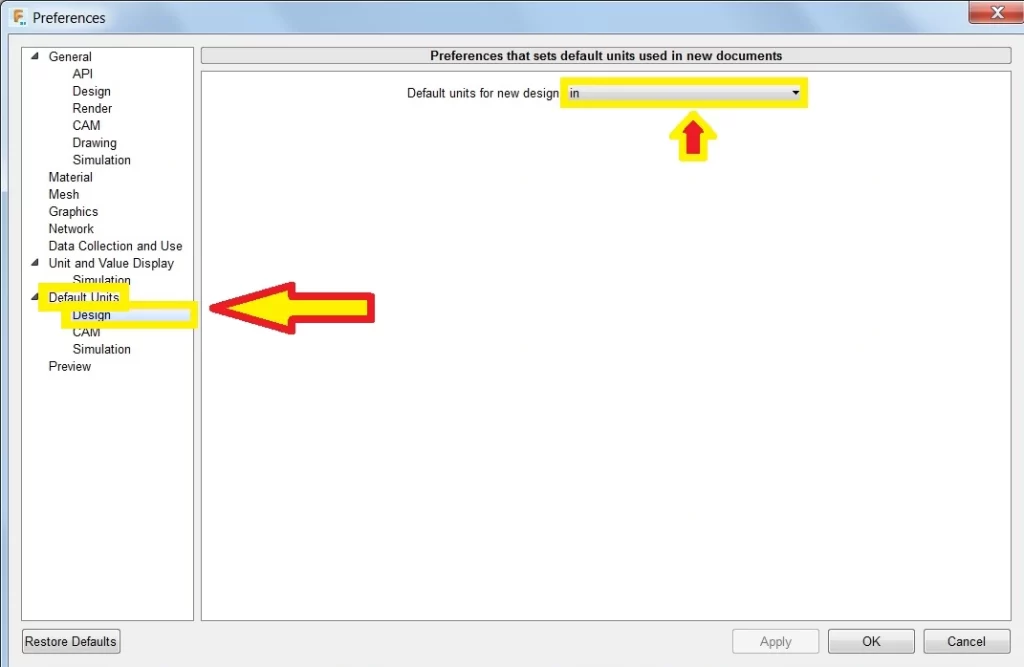
Step 3: Change the Units
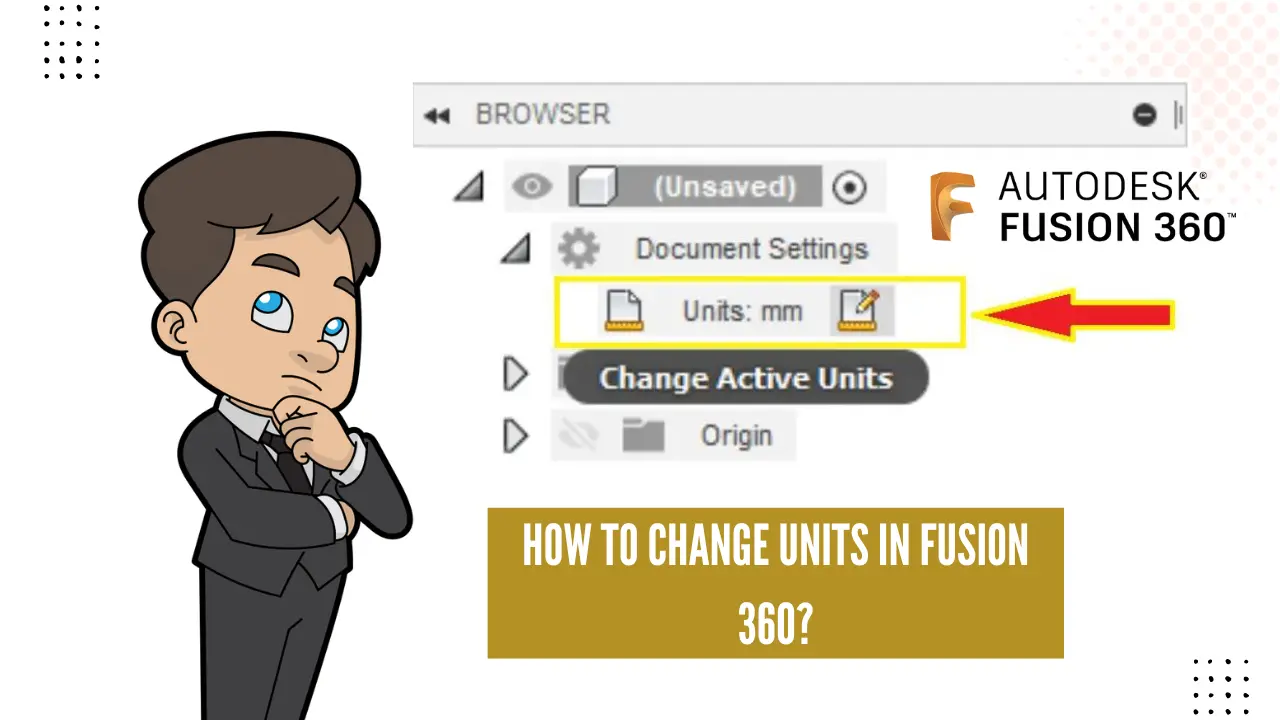
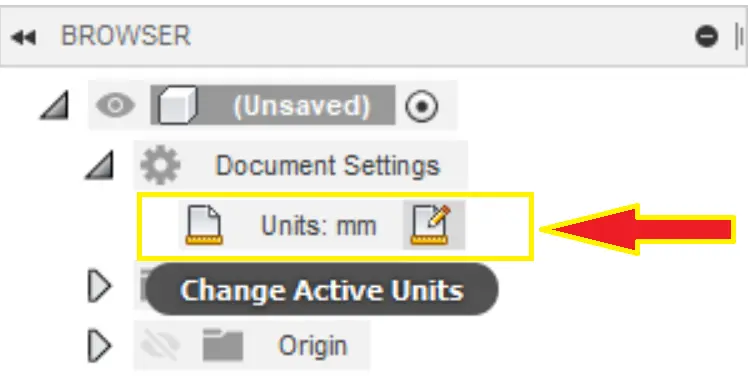
Within the "Document Settings" panel, locate the "Units" section, often displaying the current unit system. Click on the "Change Active Units" option.
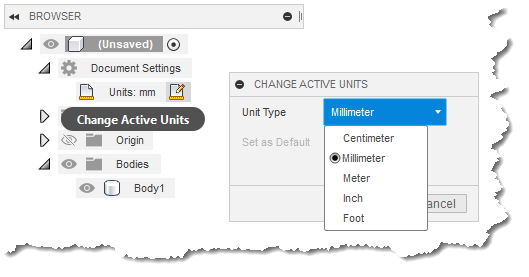
This will open a dialog box where you can choose between different unit systems, such as millimeters, centimeters, meters, inches, or feet. Select your desired unit system.
Step 4: Confirm the Change
After selecting the desired unit system, click "OK" to confirm your choice. The new design will now operate using the specified units.
All subsequent sketches, features, and measurements will be displayed in these units.
Modifying Units in Existing Designs
You can also change the units in an already existing design. This can be useful if you need to collaborate with someone using a different unit system or if you started a design using the wrong units.
Step 1: Open the Existing Design
Open the Fusion 360 file that you wish to modify.
Make sure the design is fully loaded.
Step 2: Access Document Settings
Just as with creating a new design, locate the "Document Settings" panel in the browser on the left side of the interface.
It's the same process.
Step 3: Change the Units
Within the "Document Settings" panel, find the "Units" section and click "Change Active Units." Select the desired unit system from the dialog box.
This is where you’ll make the swap.
Step 4: Understand the Conversion
Important: When you change units in an existing design, Fusion 360 automatically converts the dimensions to the new unit system. It's crucial to carefully review the converted dimensions to ensure that the design remains accurate.
Pay close attention to critical dimensions and tolerances.
Step 5: Verify and Adjust (If Necessary)
After the conversion, thoroughly inspect your design. Double-check the dimensions, features, and any parametric relationships to make sure they are behaving as expected in the new unit system.
Make any necessary adjustments to maintain design intent.
Display Units vs. Modeling Units
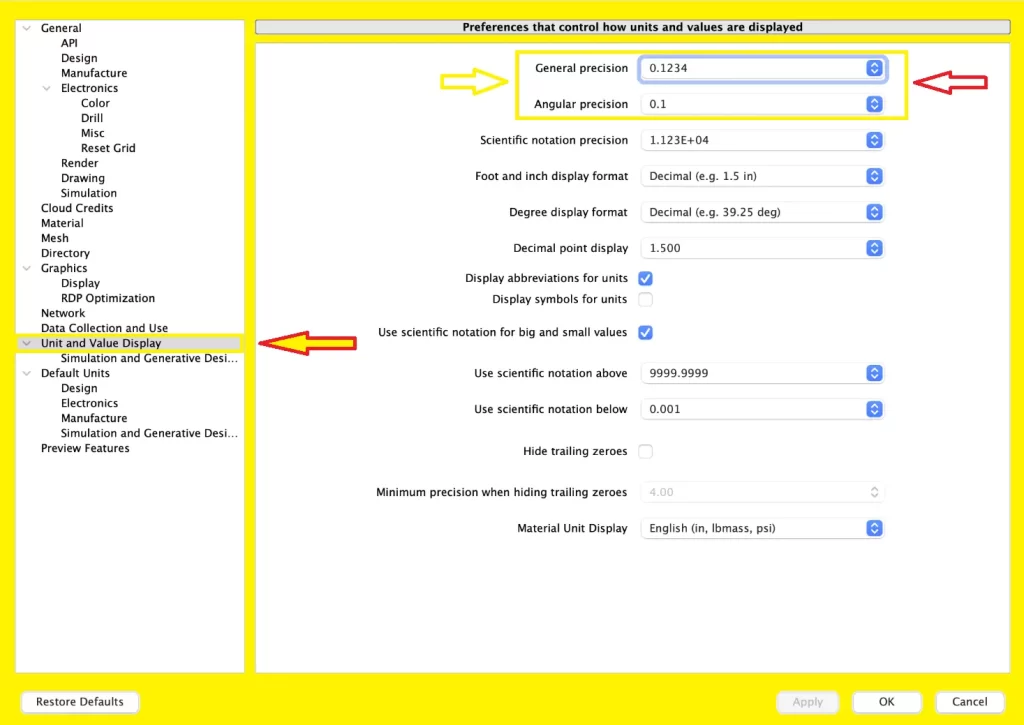
It is important to understand the difference between display units and modeling units. Display units control how measurements are shown on the screen. Modeling units, on the other hand, define the internal units used for calculations and geometry definition.
While you can change display units independently, the actual geometry is always based on the modeling units chosen at the design's inception.
Best Practices for Unit Management
To minimize potential errors and ensure consistency, consider these best practices:
- Establish a Standard: Define a standard unit system for your organization or team. Communicate this standard to all members.
- Verify Regularly: Periodically check the unit settings of your designs, especially when collaborating with others.
- Use Parametric Modeling: Leverage parametric modeling techniques to easily adapt your designs to different unit systems.
- Document Decisions: Clearly document the unit system used in your designs. This can be helpful for future reference and collaboration.
Conclusion
Mastering how to change units in Fusion 360 is a fundamental skill for any user. By following these steps and adhering to best practices, you can ensure accurate and consistent designs, regardless of the chosen unit system.
Understanding this process will enhance your workflow and facilitate seamless collaboration within the Fusion 360 environment.