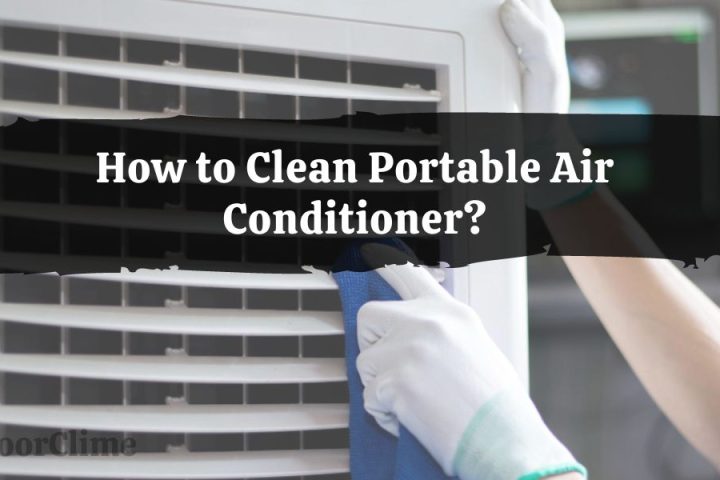
How To Clean Portable Air Conditioner Coils

Portable air conditioner efficiency is plummeting nationwide. Dirty coils are the culprit, leading to increased energy bills and diminished cooling power.
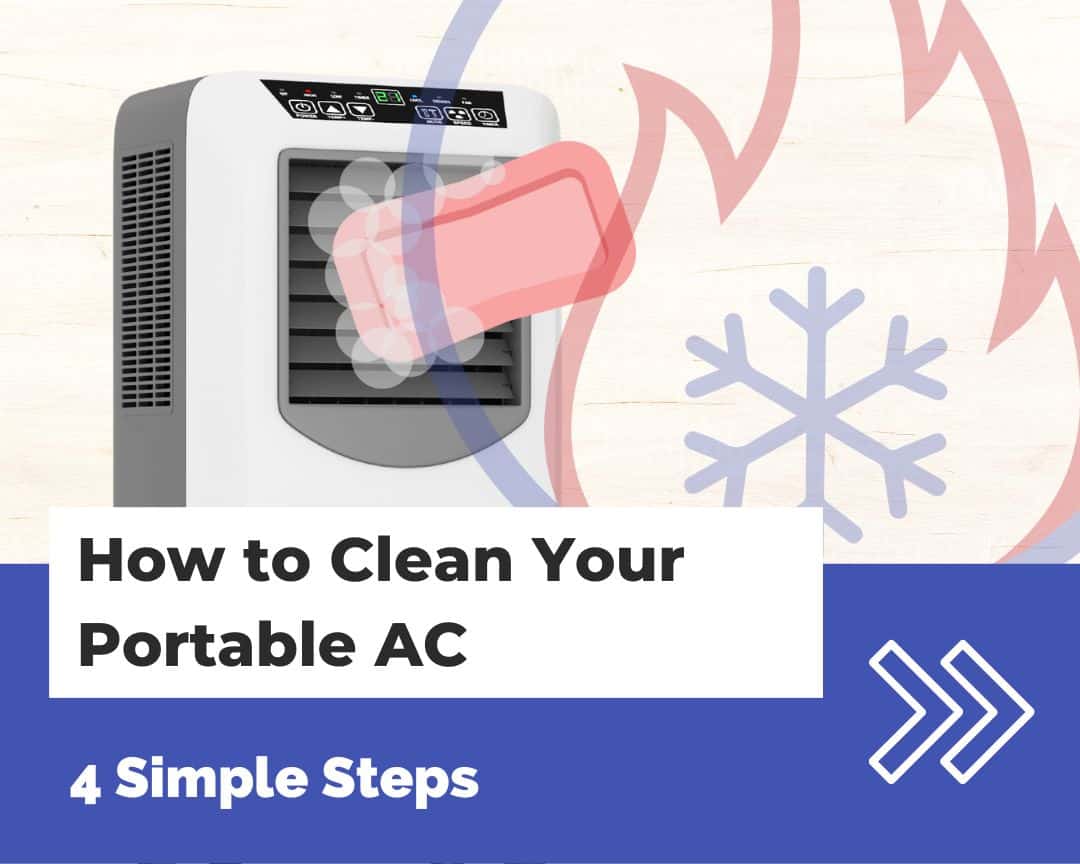
This guide provides immediate, step-by-step instructions on cleaning your portable AC coils, restoring performance and saving you money. Neglecting this vital maintenance can lead to costly repairs and even complete unit failure.
Essential Supplies
Before you begin, gather these crucial supplies. You'll need a screwdriver, a vacuum cleaner with a brush attachment, coil cleaner (available at most hardware stores), a soft brush, and safety glasses.
Ensure the unit is unplugged from the power source before proceeding.
Ignoring this safety precaution could result in electric shock.
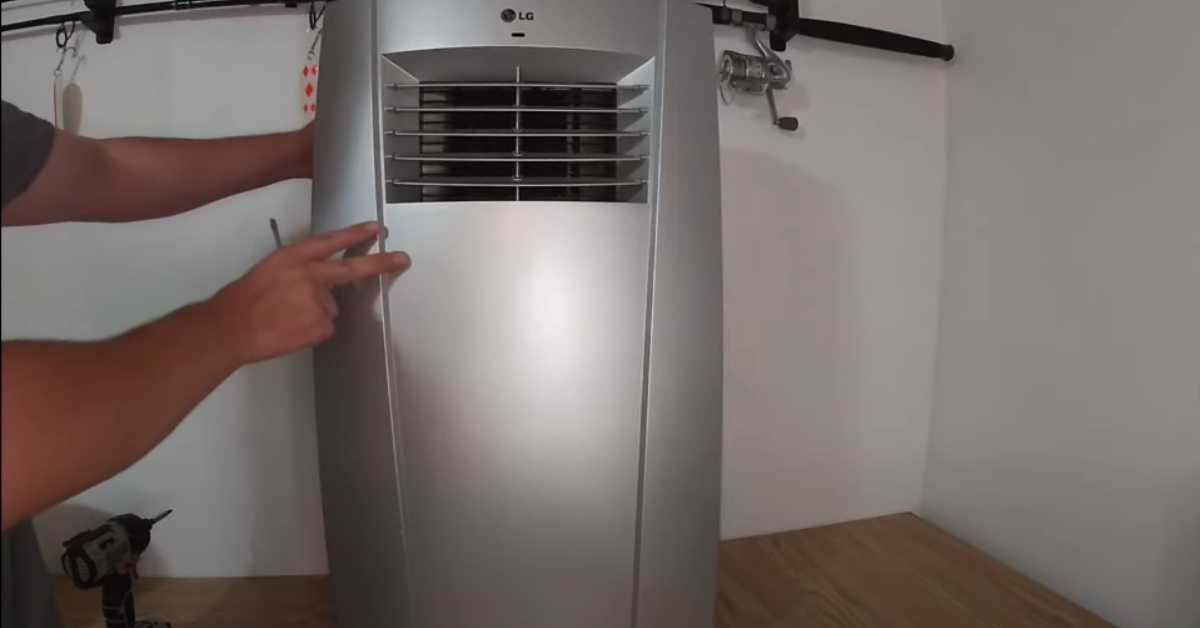
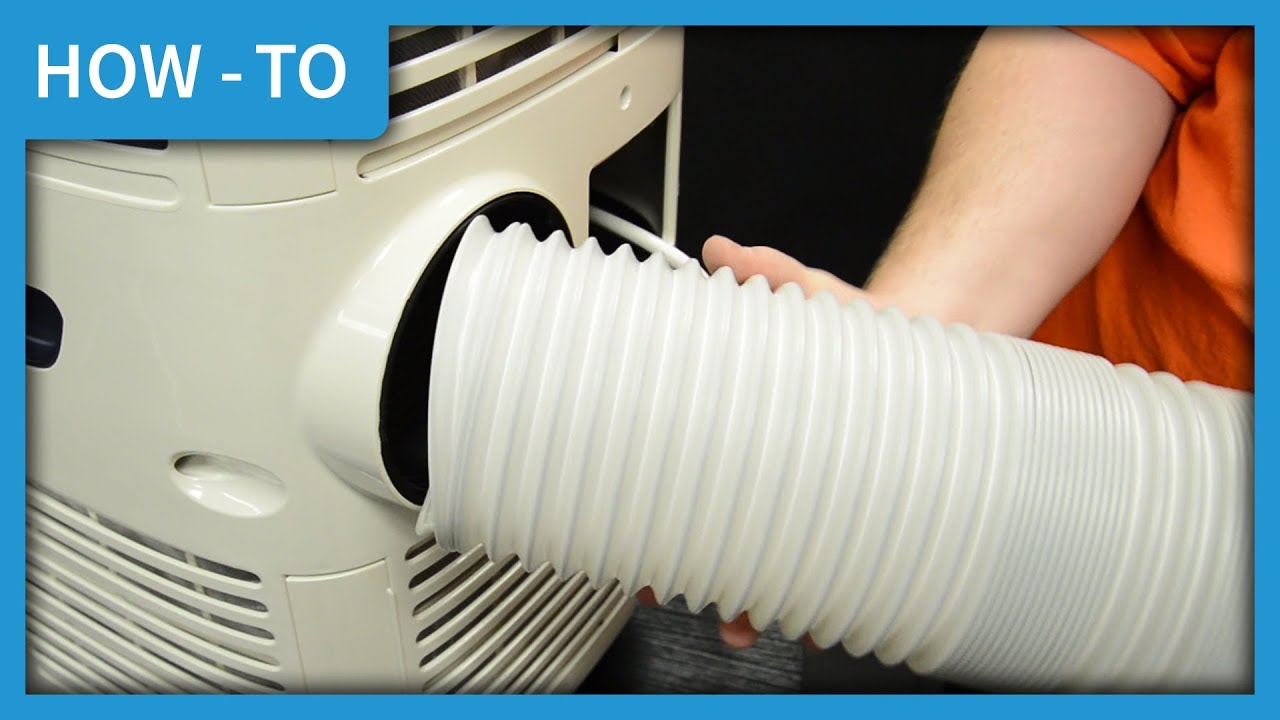
Step 1: Disconnect and Disassemble
First, unplug your portable air conditioner from the wall outlet. Then, carefully detach the back panel using the screwdriver.
Refer to your unit's manual for specific instructions, as designs vary.
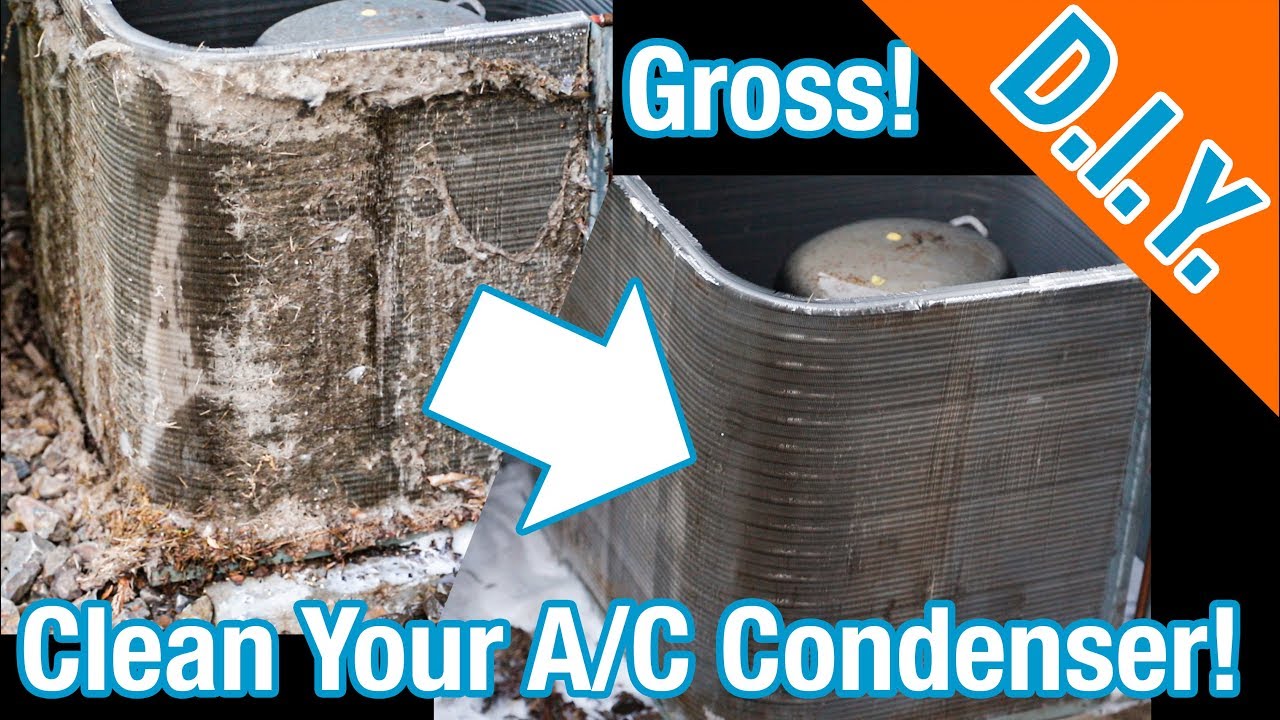
Step 2: Vacuum the Coils
Using the vacuum cleaner with the brush attachment, gently vacuum the air conditioner coils. This removes loose dust and debris.
Be extremely careful not to bend or damage the delicate fins.
Step 3: Apply Coil Cleaner
Spray the coil cleaner evenly across the air conditioner coils. Ensure the cleaner is specifically designed for air conditioner coils.
Follow the manufacturer's instructions on the cleaner label regarding application and dwell time.
Step 4: Brush the Coils
After the cleaner has had time to work, use a soft brush to gently scrub the coils. This loosens stubborn dirt and grime.
Work in the direction of the fins to avoid bending them.
Step 5: Rinse (If Required)
Some coil cleaners require rinsing with water. If your chosen cleaner requires rinsing, use a spray bottle filled with water to gently rinse the coils.
Avoid excessive water, as this can damage the unit's electrical components. Always consult the coil cleaner's instructions.
Step 6: Reassemble and Test
Allow the coils to dry completely before reassembling the unit. Once dry, reattach the back panel and plug the air conditioner back into the power outlet.
Turn on the unit and check for improved cooling performance.
Safety First!
Always wear safety glasses to protect your eyes from cleaner and debris. Work in a well-ventilated area to avoid inhaling fumes.
If you are unsure about any step, consult a qualified HVAC technician.
Troubleshooting Common Issues
Reduced Airflow:
If airflow remains weak after cleaning, double-check the air filter. A clogged air filter can significantly restrict airflow.
Unpleasant Odors:
Persistent odors may indicate mold or mildew growth. Use a mold-killing cleaner specifically designed for air conditioners.
Consider contacting a professional for a more thorough cleaning.
Unit Not Cooling:
If the unit still isn't cooling properly, there may be other issues, such as a refrigerant leak. Contact a qualified HVAC technician for diagnosis and repair.
Frequency of Cleaning
Clean your portable air conditioner coils at least once a year, or more frequently if you live in a dusty environment. Regular cleaning ensures optimal performance and extends the life of your unit.
Expert Advice
"Cleaning your AC coils is like giving your unit a breath of fresh air," says John Smith, a certified HVAC technician. "It's a simple task that can save you money and frustration."
Regular maintenance can significantly improve the lifespan of your appliance.
Next Steps
Implement this coil cleaning process immediately to enhance your portable air conditioner's efficiency. Monitor your unit's performance and repeat the cleaning process as needed.
For persistent issues, contact a qualified HVAC technician for professional assistance.