How To Clean Portable Air Cooler
Imagine the sweltering heat of summer clinging to you like a damp cloth. Relief comes in the form of a gentle, cool breeze emanating from your trusty portable air cooler. But over time, that refreshing gust can become tainted with dust and grime, diminishing its effectiveness and even impacting your indoor air quality. Learning how to properly clean your portable air cooler isn't just about maintenance; it's about ensuring the continued comfort and well-being of your home.
The essential question is: How do you ensure your portable air cooler delivers clean, refreshing air consistently? This guide provides a comprehensive, step-by-step approach to cleaning your portable air cooler, ensuring optimal performance and a healthier living environment. We will break down the process, from gathering necessary supplies to deep cleaning the unit, all while prioritizing safety and efficiency.
Understanding Your Portable Air Cooler
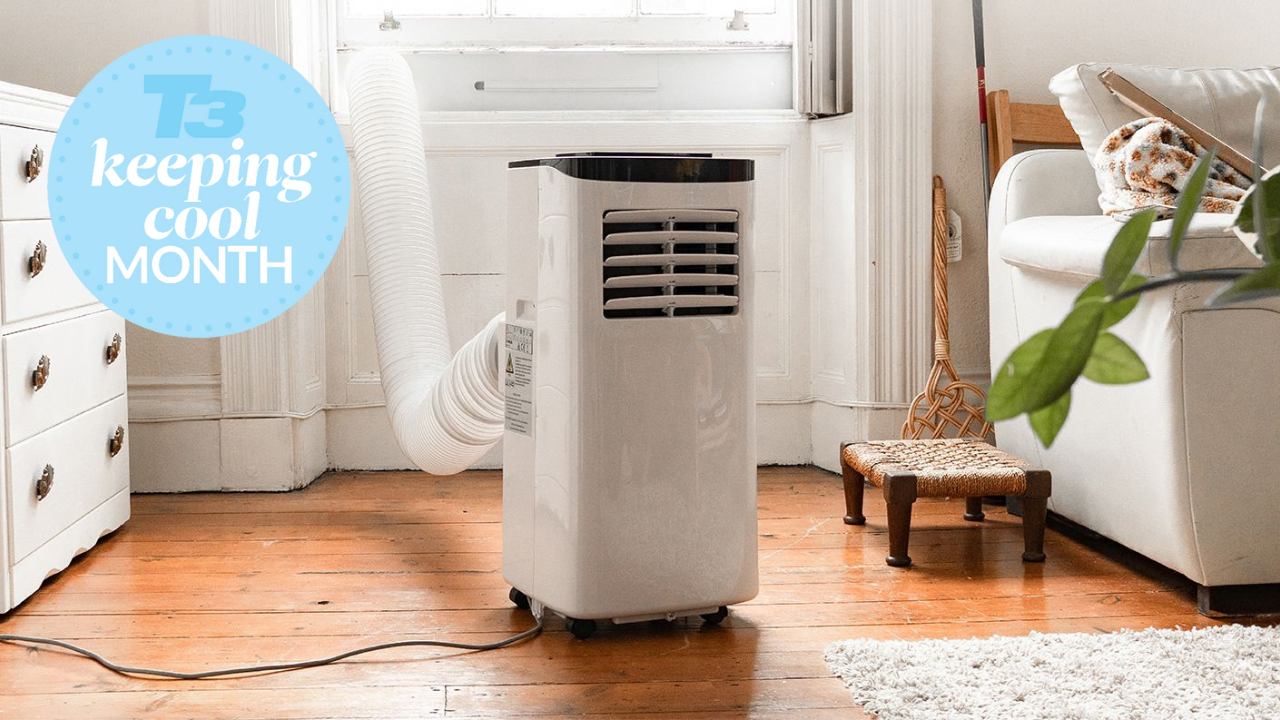
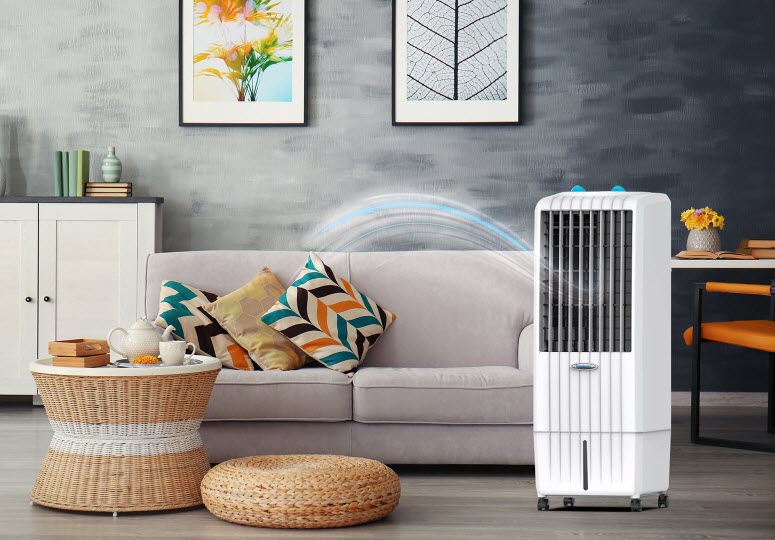
Portable air coolers, also known as evaporative coolers, function differently from traditional air conditioners. They cool air by evaporating water, a process that absorbs heat and lowers the surrounding temperature. This method is more energy-efficient and environmentally friendly, making them a popular choice for many households, according to the U.S. Department of Energy.
However, the evaporative cooling process also means that the internal components of the cooler are constantly exposed to moisture. This creates a breeding ground for mold, mildew, and bacteria if not properly maintained. Regular cleaning is crucial not only for performance but also for preventing the spread of these allergens, contributing to better indoor air quality.
Gathering Your Supplies
Before embarking on your cleaning journey, gather the following supplies. You will need a Philips head screwdriver, mild dish soap or a specialized cooler cleaner, a soft-bristled brush or toothbrush, clean cloths or microfiber towels, white vinegar (optional, for disinfection), and a vacuum cleaner with a hose attachment.
Step-by-Step Cleaning Guide
First, disconnect the power. This is the most important step to ensure your safety during the entire cleaning process. Never attempt to clean an appliance while it is plugged in. This prevents electrical shock and potential damage to the unit.
Next, drain any remaining water from the tank. Most portable air coolers have a drain plug or valve located at the bottom or back of the unit. Place a bucket or container underneath to catch the water. Be sure to dispose of the water properly, ideally down a drain, and avoid spilling it.
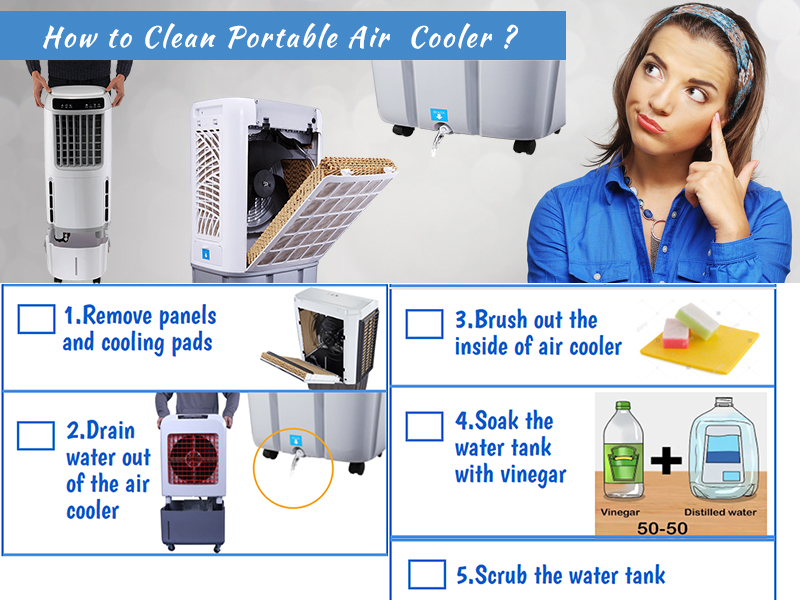
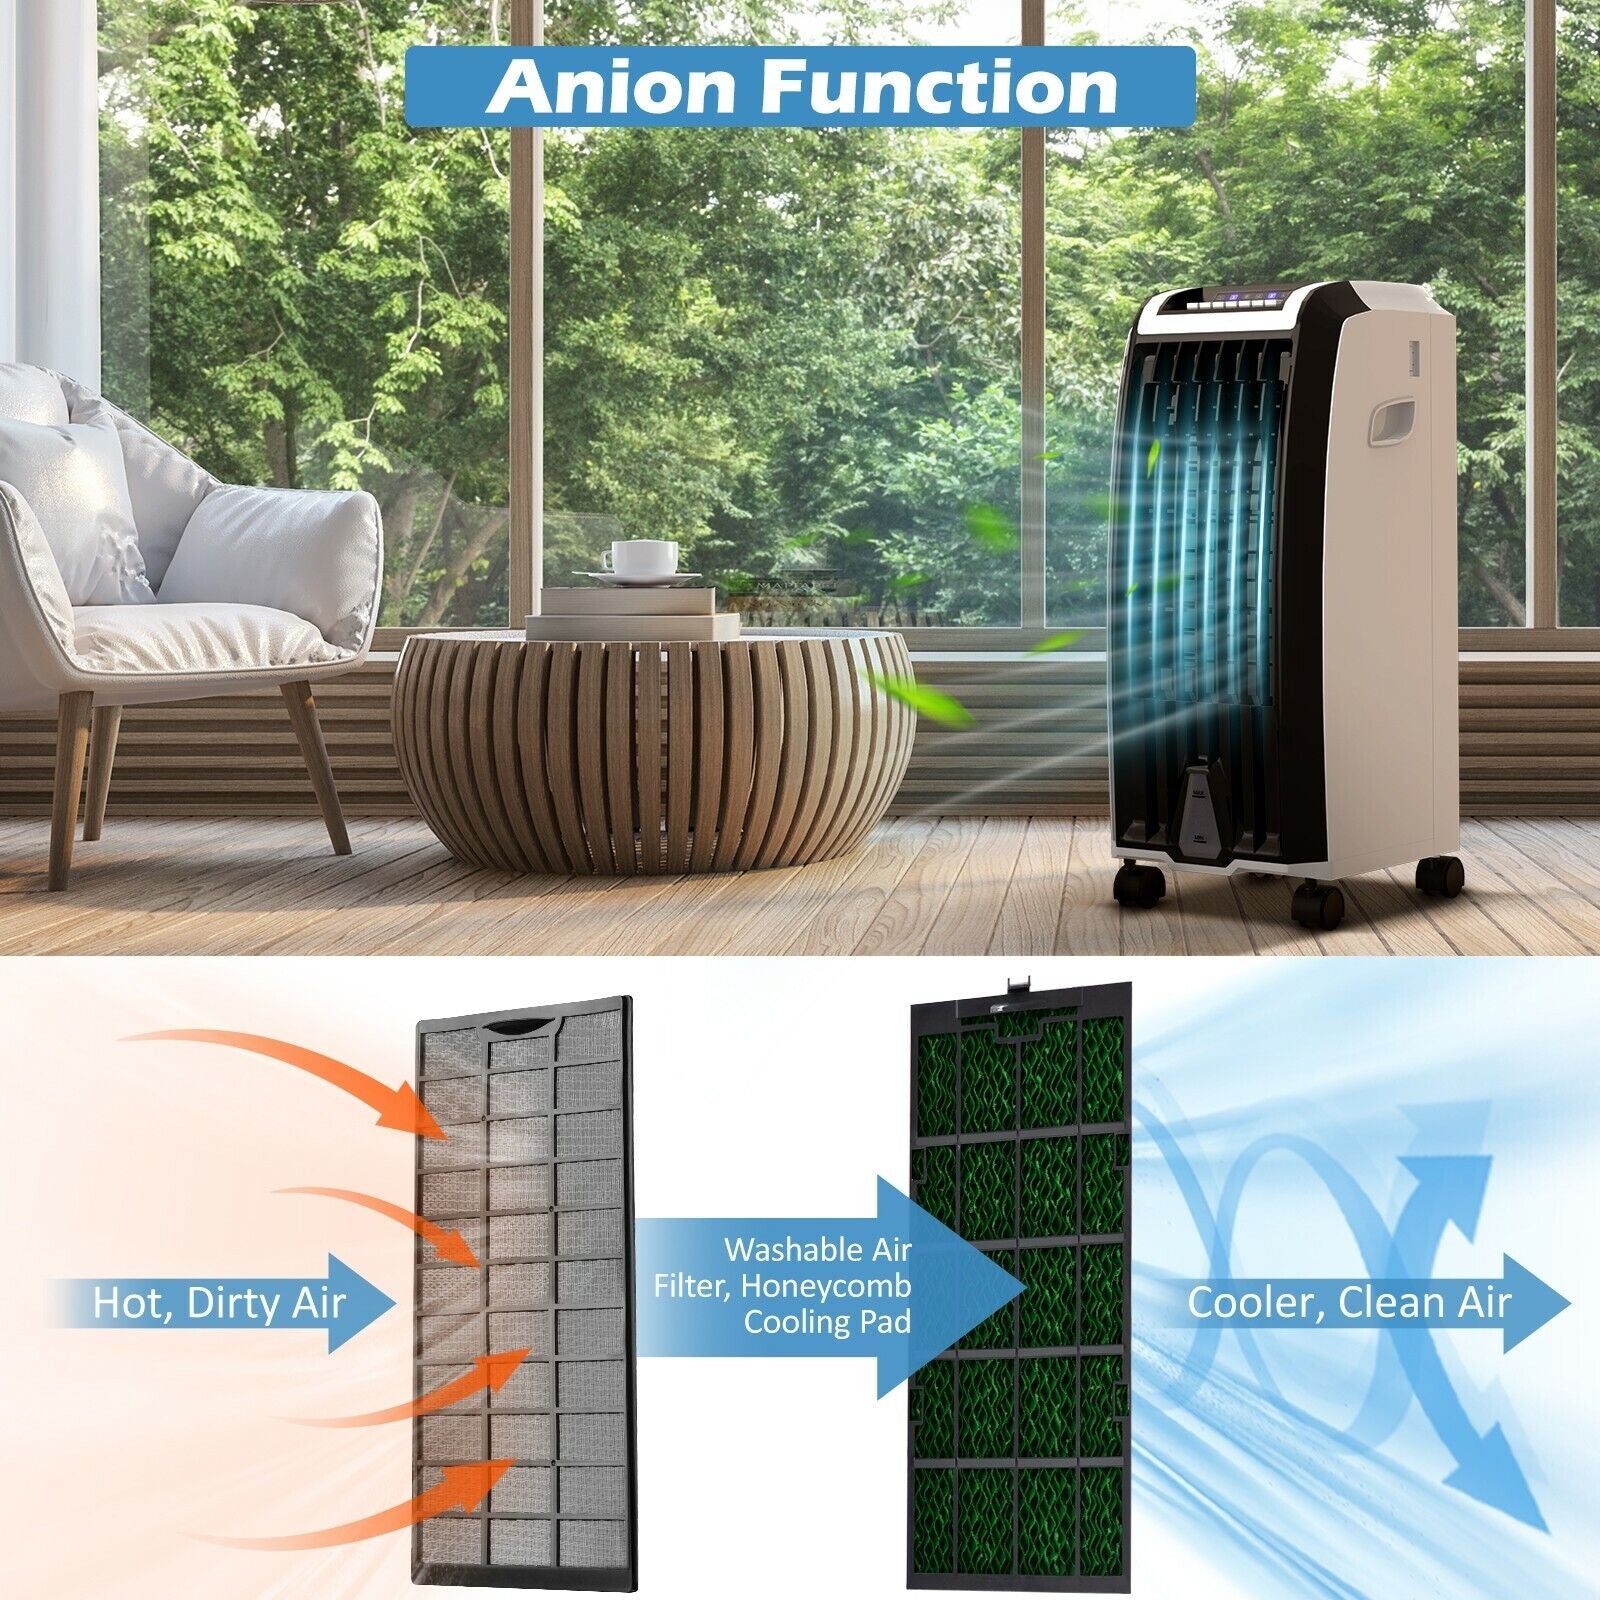
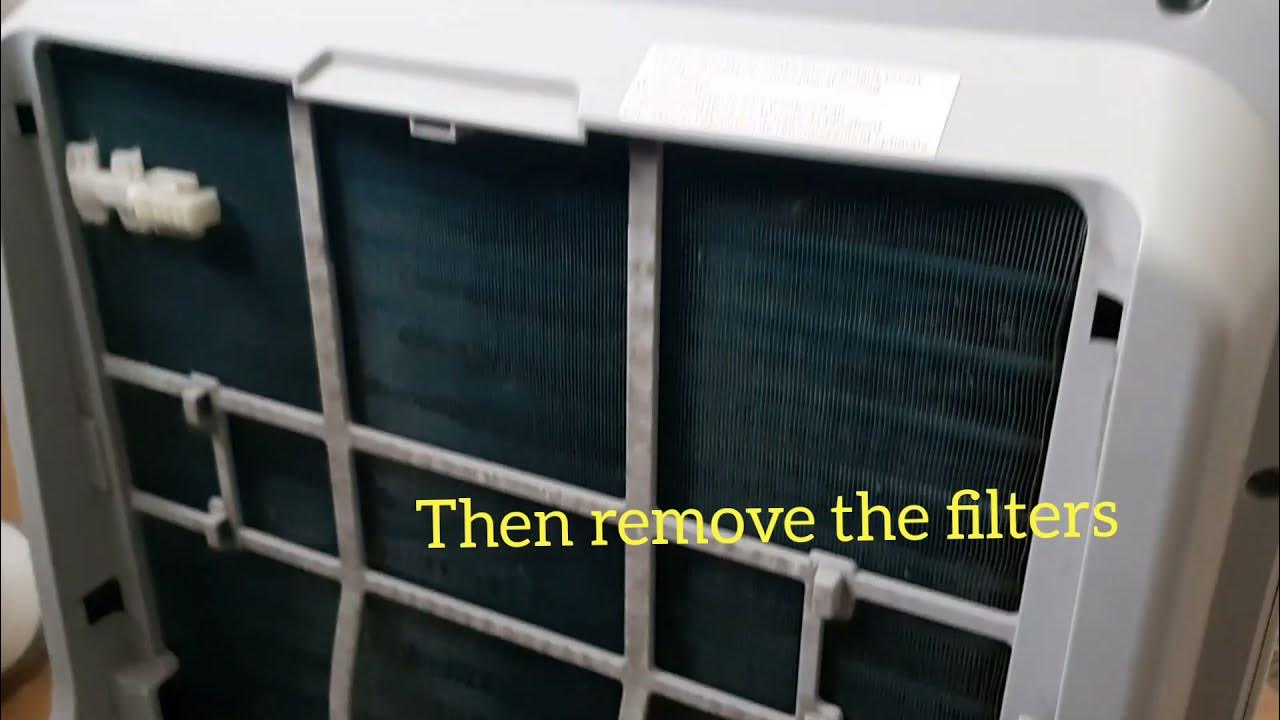
Now, remove the cooling pad. Consult your owner's manual for specific instructions on how to remove the cooling pad or filter. It is usually held in place by a frame or clips. Once removed, inspect the pad for any signs of mold, mildew, or excessive dirt.
Clean the cooling pad. Depending on the material, you can either rinse the cooling pad with clean water or wash it with mild dish soap and water. Use a soft-bristled brush to gently scrub away any dirt or debris. If you notice mold or mildew, create a solution of equal parts white vinegar and water and soak the pad for about 30 minutes before rinsing thoroughly.
Clean the water tank. The water tank is another area prone to bacteria and algae growth. Use a clean cloth or sponge and mild dish soap to scrub the interior of the tank. Rinse thoroughly with clean water to remove all traces of soap. For stubborn stains or odors, you can also use a vinegar and water solution. Let the tank air dry completely before reassembling.
Clean the exterior. Wipe down the exterior of the portable air cooler with a damp cloth to remove dust and grime. Pay particular attention to the air vents, using a vacuum cleaner with a hose attachment to remove any accumulated dust. This will improve airflow and the overall efficiency of the unit.
Reassemble the unit. Once all the components are clean and dry, reassemble the portable air cooler. Ensure the cooling pad is securely in place and the water tank is properly seated. Refer to your owner's manual for specific instructions if needed. Always allow all parts to completely dry before using your cooler.
Deep Cleaning for Optimal Performance
While regular cleaning is essential, a deep cleaning every few months can further improve your portable air cooler's performance. To deep clean, consider disassembling the unit as much as possible, following the manufacturer's instructions.
Pay special attention to any internal components that are exposed to water, such as the water pump or distribution system. Clean these components thoroughly with a brush and mild detergent. Rinse thoroughly and allow to dry completely before reassembling.
For hard water stains, you can use a descaling solution specifically designed for evaporative coolers. Follow the instructions on the product label carefully and ensure all traces of the solution are removed before using the cooler again.
Maintaining Your Portable Air Cooler
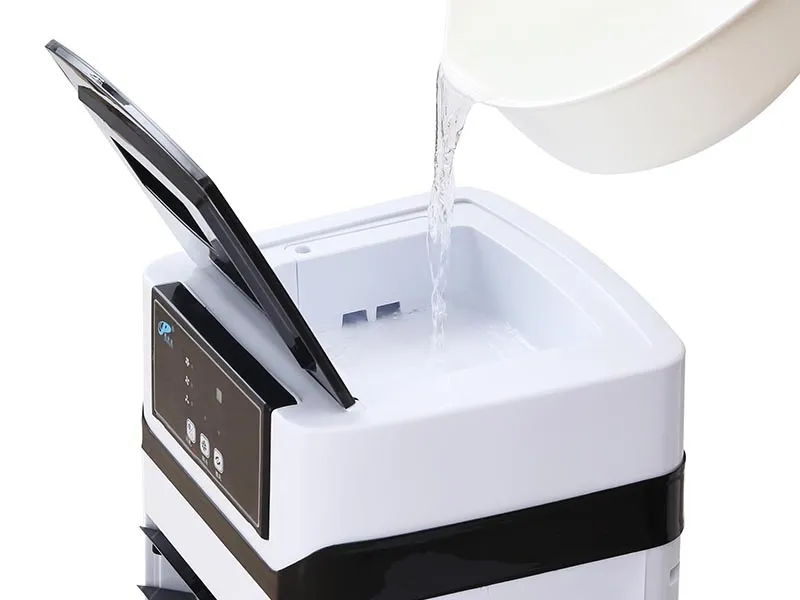
Beyond regular and deep cleaning, there are other steps you can take to maintain your portable air cooler and prolong its lifespan. Use distilled water. Distilled water contains fewer minerals than tap water, reducing the buildup of scale and deposits in the tank and on the cooling pad. Change the water frequently. Avoid letting water sit in the tank for extended periods, as this can encourage bacteria growth.
Store the cooler properly when not in use. When storing your portable air cooler for the off-season, ensure it is completely dry to prevent mold and mildew growth. Store it in a cool, dry place away from direct sunlight. Cover the unit to protect it from dust and debris.
Troubleshooting Common Issues
Despite your best efforts, you may encounter some common issues with your portable air cooler. One common problem is a musty odor. This is usually caused by mold or mildew growth in the water tank or on the cooling pad. Thoroughly cleaning the unit with a vinegar and water solution should resolve this issue. Ensure the unit is completely dry after cleaning.
Another common issue is reduced airflow. This can be caused by a dirty cooling pad or air vents. Clean these components regularly to maintain optimal airflow. Also, ensure that the air filter is clean and free of debris. Replace the air filter as needed, according to the manufacturer's instructions.
Benefits of a Clean Portable Air Cooler
The benefits of a clean portable air cooler extend far beyond just cooler air. A clean unit operates more efficiently, consuming less energy and saving you money on your electricity bill. According to the Environmental Protection Agency (EPA), regular maintenance of cooling appliances can significantly reduce energy consumption.
A clean cooler also contributes to better indoor air quality, reducing the risk of allergies and respiratory problems. By removing mold, mildew, and bacteria, you create a healthier living environment for yourself and your family. Furthermore, a well-maintained portable air cooler will have a longer lifespan, saving you the cost of replacing the unit prematurely.
In conclusion, cleaning your portable air cooler is a simple yet essential task that offers numerous benefits. By following these steps, you can ensure that your cooler delivers clean, refreshing air, operates efficiently, and lasts for years to come. So, take the time to give your cooler some much-needed attention, and enjoy the cool, clean comfort it provides. Your health, wallet, and the environment will thank you.