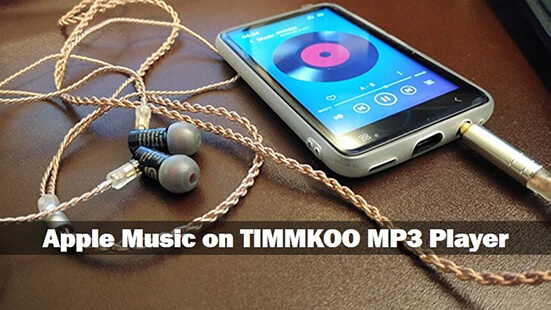
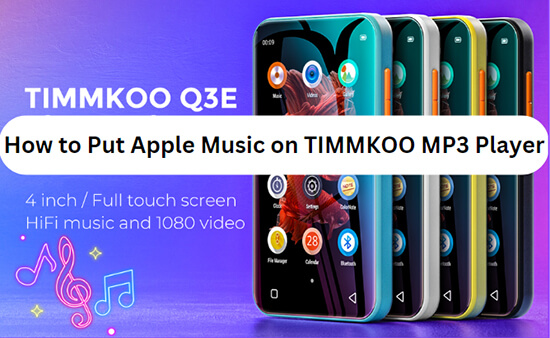
How To Download Music To Timmkoo Mp3 Player
Imagine holding a sleek, pocket-sized music player, a gateway to your favorite tunes, ready to accompany you on a jog, a commute, or a quiet evening at home. The Timmkoo MP3 player, with its promise of simplicity and portability, is quickly becoming a beloved device for music enthusiasts. But how do you actually get your music onto this little gadget?
This article provides a comprehensive, step-by-step guide on how to download music to your Timmkoo MP3 player, ensuring you can easily enjoy your favorite songs wherever life takes you. We'll cover everything from connecting the device to your computer to managing your music library.
Understanding the Timmkoo MP3 Player
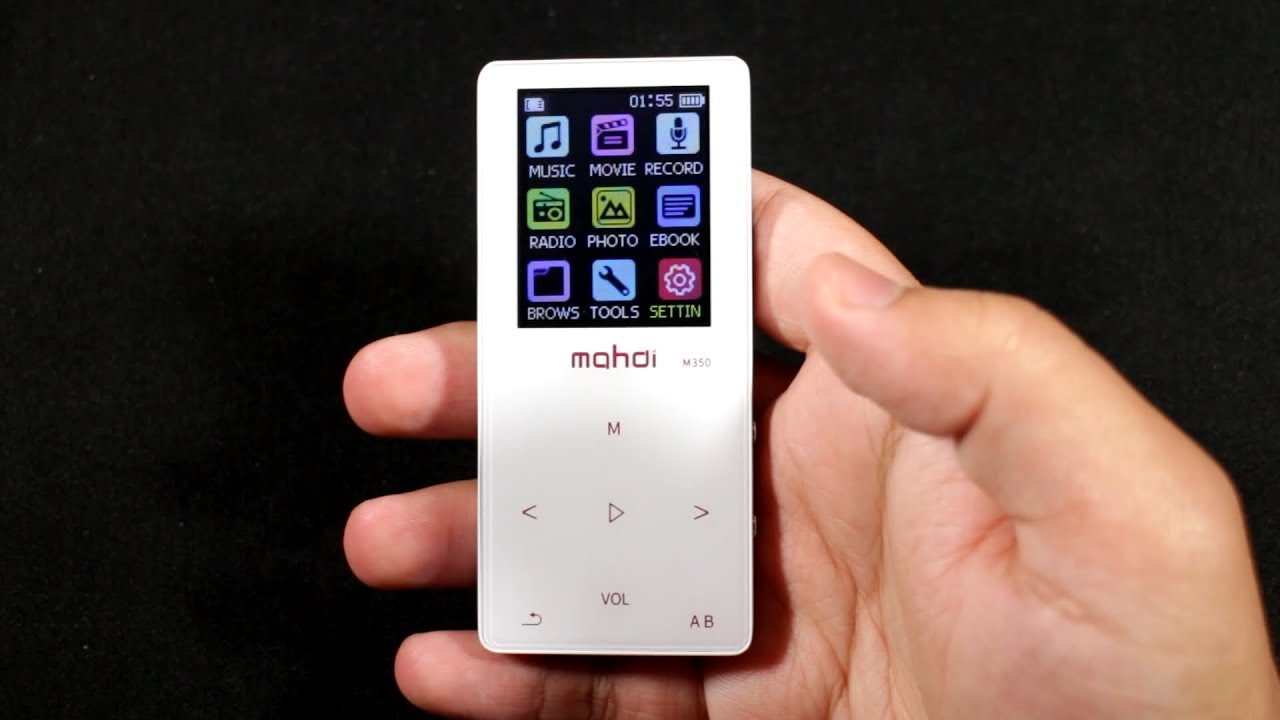
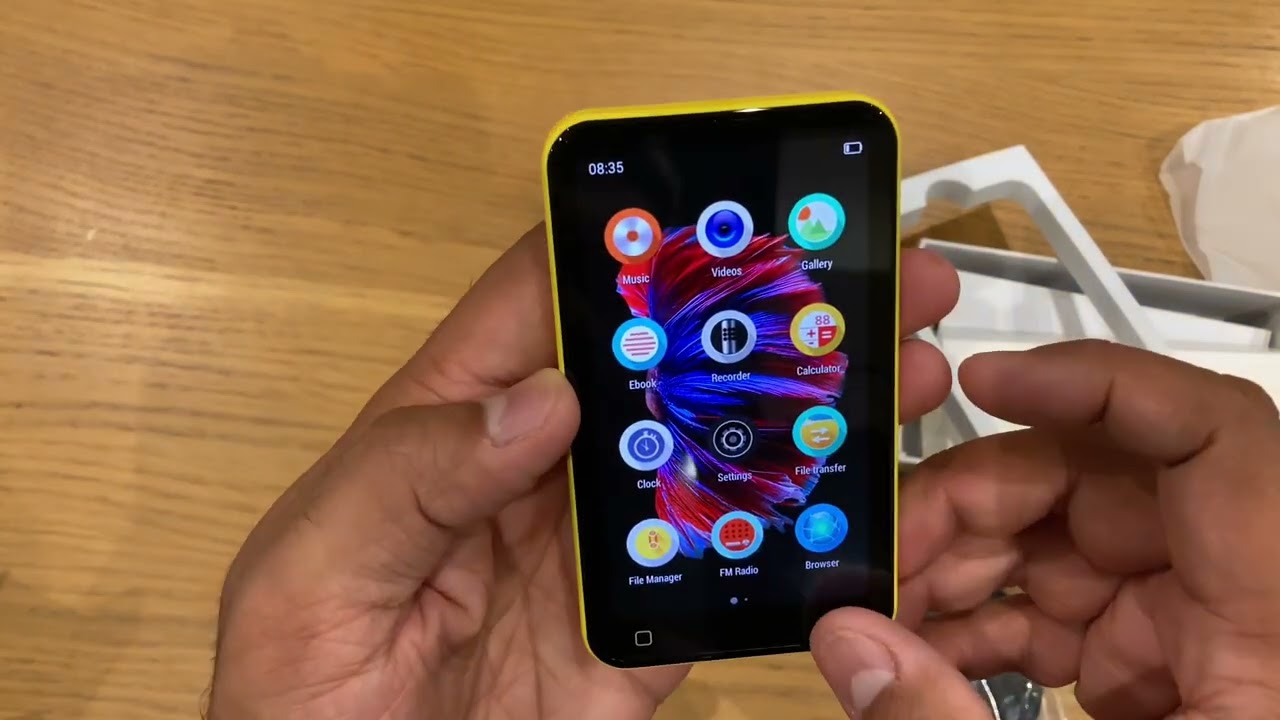
The Timmkoo MP3 player, known for its user-friendly interface and compact design, offers a refreshing alternative to smartphones for music listening. It appeals to users who want a dedicated music device, free from distractions and notifications.
Its simplicity is a major selling point, but it also means understanding the nuances of transferring music is key to maximizing its potential.
Connecting Your Timmkoo to Your Computer
The first step is establishing a connection between your Timmkoo MP3 player and your computer. Use the USB cable that came with your device.
Plug the smaller end into the MP3 player and the larger end into a USB port on your computer.
Your computer should recognize the device as a removable storage drive, similar to a USB flash drive.
Transferring Music Files
Once connected, navigate to the Timmkoo MP3 player's storage on your computer. This usually appears as a new drive in your file explorer (Windows) or Finder (Mac).
Open the folder on your computer where your music files are stored. This could be your iTunes library, a folder of MP3s, or any other location.
Now, simply drag and drop the music files or folders you want to transfer from your computer to the Timmkoo MP3 player's storage.
Supported File Formats
The Timmkoo MP3 player typically supports common audio formats like MP3, WMA, and WAV. Check your device's manual for a complete list of supported formats.
If your music files are in a different format, you may need to convert them to a compatible format before transferring them.
Managing Your Music Library
After transferring your music, it's a good idea to organize your files on the Timmkoo MP3 player. Create folders for albums, artists, or playlists to make navigating your library easier.
You can do this directly within the file explorer or Finder window, just like managing files on a regular USB drive.
Safely Disconnecting Your Timmkoo
Once the transfer is complete and your music is organized, it's crucial to safely disconnect the Timmkoo MP3 player from your computer.
On Windows, right-click on the device in your file explorer and select "Eject." On Mac, drag the device icon from your desktop to the trash can.
This ensures that no data is lost or corrupted during disconnection.
Remember, proper disconnection is vital for the longevity and performance of your device.
With your Timmkoo MP3 player now loaded with your favorite tunes, you're ready to embark on your next sonic adventure. The beauty of this device lies in its simplicity – a dedicated space for music, free from the distractions of modern technology.
So, plug in your headphones, press play, and let the music transport you.

![How To Download Music To Timmkoo Mp3 Player How to Play Spotify Music on TIMMKOO MP3 Player [2023 Updated] | UkeySoft](https://www.ukeysoft.com/wp-content/uploads/2021/10/TIMMKOO.png)
![How To Download Music To Timmkoo Mp3 Player How to Play Spotify Music on TIMMKOO MP3 Player [2023 Updated] | UkeySoft](https://www.ukeysoft.com/wp-content/uploads/2020/08/get-Spotify-DRM-free-songs.jpg)