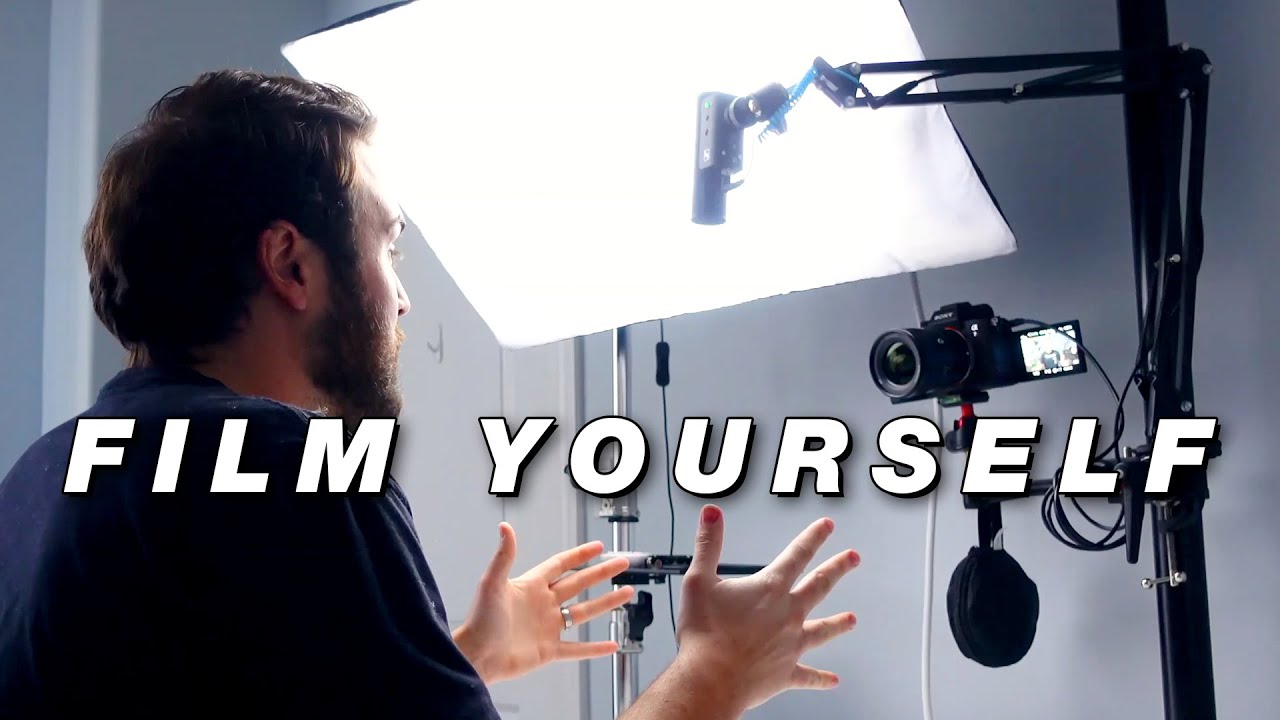
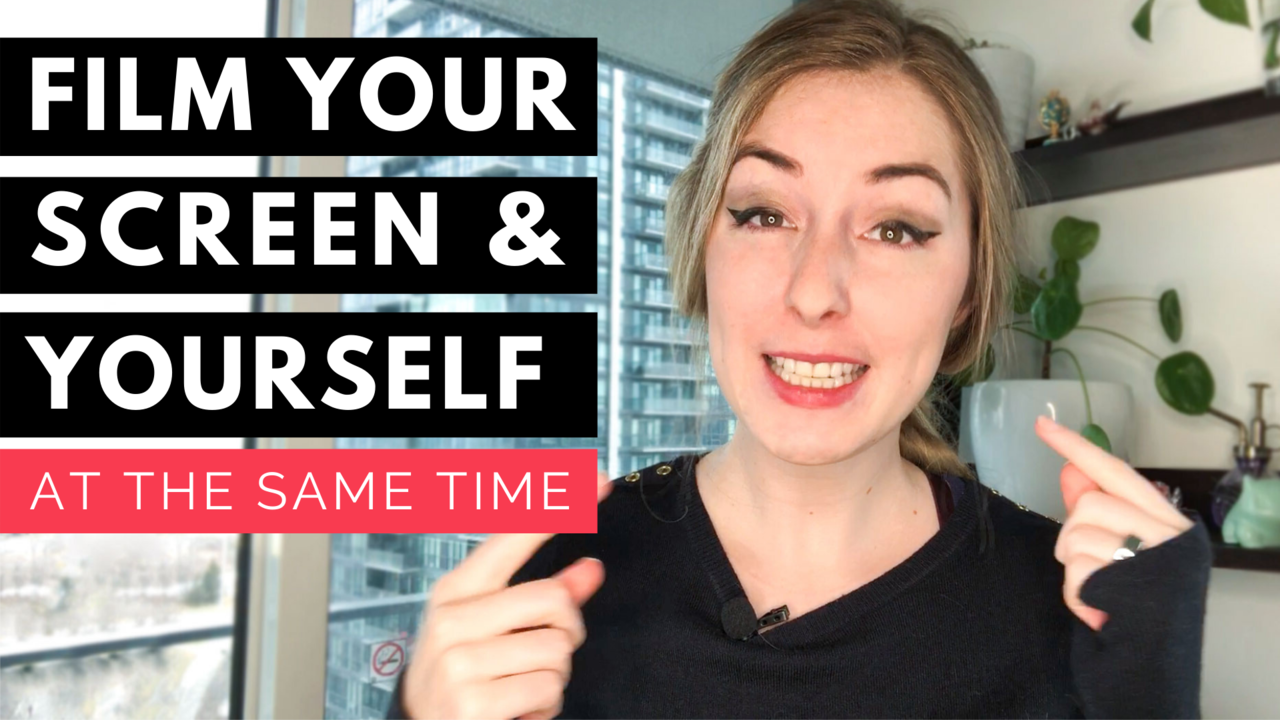
How To Film Yourself And Your Screen

Imagine you're bubbling with excitement, eager to share that groundbreaking new app you discovered or perhaps demonstrate a nifty software trick that's revolutionizing your workflow. The screen flickers with possibilities, your face beams with enthusiasm, but how do you capture this magic and share it with the world? Don't worry, it's easier than you think!
This article will guide you through the surprisingly simple steps of filming both yourself and your screen simultaneously, opening up a world of possibilities for creating engaging tutorials, compelling presentations, and interactive content that connects with your audience on a personal level.
Why Film Yourself and Your Screen?
The ability to record both your screen and your face is a game-changer for content creators. It allows for a more personal and engaging experience, creating a direct connection with viewers. Educational content, software demonstrations, and online presentations all benefit immensely from this technique.
Popular Uses: From Tutorials to Gaming
Think about it: comprehensive software tutorials become much easier to follow when viewers can see your mouse movements and hear your explanations, but they can also see your facial expressions. According to TechSmith, adding a personal touch improves user engagement. This method is a cornerstone of effective online education and is widely adopted by institutions like Coursera and Udemy.
For gamers, streaming or recording gameplay with a facecam is almost essential. It allows for real-time reactions and commentary, turning a simple gameplay session into an entertaining experience. This trend has exploded on platforms like Twitch and YouTube Gaming.
The Essential Tools
Fortunately, you don't need expensive equipment to get started. Most modern laptops and smartphones have built-in webcams and microphones that are perfectly adequate for basic recordings. Investing in a dedicated webcam and microphone can significantly improve the quality of your video and audio.
The software is where the real magic happens. Several excellent screen recording programs allow you to record your screen and webcam feed simultaneously.
Software Options: Free and Paid
Many free options are available for those on a budget. OBS Studio is a popular open-source program with a wealth of features, suitable for both recording and live streaming. Another worthy alternative is Microsoft Expression Encoder, as mentioned in a Search Engine Journal article, which is great for creating on-screen training videos.
For users looking for more advanced features and a more user-friendly interface, paid options like Camtasia and ScreenFlow are excellent choices. These programs offer robust editing tools and are ideal for creating polished, professional-looking videos.
Step-by-Step Guide: Recording Yourself and Your Screen
The process is generally similar across different software, but here's a general outline:
1. Install and configure your chosen software: Download and install your screen recording software of choice. Take some time to explore the settings and customize them to your liking.
2. Set up your webcam and microphone: Ensure your webcam and microphone are properly connected and recognized by the software. Adjust the audio levels to prevent distortion or excessive background noise.
3. Configure your recording settings: Choose the area of the screen you want to record (full screen, a specific window, or a custom selection). Select your desired video resolution and frame rate. Higher resolutions and frame rates will result in better quality but also larger file sizes.
4. Position your webcam overlay: Most software allows you to position your webcam feed as an overlay on your screen recording. Experiment with different positions (e.g., bottom right, top left) to find what works best for you. Also, adjust the size of the webcam window so that it doesn't obscure important parts of your screen.
5. Start recording: Once everything is set up, hit the record button! Take a deep breath and start sharing your knowledge or demonstrating your skills.
6. Edit and refine: Once you're done recording, use the software's editing tools to trim any unnecessary sections, add annotations, and enhance the audio and video quality. Video editing is an art, so take your time and experiment.
Tips for Creating Engaging Content
While recording your screen and webcam is technically straightforward, creating engaging content requires more effort. Here are some tips:
Plan your content: Before you start recording, outline what you want to cover and how you want to present it. A well-structured presentation will keep your audience engaged.
Speak clearly and confidently: Enunciate clearly and maintain a positive and enthusiastic tone. Avoid mumbling or using filler words like "um" and "ah."
Maintain eye contact with the webcam: Looking directly at the webcam creates a sense of connection with your viewers. Even though you're also looking at your screen, try to glance at the webcam periodically.
Keep it concise: Respect your viewers' time by keeping your videos short and to the point. Break down complex topics into smaller, more manageable chunks.
Add visuals and annotations: Use on-screen annotations, highlighting, and zooming to draw attention to important details. Visual aids can help reinforce your message and make it easier for viewers to understand complex concepts.
Mastering the art of filming yourself and your screen opens doors to a more authentic and impactful way of sharing your expertise and creativity. So, embrace the possibilities, experiment with different techniques, and let your unique voice shine through!


![How To Film Yourself And Your Screen How To Film Yourself and Your Screen At The Same Time[2021] || Loom](https://i.ytimg.com/vi/zRlvKKjp9XQ/maxresdefault.jpg)