How To Make A Locator Map In Minecraft Ps4
Lost in the vast, blocky world of Minecraft on your PlayStation 4? Navigating the expansive landscapes can feel daunting, especially when trying to remember the location of your hard-earned resources or meticulously crafted base. But fear not, intrepid explorer! The solution is within your grasp: crafting a locator map.
This article serves as a concise, step-by-step guide to creating a locator map in Minecraft on the PS4. We will detail the necessary materials, crafting process, and advanced techniques for expanding your cartographic horizons. Equip yourself with this knowledge, and you'll be charting the uncharted territories of your Minecraft world in no time.
Gathering the Necessary Materials
The journey to mapmaking begins with resource collection. You will need sugar cane and iron ore. These resources are fundamental to crafting the core components of your map.
Sugar Cane to Paper
Sugar cane, commonly found near bodies of water, is crucial for making paper. Place three pieces of sugar cane horizontally in any row on the crafting table. This yields three sheets of paper, and you’ll need nine in total for one map.
Iron Ore to Iron Ingots
Iron ore is typically found underground, requiring a stone pickaxe or better to mine. Smelt the iron ore in a furnace using coal or any other fuel source. This process transforms the raw ore into usable iron ingots.
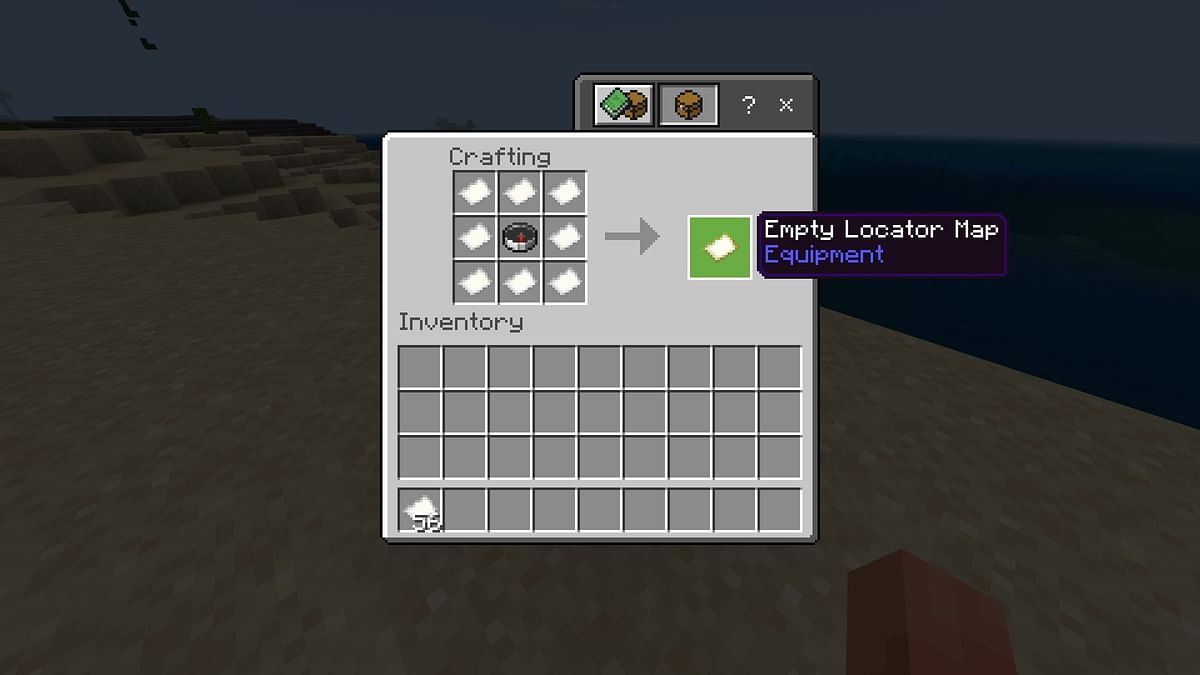
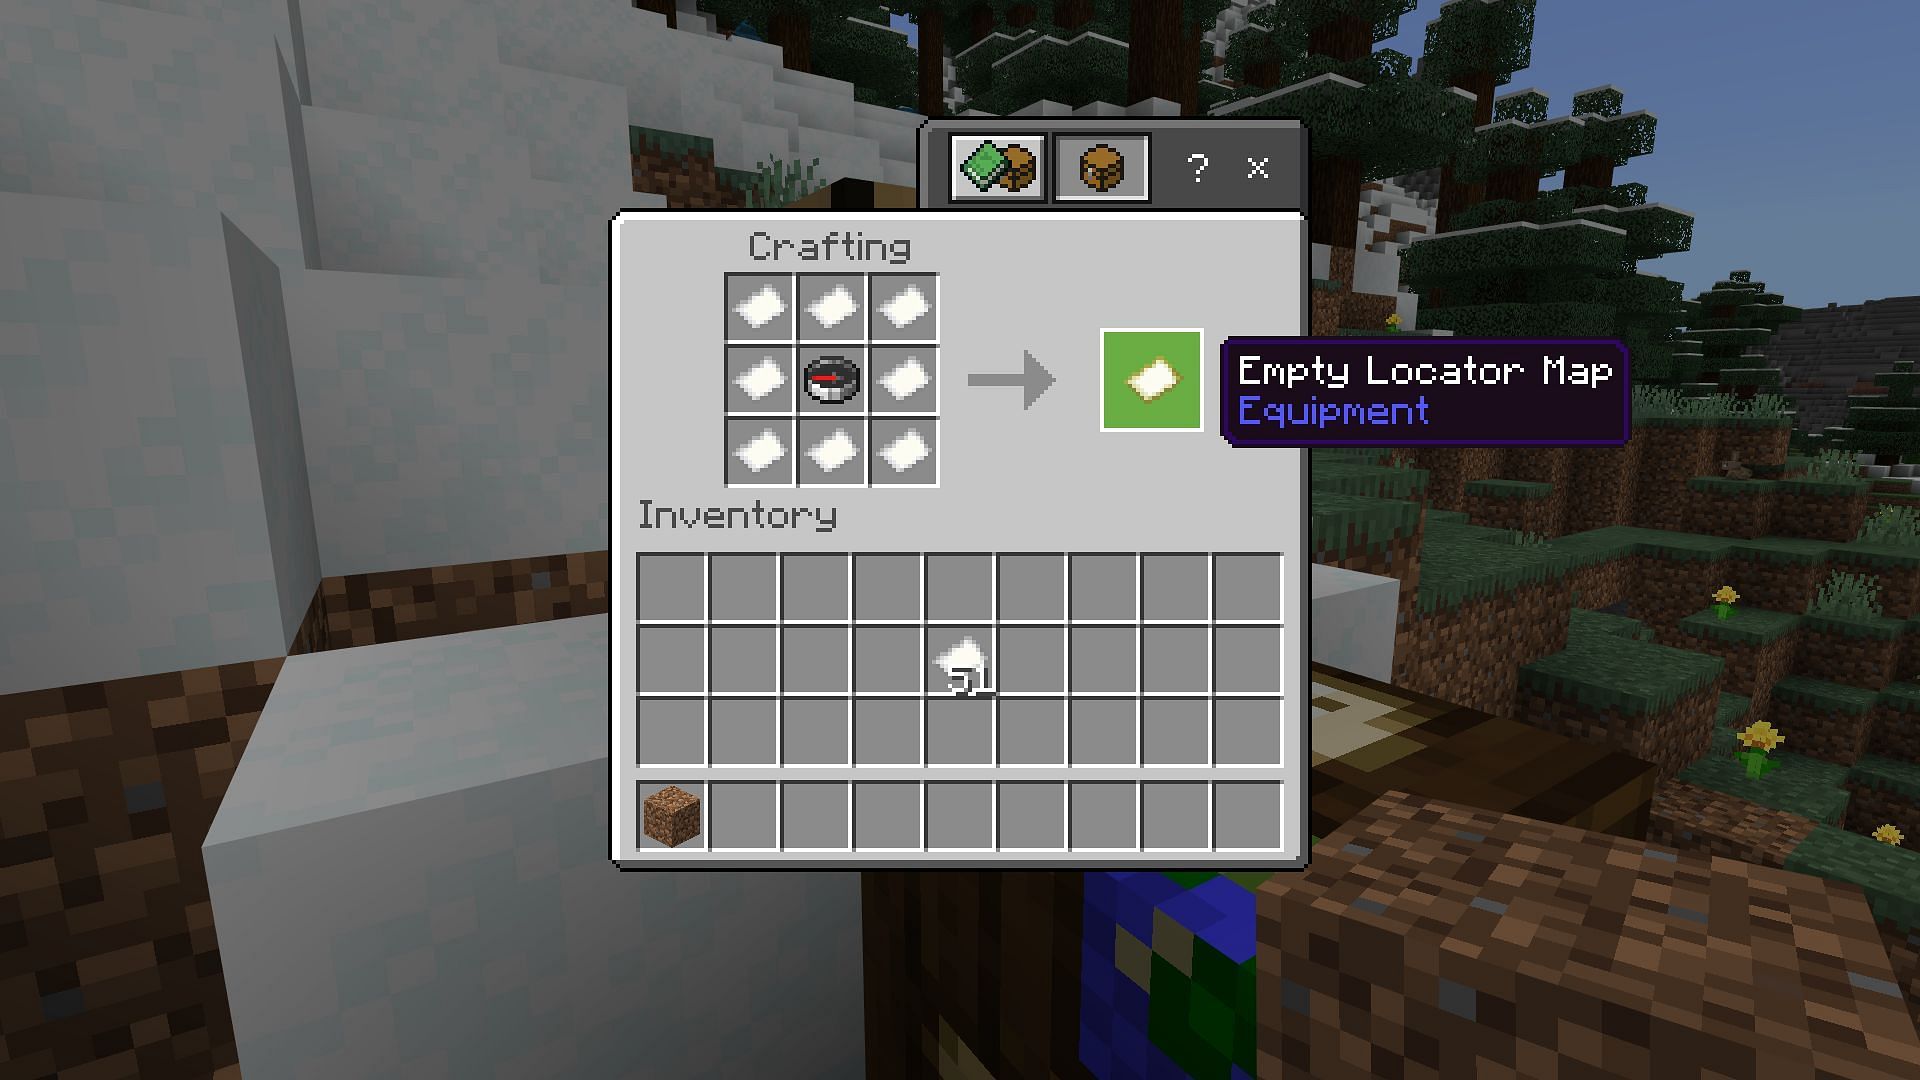
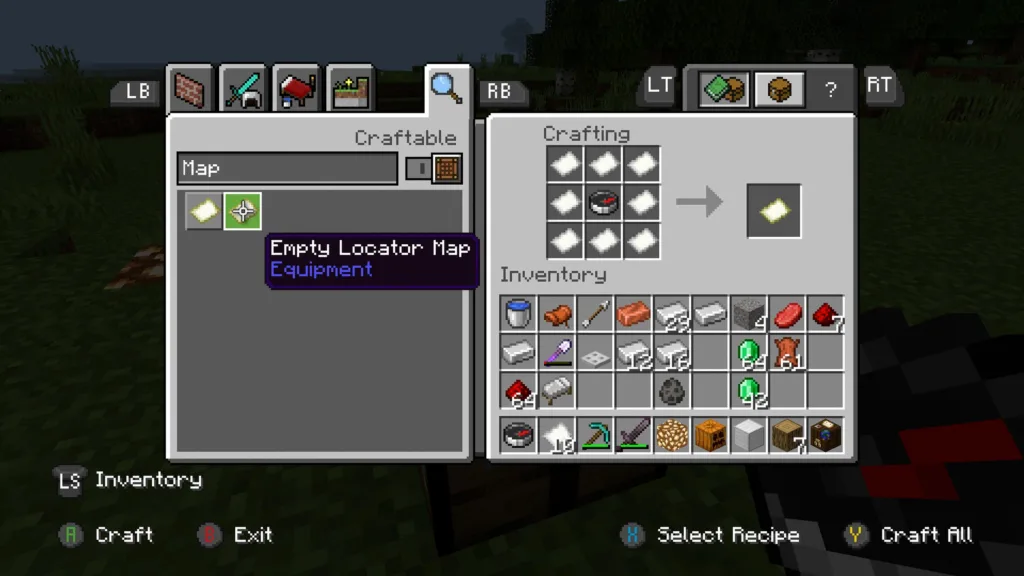
Crafting the Map
With paper and iron ingots in hand, you can now craft the map. This involves a simple arrangement on the crafting table.
Place one iron ingot in the center slot of the crafting table. Then, surround the iron ingot with eight pieces of paper in all the remaining slots. This will create an empty map.
Activating and Using the Map
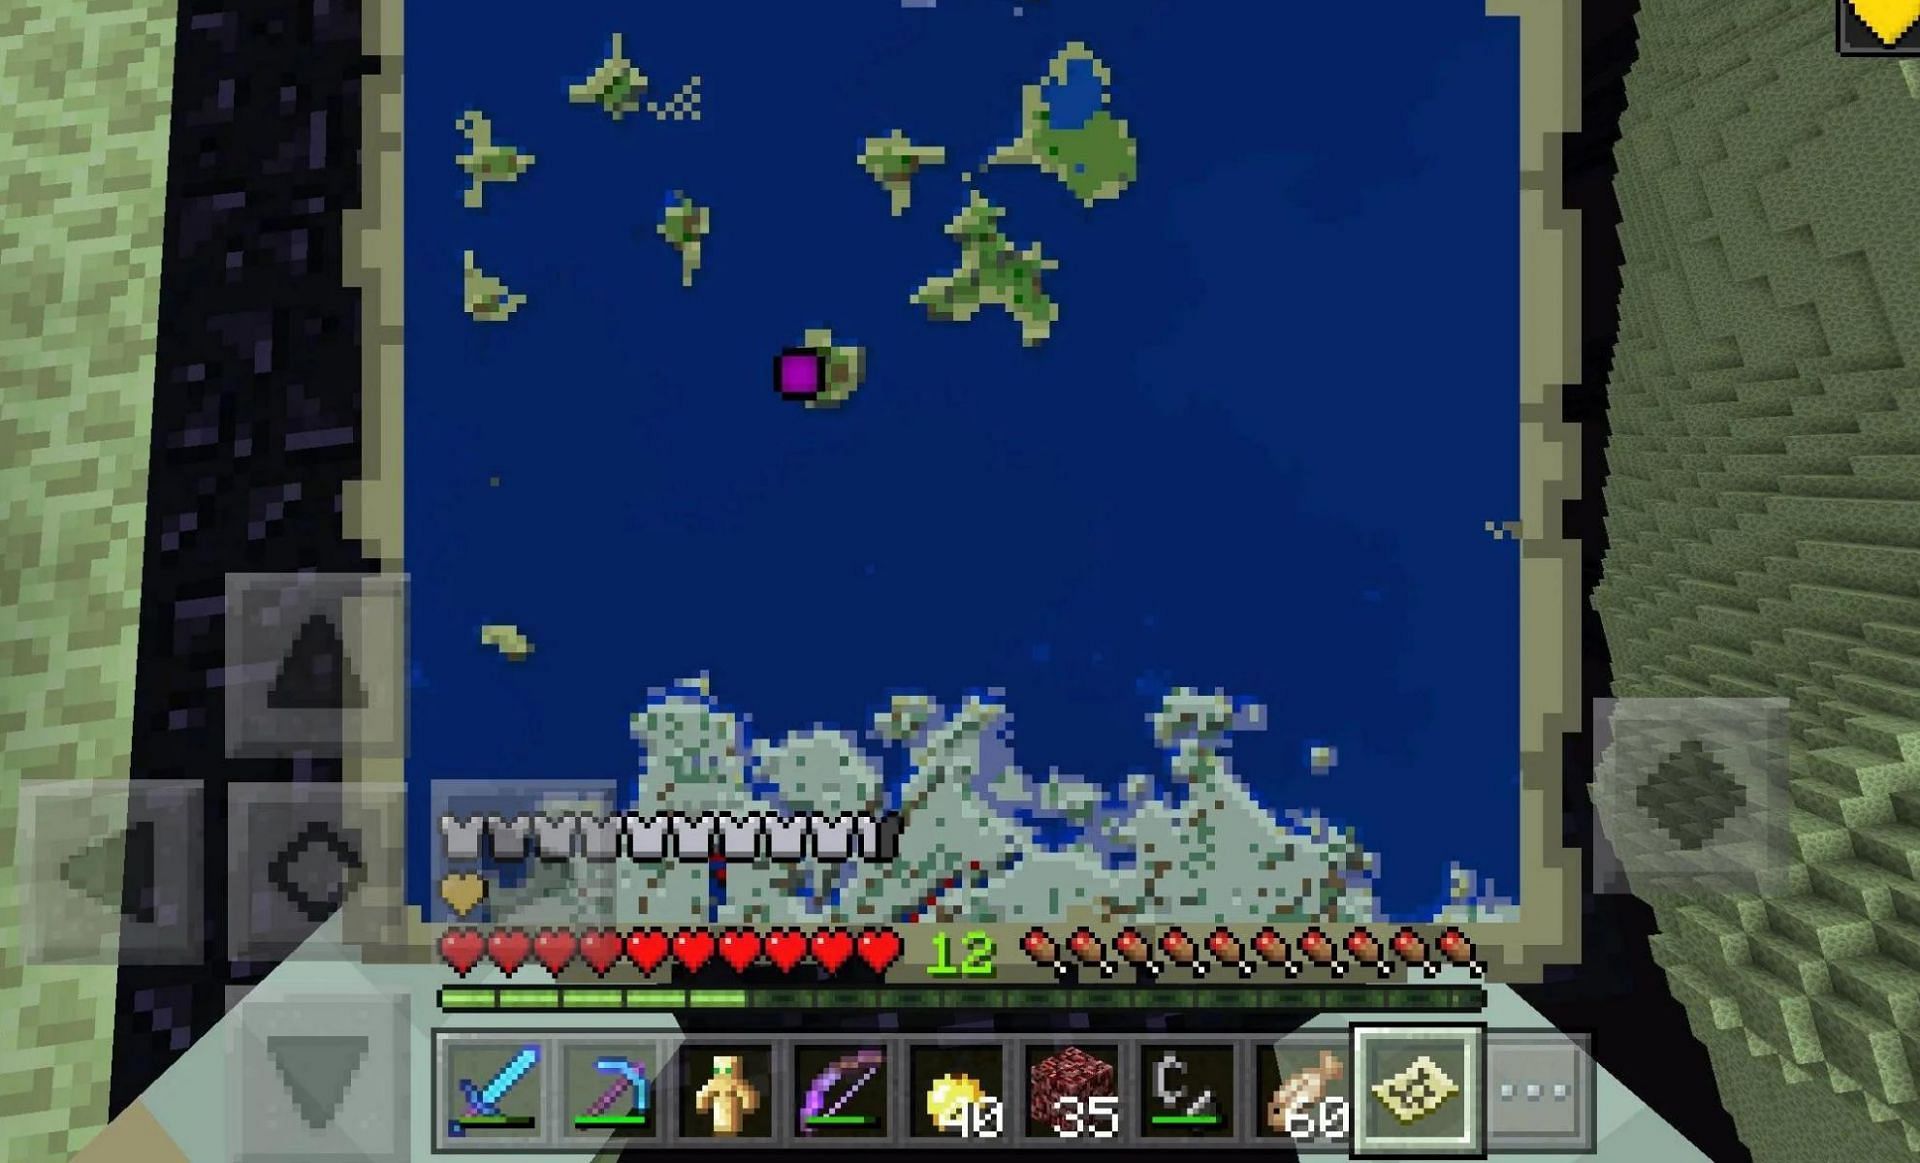
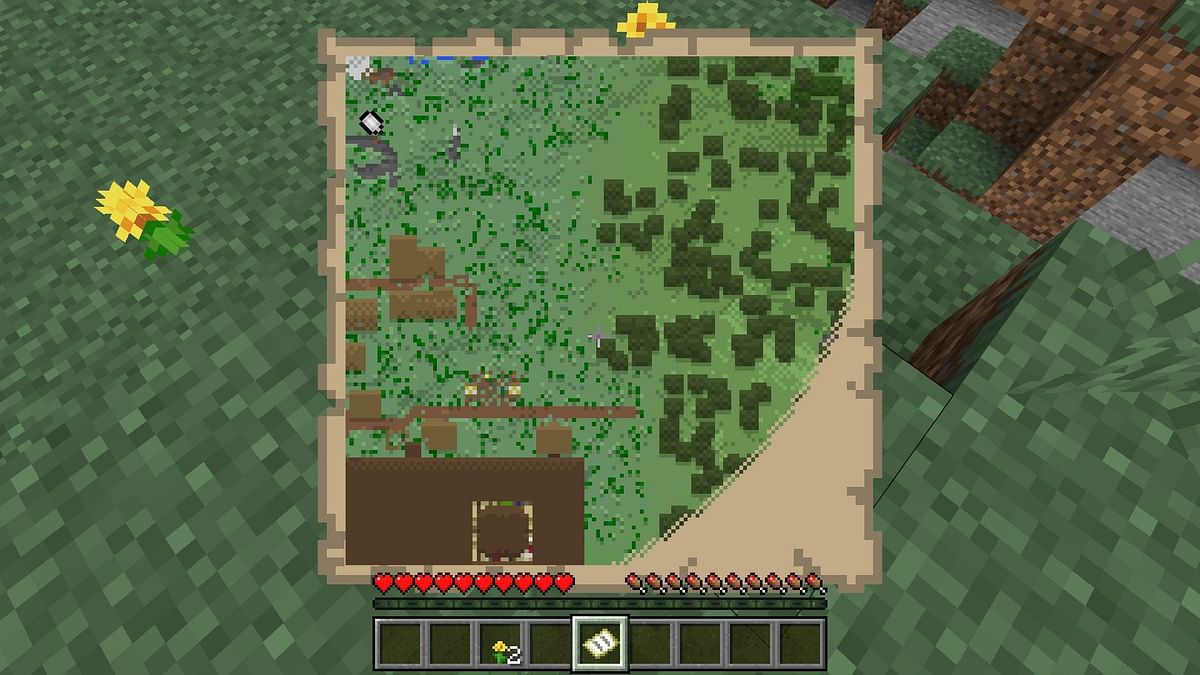
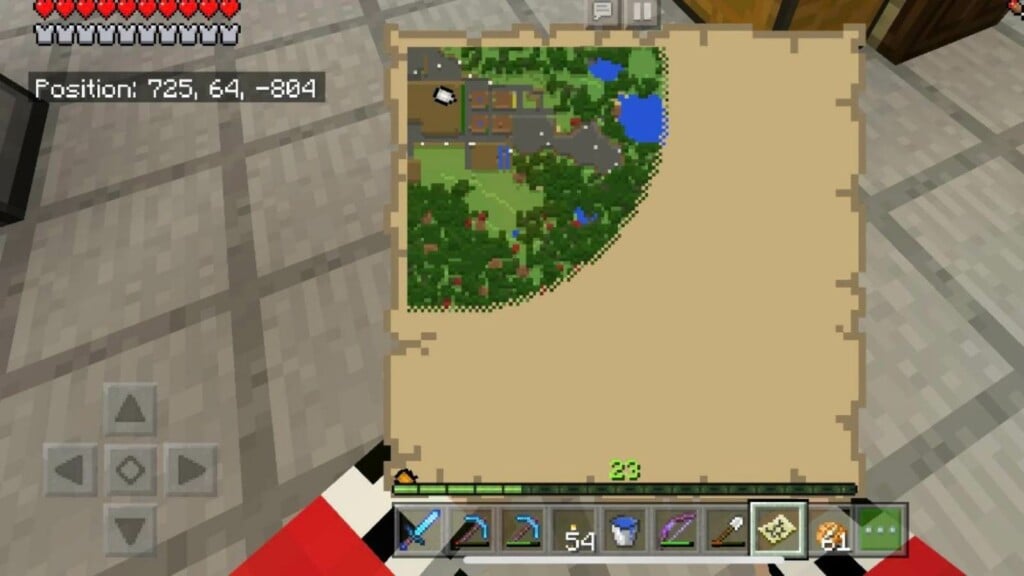
The empty map needs to be activated to start recording your surroundings. Simply hold the map in your hand. As you move around, the map will gradually fill in the details of your immediate environment.
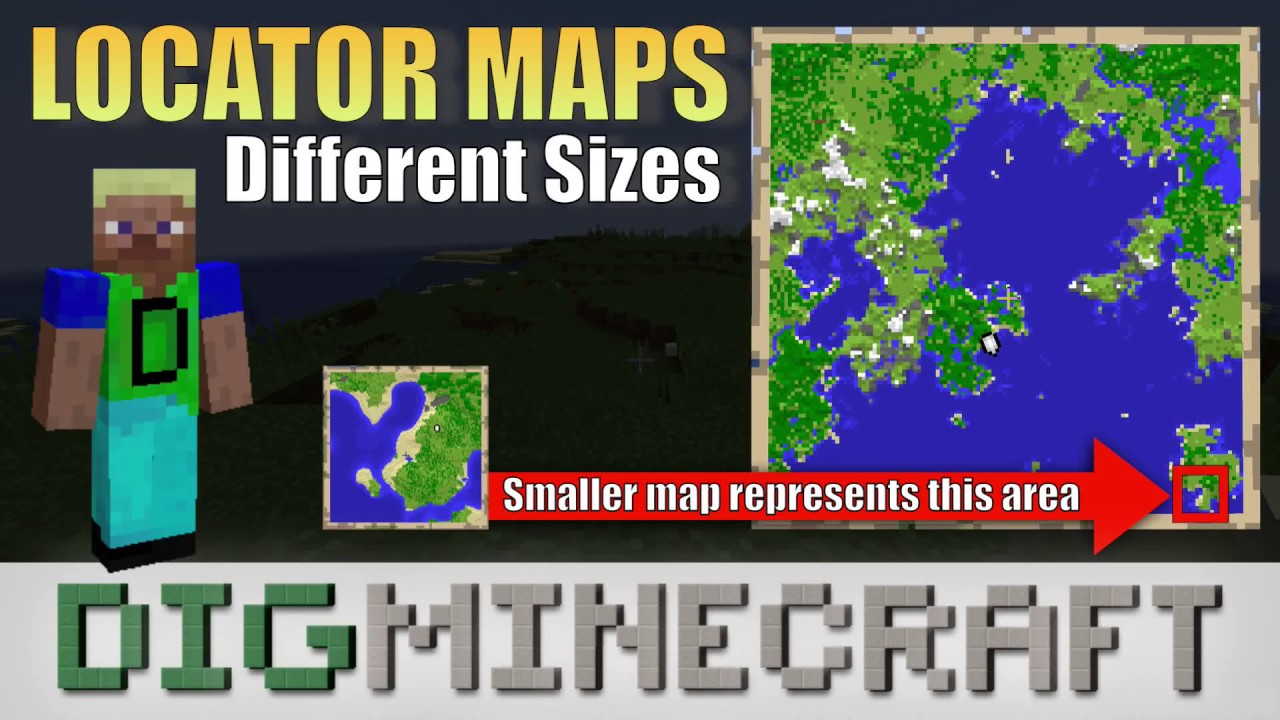
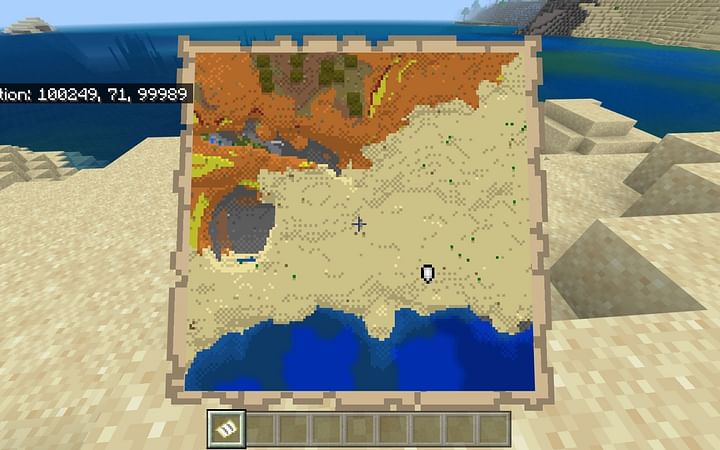
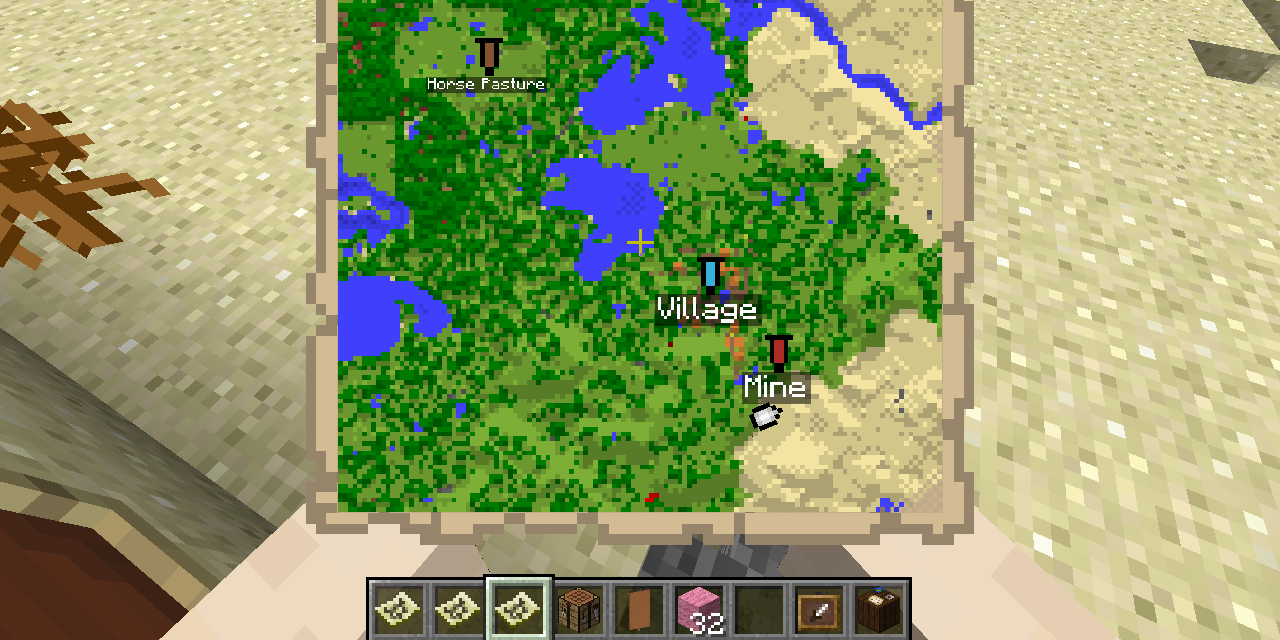
The map displays the terrain, structures, and even other players within its range. The white arrow on the map represents your current position and facing direction.
Expanding Your Cartographic Horizons
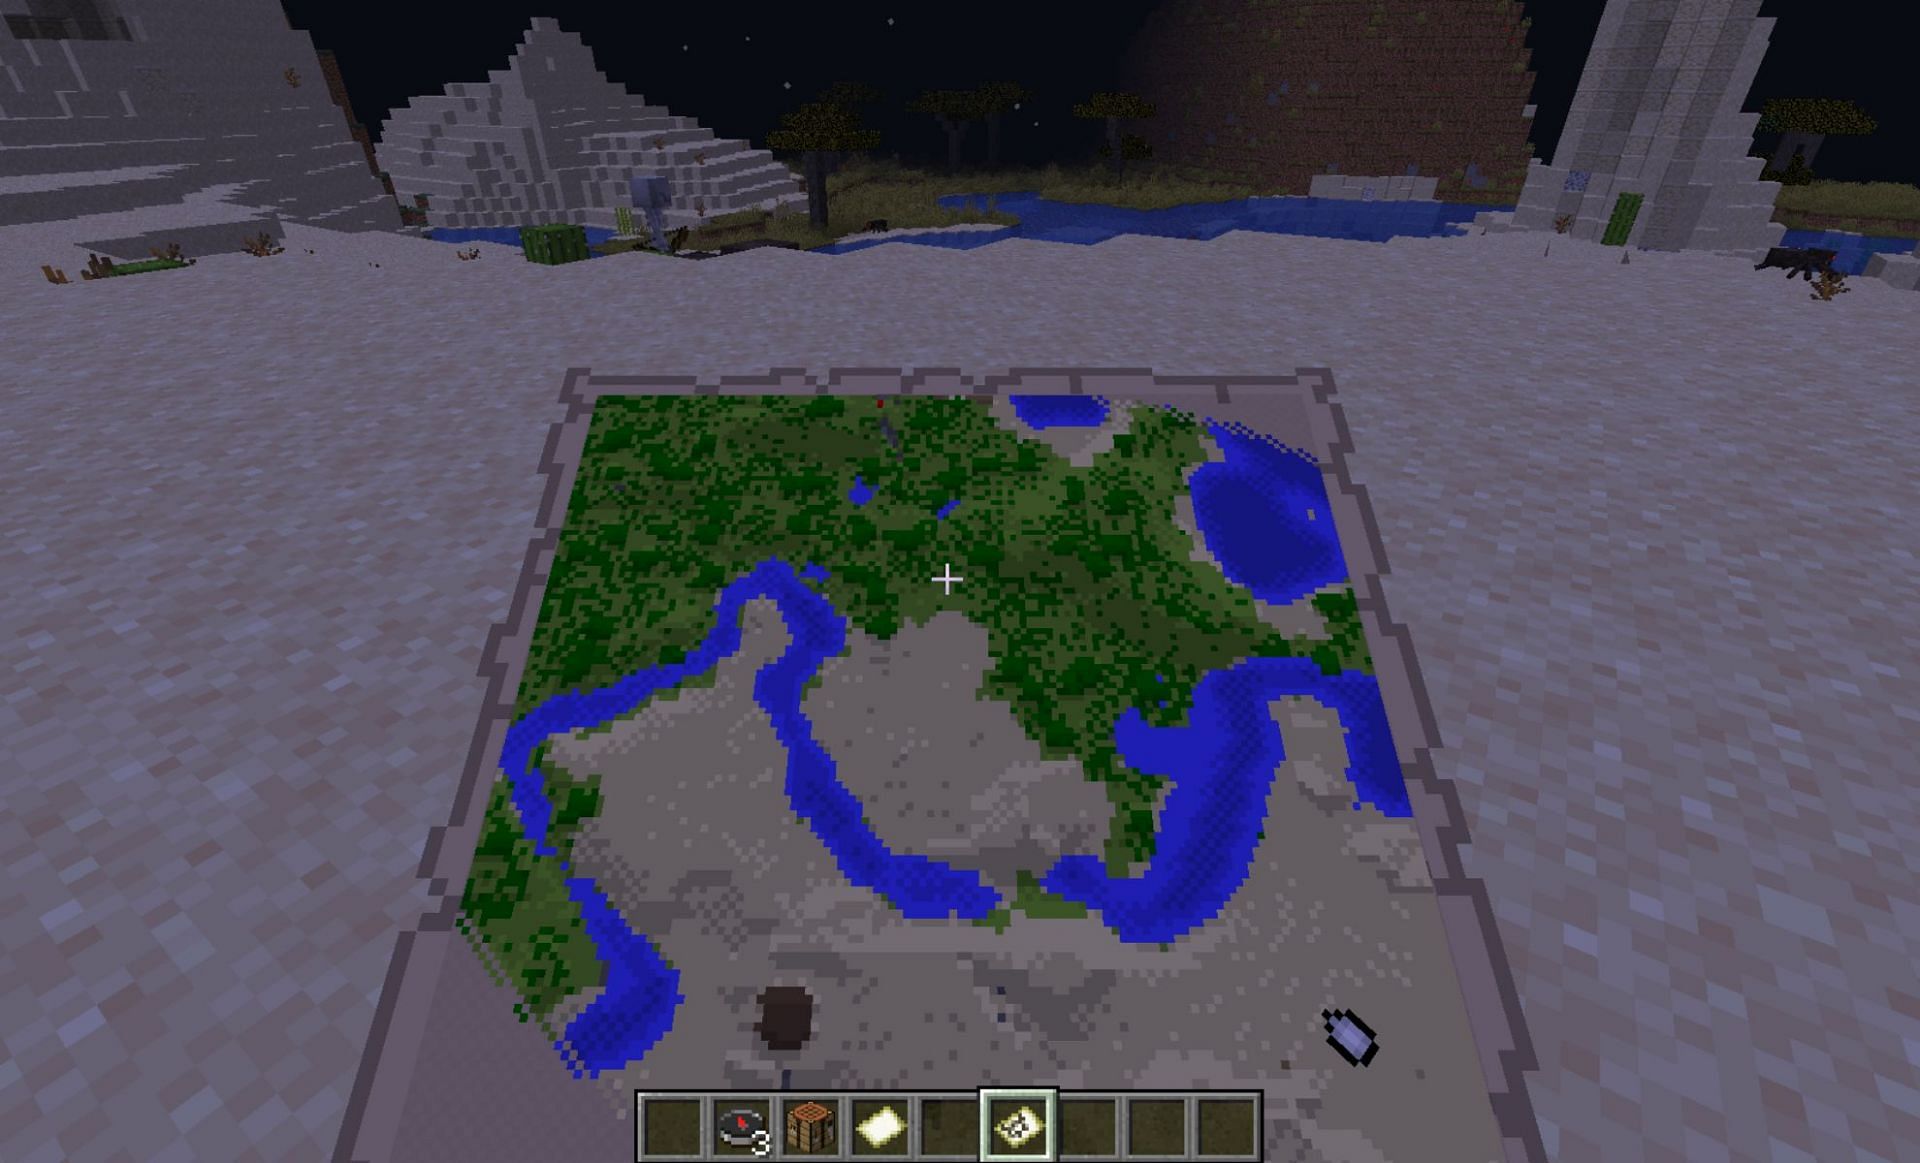
A newly crafted map only covers a limited area. You can expand the map's range using cartography table.
The cartography table requires two pieces of paper and four wooden planks of any type to craft. It allows you to zoom out the map to cover a much larger area, providing a broader perspective of your world.
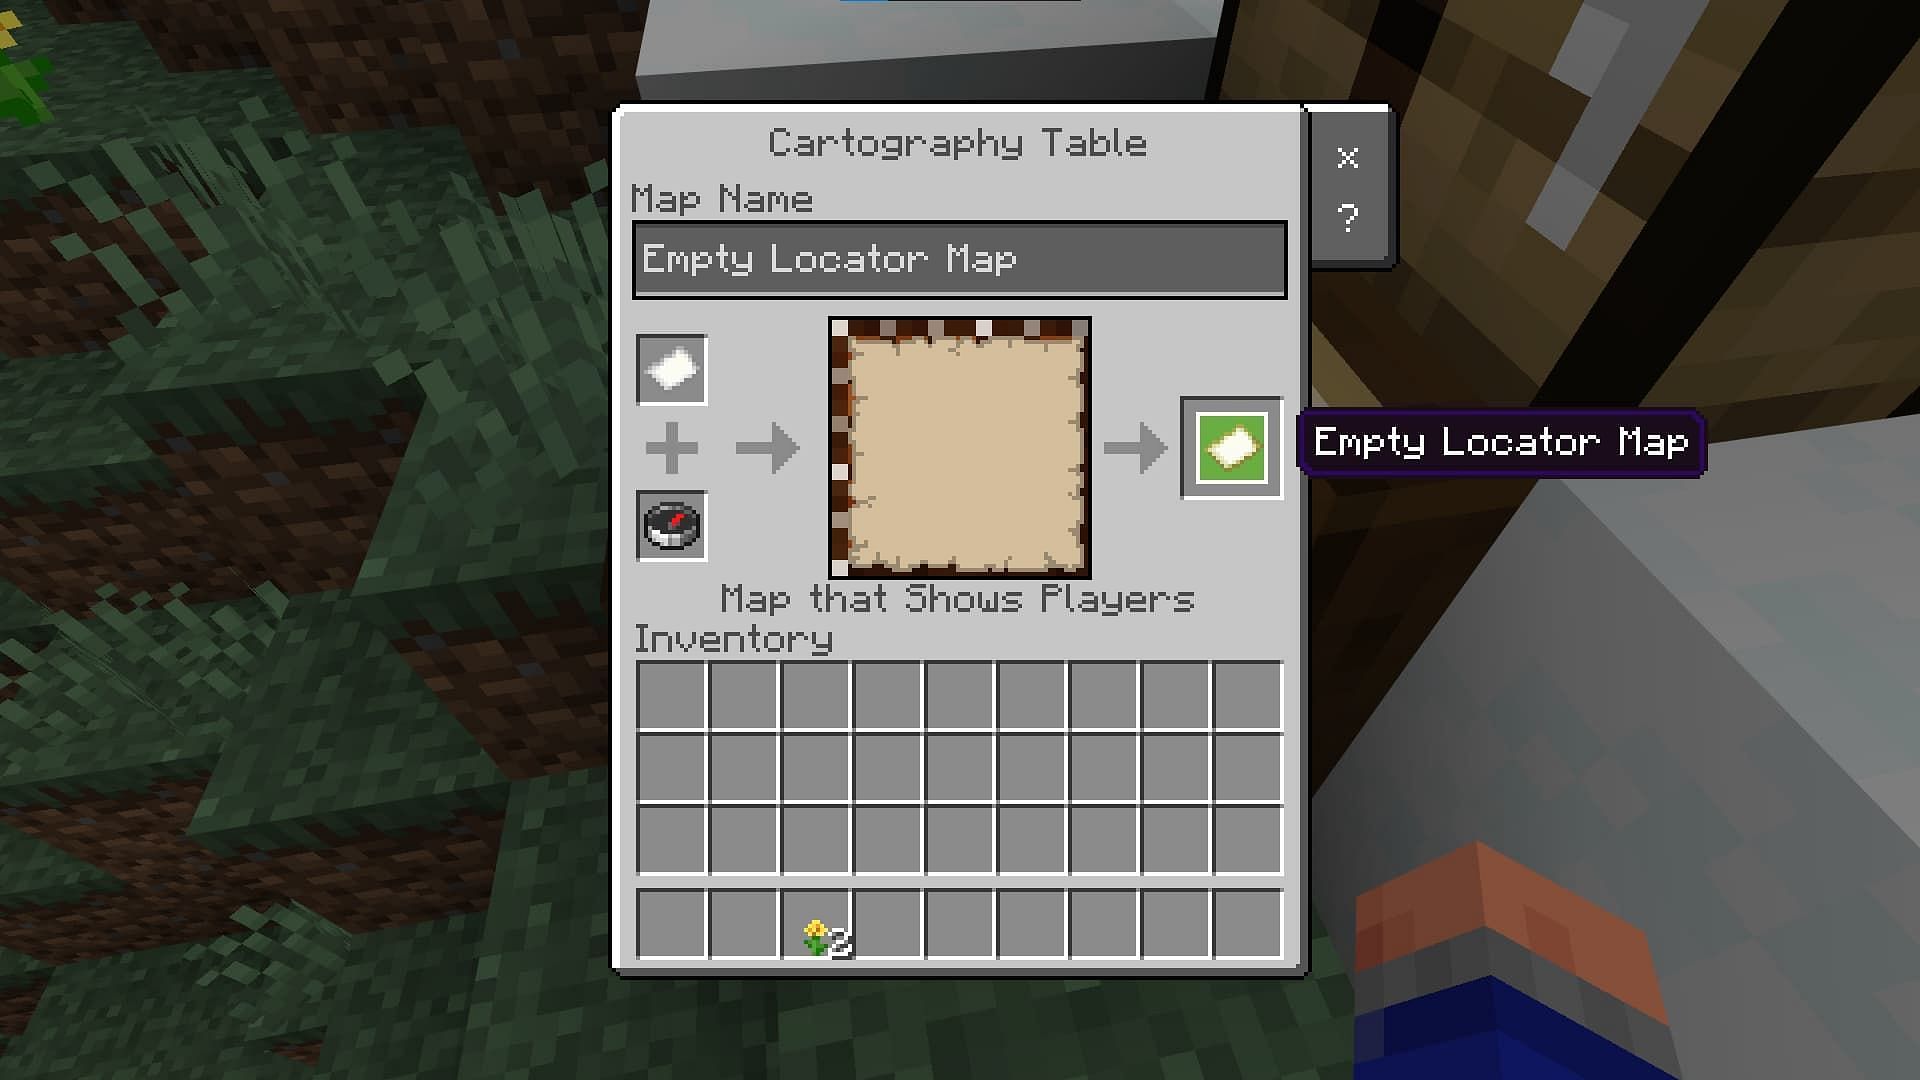
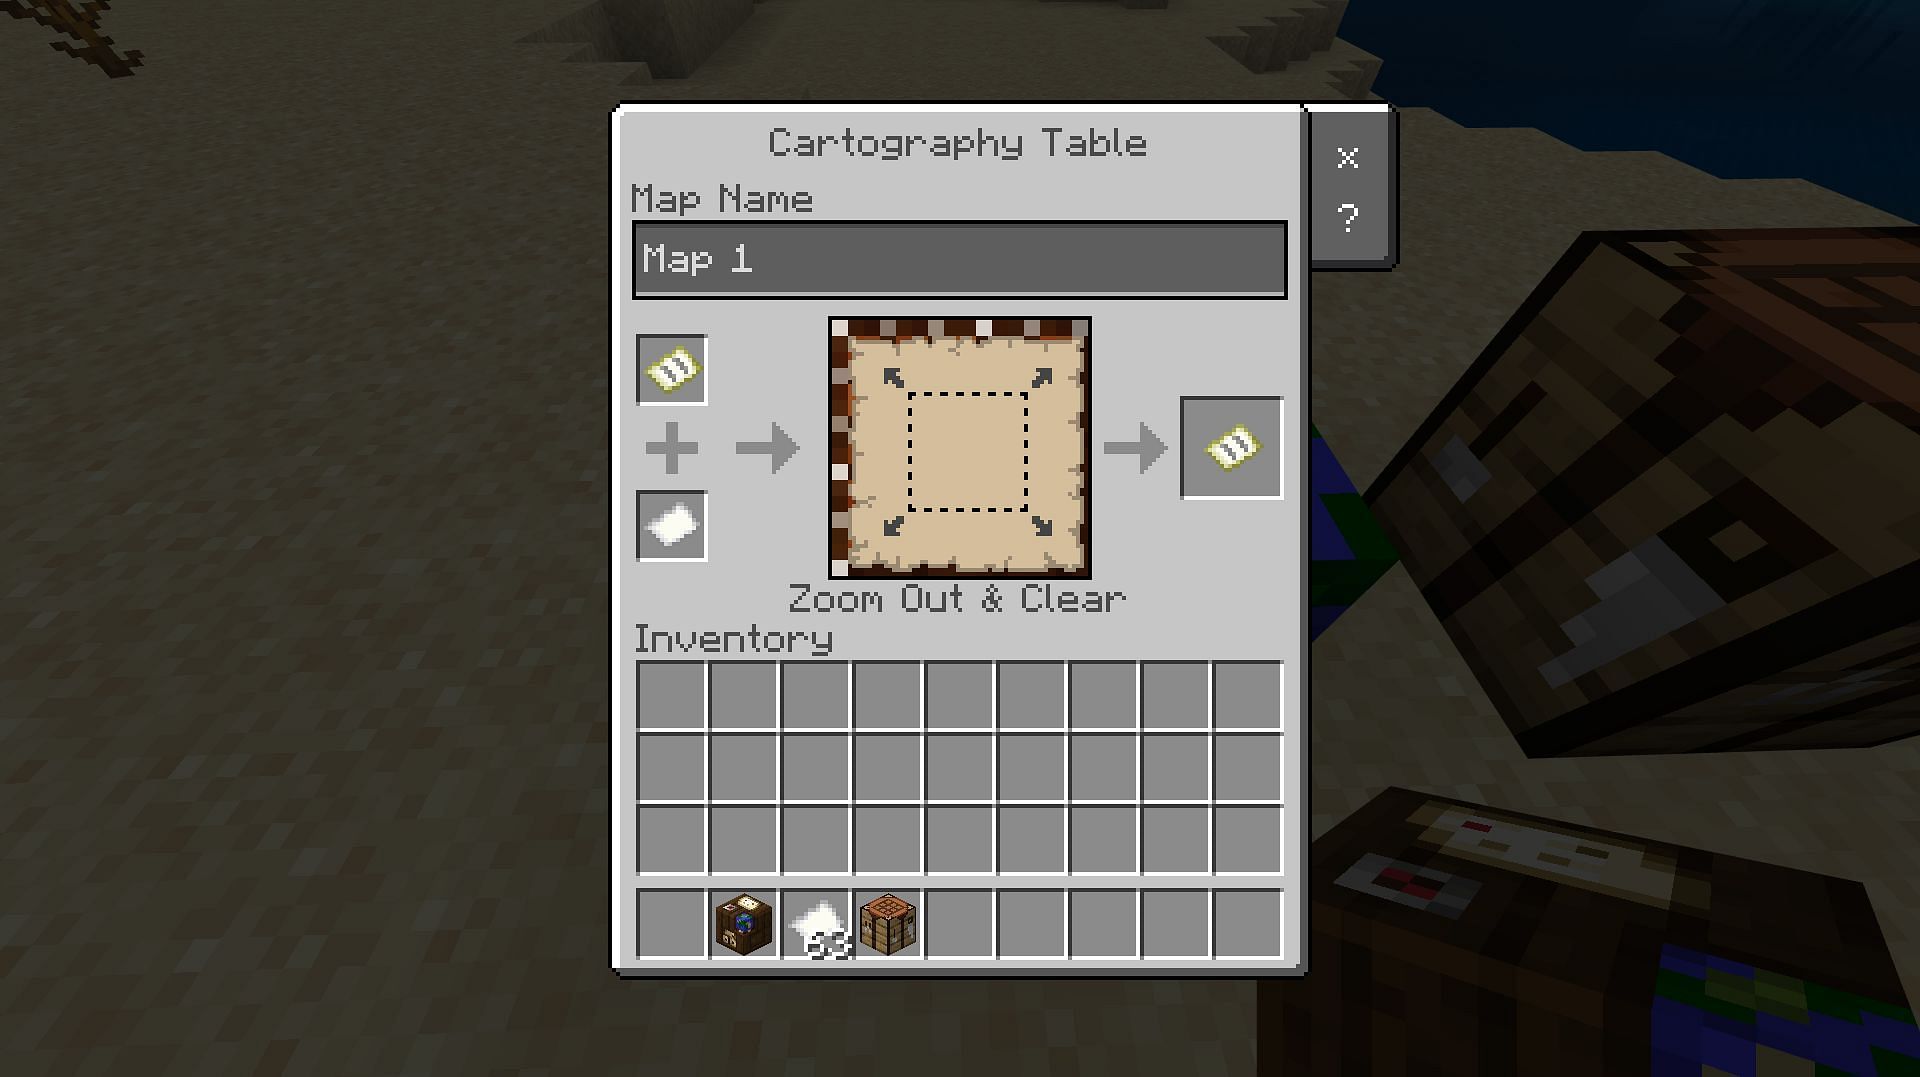
Using Cartography Table
Open the cartography table interface. Place your map and one piece of paper into their designated slots.
Clicking on result box will give you a zoomed-out version of your map. This will reduce the level of detail, but expands the map area. You can zoom it up to 4 times.
Adding Markers and Using Banners
Minecraft also allows you to add markers to your maps using banners. Banners are crafted using wool and sticks.
Place a banner in the world at the location you want to mark. Then, use the map on the banner. It will add a marker on the map. The marker represent the banner's location.
Different colored banners will result in different colored markers on the map. Allowing for customization and organization of your points of interest.
Locator Maps: The Future of Navigation
Mastering the art of mapmaking in Minecraft on the PS4 empowers you to explore and document your world effectively. From humble beginnings with sugar cane and iron ore to advanced techniques with cartography tables and banners, the journey of a cartographer is a rewarding one.
As Minecraft continues to evolve, we can anticipate even more sophisticated mapping tools and features. Locator maps are more than just items; they are windows into your world, guiding you through its wonders and challenges.
So, embark on your cartographic adventure, chart the unknown, and build your legacy in the boundless realm of Minecraft. The world awaits your discovery.