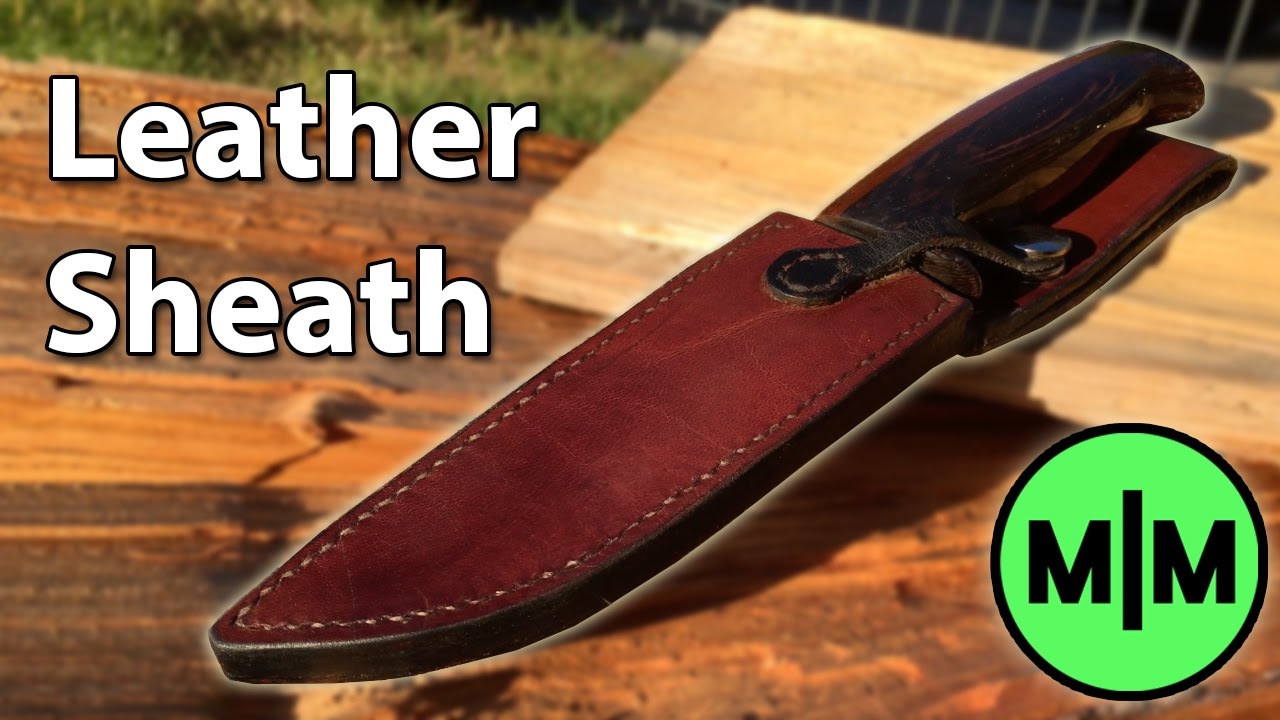
How To Make A Sheath For A Knife
The scent of tanned leather hangs heavy in the air, mingling with the metallic tang of steel. Sunlight streams through the workshop window, illuminating dust motes dancing above a workbench cluttered with tools: awls, needles, thread, and various knives gleaming under the light. A half-finished leather sheath sits cradled in calloused hands, its stitching a testament to hours of patient work. The rhythmic tap of a mallet echoes softly, a steady pulse in the quiet sanctuary of creation.
Crafting a knife sheath is more than just protecting a blade; it's an act of preservation, a blend of artistry and functionality. This article will guide you through the process of creating your own custom leather sheath, providing a step-by-step approach suitable for both beginners and experienced crafters.
Understanding the Importance of a Good Sheath
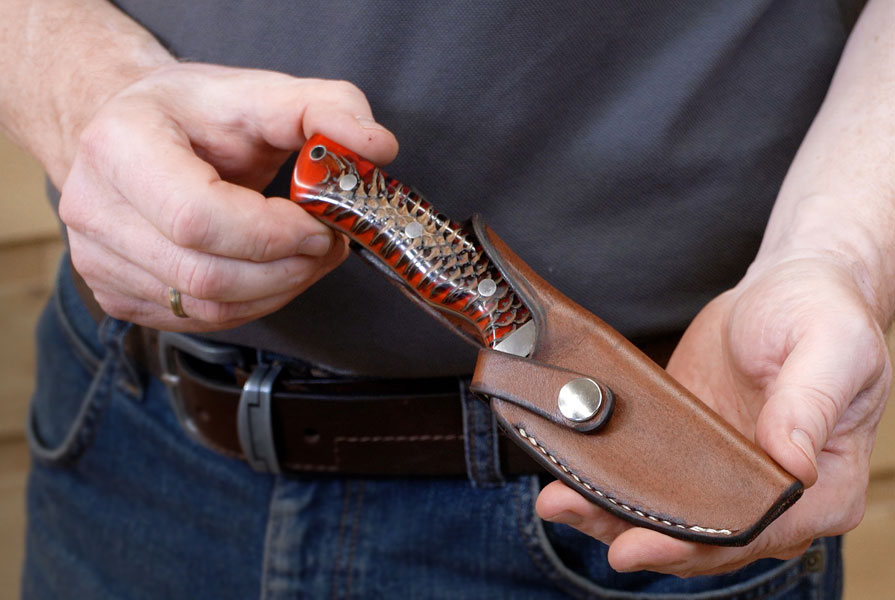
A well-made sheath is crucial for several reasons. Primarily, it protects the user from accidental cuts and prevents damage to the knife itself. A quality sheath ensures safe carry, prevents the blade from dulling, and safeguards against the elements.
Beyond practical considerations, a sheath complements the knife, enhancing its aesthetic appeal and adding a touch of personal style. Think of it as a tailored suit for your trusty blade.
Gathering Your Materials
Before embarking on this journey, you'll need to assemble the necessary materials and tools. The quality of your materials directly impacts the durability and appearance of the finished product.
Leather
For most knife sheaths, vegetable-tanned leather is the ideal choice. It is durable, holds its shape well, and can be easily tooled and dyed. Look for leather with a thickness of 8-10 ounces for optimal sturdiness.
Avoid chrome-tanned leather, as it's less rigid and doesn't hold its shape as well. You can source quality leather from reputable leather suppliers, often found online or in specialty craft stores.
Tools
Essential tools include a sharp cutting knife (like a utility knife or a specialized leather knife), a ruler or measuring tape, a stitching awl, needles, and strong thread (waxed nylon or linen thread is recommended).
You'll also need a mallet or hammer for driving the awl, edge bevelers for smoothing the edges of the leather, sandpaper for finishing, and contact cement or leather glue. Optional tools include stamps for decoration and dyes for adding color.
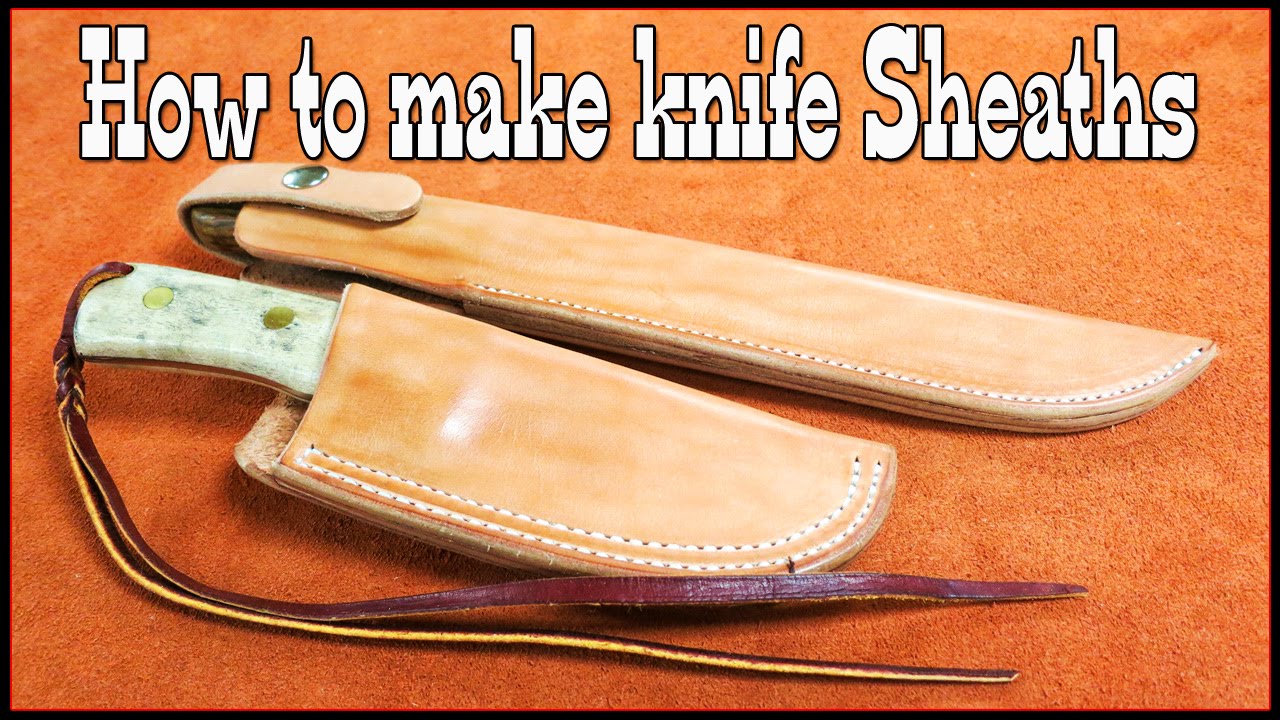
Step-by-Step Guide to Crafting a Leather Sheath
Now, let's delve into the process of creating a sheath, one step at a time. Precision and patience are key to achieving a professional-looking result.
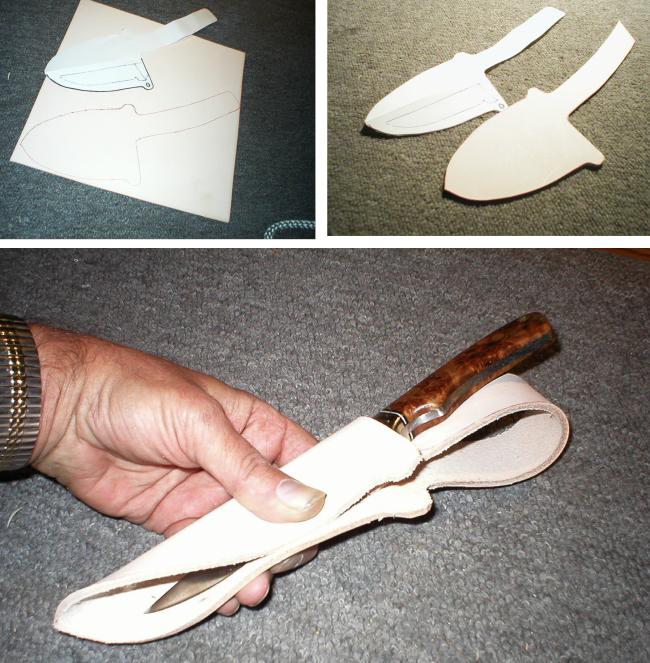
1. Creating a Template
The first step is to create a template of your knife. Place the knife on a piece of paper or cardboard and trace its outline, leaving extra space around the blade for stitching and a comfortable fit. Consider the desired style of sheath – whether it will be a simple pouch, a fold-over sheath, or something more elaborate.
Add roughly ½ inch around the blade for seam allowance. Consider the method of attachment - will it have a belt loop, or will it slide onto a belt? Design the template accordingly, ensuring adequate space and secure attachment.
2. Cutting the Leather
Place the template onto your leather and trace the outline using a pen or awl. Carefully cut out the leather using your sharp cutting knife. Multiple passes with light pressure are better than trying to cut through the leather in one go.
Remember to cut slightly outside the traced line to allow for adjustments later. Accuracy here is crucial for a well-fitting sheath.
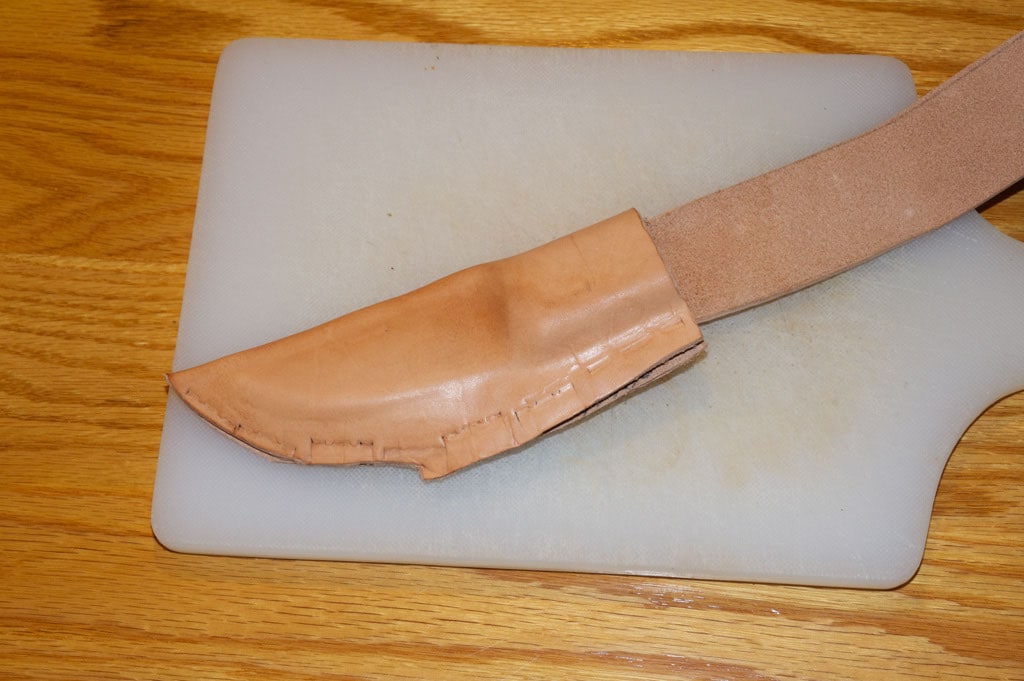
3. Preparing the Edges
Once the leather is cut, use an edge beveler to round the edges of the leather. This gives the sheath a more professional look and makes it more comfortable to handle. Sand the edges smooth with fine-grit sandpaper.
This step significantly improves the aesthetic appeal and also reduces wear and tear on the edges of the sheath over time.
4. Wet Molding (Optional)
Wet molding is the process of shaping the leather to the contours of the knife. This creates a snug fit and enhances the sheath's retention.
Briefly submerge the leather in water until it's pliable, then wrap it around the knife and secure it with tape or rubber bands. Allow the leather to dry completely in this molded shape, typically overnight.
5. Stitching the Sheath
This is where the craftsmanship truly shines. Use an awl to create stitching holes along the edges of the leather, ensuring they are evenly spaced. The spacing will affect the overall look and strength of the stitch. Use a stitching groover to make a slight indent for the stitch to sit flush with the leather surface.
Thread your needle with waxed thread and begin stitching, using a saddle stitch for maximum strength and durability. The saddle stitch involves passing two needles through each hole, creating a secure and attractive seam.
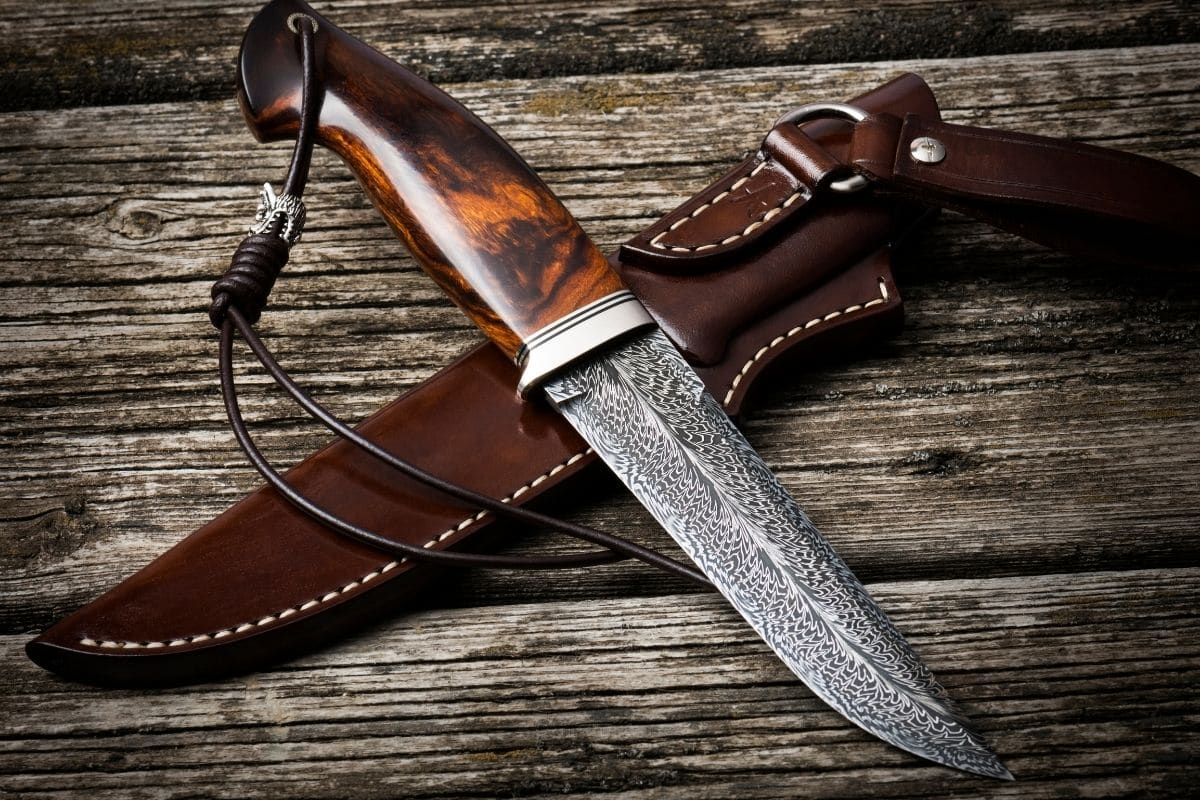
6. Finishing and Detailing
After stitching, trim any excess thread and burnish the edges of the leather to create a smooth, polished finish. You can use a burnishing tool and beeswax for this purpose.
Apply leather conditioner to nourish the leather and protect it from the elements. If desired, you can dye the sheath to your preferred color or add decorative tooling for a personalized touch. Let the dye dry completely before applying a sealant.
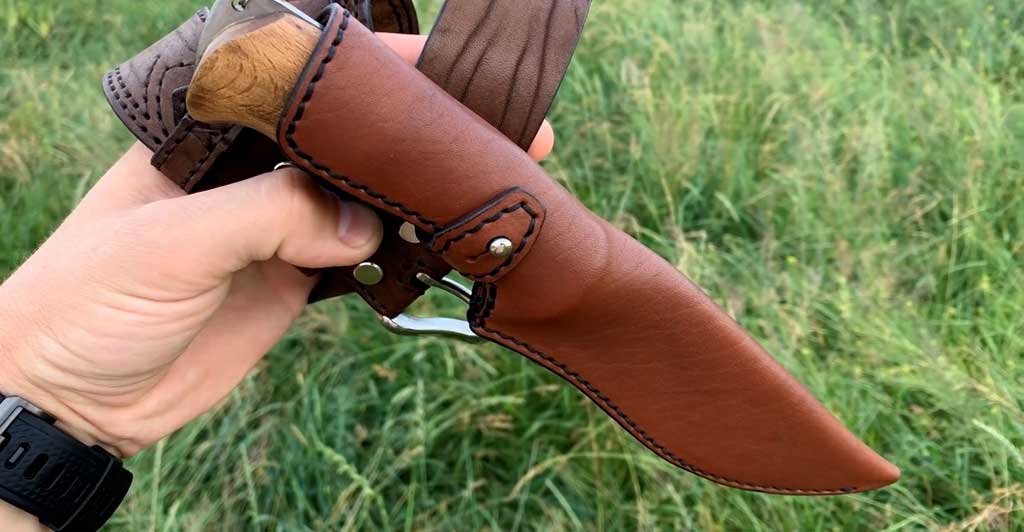
Choosing the Right Sheath Style
There are numerous styles of knife sheaths, each offering different advantages and aesthetics. The choice depends on the size and type of knife, as well as personal preference.
Pouch Sheath
A pouch sheath is a simple design where the knife slides into a pocket-like enclosure. It's relatively easy to make and suitable for smaller knives.
Fold-Over Sheath
A fold-over sheath involves folding a piece of leather over the blade and stitching the sides together. This design provides good protection and is commonly used for fixed-blade knives.
Hybrid Sheaths
More complex designs involve combining elements from different styles, often incorporating straps, snaps, or other features. These sheaths offer greater security and customization.
Tips for Success
Practice on scrap leather before working on your final project. This allows you to refine your technique and avoid mistakes on valuable materials. Sharpen your tools regularly to ensure clean cuts and precise stitching.
Take your time and don't rush the process. Leatherworking is a craft that rewards patience and attention to detail. Invest in quality materials and tools; they will make a significant difference in the finished product. Finally, don’t be afraid to experiment and personalize your design.
The Satisfaction of Crafting
Creating a knife sheath by hand is a rewarding experience, connecting you to a long tradition of craftsmanship. It’s a tangible expression of skill and care.
Beyond the practical benefits of protecting your knife, the process of crafting a sheath offers a sense of accomplishment and pride. Each stitch is a testament to dedication.
The rhythmic tap of the mallet, the scent of leather, the satisfaction of a well-executed stitch – these are the rewards of engaging in the art of leatherworking. The final product, a custom-made sheath, becomes more than just a functional item; it becomes a cherished heirloom, a symbol of your creativity and skill. As you hold the finished sheath in your hand, a sense of quiet satisfaction washes over you. You've not only protected a blade but crafted a legacy.