How To Make Cider Without A Press

The crisp autumn air hangs heavy with the scent of fallen leaves and ripe apples. Sunlight filters through the branches of laden trees in a local orchard, illuminating a rainbow of reds, greens, and golds. Laughter drifts across the rows as families pick their bounty, dreaming not just of pies and crumbles, but of something more potent: homemade cider, crafted with their own hands.
But what if you don't have a traditional cider press? Fear not! This article will guide you through the surprisingly simple process of making delicious, unpasteurized cider at home, no fancy equipment required. We'll explore the steps from apple selection to straining, ensuring you can enjoy the fruits (literally!) of your labor this fall.
The Allure of Homemade Cider
There's something deeply satisfying about creating your own cider. It’s more than just a beverage; it's a connection to the season, a celebration of nature's bounty, and a way to share a unique experience with friends and family.
Commercially produced cider often undergoes pasteurization, a process that heats the cider to kill bacteria and extend its shelf life. While this is important for safety in mass production, it can also diminish some of the fresh, complex flavors that make homemade cider so special.
According to a study published by the *Journal of Food Science*, unpasteurized cider can retain more of its volatile aromatic compounds, resulting in a more flavorful and nuanced drink.
Gathering Your Orchard: Apple Selection
The foundation of great cider is, of course, great apples. The variety (or, better yet, the blend of varieties) you choose will significantly impact the final flavor profile.
While you can use any apples you enjoy eating, a mix of sweet, tart, and tannic apples will create a more complex and balanced cider. Consider varieties like McIntosh (sweet), Granny Smith (tart), and crab apples (tannic, use sparingly).
Avoid apples that are bruised or rotten, as these can introduce unwanted flavors and bacteria to your cider. Ideally, use apples that are freshly picked or have been stored properly.
Quantity Matters
To produce a gallon of cider, you'll need approximately three gallons of apples. This will account for the volume lost during the pulping and straining process.
Keep in mind that the exact amount may vary depending on the juiciness of your apples.
From Apple to Pulp: The Grinding Process
This is where the "no press" magic happens. Instead of using a traditional press, we'll be relying on a combination of grinding and manual squeezing.
First, thoroughly wash your apples to remove any dirt or debris. Cut them into smaller pieces – quarters or eighths, depending on their size – removing the cores.
You can use a food processor or blender to grind the apples into a coarse pulp. Work in batches to avoid overloading the machine.
Alternative Grinding Methods
If you don't have a food processor, you can use a sturdy hand-crank meat grinder. This method takes a bit more effort but can be just as effective.
Another option, for smaller batches, is to use a potato masher to break down the apples after they've been cut into smaller pieces. This is a more labor-intensive method, but it works in a pinch.
The goal is to create a pulpy consistency that will easily release its juice during the straining process.
Extracting the Liquid Gold: The Straining Process
Now comes the crucial step: separating the juice from the pulp. This can be achieved with readily available kitchen supplies.
Line a large bowl or pot with several layers of cheesecloth or a nut milk bag. Pour the apple pulp into the lined container.
Gather the edges of the cheesecloth or nut milk bag and twist tightly to create a pouch. Squeeze the pouch firmly to extract the juice into the bowl below.
Maximizing Juice Extraction
For larger batches, you might consider using a small, clean bucket inside the cheesecloth or nut milk bag to provide extra pressure.
You can also use a clean piece of wood or a rolling pin to gently press down on the pulp inside the bag, further extracting the juice.
Be patient and persistent; it may take some time to extract all the juice from the pulp.
A Note on Pasteurization and Safety
Since we're making unpasteurized cider, it's important to be aware of the potential risks associated with harmful bacteria like *E. coli*.
According to the Centers for Disease Control and Prevention (CDC), cider-related outbreaks are often linked to contaminated fruit or unsanitary production practices. Always use clean equipment and fresh, unblemished apples.
Drinking unpasteurized cider carries some risk. Pregnant women, young children, the elderly, and individuals with weakened immune systems should avoid unpasteurized cider. Pasteurization, which involves heating the cider to a specific temperature, eliminates most harmful bacteria. If you are concerned about food safety, pasteurization is recommended.
Enjoying Your Homemade Cider
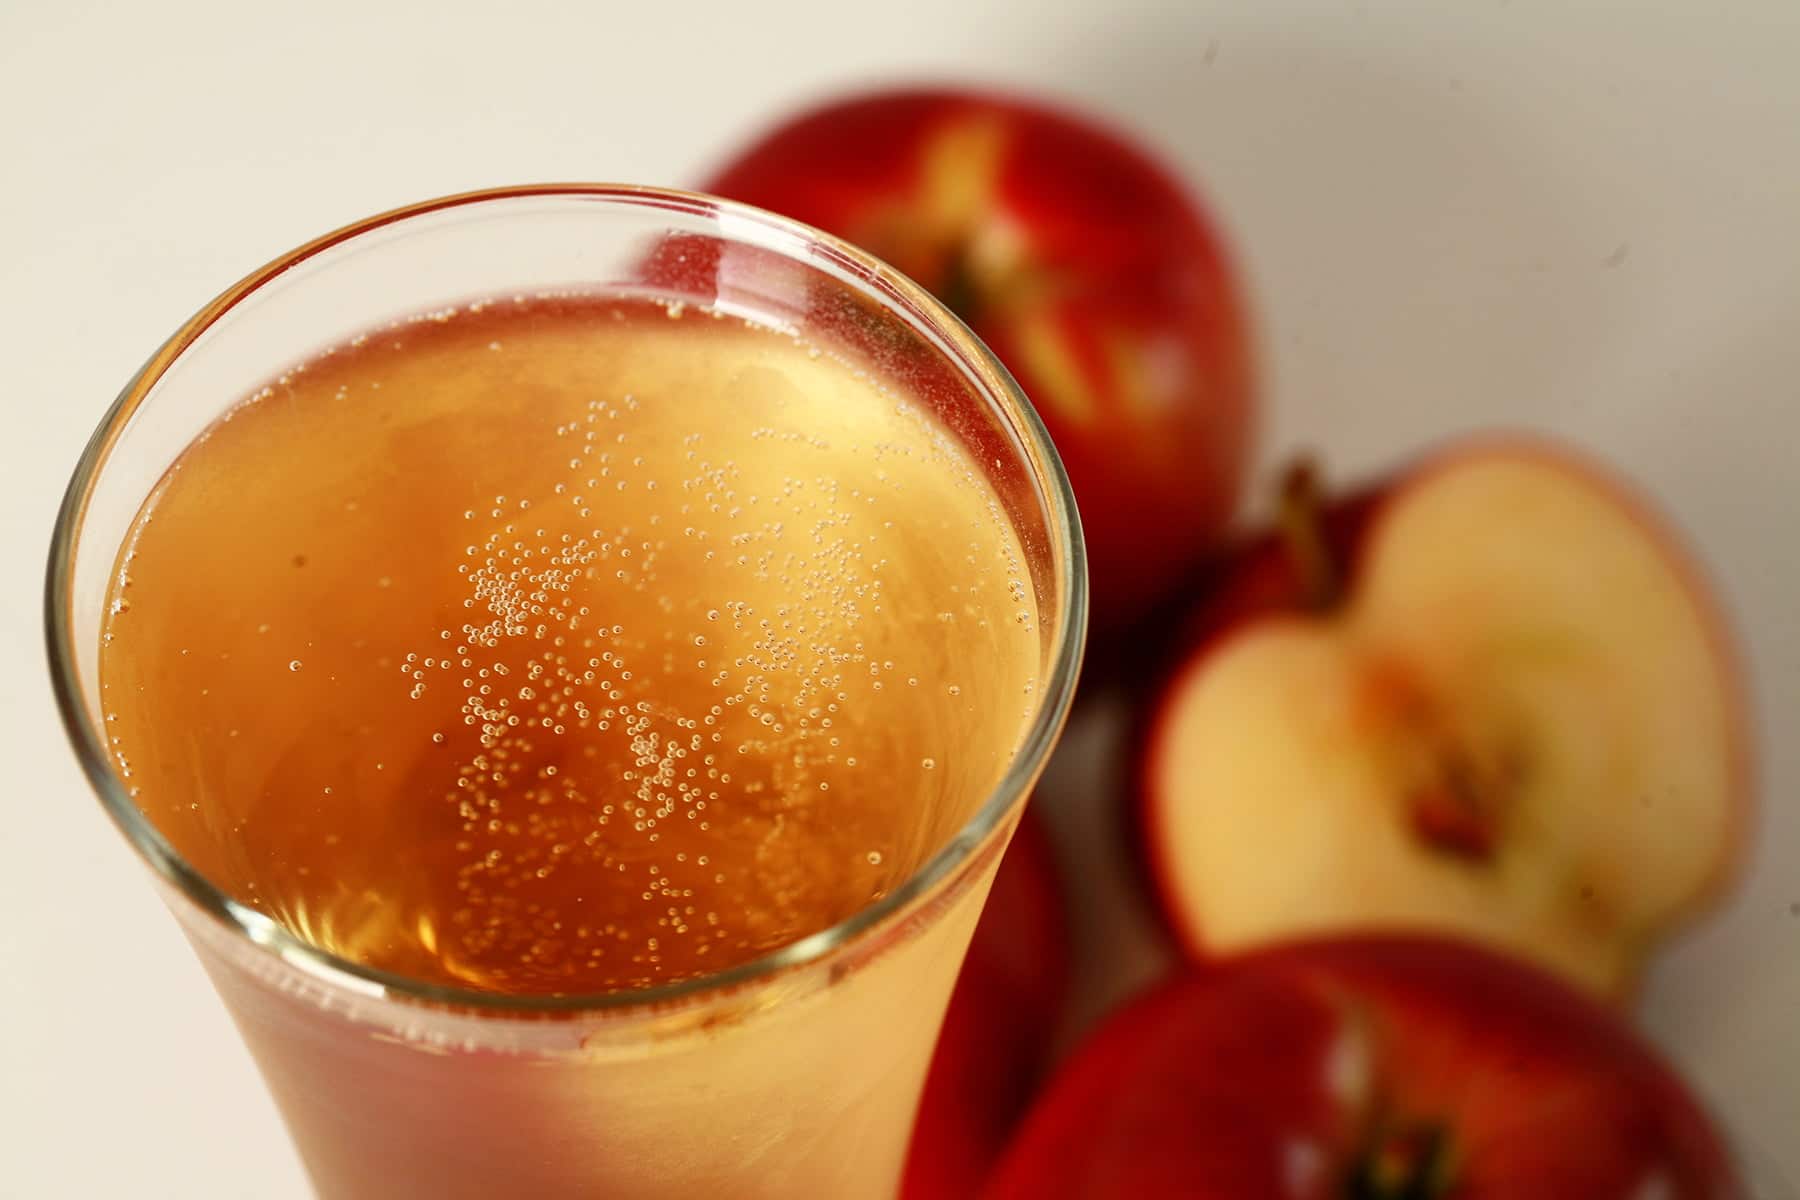
Once you've extracted all the juice, you can enjoy your homemade cider immediately. It will be at its freshest and most flavorful right away.
Unpasteurized cider will only last for a few days in the refrigerator before it begins to ferment. This fermentation can add a slight fizz and a more complex flavor, but it's important to monitor it closely.
If you want to store your cider for longer, you can freeze it. Pour the cider into freezer-safe containers, leaving some headspace for expansion, and store it in the freezer for up to several months.
Beyond Fresh Cider
Making cider is just the beginning. You can also use your homemade cider to create a variety of other delicious treats.
Consider using it as a base for mulled cider, adding spices like cinnamon, cloves, and star anise for a warm and comforting drink.
You can also reduce the cider down into a syrup to drizzle over pancakes or ice cream, or use it to make apple cider vinegar.
A Taste of Tradition
Making cider without a press is a rewarding experience that connects you to a long tradition of home food preservation. It’s a way to appreciate the bounty of the season and to create something truly special with your own two hands.
While the process may seem daunting at first, it's surprisingly simple and accessible. With a little effort and creativity, you can transform a pile of apples into a delicious and refreshing beverage that you and your loved ones can enjoy all season long.
So, gather your apples, enlist some helpers, and embrace the joy of homemade cider. You might just discover a new autumnal tradition that you'll cherish for years to come.