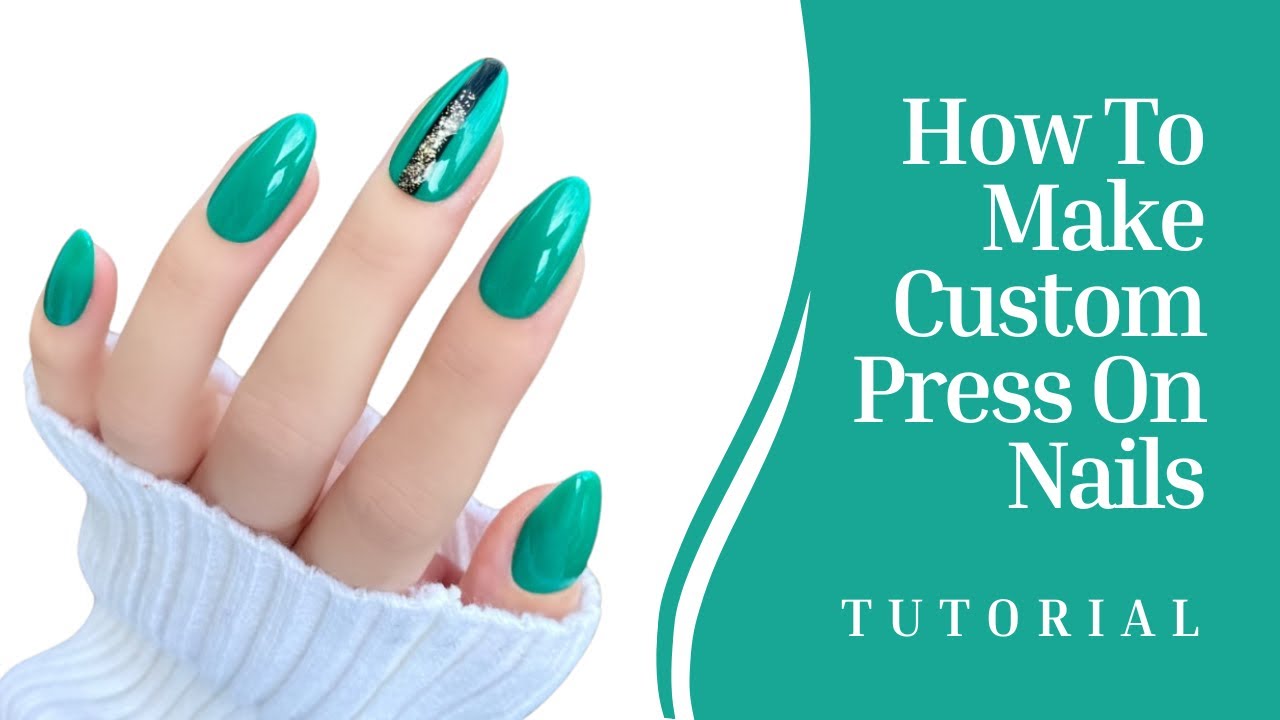
How To Make Custom Press On Nails

Imagine stepping into a vibrant salon, not to sit for hours with the whir of electric files, but to unleash your inner artist from the comfort of your own home. Tables strewn with glittering powders, tiny brushes dancing across surfaces, and the satisfying click of a perfect press-on – this is the reality of the burgeoning custom press-on nail scene.
Creating custom press-on nails is a fun and affordable way to express your individual style, offering a quick and damage-free alternative to traditional manicures. This article will guide you through the process, from gathering supplies to achieving salon-worthy results, allowing you to create unique nail art that reflects your personality and creativity.
Why Custom Press-Ons?
The appeal of custom press-ons lies in their versatility and convenience. Unlike acrylics or gels, press-ons don't require harsh chemicals or extensive filing, making them a gentler option for nail health.
They are also incredibly time-saving. Perfect for special events, impromptu gatherings, or simply when you want a change of pace, press-ons can be applied in minutes. And the best part? You can design them yourself.
Furthermore, custom press-ons are budget-friendly. With a one-time investment in essential tools, you can create multiple sets of nails, saving you money compared to regular salon visits. It's a cost-effective way to indulge in your love for nail art.
Gathering Your Supplies
Before you embark on your press-on journey, you'll need to assemble a few key items. These supplies are essential for creating durable and aesthetically pleasing nails. Consider this your artist's toolkit!
Essential Tools:
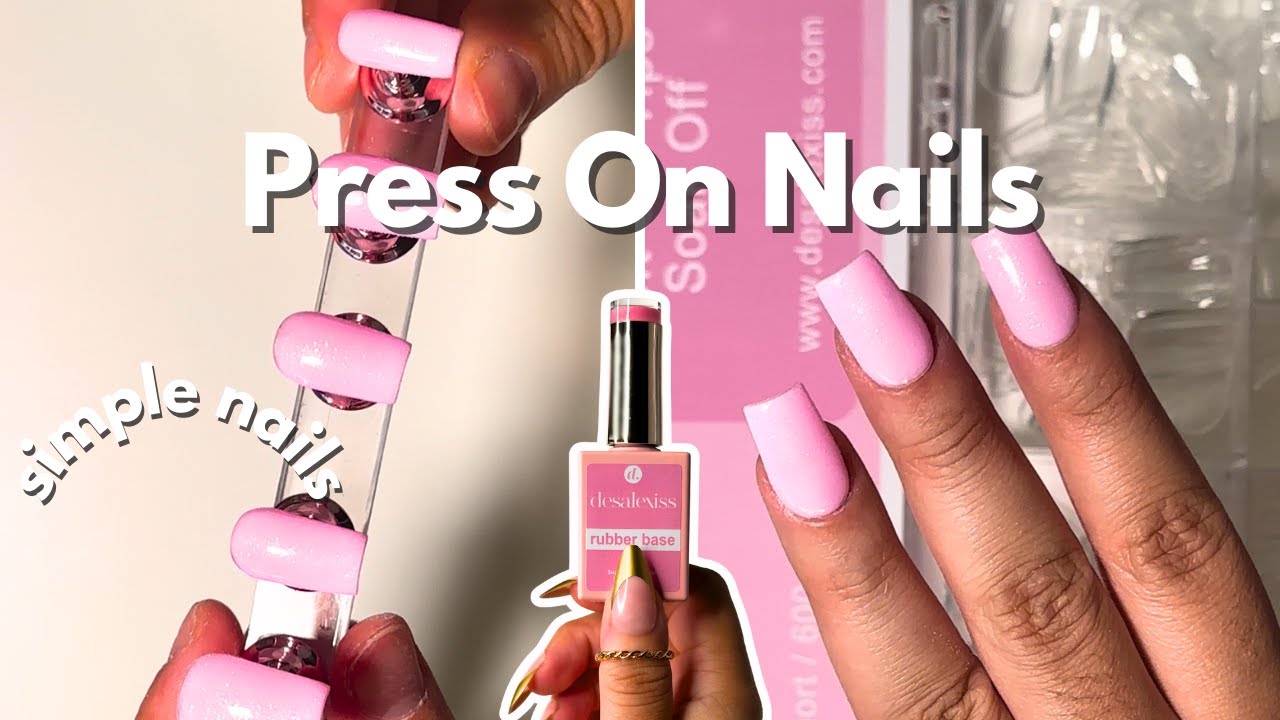
First, you'll need a set of blank press-on nails in various sizes to fit your natural nails. These can be found at most drugstores or beauty supply stores. Look for durable ABS plastic nails, as they tend to be more resilient.
Next, acquire nail glue or adhesive tabs, depending on your preference. Glue offers a stronger and longer-lasting hold, while adhesive tabs are easier to remove and reapply.
A good quality nail file and buffer are also crucial for shaping the press-ons and preparing your natural nails. These tools will help ensure a seamless and comfortable fit.
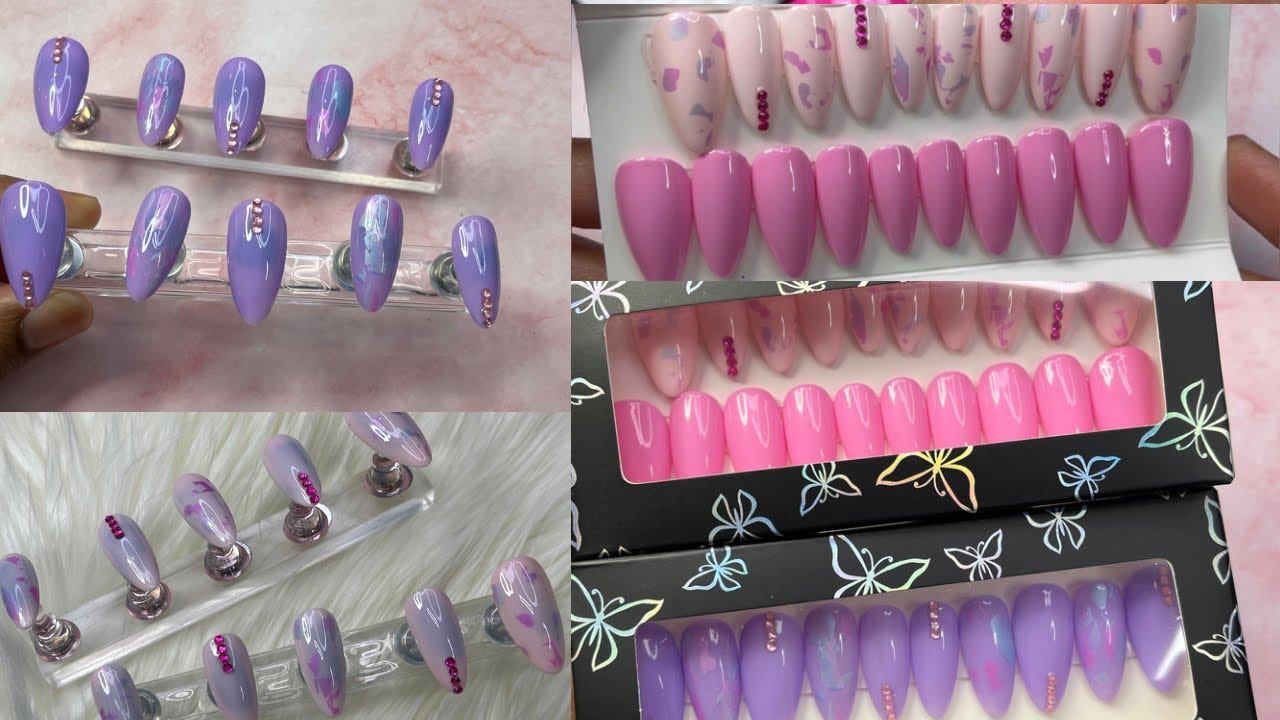
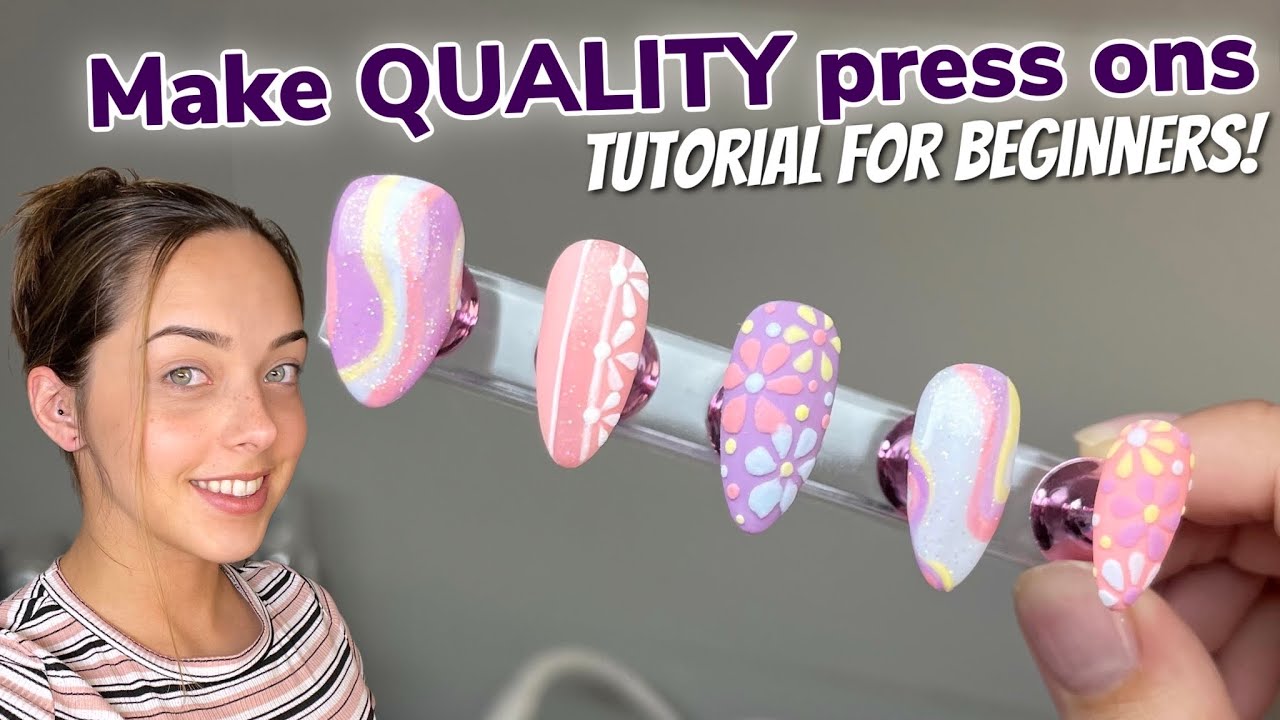
Design Elements:
This is where your creativity can truly shine. Gather nail polish in your favorite colors, glitter, nail art stickers, rhinestones, or any other embellishments you desire. The possibilities are endless.
Small paint brushes, dotting tools, and tweezers can be incredibly helpful for intricate designs. These tools allow for precise application of even the smallest details.
Consider investing in a UV/LED lamp if you plan on using gel polish, as it requires curing to harden. A top coat is essential to seal your designs and protect them from chipping.
Step-by-Step Guide to Creating Custom Press-Ons
Now that you have all your supplies, let's dive into the process of creating your own custom press-on nails. Follow these steps for beautiful and long-lasting results.
1. Preparing Your Natural Nails:
Start by gently pushing back your cuticles and buffing the surface of your natural nails. This will create a smooth base for the press-ons and improve adhesion.
Clean your nails with rubbing alcohol or nail polish remover to remove any oils or residue. This step is crucial for ensuring a strong bond between your nails and the press-ons.
2. Sizing the Press-Ons:
Select the correct size press-on for each of your nails. The press-on should cover your entire nail bed without extending onto the skin around your nails.
If you're between sizes, it's better to choose a slightly larger size and file it down to fit perfectly. A well-fitted press-on is crucial for comfort and longevity.
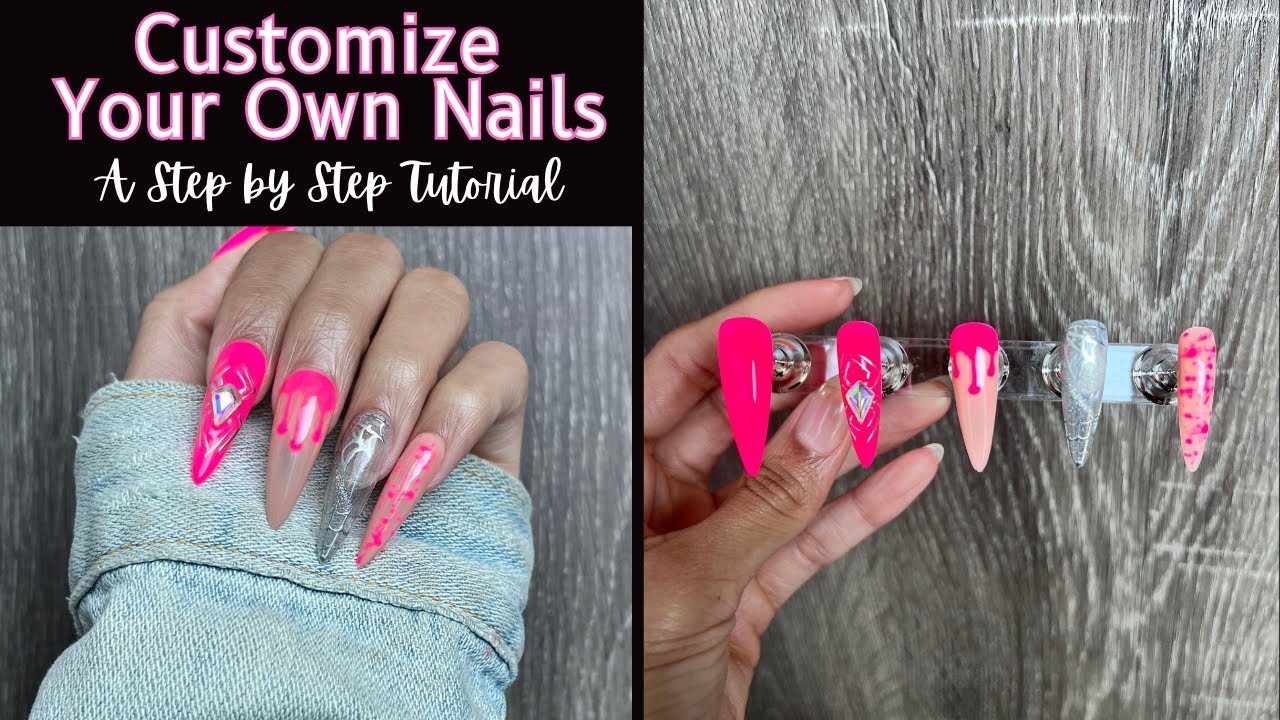
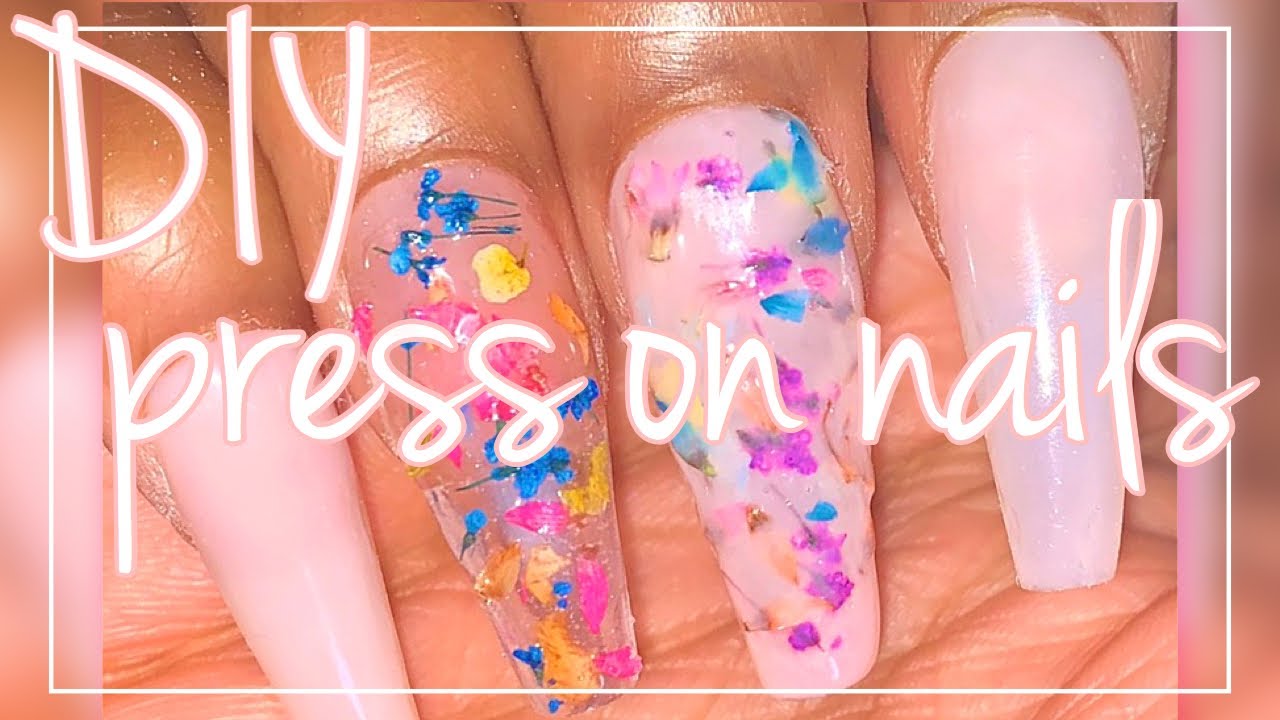
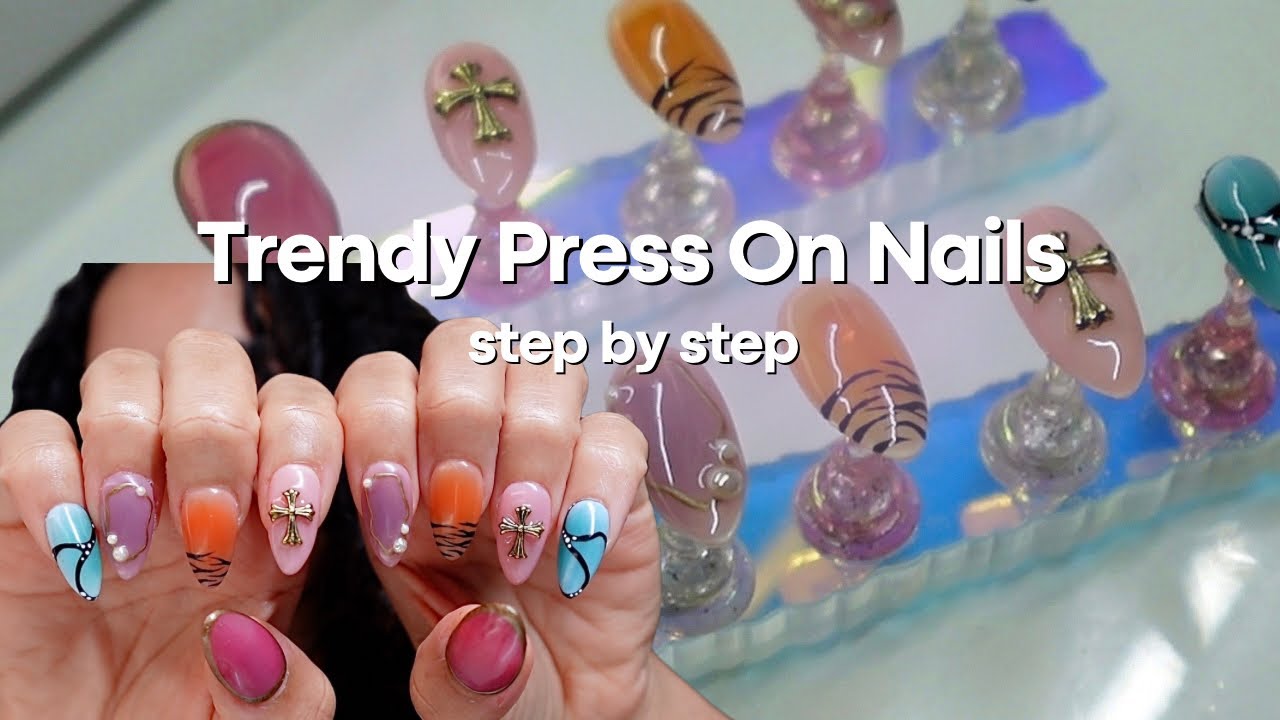
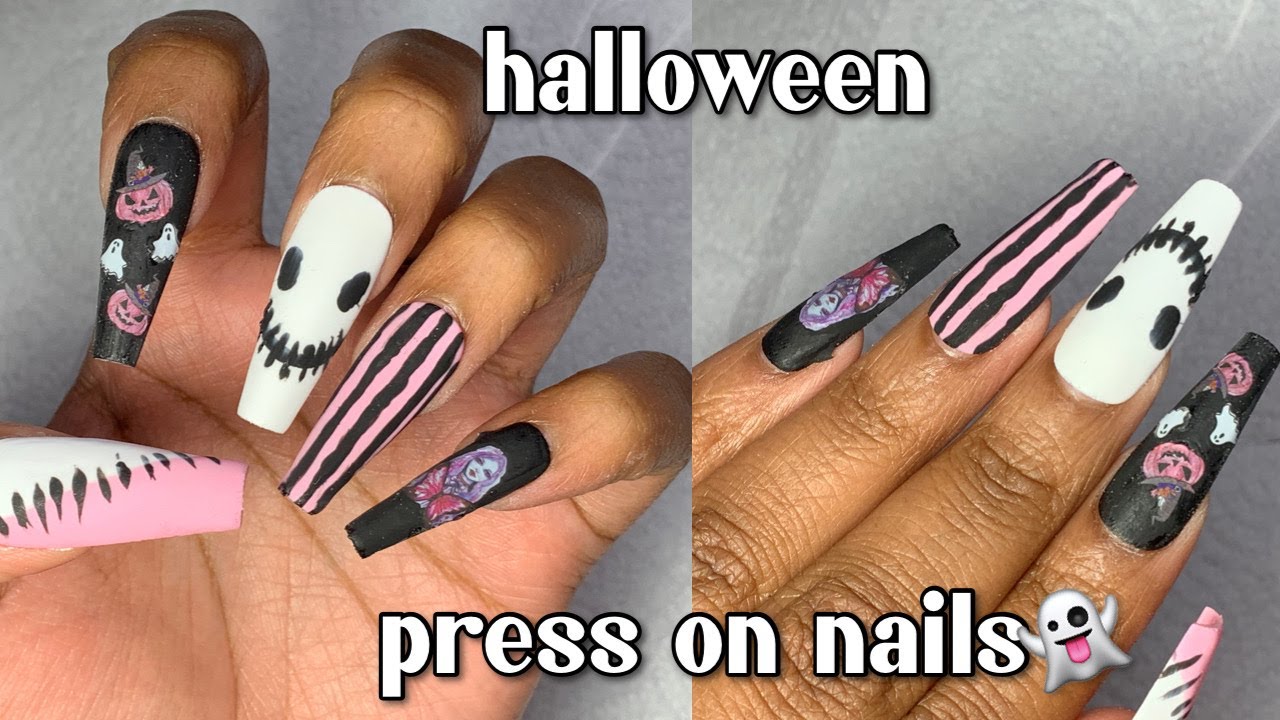
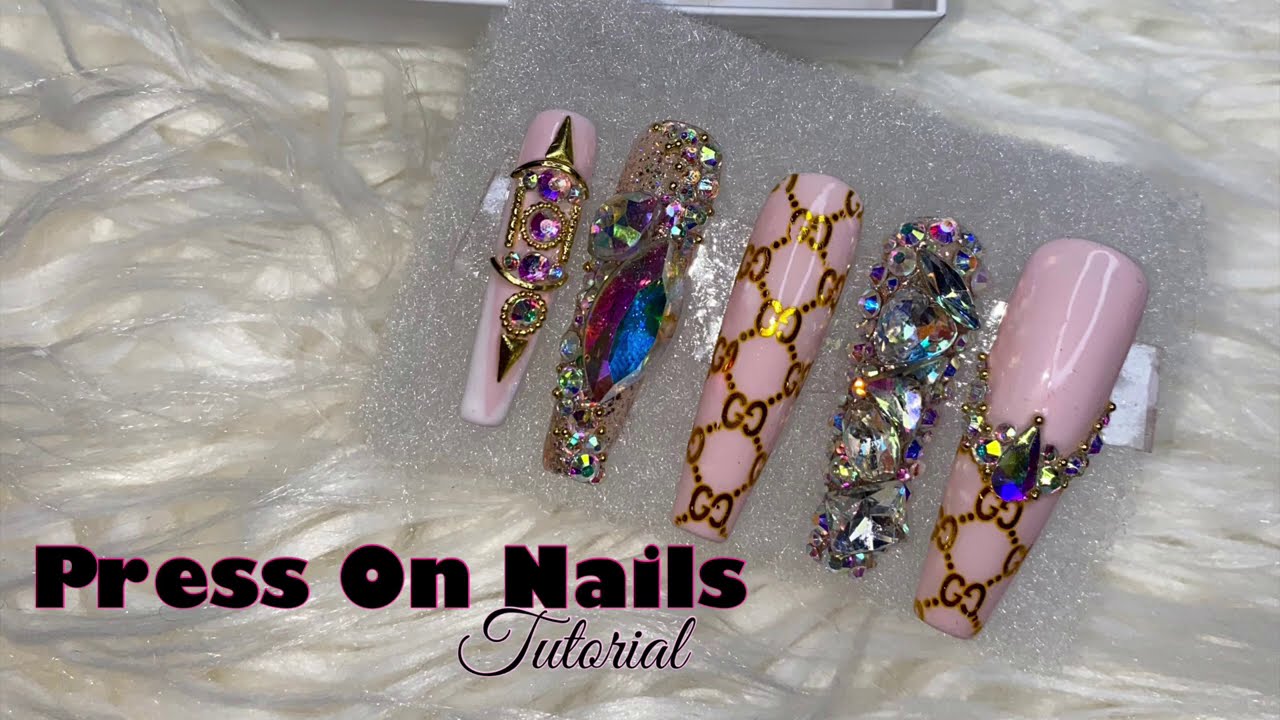
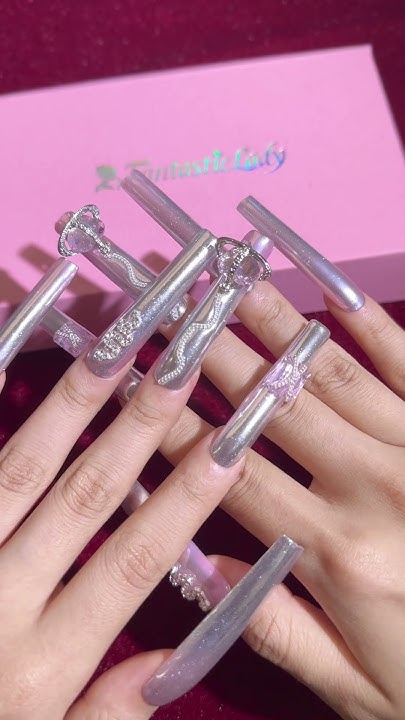
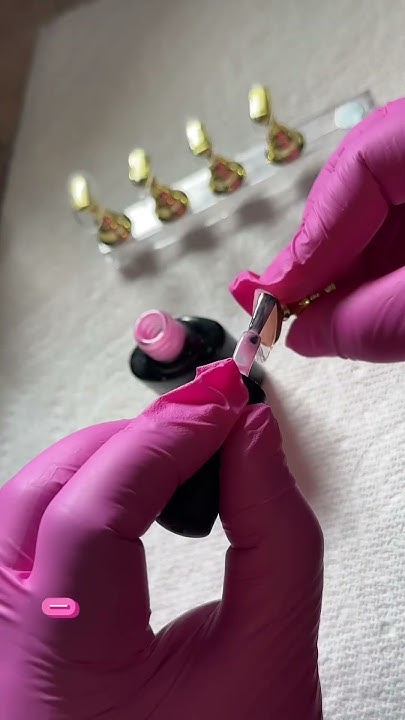
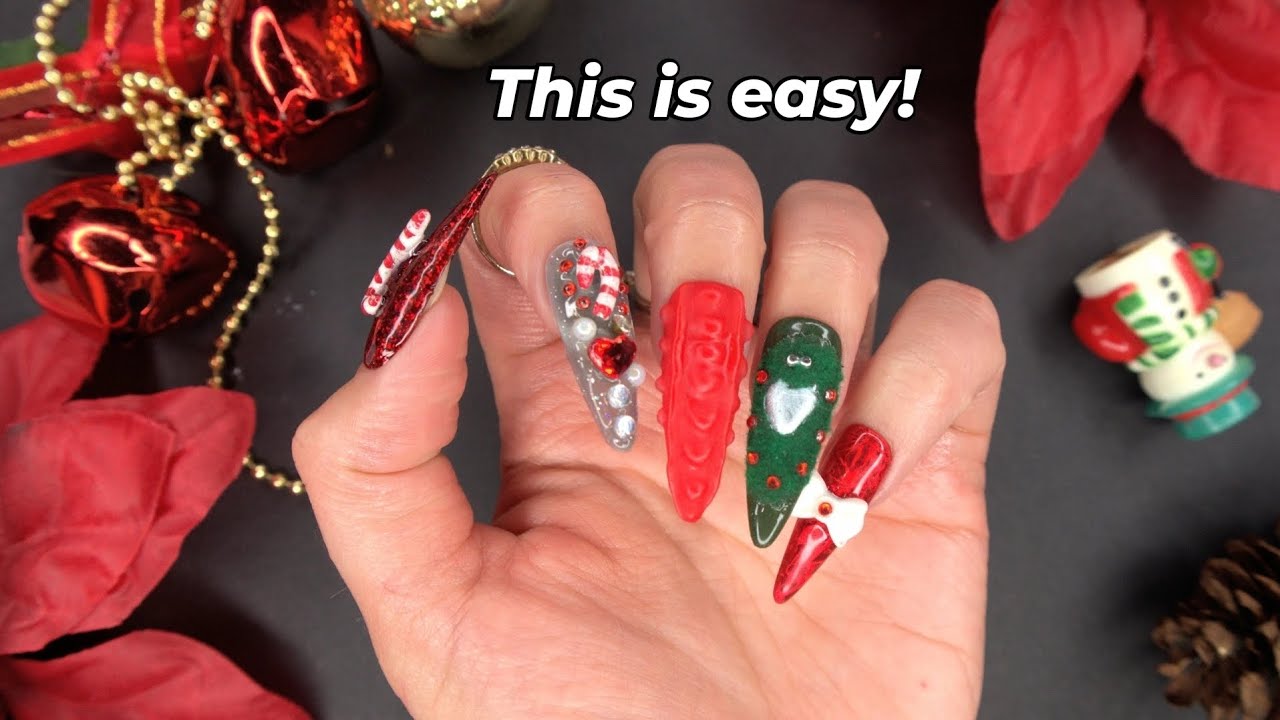
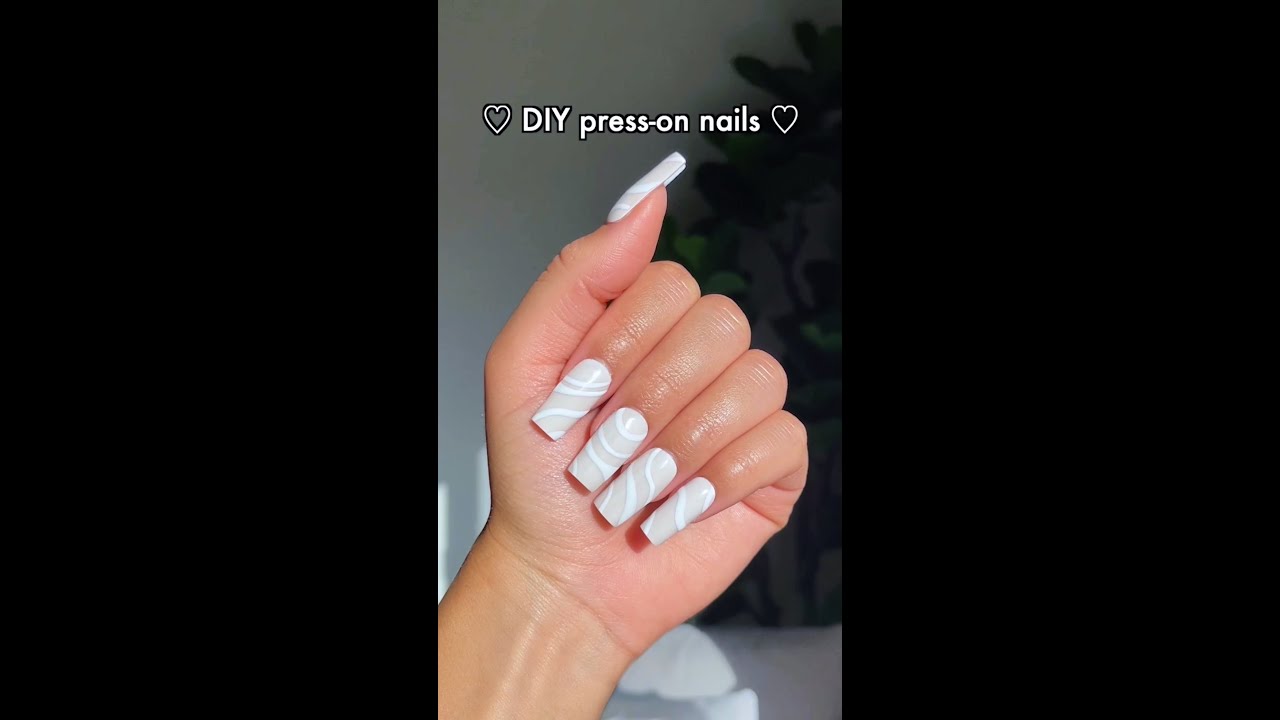
3. Designing Your Press-Ons:
Now comes the fun part! Apply a base coat to the press-ons and let it dry completely. This will provide a smooth canvas for your designs.
Use your chosen nail polish, glitter, stickers, or rhinestones to create your desired look. Let your imagination run wild!
If you're using gel polish, cure each layer under a UV/LED lamp according to the manufacturer's instructions. This will ensure a durable and chip-resistant finish.
Once your design is complete, apply a top coat to seal it in and protect it from damage. Allow the top coat to dry thoroughly or cure it under the lamp if using gel polish.
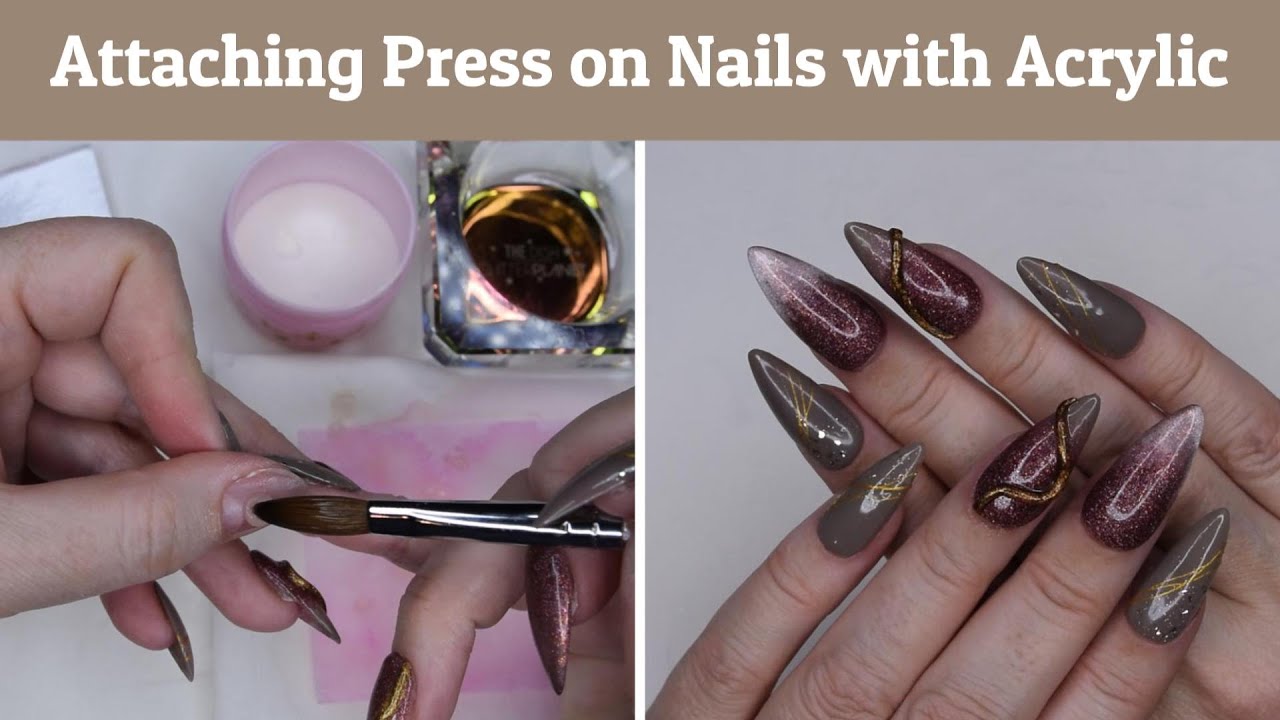
4. Applying Your Press-Ons:
Apply a small amount of nail glue to the back of the press-on. Alternatively, apply an adhesive tab to the back of the press-on.
Carefully align the press-on with your natural nail and press down firmly for 15-20 seconds. Ensure that the press-on is securely attached to your nail.
Repeat this process for all ten nails and admire your stunning custom manicure!
Tips for Long-Lasting Press-Ons
To ensure that your press-ons last as long as possible, follow these helpful tips:
Avoid prolonged exposure to water, as this can weaken the adhesive. Wear gloves when doing dishes or cleaning.
Be gentle with your hands and avoid using your nails as tools. Opening packages or scraping labels can damage your press-ons.
If a press-on comes loose, reapply it immediately with nail glue. This will prevent further damage and ensure that your manicure stays intact.
Removing Your Press-Ons
When it's time to remove your press-ons, do so gently to avoid damaging your natural nails. Patience is key.
Soak your hands in warm, soapy water for 10-15 minutes to loosen the adhesive. Alternatively, you can use a nail polish remover containing acetone.
Gently pry the press-ons off your nails using a cuticle pusher or orange wood stick. Avoid pulling or ripping them off, as this can damage your nail beds.
Once the press-ons are removed, gently buff your natural nails and apply a moisturizing cuticle oil. This will help restore moisture and keep your nails healthy.
The Rise of the Custom Press-On Community
The custom press-on nail trend has fostered a vibrant online community of artists and enthusiasts. Social media platforms like Instagram and TikTok are filled with stunning creations and tutorials.
This community provides a space for sharing inspiration, learning new techniques, and supporting fellow nail artists. It's a testament to the power of creativity and self-expression.
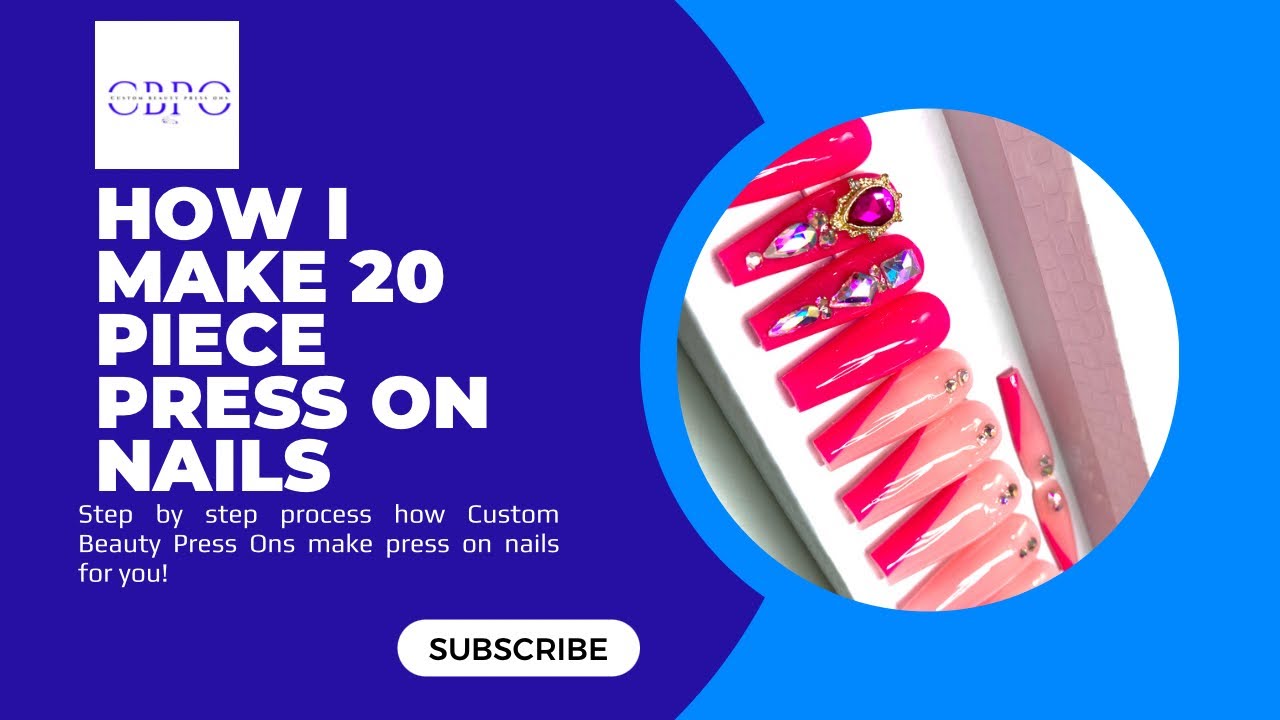
Many independent artists have even turned their passion for custom press-ons into thriving small businesses. They offer unique and personalized designs to clients seeking a one-of-a-kind manicure experience.
The Future of Nail Art
The custom press-on nail trend is more than just a fleeting fad. It represents a shift towards personalized and accessible beauty.
As technology advances, we can expect to see even more innovative tools and techniques for creating custom nail art. Think 3D-printed nail designs and AI-powered design assistants.
The future of nail art is bright, offering endless possibilities for self-expression and creativity. Custom press-ons are empowering individuals to take control of their style and embrace their unique beauty.
So, gather your supplies, unleash your inner artist, and dive into the world of custom press-on nails. The possibilities are endless, and the only limit is your imagination. Embrace the fun, the creativity, and the confidence that comes with sporting a manicure that's uniquely you.