How To Make Twitch Overlays In Photoshop
Imagine a streamer, bathed in the soft glow of their monitor, their fingers dancing across the keyboard as they conquer digital worlds. But look closer. Framing their gameplay is a sleek, custom overlay – a digital window box showcasing their personality, their sponsors, and vital stream information. It's not just about playing the game; it's about crafting an experience, and the overlay is the frame that makes it art.
Creating professional-looking Twitch overlays doesn't require a graphic design degree. Photoshop, though sometimes perceived as complex, offers a surprisingly accessible toolkit for crafting visually appealing and functional overlays. This guide will walk you through the process, breaking down the steps into manageable chunks so you can elevate your stream's aesthetic without needing to hire a professional.
Why Photoshop for Twitch Overlays?
Photoshop is a powerhouse. It offers unmatched flexibility and control, which sets it apart. Its robust features, including layers, masking, and blending options, empower you to create highly customized designs. You are only bound by your imagination.
Compared to simpler, template-based solutions, Photoshop allows for truly unique branding. Adobe Photoshop lets you integrate intricate animations or interactive elements to give streamers complete design freedom and makes an impactful difference.
Getting Started: Setting Up Your Canvas
First things first, let's define our workspace. Open Photoshop and create a new document (File > New). A common resolution for Twitch overlays is 1920x1080 pixels, matching the standard streaming resolution.
Set the resolution to 72 DPI (dots per inch) for optimal web viewing. Also, make sure your color mode is set to RGB Color. This is essential for accurate color representation on screens.
Designing Your Overlay: Layer by Layer
Photoshop's layer system is the key to organized design. Think of layers as transparent sheets stacked on top of each other. Each element of your overlay, from the webcam frame to the donation ticker, should reside on its own layer.
Start with a background layer. This could be a solid color, a subtle gradient, or a branded pattern. Experiment with different blending modes and layer styles (like drop shadows or glows) to add depth and visual interest. You can import your existing logo or create new design elements in Photoshop.
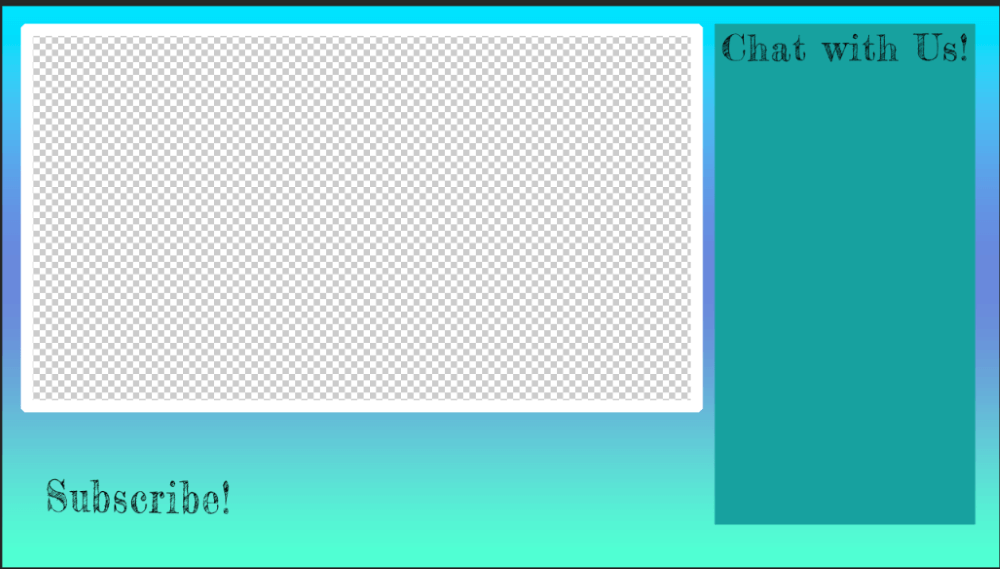
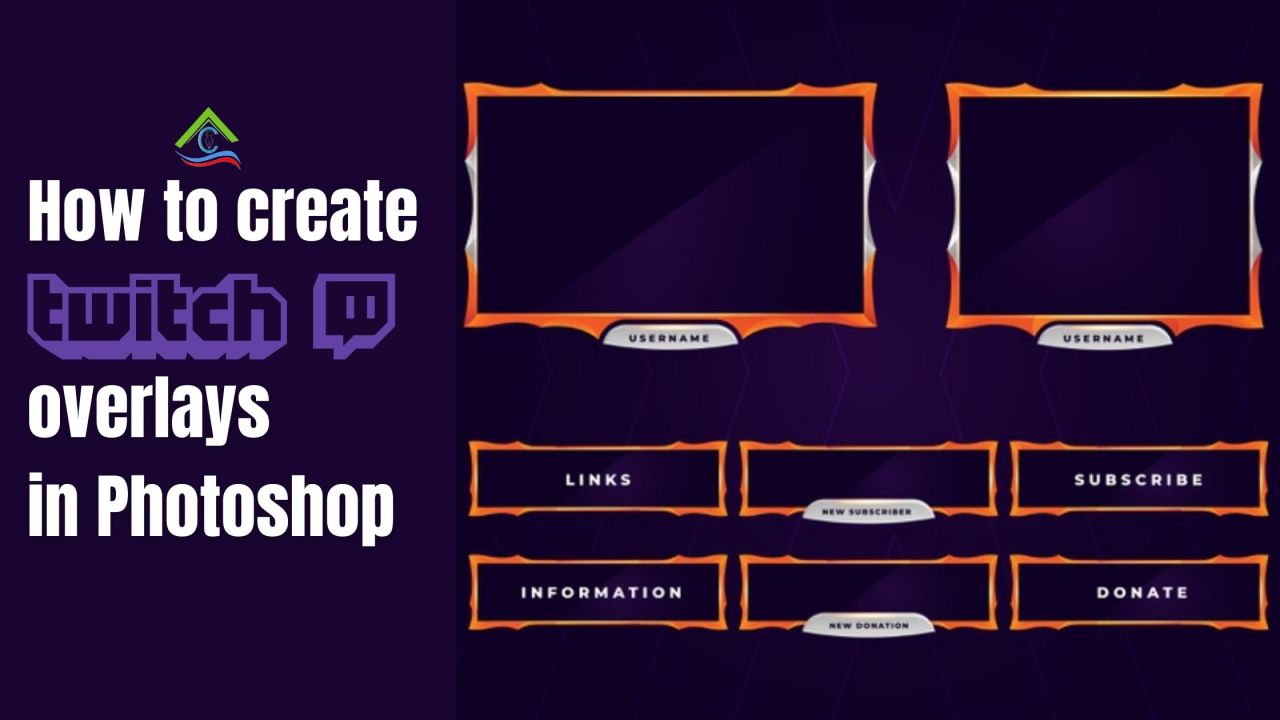
Essential Elements: Webcam Frame, Chat Box, and Info Panels
The webcam frame is a focal point. Create a shape using the Rectangle Tool or Ellipse Tool. Position it strategically, usually in a corner, allowing ample space for gameplay visibility.
The chat box area needs to be clearly defined. Use a semi-transparent rectangle or a stylized text box to set the stage for viewer interaction. Remember to test readability with different chat densities.
Information panels display crucial data like recent followers, donation goals, or social media handles. Choose a clean and legible font. Consistency in font choice across all elements will enhance the professional look.
Adding Visual Flair: Graphics and Animations
Don't be afraid to inject personality into your overlay. Incorporate custom graphics, icons, or even simple animations to make it stand out. Websites like FreePik and Vecteezy offer a wide selection of royalty-free graphics.
For animations, consider creating simple looping GIFs. You can easily import these into your overlay and position them strategically. Subtle movement can draw the eye and add a dynamic touch.
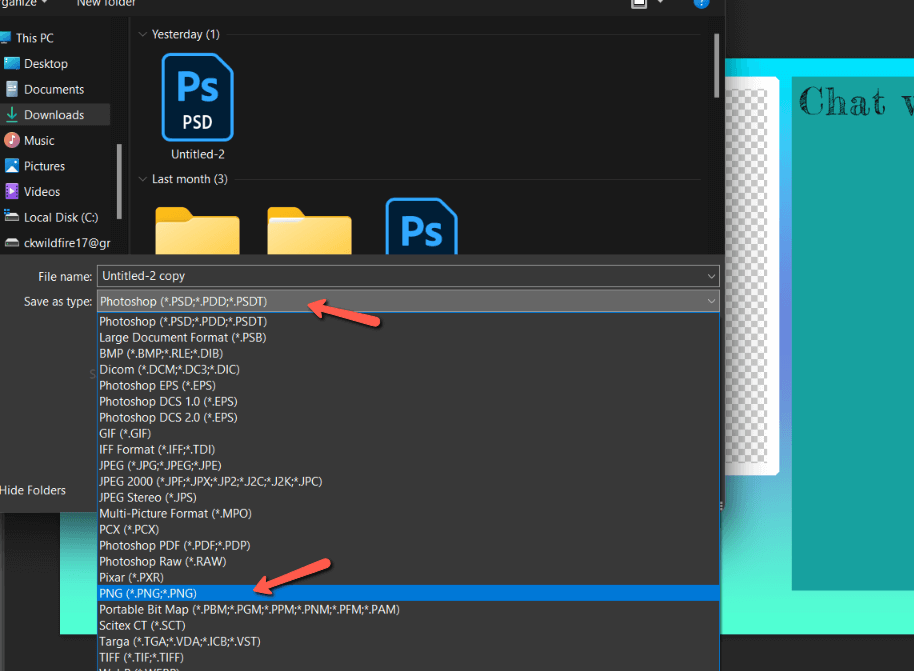
Exporting for Twitch: Optimizing for Performance
Once your design is complete, it's time to export it. Save your overlay as a PNG file with transparency. This ensures that only the overlay elements are visible, allowing your gameplay to shine through.
Compress the image to reduce its file size. Smaller file sizes will improve stream performance. There are numerous online tools available for PNG compression.
Testing and Refining: The Final Polish
The final step is crucial: testing. Import your overlay into your streaming software (like OBS Studio or Streamlabs OBS) and do a test stream. Adjust the size and position of the overlay elements as needed.
Gather feedback from your viewers. Do they find the overlay visually appealing and informative? Are any elements distracting or overwhelming?
Ultimately, a well-crafted overlay is more than just a pretty picture. It's a vital tool for building your brand. It enhances viewer engagement. The journey of creating your overlay is a journey of refining your digital identity.