How To Mount A Ring Stick Up Cam

The Ring Stick Up Cam, a versatile and popular security device, offers homeowners peace of mind through video monitoring. Proper installation is crucial to maximize its effectiveness. This guide provides a step-by-step walkthrough on how to securely mount your Ring Stick Up Cam, ensuring optimal performance and coverage.
Whether you're a seasoned DIY enthusiast or a first-time installer, this guide will equip you with the knowledge to confidently mount your device. Following these instructions will ensure your camera is positioned correctly and functioning as intended. This contributes to a safer and more secure home environment.
Choosing the Right Location
Selecting the ideal location for your Ring Stick Up Cam is paramount. Consider the area you want to monitor. High-traffic areas like doorways, driveways, and backyards are prime candidates.
Ensure the location offers a clear, unobstructed view. Avoid placing the camera behind objects that could impede its field of vision. Check the Wi-Fi signal strength at the intended location before proceeding.
Understanding the Camera's Capabilities
The Ring Stick Up Cam features a wide-angle lens and motion detection capabilities. These features are best utilized when the camera is positioned to capture a broad view of the area. Note that excessive sunlight can affect video quality.
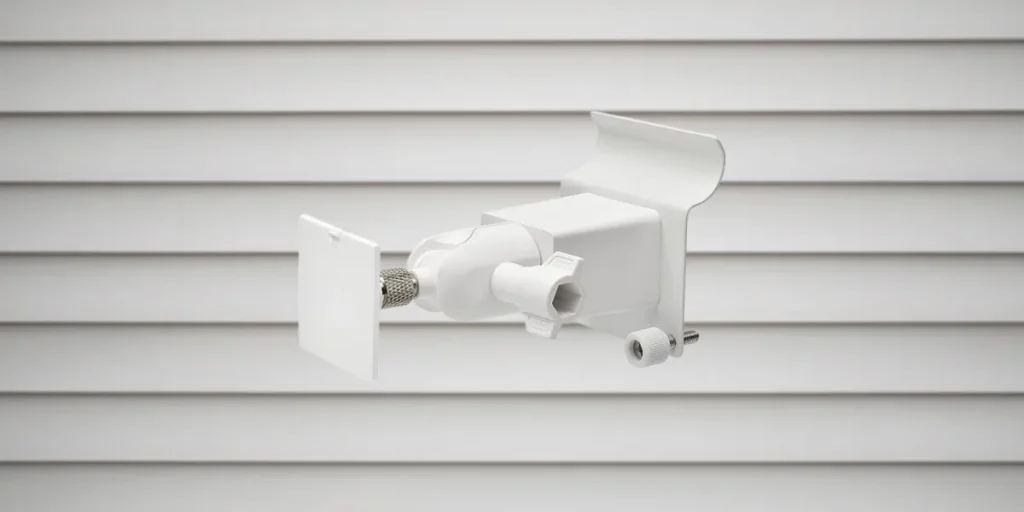
The camera can be used indoors or outdoors. Select the appropriate mounting option based on the environment. Wired or battery powered versions are available; choose the one that fits your location.
Gathering Your Tools and Materials
Before you begin the installation, gather all necessary tools and materials. This will streamline the process and prevent unnecessary delays. Having everything on hand will make the installation easier.
You will need a drill, screwdriver, and the mounting hardware included with your Ring Stick Up Cam. A pencil, level, and ladder (if mounting at a height) are also recommended. Safety glasses are always a good idea.
Mounting the Camera: Step-by-Step Guide
The following steps outline the process of mounting your Ring Stick Up Cam. Please read through each step carefully before you begin. Pay close attention to safety guidelines.
First, detach the camera from its base by loosening the security screw on the bottom of the camera. This allows you to access the mounting holes on the base. Keep the screw in a safe place so you can find it.
Next, hold the mounting bracket against the wall in your desired location and mark the screw holes with a pencil. This will ensure accurate alignment when drilling. Use a level to make sure the mounting bracket is straight.
If you're mounting on drywall or another soft material, pre-drill pilot holes at the marked locations. This will make it easier to insert the screws. If you are using anchors, install them now.
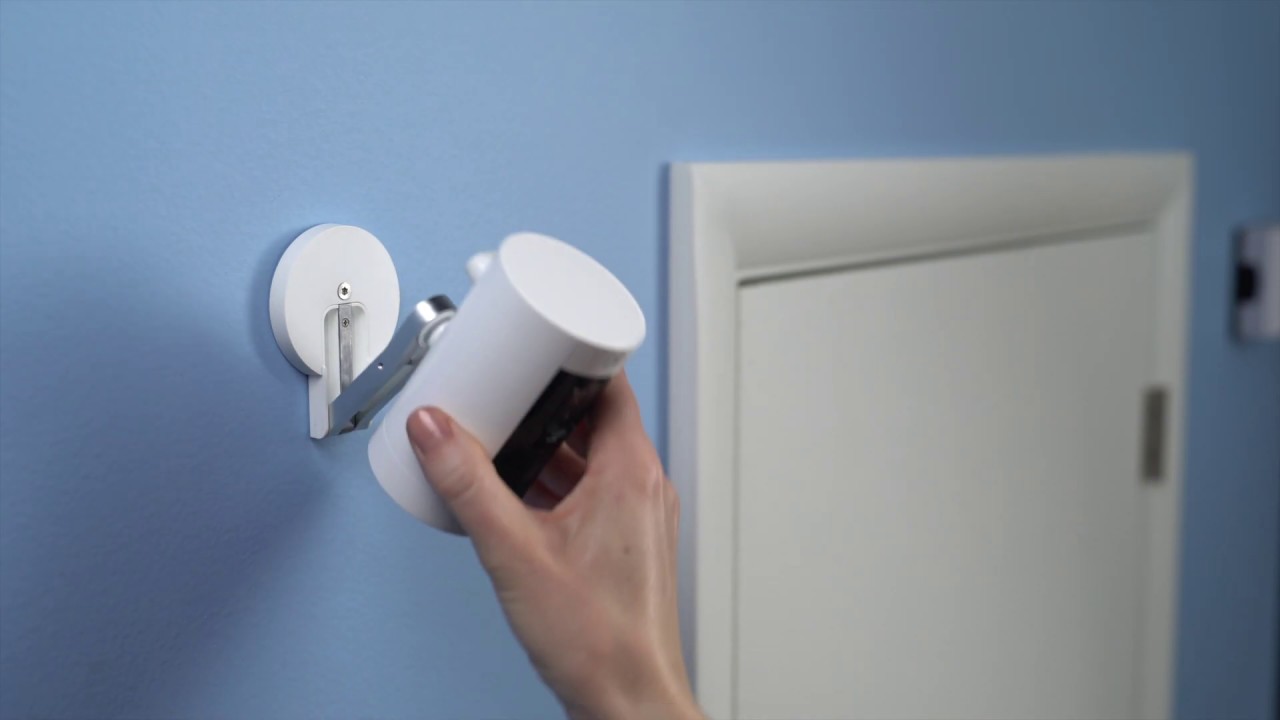
Now, align the mounting bracket with the pre-drilled holes. Secure it to the wall using the provided screws. Make sure the bracket is firmly attached.
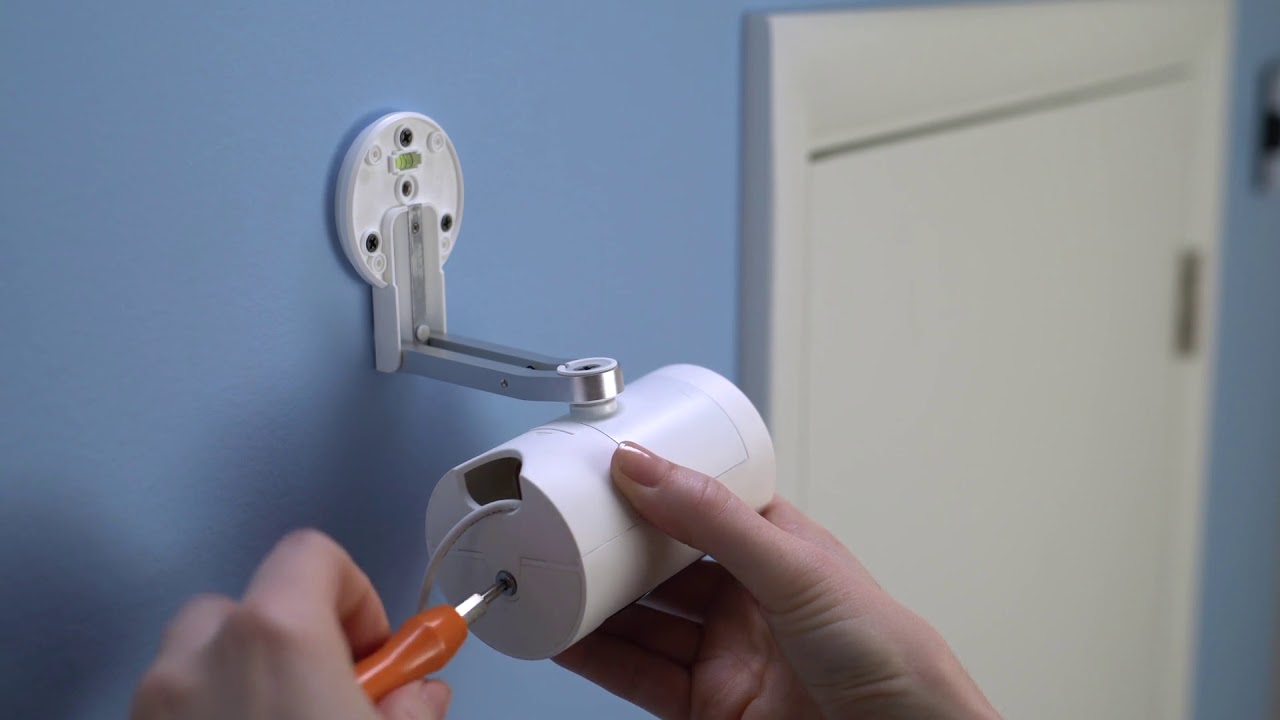
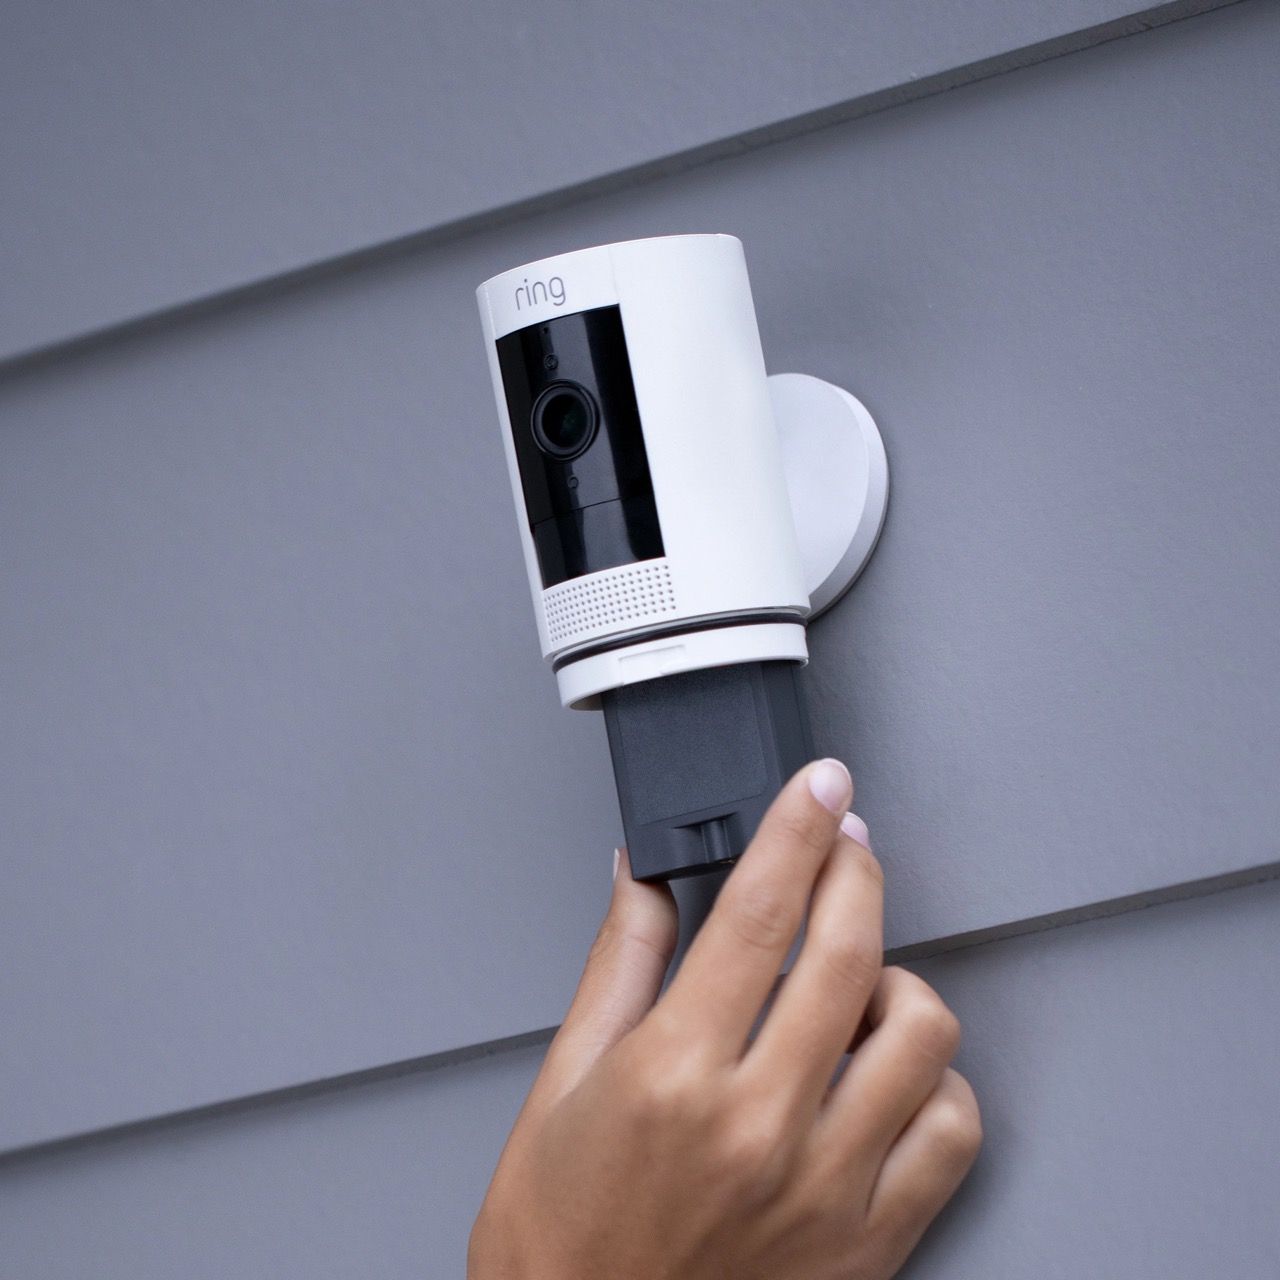
Slide the Ring Stick Up Cam onto the mounting bracket until it clicks into place. This indicates that the camera is securely attached to the base. Test that is does not easily fall off.
Finally, tighten the security screw on the bottom of the camera to prevent theft. This will ensure the camera remains securely attached to the base. Make sure the screw is tight, but do not over-tighten.
Setting Up the Camera in the Ring App
Once the camera is physically mounted, you need to set it up in the Ring app. This involves connecting the camera to your Wi-Fi network and configuring its settings. Follow the instructions provided in the Ring app.
Download the Ring app from the App Store or Google Play. Create an account or log in if you already have one. Then, follow the in-app instructions to add your Ring Stick Up Cam to your account.
During the setup process, you'll be prompted to enter your Wi-Fi password. Make sure you have your Wi-Fi credentials readily available. The app will guide you through the remaining steps.
Testing and Adjusting the Camera
After the initial setup, test the camera to ensure it's functioning correctly. Check the live video feed to confirm the picture quality. Walk in front of the camera to test the motion detection.
Adjust the camera's angle as needed to optimize the field of view. You can also customize the motion detection settings in the Ring app. Fine tuning the motion detection reduces unwanted notifications.
Pay close attention to the placement and adjust as necessary to get the ideal coverage. Consider that weather and temperature may cause issues.
Troubleshooting Common Issues
If you encounter any issues during the installation or setup process, consult the Ring support website. There you can find troubleshooting guides and FAQs. There are guides to help solve almost any problem.
Common issues include Wi-Fi connectivity problems and motion detection malfunctions. If you are having trouble, try power-cycling the device. Try turning the power off for 30 seconds and turn back on.
If you're still unable to resolve the issue, contact Ring customer support. They can provide additional assistance. Also look for common issues online to get solutions.
Conclusion
By following these steps, you can confidently mount your Ring Stick Up Cam and enhance your home security. Proper installation is key to maximizing the device's capabilities. Enjoy the added peace of mind that comes with knowing your home is protected.
Remember to periodically check the camera's mounting to ensure it remains secure. Check the battery level (if applicable) and clean the lens as needed. Routine maintenance will help ensure optimal performance over time.