How To Mount A Scope Level
The pursuit of accuracy in long-range shooting and hunting hinges on meticulous attention to detail. One often-overlooked yet critical aspect is ensuring the rifle scope is perfectly level in relation to the firearm. A canted scope, even slightly, can introduce significant errors in bullet trajectory, leading to missed targets and ethical hunting concerns.
Achieving a truly level scope isn't just about aesthetics; it's about eliminating a major source of inaccuracy at extended ranges. This article will delve into the process of mounting a scope level, covering various methods, tools, and considerations to ensure optimal performance and precision in the field.
Understanding the Importance of a Level Scope
A canted rifle scope causes the bullet's impact point to drift horizontally as the distance to the target increases. This effect is due to the scope's reticle no longer being perfectly aligned with the vertical plane of the rifle. Small canting issues can lead to considerable errors over long distances.
Correcting for cant requires understanding ballistics and applying holdover adjustments, which becomes unnecessarily complicated. Therefore, proper scope leveling becomes fundamental for simplifying aiming and increasing first-shot success, especially when engaging distant targets.
Tools and Materials Required
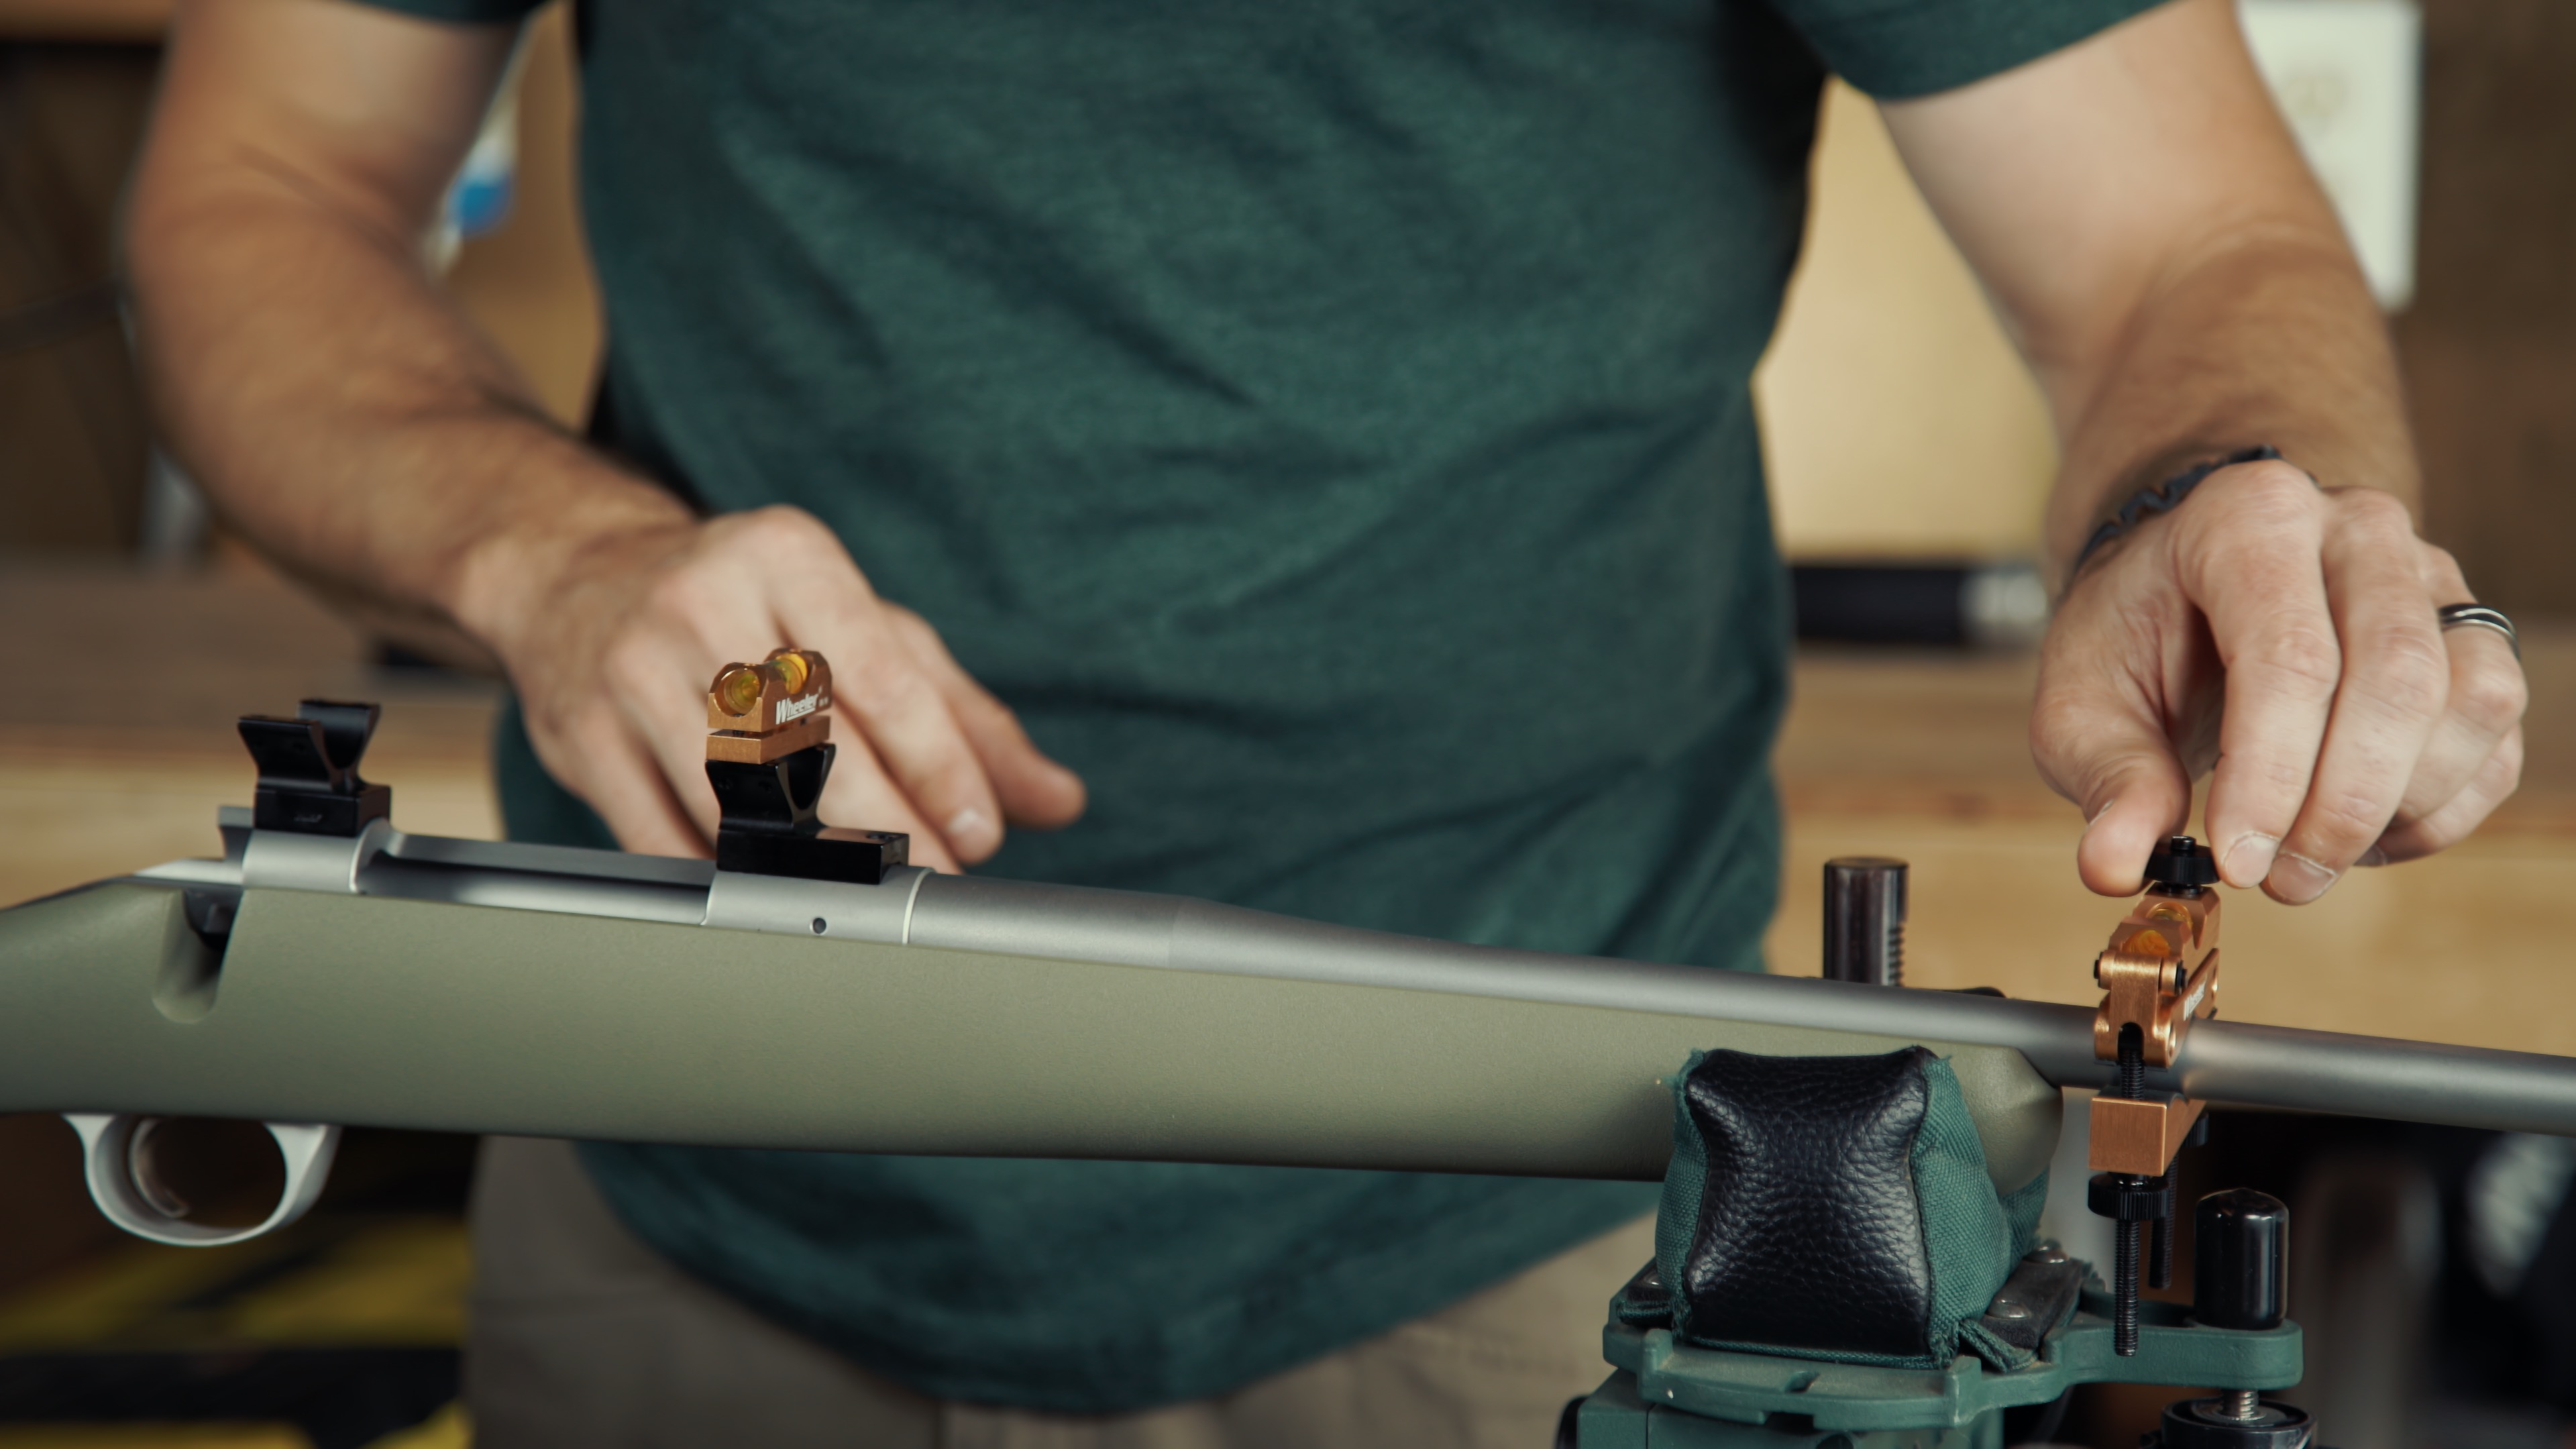
Before starting, gather the necessary tools and materials. These typically include a scope mounting kit, torque wrench, bubble levels, and a plumb bob or leveling device.
A high-quality torque wrench is crucial for tightening scope rings to the manufacturer's specified torque, preventing damage to the scope tube. Bubble levels, designed for both the rifle's action and the scope caps, guarantee perfect alignment.
Method 1: Using Bubble Levels
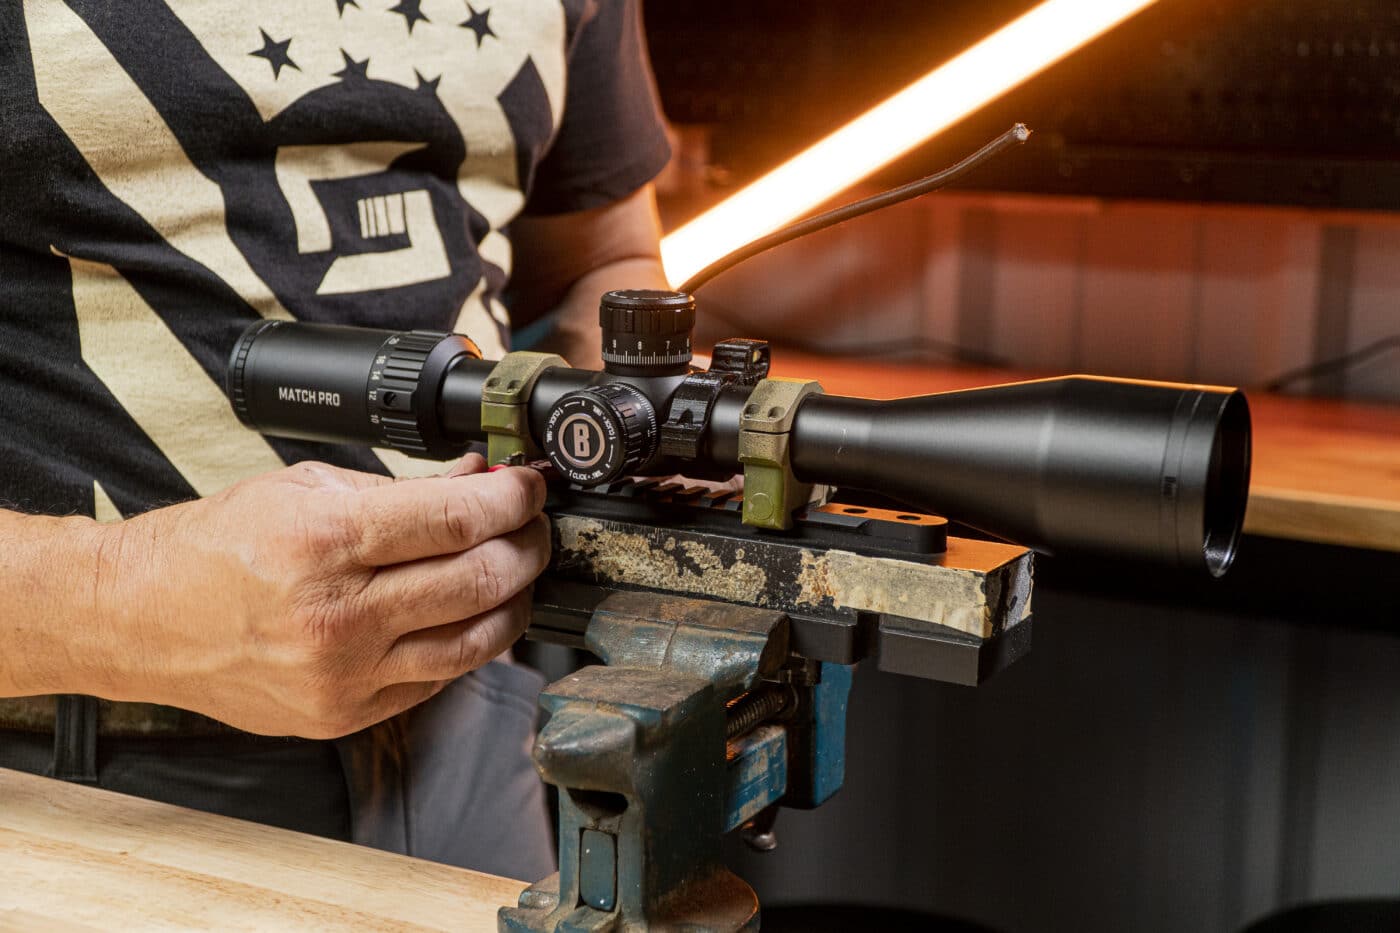
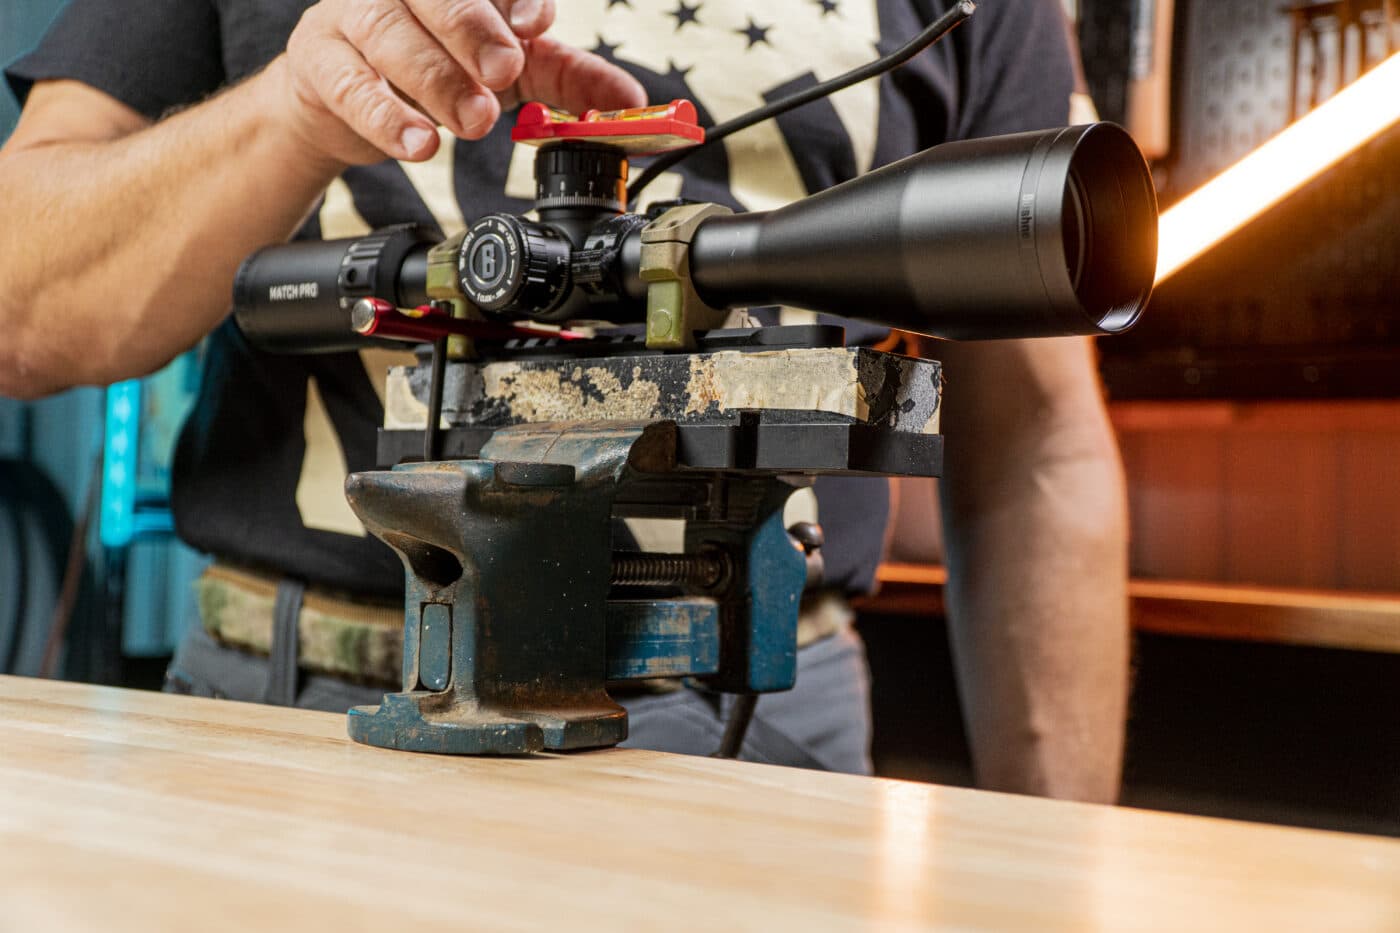
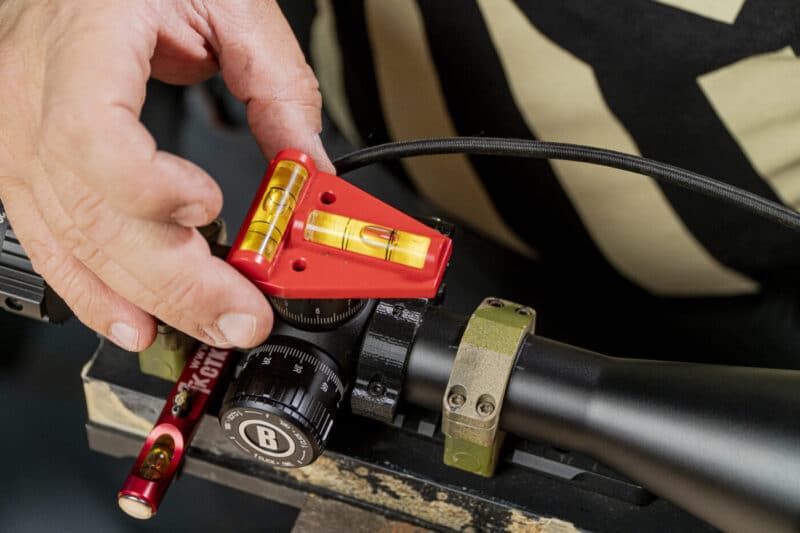
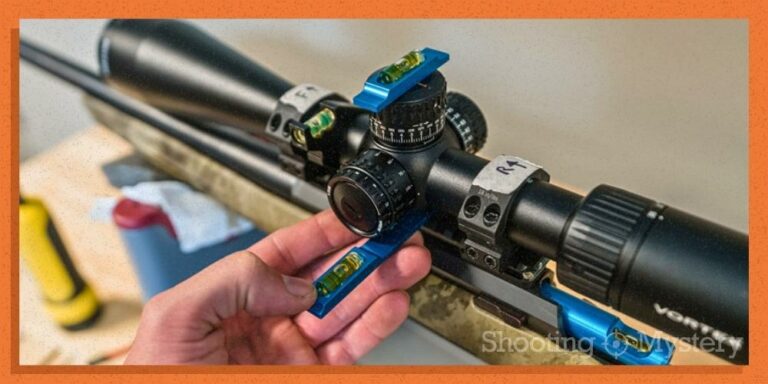
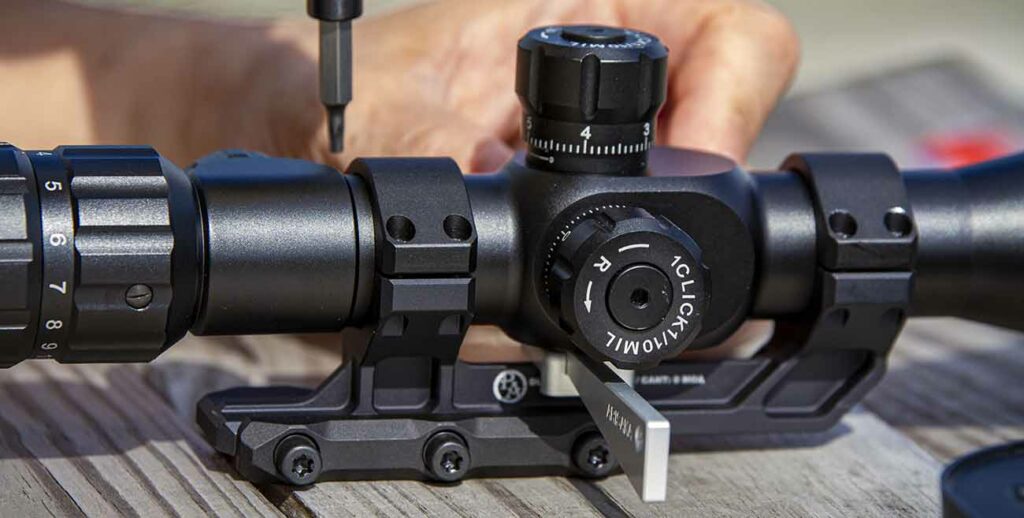
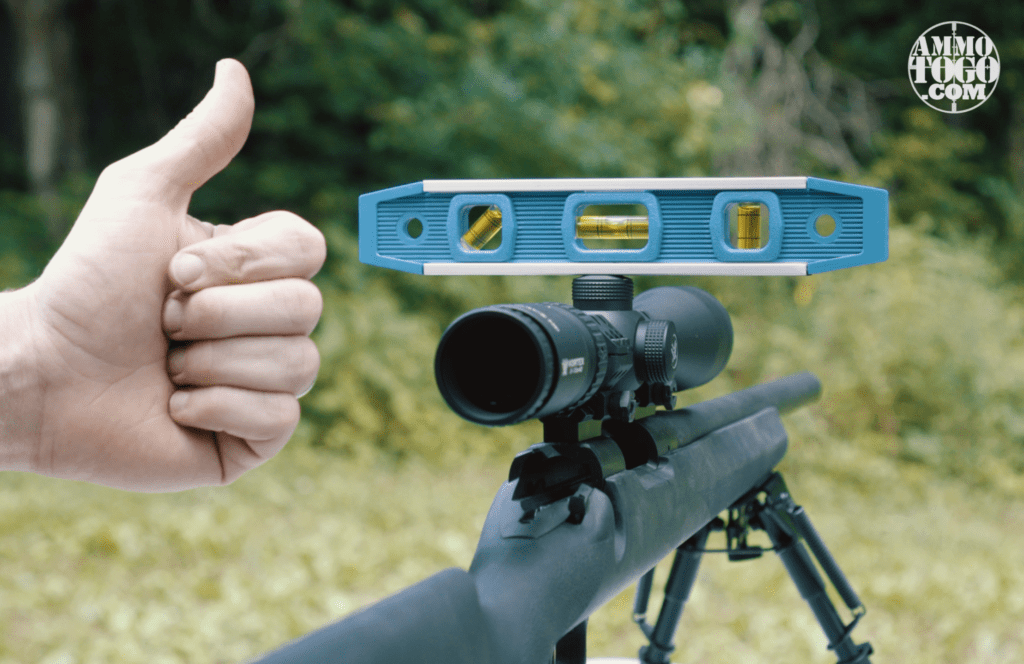
One common method involves using two bubble levels. Place one on a known flat surface of the rifle's action, and the other on top of the scope's elevation turret or on the scope caps, if they are precisely manufactured.
Adjust the scope within the rings until both bubble levels indicate perfect horizontal alignment. Tighten the scope ring screws gradually and evenly, checking the bubble levels periodically to ensure the scope remains level during the tightening process.
It's critical to use a reliable reference point on the rifle. The top of the receiver is usually a good choice.
Method 2: Using a Plumb Bob or Leveling Stand
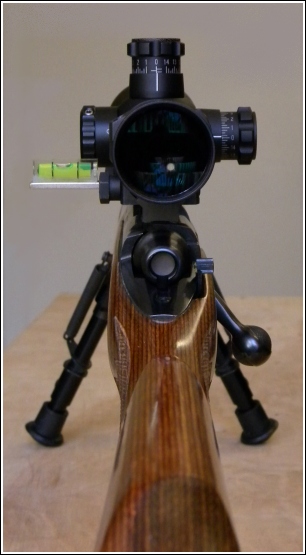
This method employs a plumb bob suspended at a distance or a specialized leveling stand designed for rifles. Hang the plumb bob and align the vertical crosshair of the scope with the plumb line.
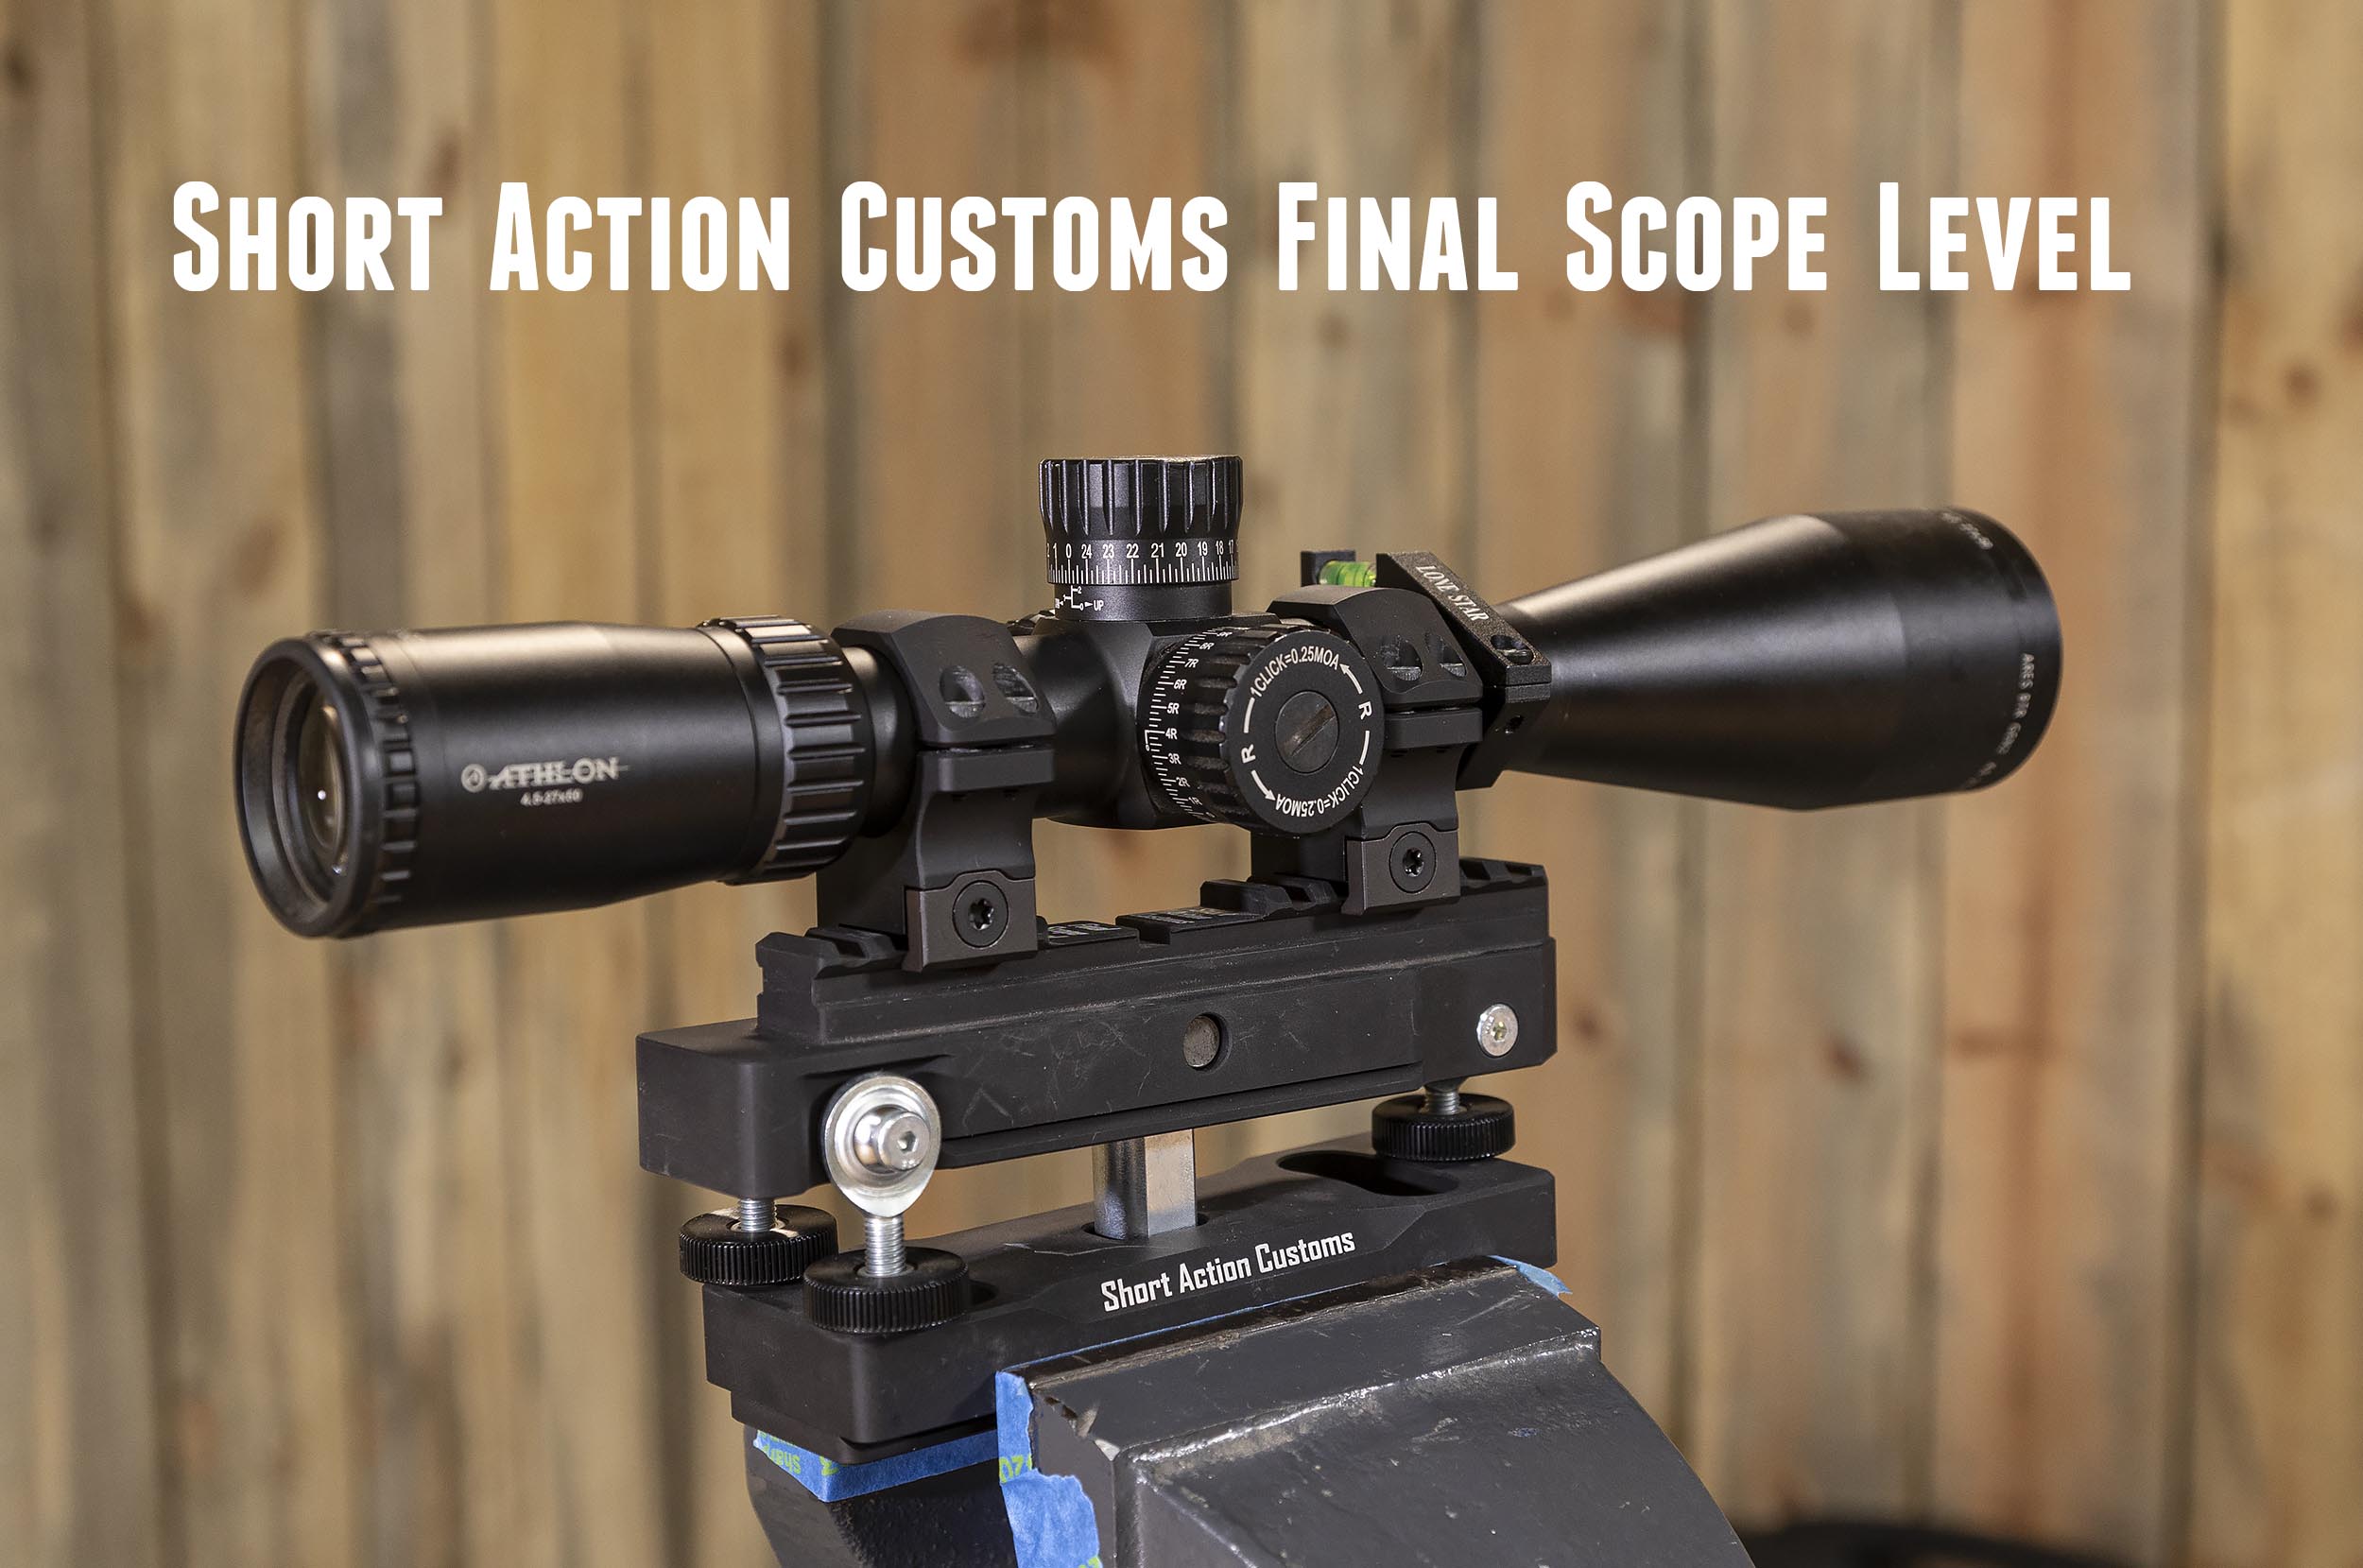
Alternatively, a leveling stand provides a stable, adjustable platform for the rifle. Adjust the stand until the rifle is perfectly vertical, then level the scope to match.
This method can be more accurate than using bubble levels alone. However, it requires a dedicated setup and careful attention to detail.
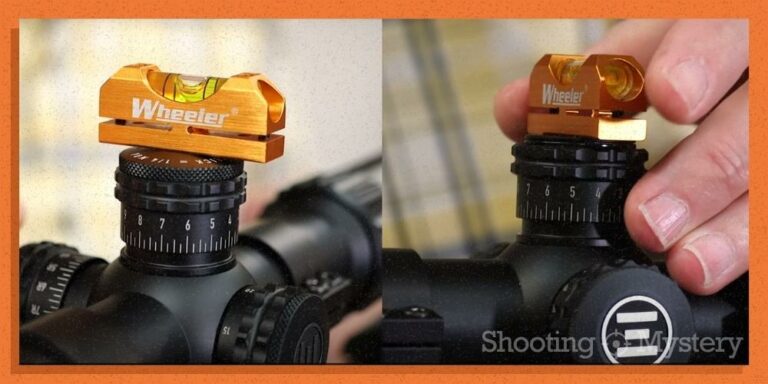
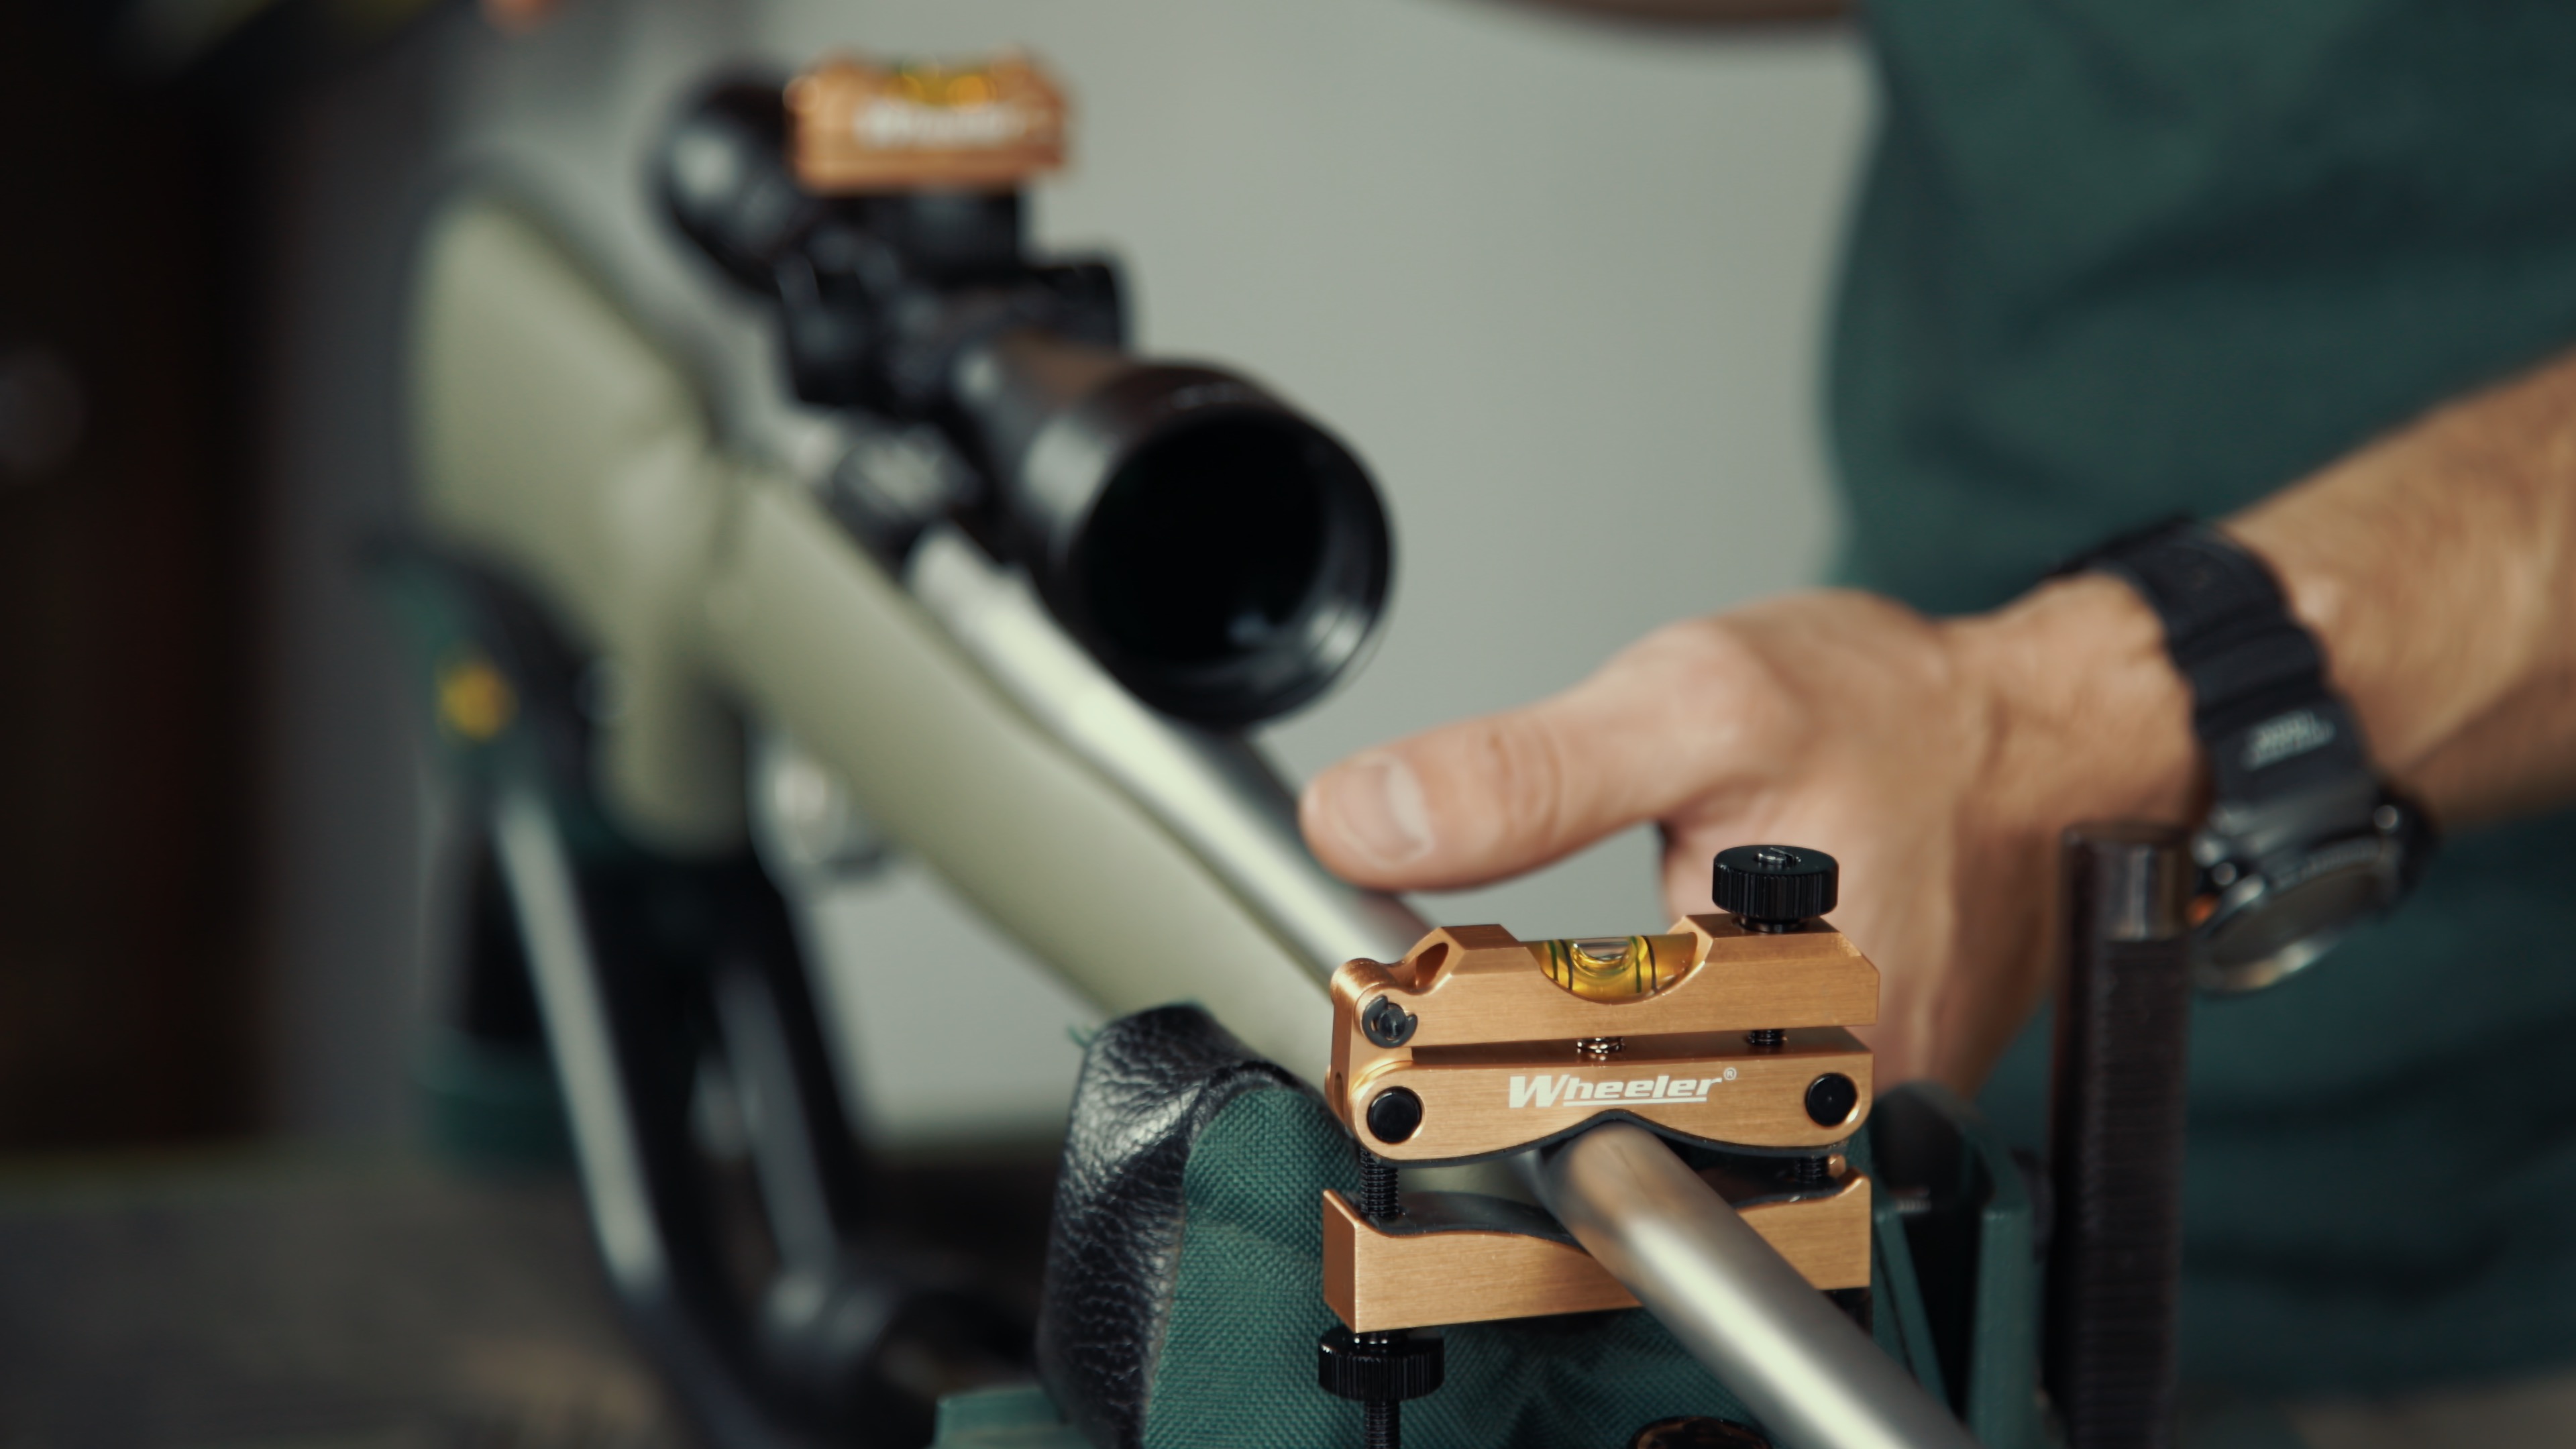
Method 3: Using a Scope Leveling Kit
Specialized scope leveling kits offer a more precise and often quicker method. These kits usually consist of two machined wedges or a magnetic level that aligns with the rifle's bore or action.
The wedges are inserted between the scope rings and the base, allowing for fine-tuning of the scope's cant. A magnetic level then confirms that the scope is perfectly aligned with the action.
These kits can be relatively expensive. However, they provide the most reliable and repeatable results.
Tightening and Final Checks
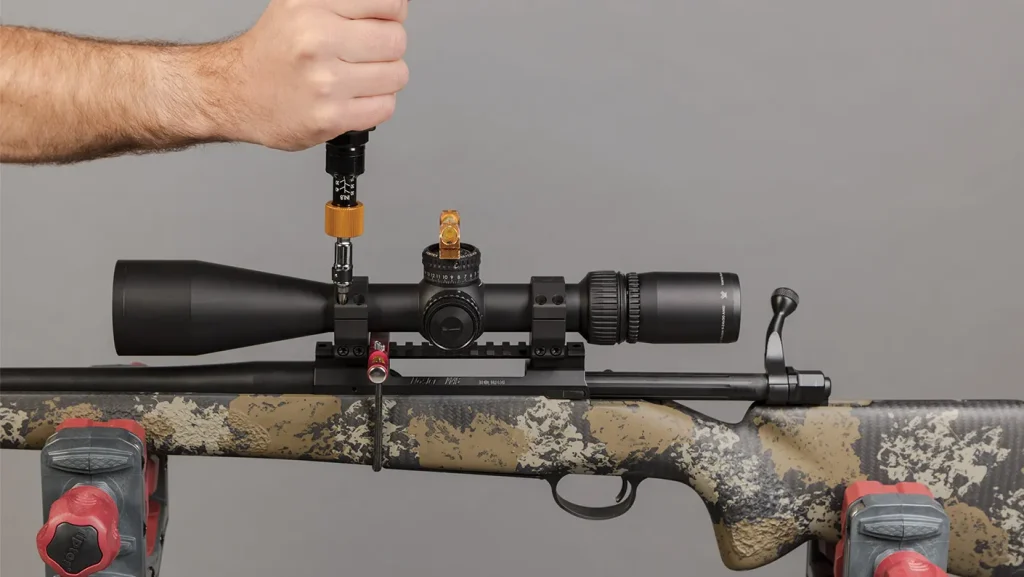
Once the scope is level, tighten the scope ring screws in a crisscross pattern, using the manufacturer's recommended torque specifications. Over-tightening can damage the scope, while under-tightening can lead to slippage.
After tightening, re-check the level one last time. A final visual inspection ensures proper alignment and confirms that the scope is securely mounted.
Consider using a thread locker on the screws. This can prevent them from loosening due to recoil.
Addressing Common Problems
One common issue is difficulty in determining a perfectly flat reference point on the rifle. If the action isn't perfectly flat, use a specialized leveling tool or consult a gunsmith.
Another challenge is maintaining the scope's level during the tightening process. Use a stable platform and tighten the screws gradually, constantly checking the alignment.
Consistency is critical. Retightening screws to the same torque specifications is very important.
Conclusion
Mounting a scope level is a critical step in achieving accuracy and consistency with a rifle. While various methods exist, the key is to use reliable tools, pay attention to detail, and follow the manufacturer's instructions.
By investing the time and effort to properly level a scope, shooters and hunters can eliminate a significant source of error, resulting in improved performance and increased confidence in the field. Continued research and refinement of techniques will undoubtedly lead to even more precise methods in the future.


![How To Mount A Scope Level How to Mount a Scope in 2025: [Guide + Free Tool]](https://gununiversity.com/wp-content/uploads/2022/07/Level-Rifle-Scope-Chapter-6-768x297.png)