How To Record Yourself With A Powerpoint
In an increasingly digital world, the ability to create compelling and informative presentations is paramount. While PowerPoint has long been a staple for slideshow creation, many users are unaware of its built-in capabilities to record presentations, adding a personal touch and boosting engagement. This article will delve into the methods for effectively recording yourself with PowerPoint, transforming static slides into dynamic video content.
This guide offers a detailed walkthrough of how to record yourself presenting a PowerPoint slideshow. This skill is valuable for educators, business professionals, and anyone seeking to enhance their communication through multimedia presentations. By mastering this feature, users can create engaging content that combines visual aids with a personal narrative.
Recording a Presentation in PowerPoint
PowerPoint provides a few different ways to record your screen and narration. The primary method involves utilizing the built-in recording features within the application itself. This streamlined process allows for a seamless integration of your presentation and your recorded commentary.
Method 1: Using the 'Record Slideshow' Feature
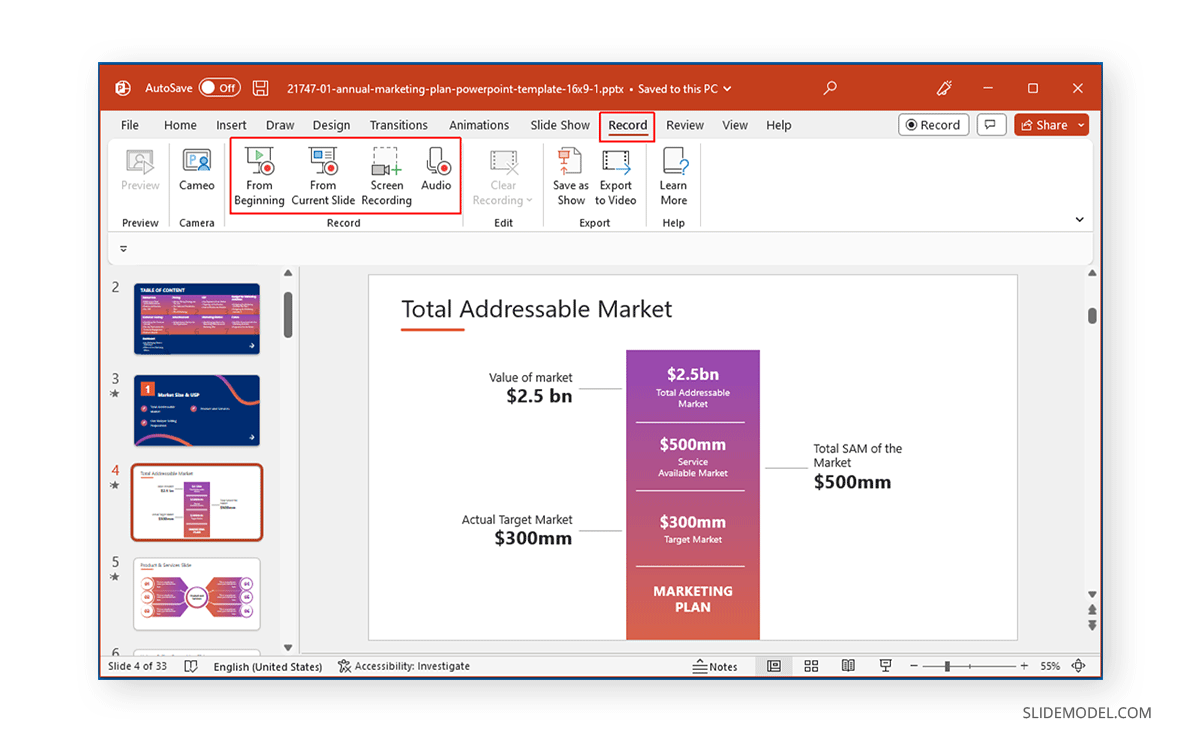
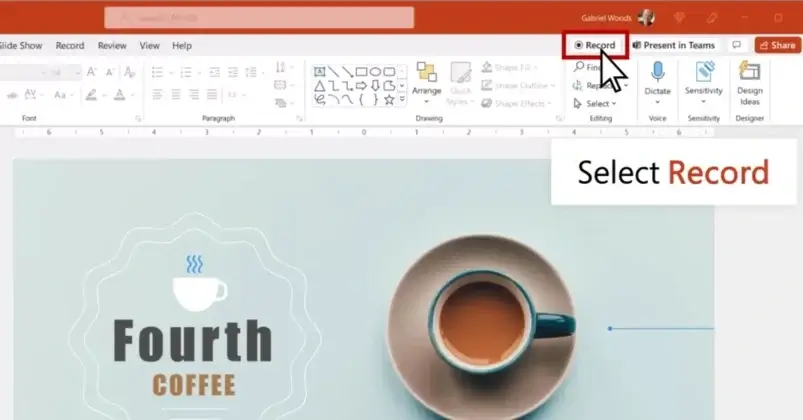
Begin by opening your PowerPoint presentation. Navigate to the 'Slideshow' tab located on the ribbon at the top of the screen.
Within the 'Slideshow' tab, locate and click the 'Record Slideshow' button. This opens a dropdown menu with options to 'Record from Current Slide' or 'Record from Beginning'. Choose the option that best suits your needs.
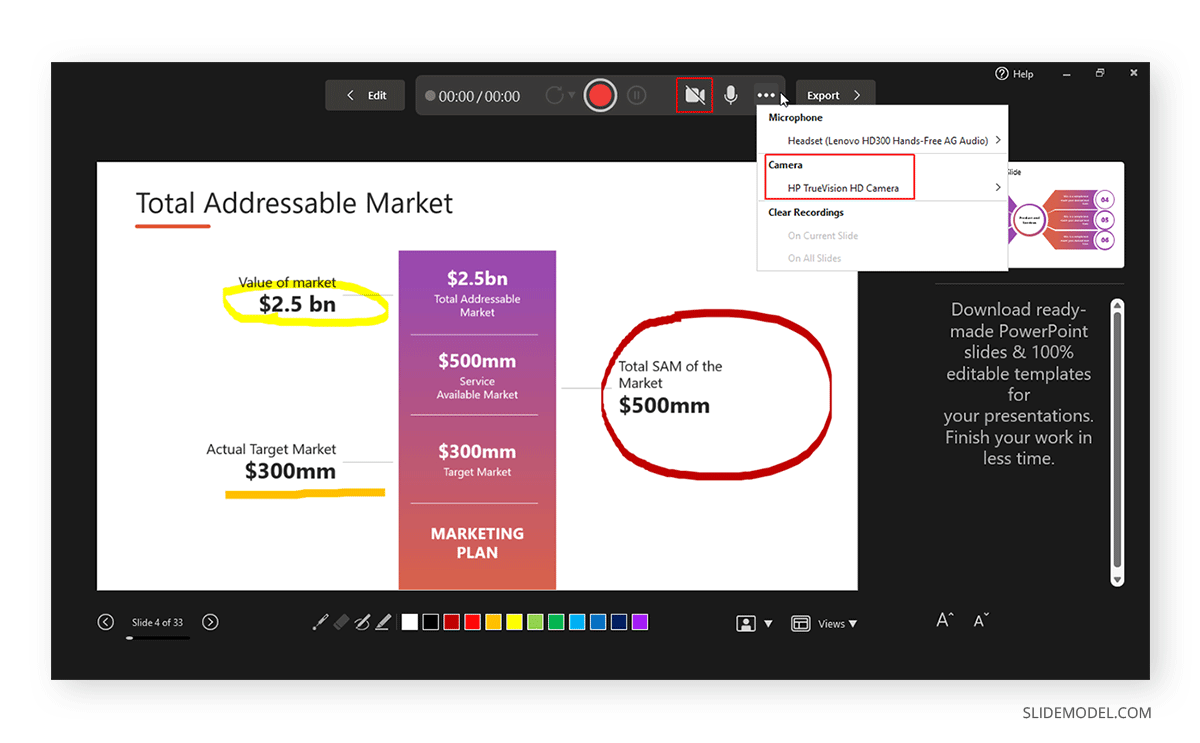
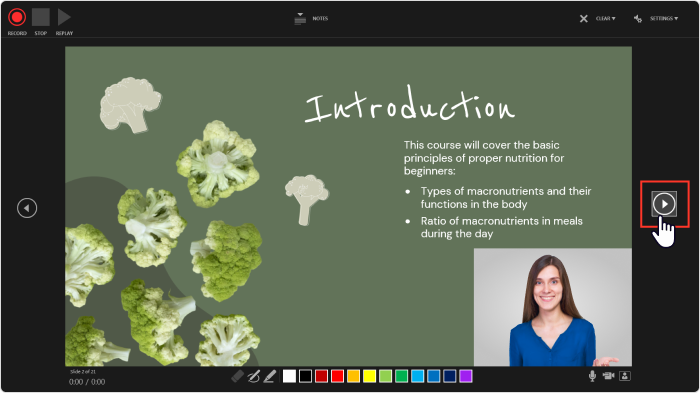
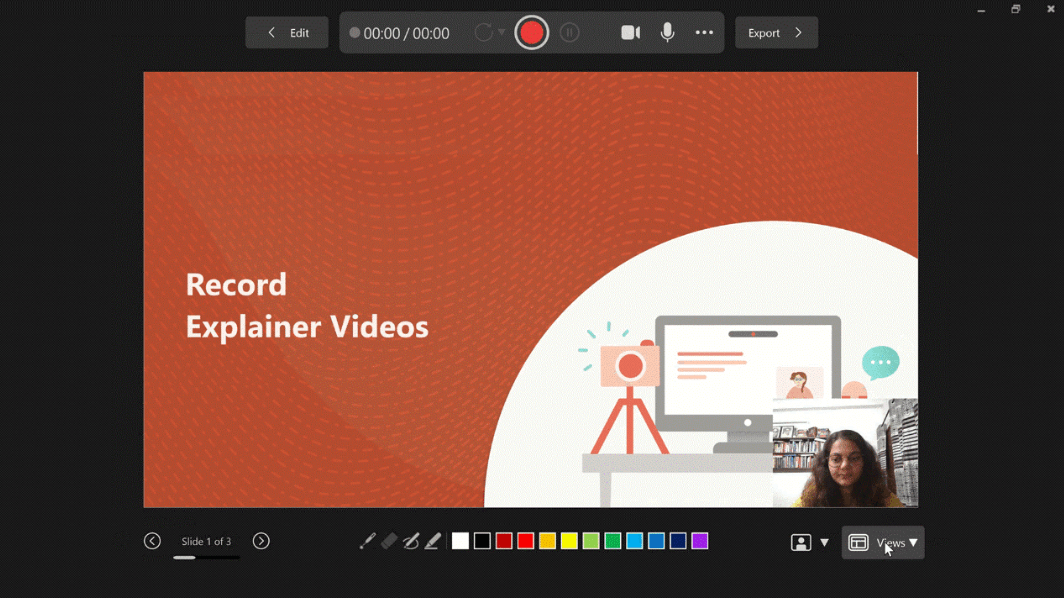
Selecting either option opens the recording interface. This interface displays your slide, notes, and recording controls. You'll see buttons for starting, stopping, and replaying your recording. Also, you will have an option to use a pen, marker, or highlighter to draw on your slides while recording.
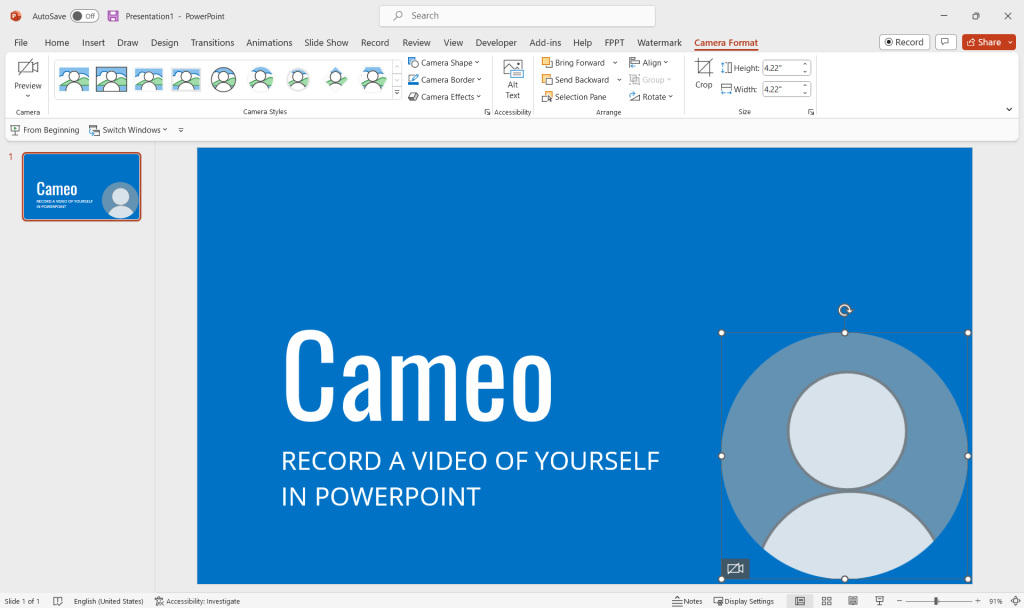
Ensure your microphone and webcam are properly configured. Use the icons at the bottom of the screen to select the correct input devices. Clicking the red 'Record' button initiates the recording process.
Present your slideshow as you normally would, using the navigation arrows to advance slides. Speak clearly and maintain a steady pace. Use the drawing tools to emphasize key points or annotate the slides in real-time.
Once you have finished recording, click the 'Stop' button. PowerPoint will automatically embed your recording onto each slide.
Method 2: Using the 'Screen Recording' Feature
Another method involves using the 'Screen Recording' feature within PowerPoint. This is useful if you want to record applications outside of PowerPoint. This allows you to capture other applications while narrating.
Go to the 'Insert' tab. Locate the 'Screen Recording' option on the right side of the ribbon.
Click 'Screen Recording' and a selection tool will appear. Select the area of your screen you wish to record.
Start your presentation, and use your microphone to record the audio. When you finish, press Windows key + Shift + Q.
PowerPoint automatically embeds the screen recording to your current slide. You can adjust the start and end point of your recorded clip.
Editing Your Recording
After recording, it's essential to review and edit your presentation. PowerPoint offers basic editing tools to refine your recording and remove any mistakes.
Select the recorded media on a specific slide. Navigate to the 'Playback' tab. Utilize the 'Trim Video' feature to cut unwanted sections from the beginning or end of your recording.
Adjust the volume and playback settings as needed. You can also add captions or subtitles to your recording for accessibility.
For more advanced editing, consider exporting the recording as a video file and using a dedicated video editing software. This offers greater control over audio and video enhancements.
Saving and Sharing Your Recorded Presentation
Once you're satisfied with your recording, you have several options for saving and sharing your presentation. Saving the file as a PowerPoint slideshow will retain the embedded recordings. However, it might be ideal to export your work as a video.
To export as a video, go to 'File' > 'Export' > 'Create a Video'. Choose your desired video quality and click 'Create Video'. This will save your presentation as an MP4 file, which is compatible with most devices and platforms.
Consider uploading your video to a platform like YouTube or Vimeo. This makes it easy to share your presentation with a wider audience. Alternatively, you can share the video directly via email or a cloud storage service.
Recording yourself with PowerPoint is a straightforward way to create engaging and informative presentations. By utilizing the built-in recording features and following these guidelines, you can transform static slides into dynamic video content, enhancing your communication and captivating your audience. As remote communication continues to evolve, mastering these skills will be invaluable for professionals across various fields.