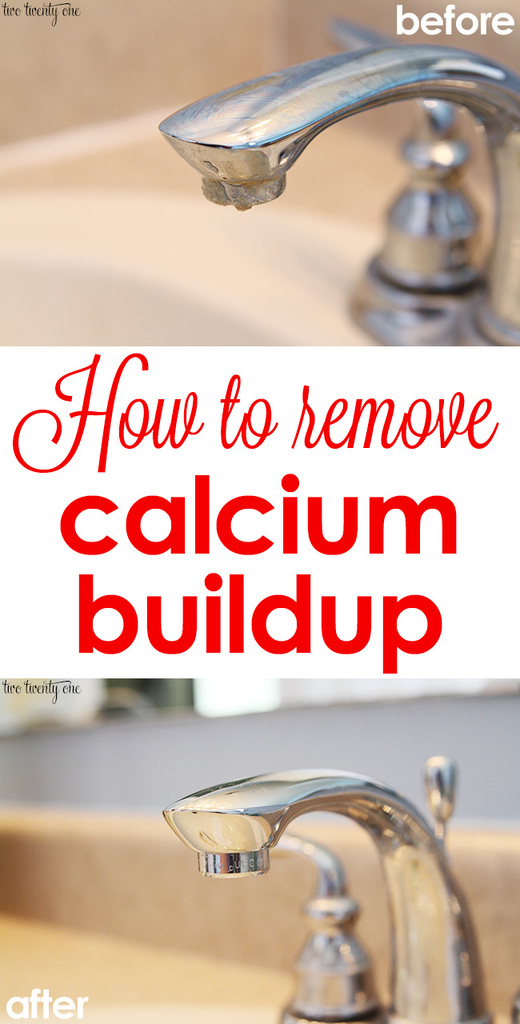
How To Remove Calcium Deposits From Shower Head
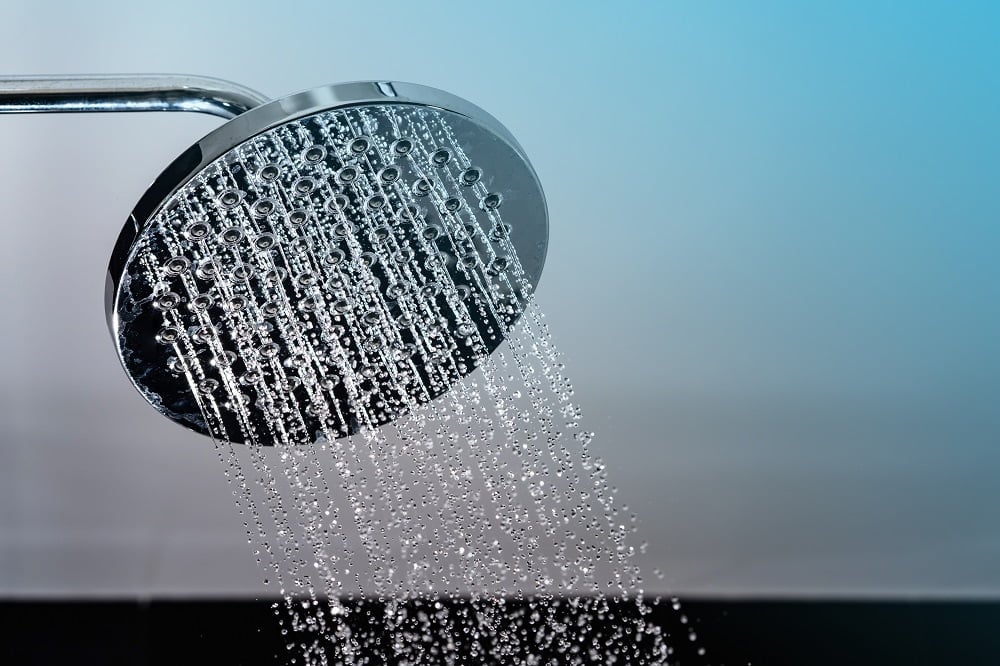
Imagine stepping into your shower, anticipating the soothing cascade of water washing away the day's stress. But instead of a refreshing spray, you're met with a weak, sputtering stream, punctuated by rogue jets shooting in every direction. The culprit? Unseen, relentless calcium deposits silently building up inside your shower head, turning your daily ritual into a frustrating experience.
This article provides a comprehensive guide to effectively removing calcium deposits from your shower head, restoring it to its former glory and transforming your showering experience back into the spa-like escape it should be.
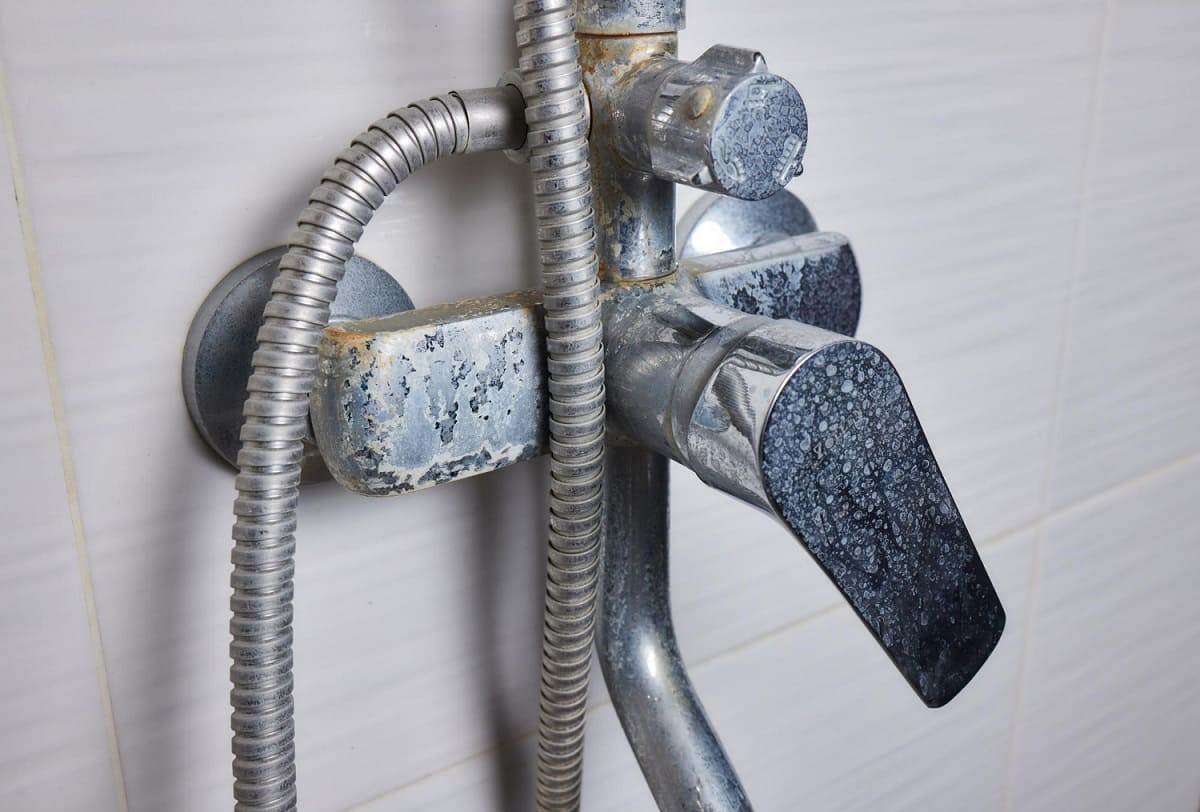
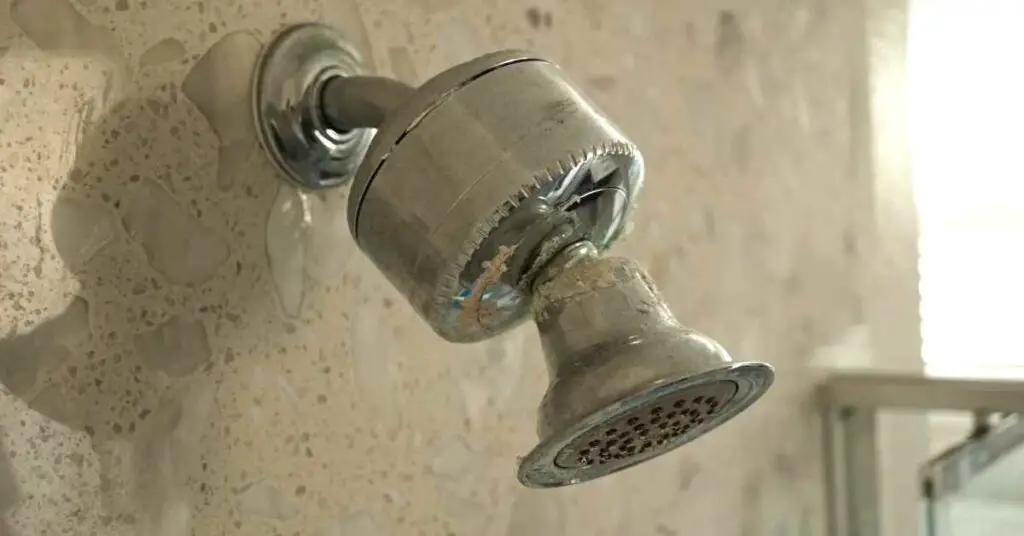
The Unseen Enemy: Calcium Deposits
Hard water, rich in minerals like calcium and magnesium, is a common household challenge. As water flows through your pipes and shower head, these minerals gradually accumulate, forming a stubborn, crusty layer known as limescale or calcium deposits. This buildup restricts water flow, reduces water pressure, and can even damage your shower head over time.
According to the U.S. Geological Survey (USGS), hard water affects approximately 85% of homes in the United States. This prevalence makes understanding how to combat calcium buildup essential for maintaining your plumbing and appliances, including your shower head.
Identifying the Problem
Recognizing the signs of calcium buildup is the first step towards addressing the issue. Keep an eye out for these telltale indicators:
- Reduced water pressure from the shower head
- Uneven or spraying water streams
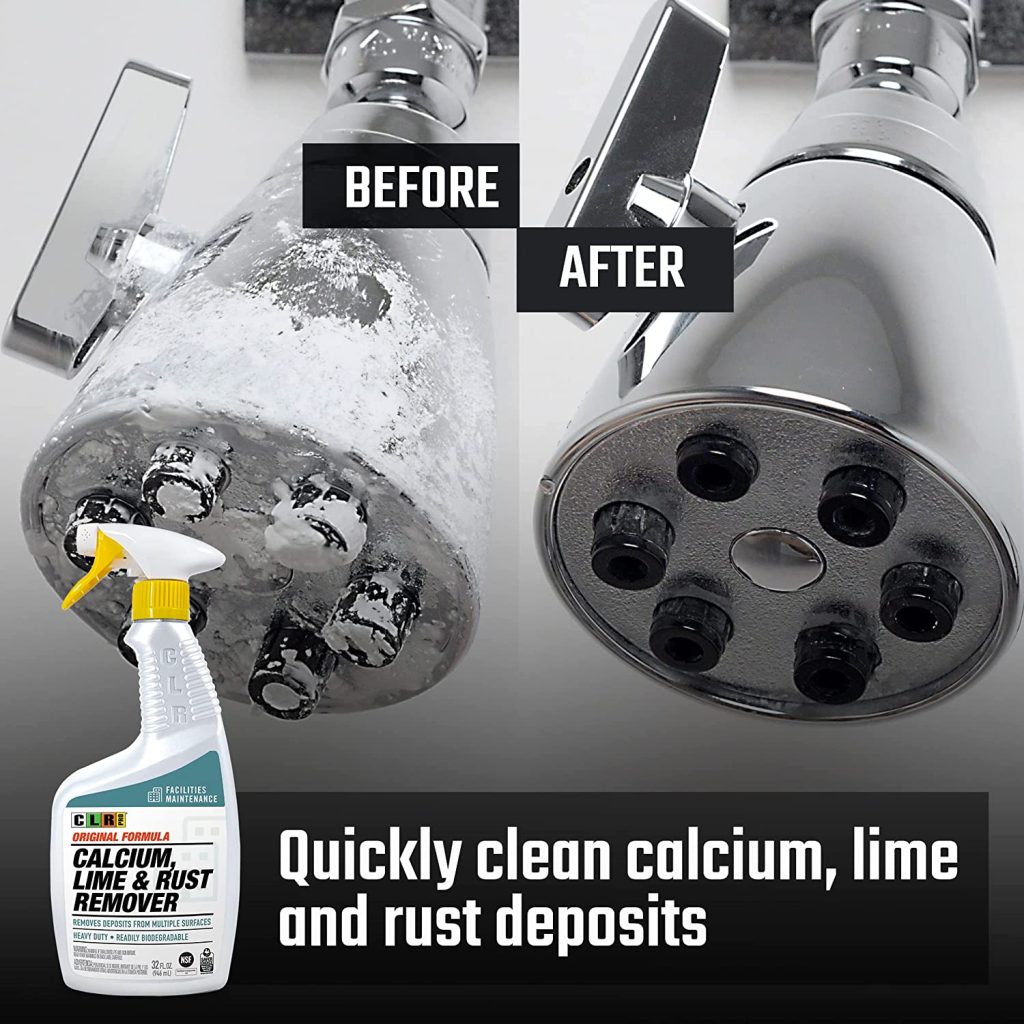
- Visible white or chalky deposits around the shower head nozzles
- A noticeable difference in water flow compared to when the shower head was new
The Vinegar Solution: A Natural and Effective Approach
One of the most popular and effective methods for removing calcium deposits is using white vinegar. Its acidity naturally breaks down the mineral buildup without harsh chemicals. This method is generally safe for most shower head materials, but it's always best to test a small, inconspicuous area first, especially if you have a specialty finish.
The Immersion Method
This method involves removing the shower head from the shower arm and soaking it in a vinegar solution. This is often the most thorough approach, especially for heavily calcified shower heads. Here's a step-by-step guide:
- Disassemble: Carefully detach the shower head from the shower arm using a wrench or pliers, if needed. Use a cloth to protect the finish from scratches.
- Prepare the Solution: Fill a plastic bag or container with enough white vinegar to completely submerge the shower head.
- Soak: Place the shower head in the vinegar and ensure it's fully immersed. Secure the bag or container with a rubber band or tape to prevent spills.
- Wait: Allow the shower head to soak for at least 30 minutes to several hours, or even overnight for severe buildup.
- Scrub: After soaking, remove the shower head and use an old toothbrush, small brush, or toothpick to scrub away any remaining deposits.
- Rinse: Thoroughly rinse the shower head with clean water to remove any residual vinegar and loosened debris.
- Reassemble: Reattach the shower head to the shower arm, ensuring it's securely tightened.
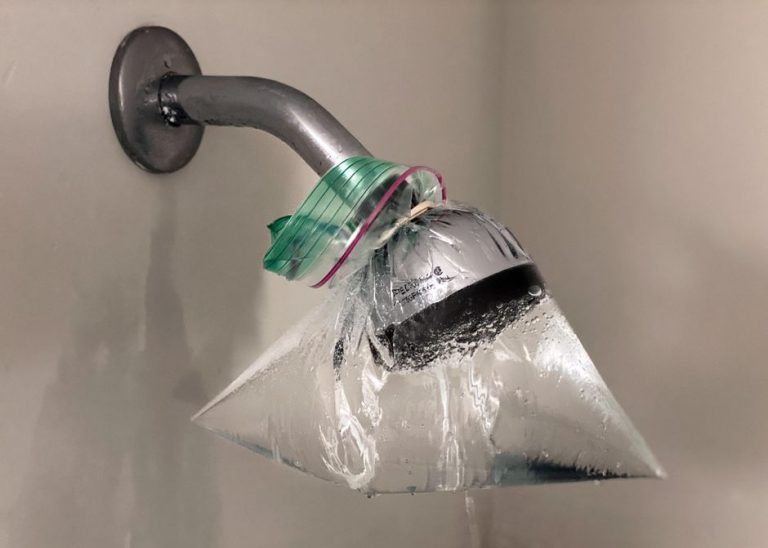
The Bag Method
If removing the shower head is difficult or inconvenient, the bag method offers a practical alternative. It allows you to soak the shower head without disconnecting it from the plumbing. Here's how to do it:
- Fill the Bag: Pour white vinegar into a sturdy plastic bag (a Ziploc bag works well).
- Secure the Bag: Carefully position the bag around the shower head, ensuring the shower head is completely submerged in the vinegar. Secure the bag tightly around the shower arm with a rubber band or twist tie.
- Wait: Let the shower head soak for at least 30 minutes to several hours, or overnight for stubborn buildup.
- Remove and Scrub: Remove the bag and scrub the shower head with a toothbrush or small brush to remove any remaining deposits.
- Rinse: Run the shower for a few minutes to flush out any remaining vinegar and debris.
Other Cleaning Options
While vinegar is a popular choice, other cleaning agents can also be used, though some may be harsher or require more caution.
Baking Soda Paste
A paste made from baking soda and water can be applied to the shower head to help loosen calcium deposits. Let the paste sit for 15-20 minutes before scrubbing and rinsing.
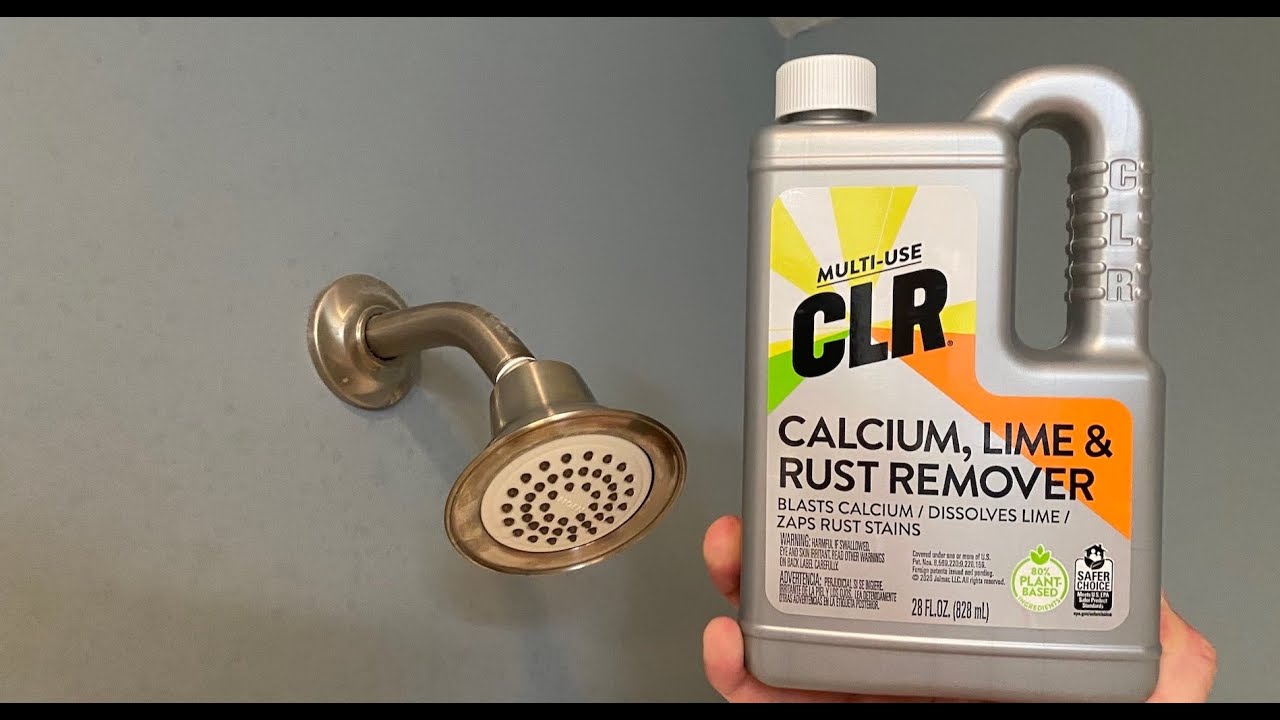
Commercial Cleaners
Numerous commercial cleaners are specifically designed to remove limescale and calcium deposits. Always follow the manufacturer's instructions carefully and wear gloves to protect your skin. Ensure the cleaner is safe for the material of your shower head to avoid damage.
Prevention is Key
Regular cleaning is crucial for preventing calcium buildup from becoming a major problem. Consider these preventative measures:
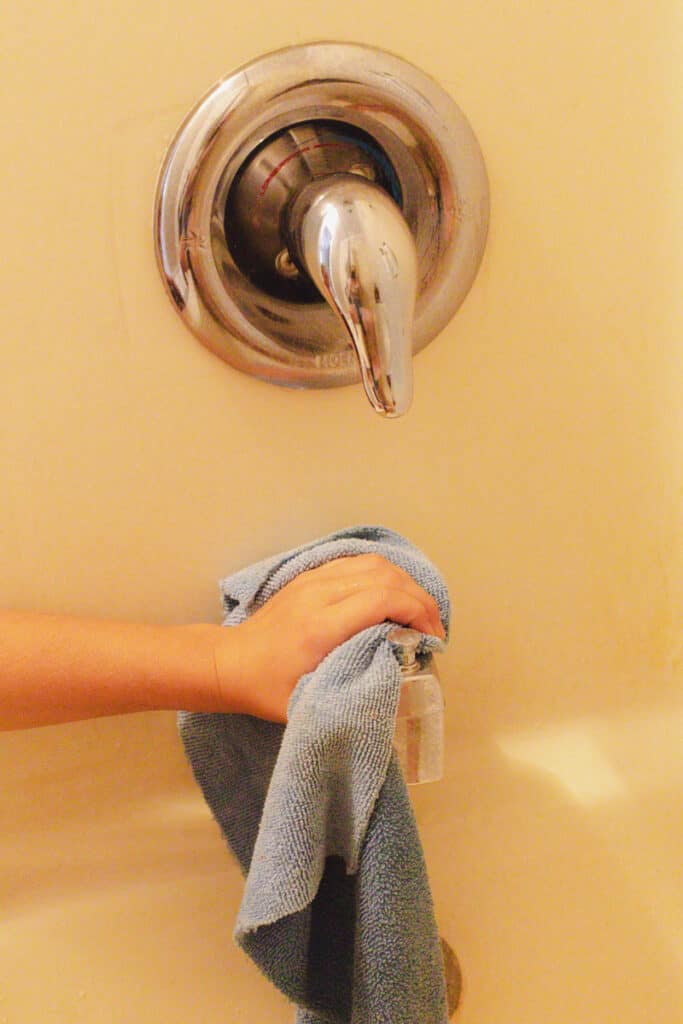
- Wipe down your shower head after each use to remove excess water and prevent mineral deposits from forming.
- Periodically soak your shower head in vinegar, even if you don't see visible buildup. A monthly soak can help maintain its performance.
- Install a water softener to reduce the mineral content of your water supply, minimizing calcium buildup throughout your home. The Water Quality Association provides resources for understanding and selecting water softeners.
Beyond the Shower Head: Addressing the Root Cause
While cleaning your shower head is a temporary fix, addressing the underlying hard water issue can provide a long-term solution. Installing a water softener is an investment that can protect all your plumbing and appliances from the damaging effects of hard water.
Consulting with a plumber or water treatment specialist can help you determine the best course of action for your home's specific water conditions. This ensures that you not only restore your shower head's performance but also safeguard your entire plumbing system.
The Reward: A Restorative Shower Experience
Taking the time to remove calcium deposits from your shower head is an investment in your comfort and well-being. The simple act of restoring proper water flow can transform your daily shower into a truly refreshing and rejuvenating experience. No more sputtering streams or frustrating water pressure – just a soothing cascade of water washing away the day's stresses.
So, armed with these techniques and a little elbow grease, you can reclaim your shower and enjoy the simple pleasure of a perfect shower. It's a small change that can make a big difference in your daily routine and overall quality of life.

:max_bytes(150000):strip_icc()/how-to-remove-calcium-deposits-from-a-showerhead-1388730-01-45aa6fa822be490f85f23f982a9a049c.jpg)