How To Remove Picasa From Galaxy Note 4
Galaxy Note 4 users facing persistent Picasa integration issues, listen up! Removing the outdated Picasa app and its associated accounts is crucial for streamlining your device and safeguarding your data.
Many are reporting unnecessary account syncing and storage clutter linked to the now-defunct service. This guide provides actionable steps to completely remove Picasa from your Galaxy Note 4.
Removing Picasa Account Sync
First, navigate to your device’s settings. This can usually be done by tapping the gear icon in your app drawer or notification shade.
Scroll down to the "Accounts" section. You might find this under "Cloud and accounts" or a similar category depending on your specific Android version.
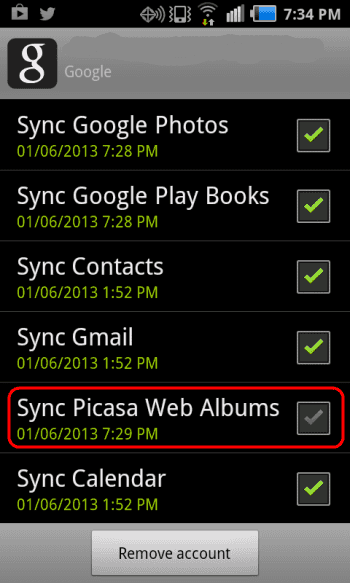
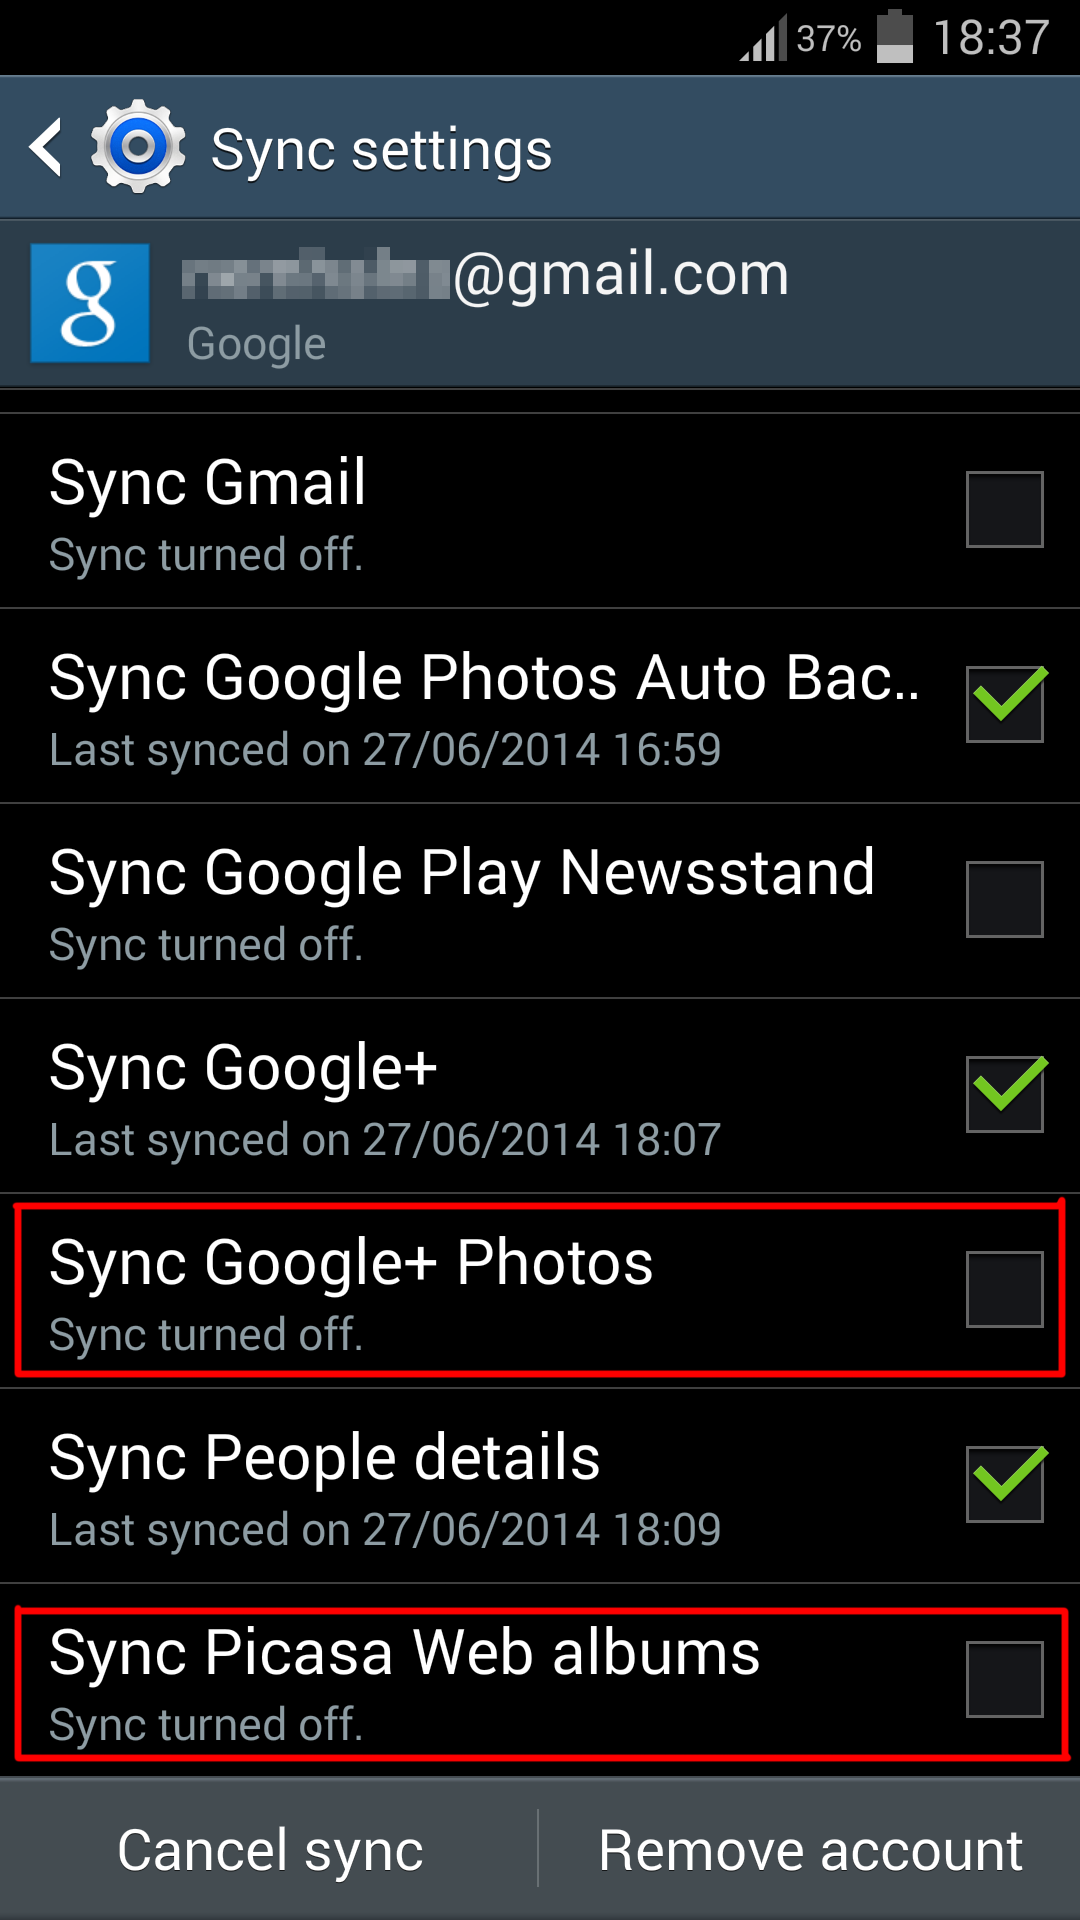
Look for a Google account associated with Picasa. Select the account you wish to modify.
Once selected, you should see a list of services being synced. Locate "Picasa Web Albums" or a similar entry related to Picasa.
Deselect the checkbox or toggle the switch next to Picasa to disable syncing. This will prevent further data from being pulled from the service.
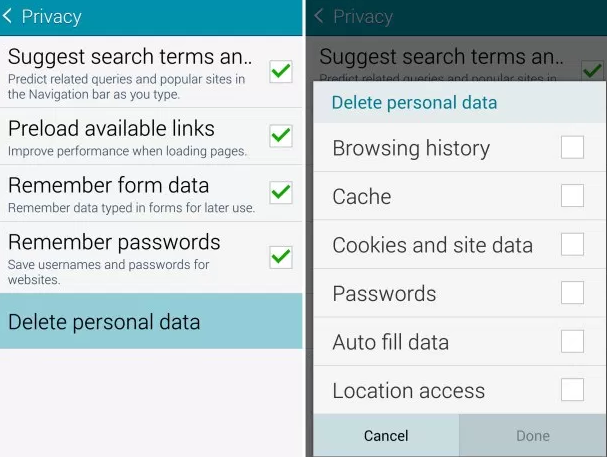
Clearing Picasa Data
After disabling sync, clearing the app's cached data is vital. Go back to the main settings menu.
Find the "Apps" or "Application Manager" section. This may be listed under a general category like "Device maintenance".
Locate "Google Photos" in the list of installed apps. Since Picasa is integrated into Google Photos, this is the relevant app to target.
Tap on "Storage". You will see options to clear cache and clear data.
Tap "Clear Cache" first. Then, if you want to completely remove all local Picasa data, tap "Clear Data." Warning: Clearing data will remove any offline Google Photos content as well.
Disabling the Picasa App (If Possible)
In some cases, you might be able to disable the Picasa app (or rather, the Google Photos app, if that's what integrated Picasa on your device). From the "Apps" settings as above.
If the "Disable" button is available, tap it. This will prevent the app from running in the background and further accessing data.
Note: If the "Disable" button is greyed out, it's likely the app is considered a system app and cannot be disabled without root access.
Final Check and Restart
After completing these steps, restart your Galaxy Note 4. This ensures all changes are fully implemented.
Re-check your Google account settings to confirm Picasa syncing is disabled. Monitor your device for any further signs of Picasa activity.
Advanced Steps (Use with Caution)
If the above steps don't fully resolve the issue and you are comfortable with more technical procedures, you might explore rooting your device to remove system apps. However, rooting voids your warranty and can potentially brick your phone. Proceed at your own risk!
Another advanced option, if available, would be to install a custom ROM that offers more granular control over system apps. This also requires technical expertise and carries risks.
By following these steps, you can effectively remove Picasa integration from your Galaxy Note 4. This will free up storage, improve device performance, and enhance your data privacy.
Continue to monitor your device for any unwanted syncing behavior. Consult online forums and communities for additional support if needed.
![How To Remove Picasa From Galaxy Note 4 How to Delete Photos from Picasa [Every Method] - TechMused](https://techmused.com/wp-content/uploads/2018/01/5.png)
![How To Remove Picasa From Galaxy Note 4 How to Delete Photos from Picasa [Every Method] - TechMused](https://techmused.com/wp-content/uploads/2018/01/3.png)
![How To Remove Picasa From Galaxy Note 4 How to Delete Photos from Picasa [Every Method] - TechMused](https://techmused.com/wp-content/uploads/2018/01/4.png)


![How To Remove Picasa From Galaxy Note 4 How to Delete Photos from Picasa [Every Method] - TechMused](https://techmused.com/wp-content/uploads/2018/01/1.png)