How To Replace Square Taper Bottom Bracket

Your bike's bottom bracket is failing? Don't panic. This guide provides a step-by-step breakdown on replacing a square taper bottom bracket at home, getting you back on the road quickly.
The bottom bracket is a critical component, linking the crankset to the frame. When it wears out, riding becomes difficult, noisy, and even dangerous. Fortunately, replacement is manageable with basic tools and a bit of patience.
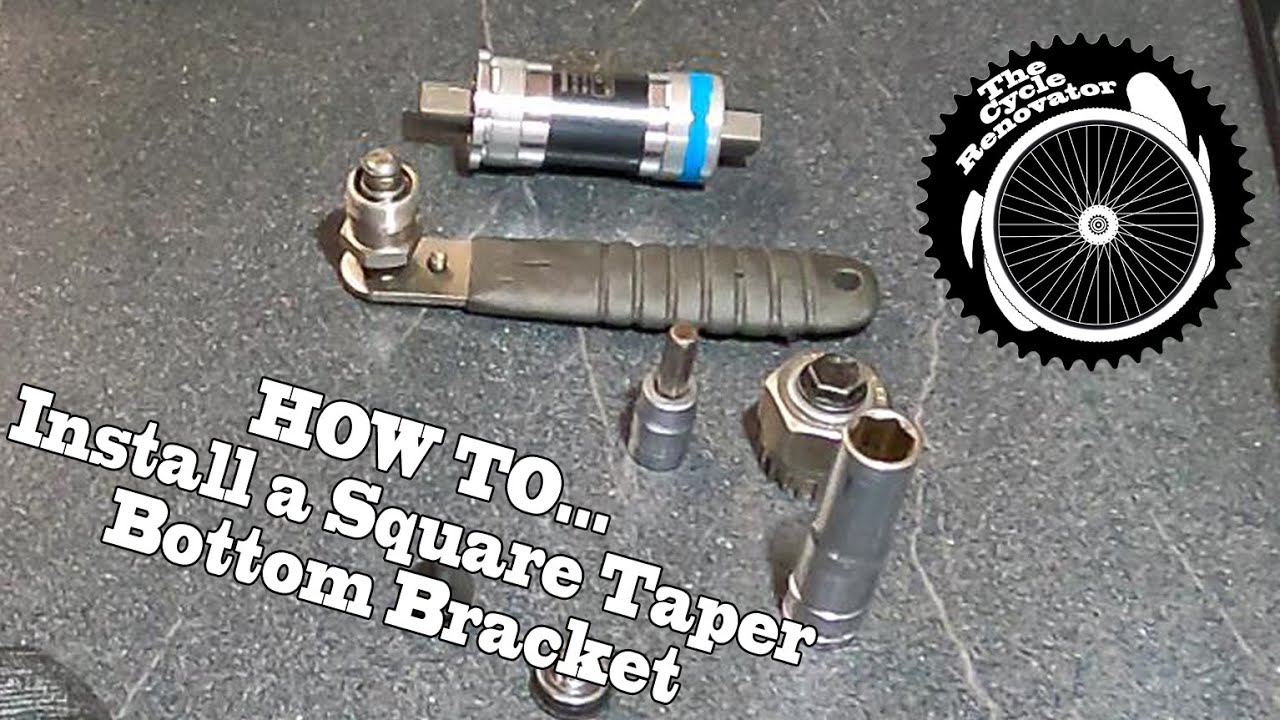
Tools You'll Need
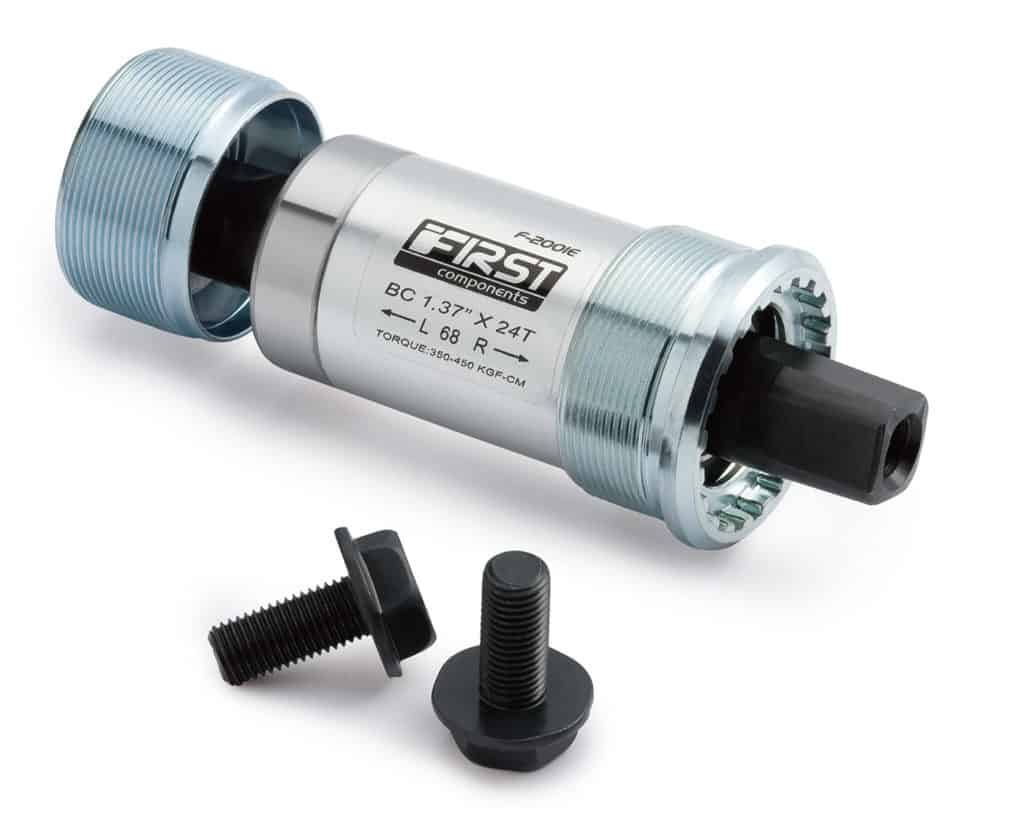
Gather these essential tools before starting: a crank puller (specific to square taper), a bottom bracket tool (matching your bottom bracket type), a wrench for the bottom bracket tool, a cleaning rag, grease, and possibly a hammer (for stubborn crank arms).
Step-by-Step Instructions
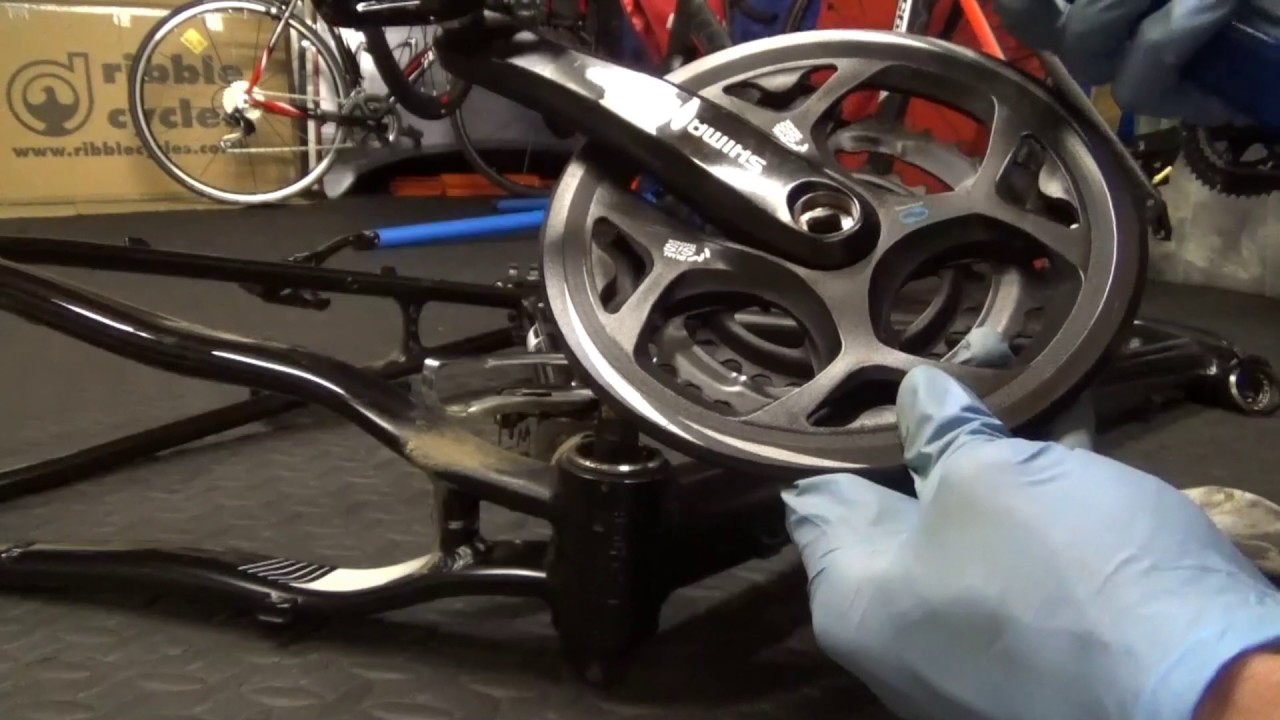
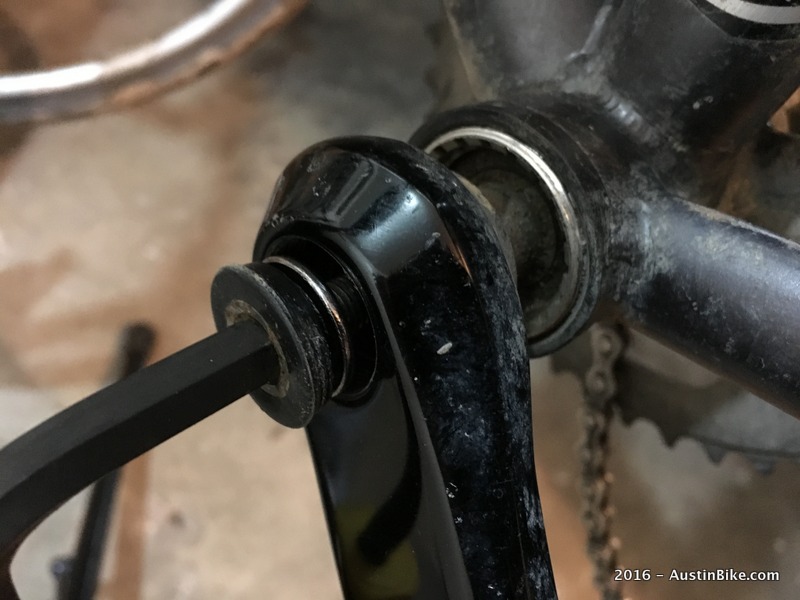
1. Remove the Crank Arms
Begin by removing the bolts holding the crank arms to the bottom bracket spindle. Use the appropriate Allen key or wrench.
Thread the crank puller into the crank arm. Ensure it's fully seated to avoid damaging the threads.
Use a wrench to tighten the crank puller's bolt, pushing the spindle out of the crank arm. Repeat on the other side.
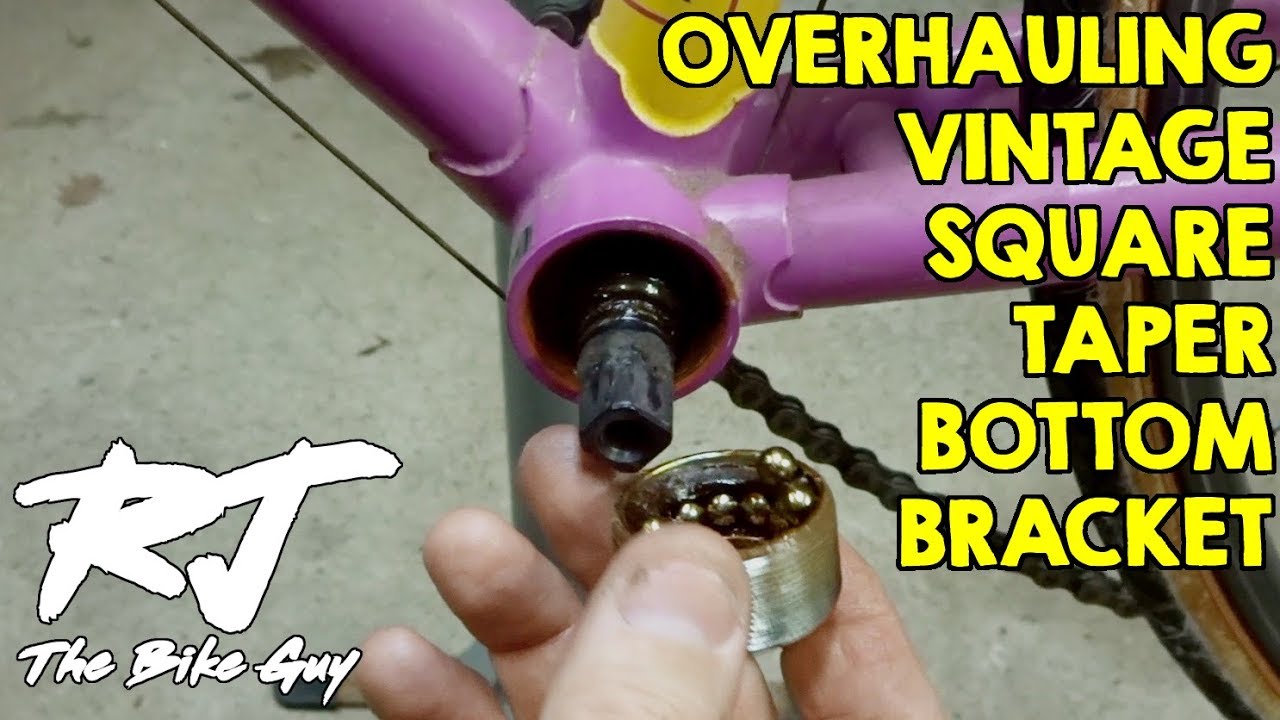
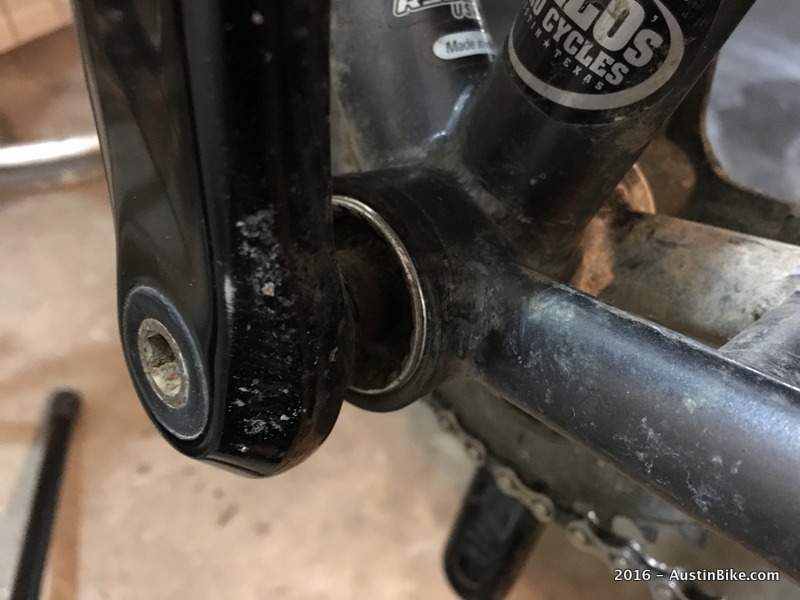
2. Remove the Bottom Bracket Cartridge
Identify the type of bottom bracket you have. Shimano and SRAM use proprietary external bearing BB removal tools. Insert the bottom bracket tool into the splines of the bottom bracket cup.
Using a wrench, turn the bottom bracket tool counterclockwise on the drive side and clockwise on the non-drive side to unscrew the cups.
Be prepared for some resistance, especially if the bottom bracket hasn't been removed in a while.
Clean the bottom bracket shell threads inside the frame with a rag.
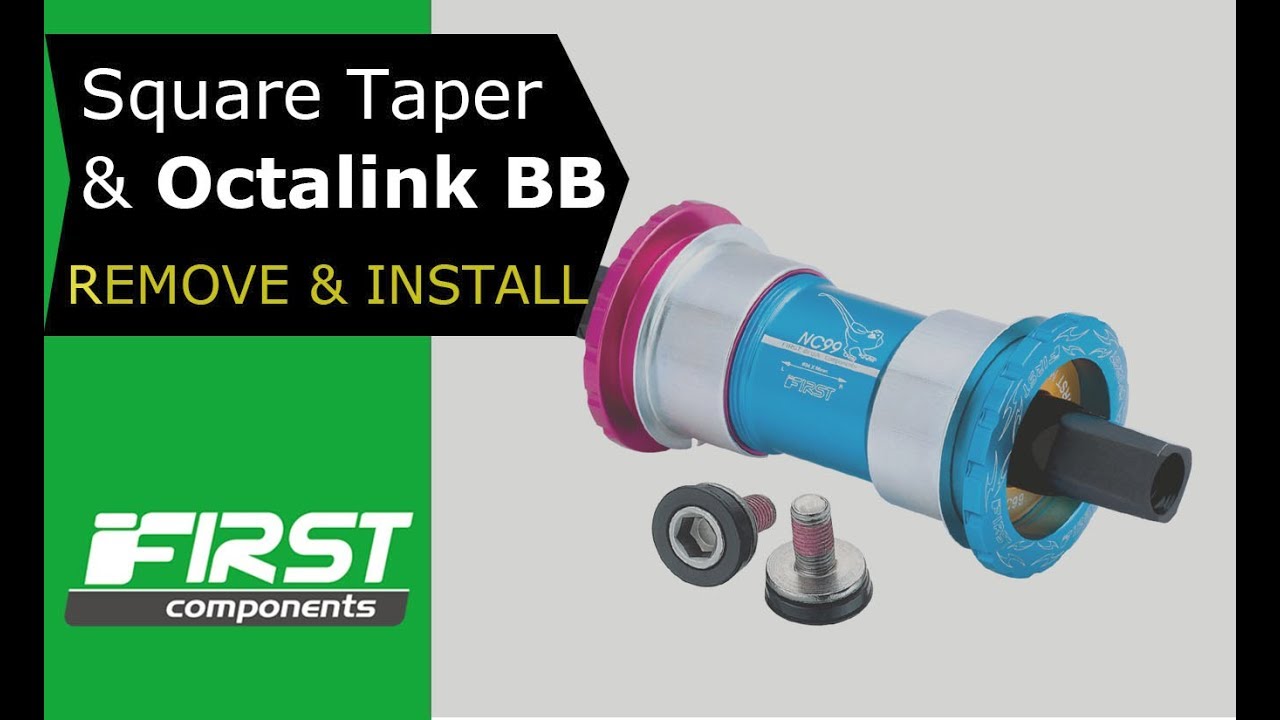
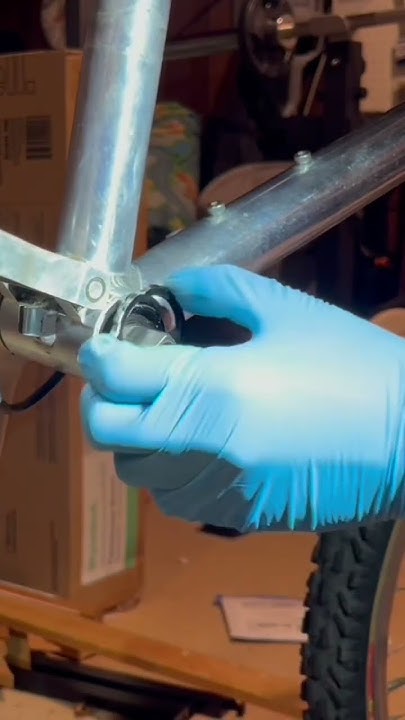
3. Install the New Bottom Bracket
Apply a generous amount of grease to the threads of the new bottom bracket cups and the bottom bracket shell of the frame. This will prevent corrosion and make future removal easier.
Thread the new bottom bracket cups into the frame by hand, ensuring they are properly aligned. Use the bottom bracket tool and a wrench to tighten them to the manufacturer's specified torque. Usually between 35-50Nm. Start with the drive side cup, then install the non-drive side.
4. Reinstall the Crank Arms
Align the crank arms with the bottom bracket spindle. Tighten the crank arm bolts to the manufacturer's specified torque (usually between 40-50Nm).
Double-check that the crank arms are securely attached and spin freely. Test ride the bike to ensure everything is working correctly.
Troubleshooting Tips
If the crank arms are difficult to remove, try using a penetrating oil and allowing it to soak for a few minutes. If the bottom bracket cups are seized, consider using a heat gun to gently warm the frame around the bottom bracket shell. This can help loosen the threads.
Ensure that the new bottom bracket is compatible with your bike frame and crankset. Refer to the manufacturer's specifications to confirm compatibility.
Next Steps
Regularly inspect your bottom bracket for play or noise. A well-maintained bottom bracket ensures a smooth and efficient ride.
If you're unsure about any step, consult a professional bike mechanic. Improper installation can damage your bike frame or components.