How To Use A Keurig Single Cup
In a world increasingly defined by convenience, the single-cup coffee maker has become a ubiquitous fixture in homes and offices. Among these, the Keurig stands out as a dominant brand, promising a quick and easy route to a hot cup of coffee, tea, or other beverage. However, maximizing the potential of this device requires more than just pressing a button.
This guide delves into the proper usage of a Keurig single-cup coffee maker, ensuring optimal performance, longevity, and, most importantly, a consistently delicious beverage. From initial setup to regular maintenance, we'll explore the steps necessary to navigate the Keurig landscape and avoid common pitfalls. We'll also consider water quality, K-Cup selection, and troubleshooting tips to guarantee a seamless brewing experience.
Getting Started: Initial Setup
Before brewing your first cup, proper setup is crucial. Begin by unboxing your Keurig and removing all packing materials. This includes any tape, plastic, or cardboard inserts that may be present.
Next, thoroughly wash the water reservoir with mild soap and water. Rinse it completely to remove any soap residue that could affect the taste of your beverage. Dry the reservoir before placing it back onto the machine.
Most Keurig models require an initial priming process. Fill the water reservoir to the maximum fill line indicated. Follow the on-screen prompts (if applicable) or consult your user manual to initiate the priming cycle. This process flushes the internal components and prepares the machine for brewing.
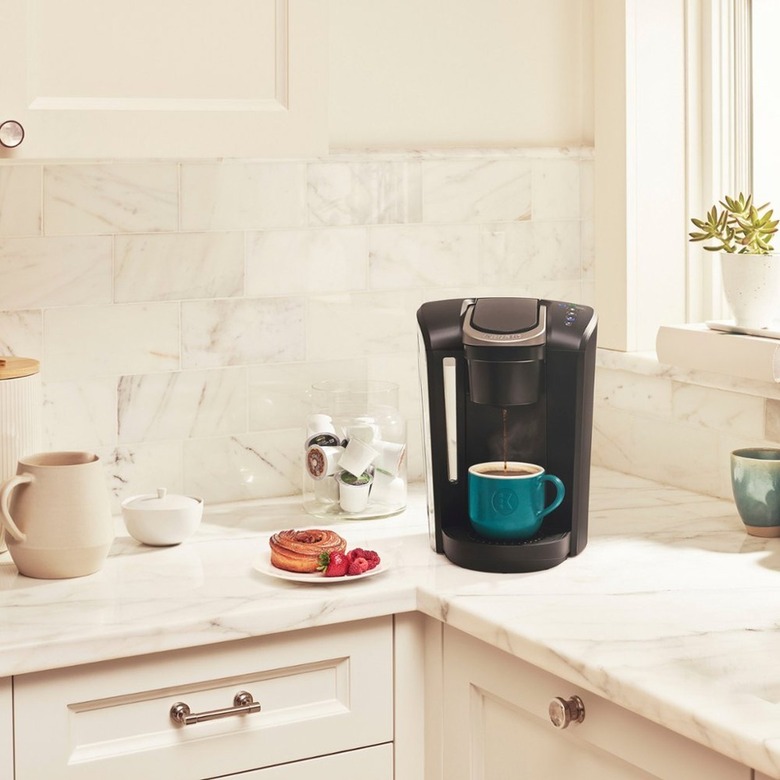
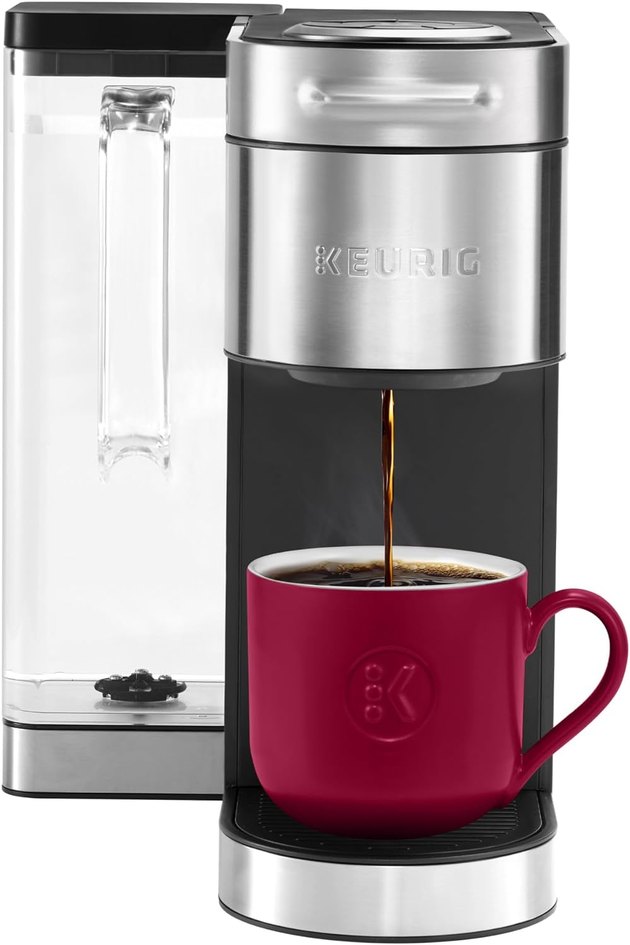
Brewing Your Perfect Cup
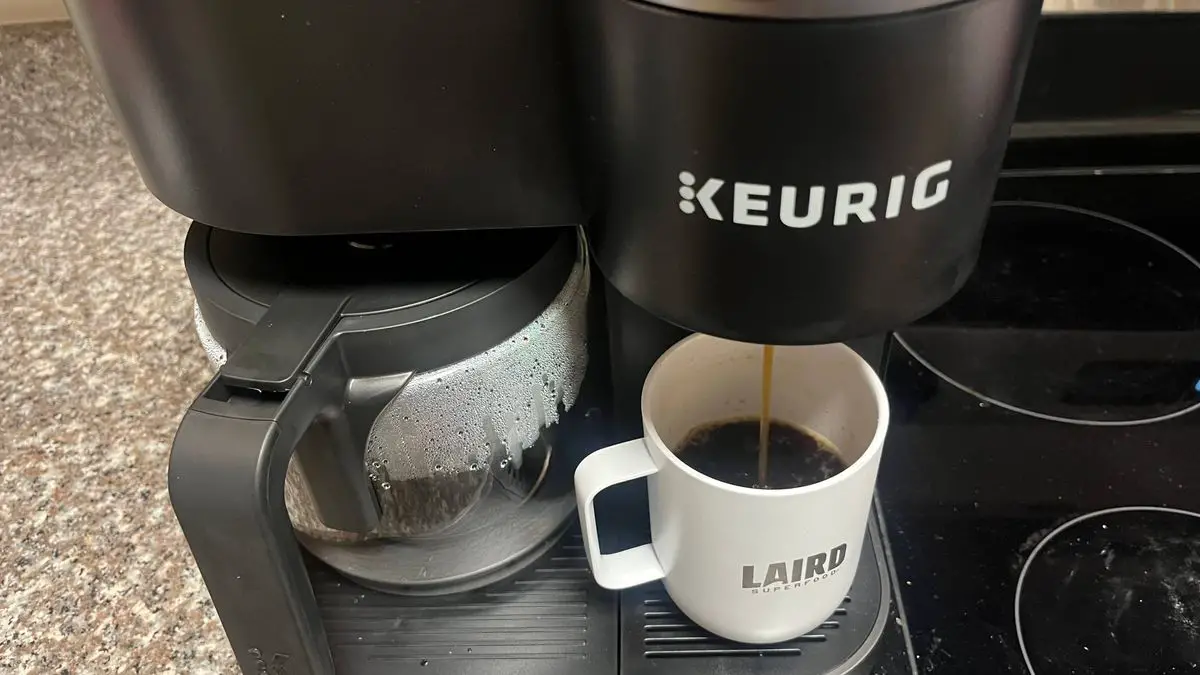
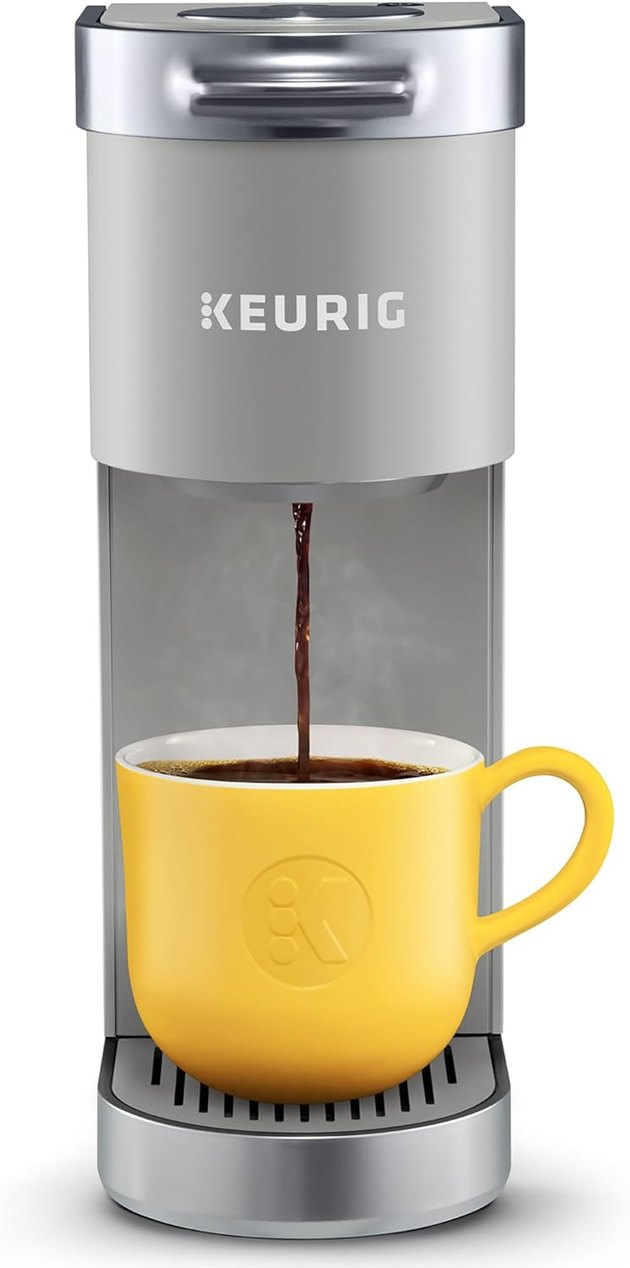
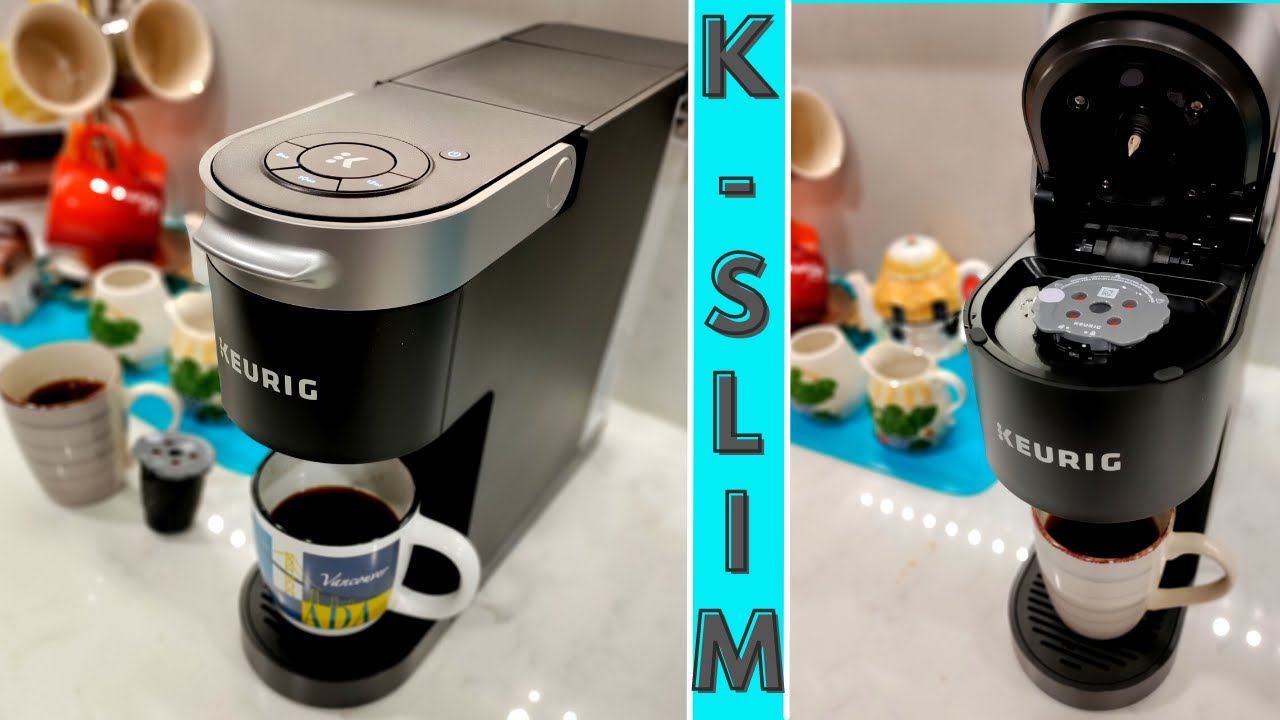
With your Keurig primed, you're ready to brew. Lift the handle to open the K-Cup holder. Insert your chosen K-Cup into the holder, ensuring it sits securely.
Close the handle firmly. Select your desired cup size. This is typically done via buttons on the control panel. Smaller cup sizes will result in a stronger brew, while larger sizes will be weaker.
Press the brew button to begin the brewing process. The machine will heat the water and force it through the K-Cup, dispensing your beverage into your mug. Once brewing is complete, the machine will automatically shut off.
Water Quality: The Key Ingredient
The quality of your water significantly impacts the taste of your coffee. Use filtered water whenever possible. Tap water often contains minerals and impurities that can negatively affect the flavor profile.
Consider using a Keurig-compatible water filter. These filters remove chlorine and other contaminants, resulting in a cleaner, better-tasting brew. Replace the water filter regularly, as recommended by the manufacturer.
Hard water can also lead to mineral buildup inside the machine. This buildup can reduce performance and potentially damage the unit over time. Descaling your Keurig regularly is essential.
K-Cup Selection and Compatibility
Keurig offers a vast array of K-Cup options, including coffee, tea, hot chocolate, and more. Experiment with different flavors and brands to find your favorites. Pay attention to the roast level of the coffee, as this will affect the taste.
Ensure that the K-Cups you use are compatible with your Keurig model. While most models are designed for standard K-Cups, some may require specific types. Check your user manual for compatibility information.
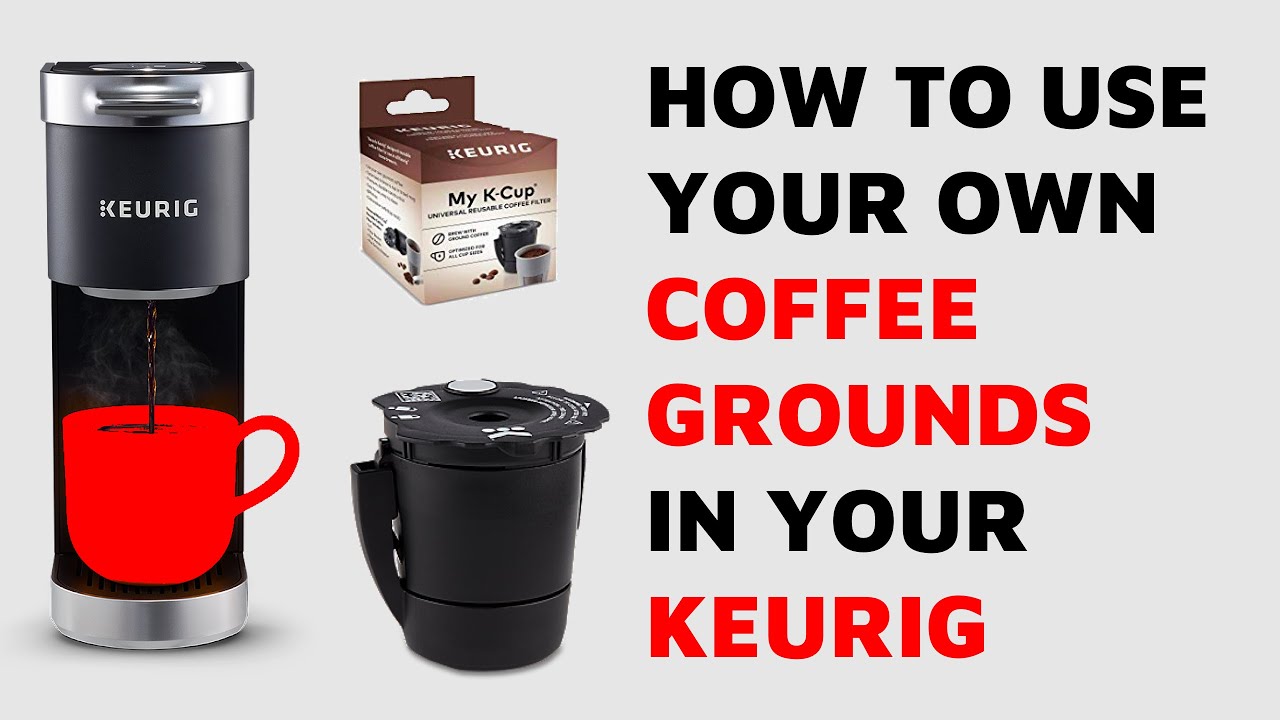
Consider using reusable K-Cups to reduce waste and save money. These cups allow you to use your own ground coffee. Be sure to use the correct grind size (medium-fine) for optimal results.
Cleaning and Maintenance
Regular cleaning and maintenance are essential for keeping your Keurig in top condition. Clean the external surfaces of the machine with a damp cloth. Wipe up any spills promptly.
Empty and clean the drip tray regularly. This will prevent overflowing and keep your countertop clean. Wash the water reservoir frequently with mild soap and water.
Descale your Keurig every 3-6 months, depending on your water hardness. Use a Keurig descaling solution or a mixture of equal parts white vinegar and water. Follow the instructions in your user manual for descaling.
Troubleshooting Common Issues
If your Keurig is not brewing properly, check the water reservoir. Ensure it is filled to the appropriate level. Also, make sure the K-Cup is properly inserted and the handle is fully closed.
If the machine is making strange noises or brewing slowly, it may need to be descaled. Mineral buildup can restrict water flow and affect performance. Follow the descaling instructions to remove any buildup.
If you continue to experience problems, consult your user manual or contact Keurig customer support. They can provide further troubleshooting assistance and help resolve any issues.
The Future of Single-Cup Brewing
The single-cup brewing market continues to evolve. New technologies are emerging, offering improved brewing performance and increased convenience. Look for models with features like adjustable brew strength and temperature control.
Sustainability is also becoming an increasingly important consideration. Manufacturers are developing more eco-friendly K-Cups and promoting the use of reusable filters. Consumers are also more conscious of the environmental impact of single-use coffee pods.
By following these guidelines and embracing new innovations, you can ensure that your Keurig continues to provide you with delicious and convenient beverages for years to come. Investing in proper usage and maintenance is an investment in both the quality of your coffee and the longevity of your machine.