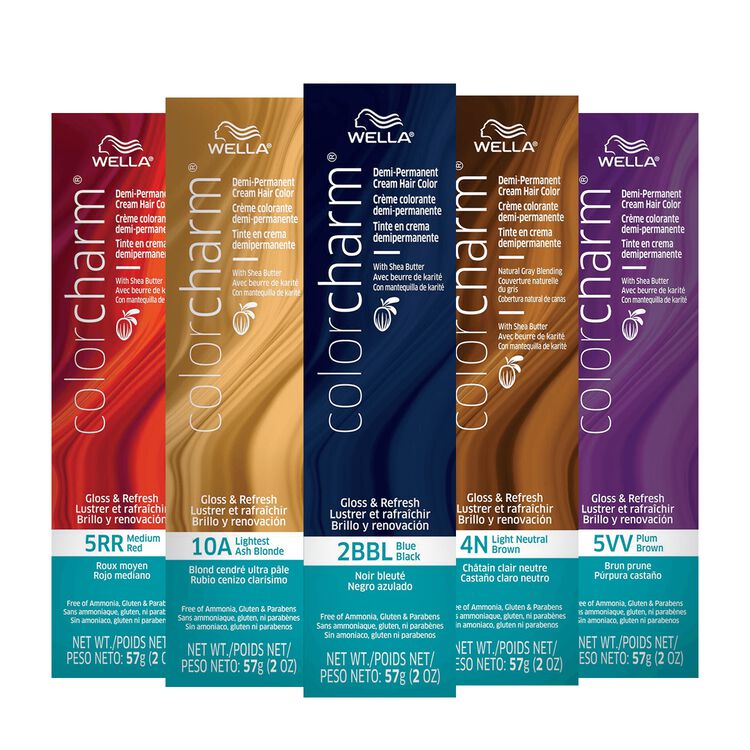
How To Use Permanent Creme Hair Color
Want salon-quality hair color at home? Permanent creme hair color offers long-lasting results, but proper application is crucial to avoid damage and achieve your desired shade.
This guide provides a concise, step-by-step method for safely and effectively using permanent creme hair color, ensuring a beautiful, vibrant transformation.
Preparation is Key
Who: This guide is for anyone looking to color their hair at home using permanent creme hair color.
What: We're covering the essential steps for a successful at-home hair coloring process.
Where: This information applies to at-home hair coloring, regardless of your location.
Gather Your Supplies
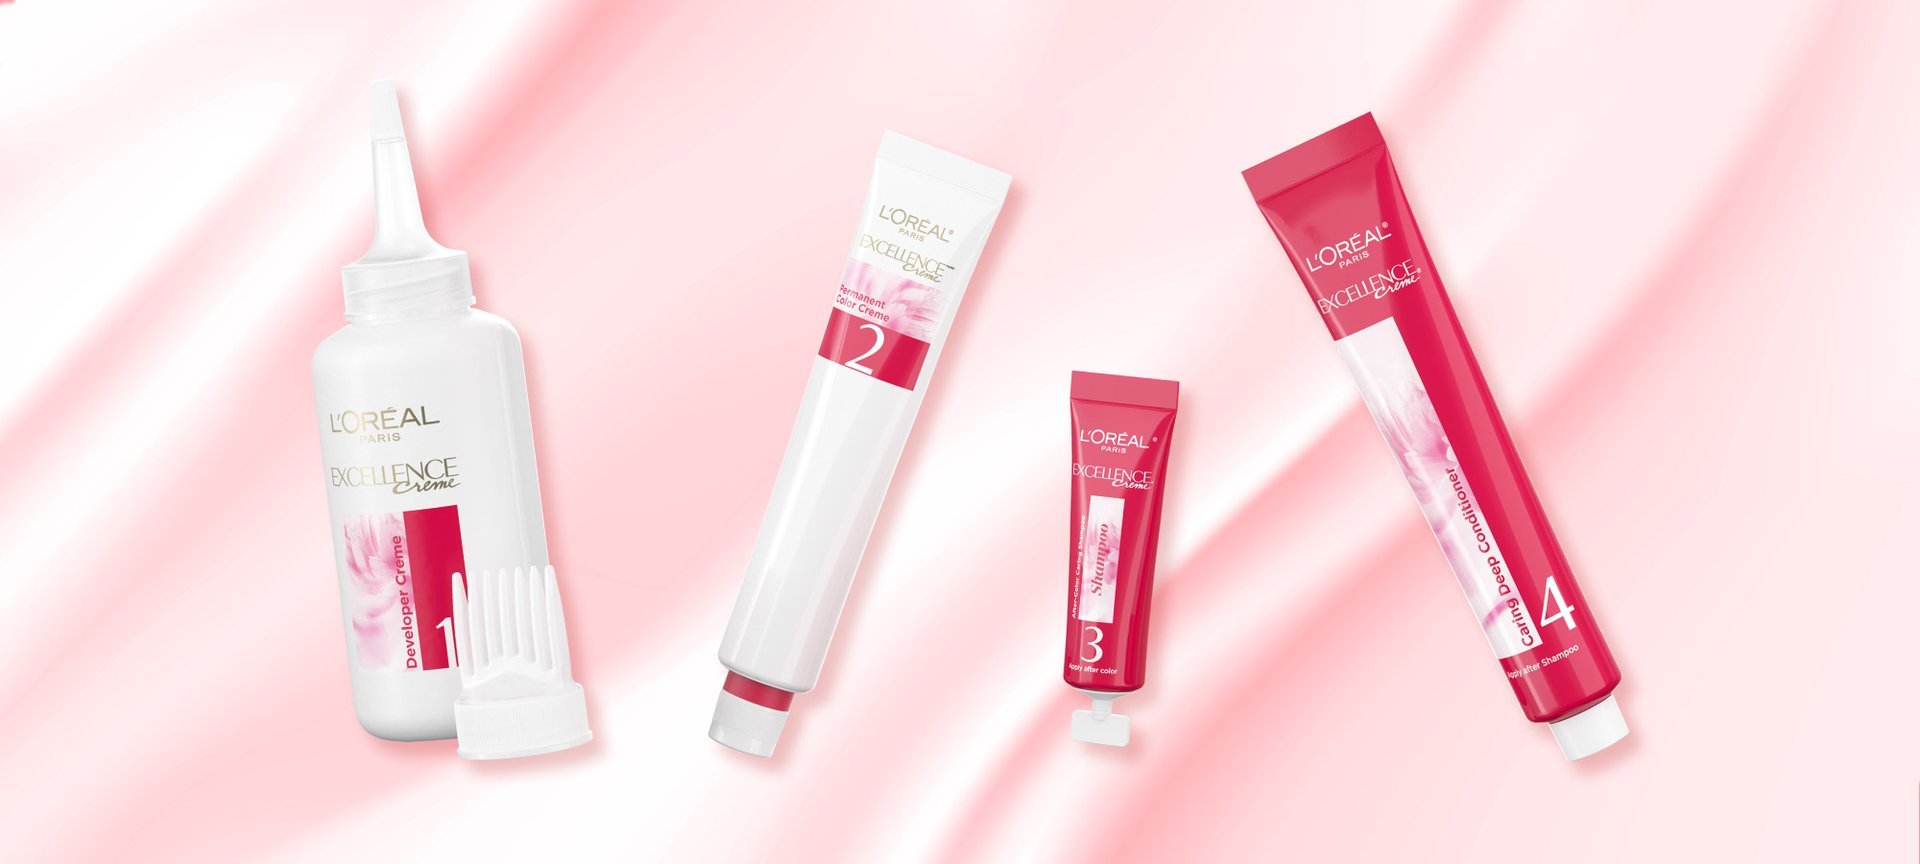
You'll need: permanent creme hair color kit (developer, color, conditioner), gloves (usually included), an old towel, a mixing bowl (if not provided), an application brush, a timer, petroleum jelly (optional), and hair clips.
Protect your clothing with the old towel. Applying petroleum jelly along your hairline prevents staining.
Perform a Strand Test
This critical step determines how the color will look on your hair and checks for allergic reactions.
Apply a small amount of the mixed color to a hidden strand, following the kit's instructions. Wait the recommended time, rinse, and observe the results.
If you experience irritation or dislike the color, do not proceed with the full application. Consider consulting a professional.
Application Process
When: Apply the color to dry, unwashed hair. This allows the color to adhere better.
How: Follow these steps for even and consistent color distribution.
Mixing the Color
Carefully mix the developer and color creme according to the kit's instructions. The ratio is crucial for proper activation.
Use the provided applicator bottle or a separate mixing bowl and brush. Ensure the mixture is smooth and consistent.
Applying the Color
Put on the gloves to protect your hands.
Start by applying the color to your roots, where new growth is most visible. Use the applicator tip or brush to saturate the roots thoroughly.
Once the roots are covered, work the remaining color through the lengths and ends of your hair. Ensure even distribution for consistent color.
Processing Time
Set a timer for the recommended processing time, as indicated in the kit instructions. Do not exceed this time.
Over-processing can damage your hair. Under-processing may result in insufficient color deposit.
Regularly check the color's development. Hair color results vary.
Rinsing and Conditioning
After the processing time, rinse your hair thoroughly with cool water until the water runs clear.
Apply the conditioner provided in the kit. This helps to seal the hair cuticle and add moisture.
Leave the conditioner on for the recommended time, then rinse again.
Post-Color Care
Use color-safe shampoo and conditioner to prolong the life of your color. Avoid harsh sulfates.
Limit heat styling to prevent color fading. Use heat protectant products when styling.
Schedule regular deep conditioning treatments to keep your hair healthy and hydrated.
Important Considerations
Always read and follow the instructions provided with your specific hair color kit. Instructions vary.
If you have sensitive skin or a history of allergic reactions, consult with a dermatologist before coloring your hair.
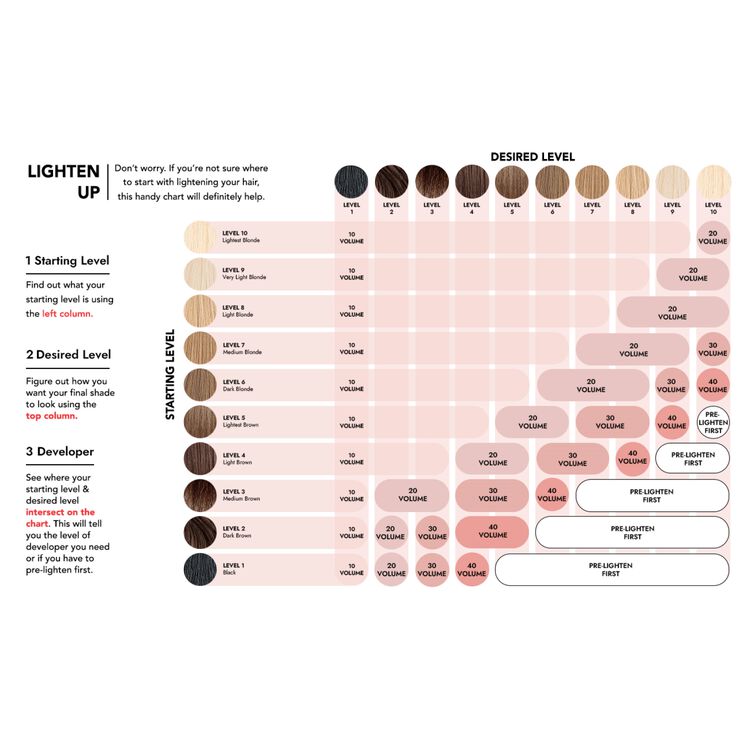
For significant color changes, especially going lighter, consider seeking professional assistance.
"Hair color is a chemical process, and results can vary depending on hair type, previous treatments, and other factors," warns stylist Jane Doe.
Remember: Always prioritize the health and safety of your hair.
Next Steps
Monitor your hair's condition after coloring. Schedule regular trims to remove split ends.
Touch up your roots every 4-6 weeks to maintain consistent color.
Consult a professional if you experience any unexpected reactions or difficulties.