Ardell Red Gold Corrector Plus How To Use
Okay, friend, let's talk about making your false lashes look absolutely AMAZING. We're diving headfirst into the magical world of Ardell Red Gold Corrector Plus! Forget dull, shiny lash bands – we're aiming for seamless perfection.
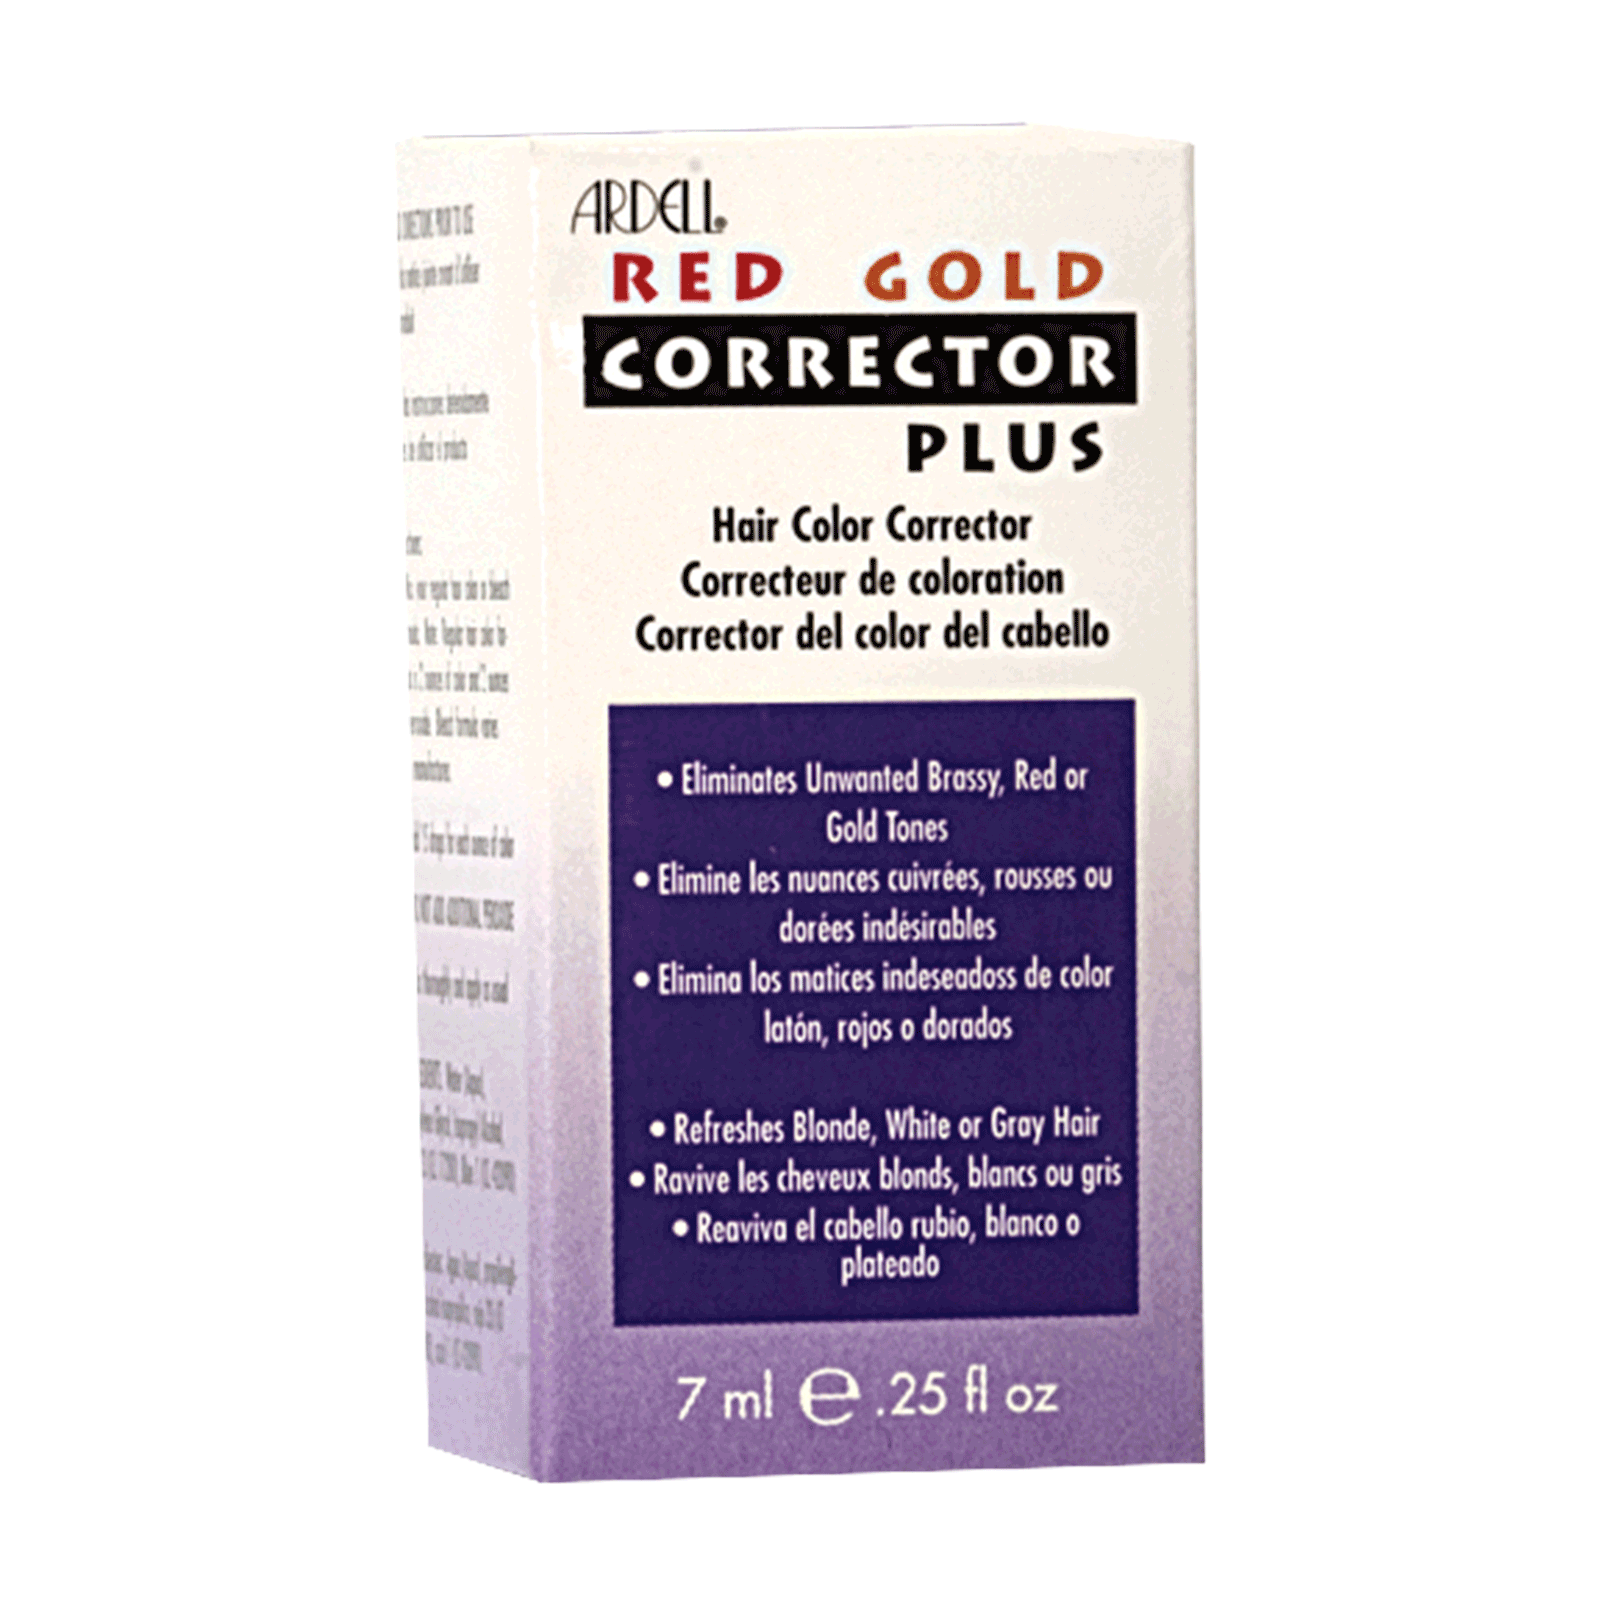
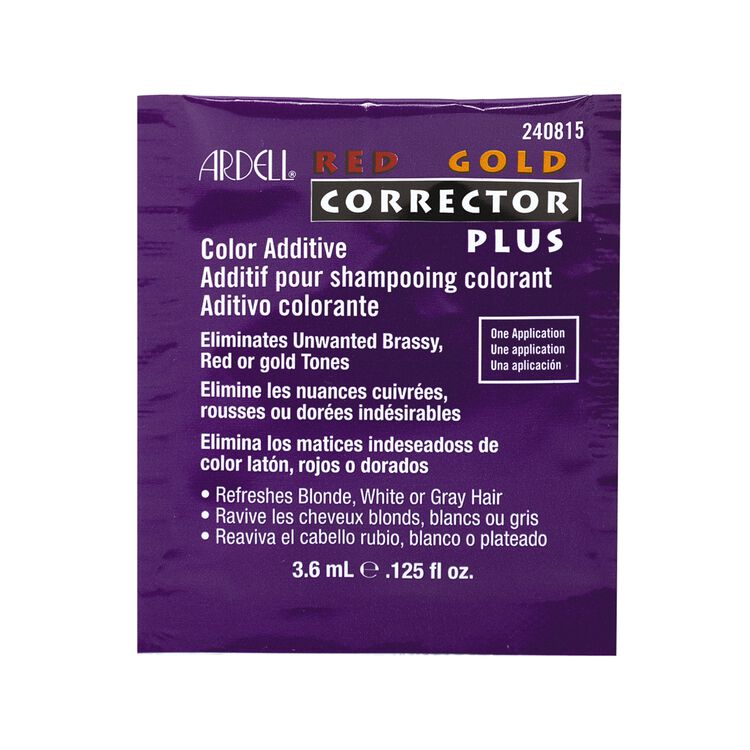
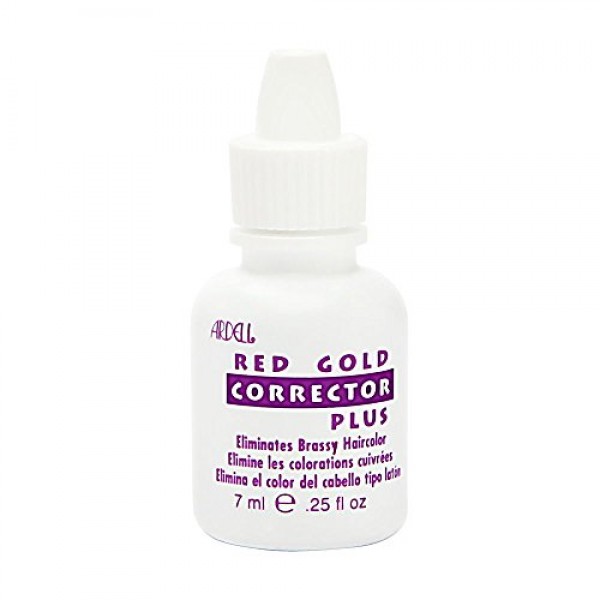
What’s the Big Deal?
Basically, it's like Photoshop for your lash line. This little bottle is your secret weapon against that obvious band that screams, "Hello! These are not my real lashes!"
It is used to blend that tell-tale line, and magically make your lashes appear as if they’re growing straight from your eyelids. Think undetectable, flawless beauty!
Let's Get Started: The Super Easy How-To Guide
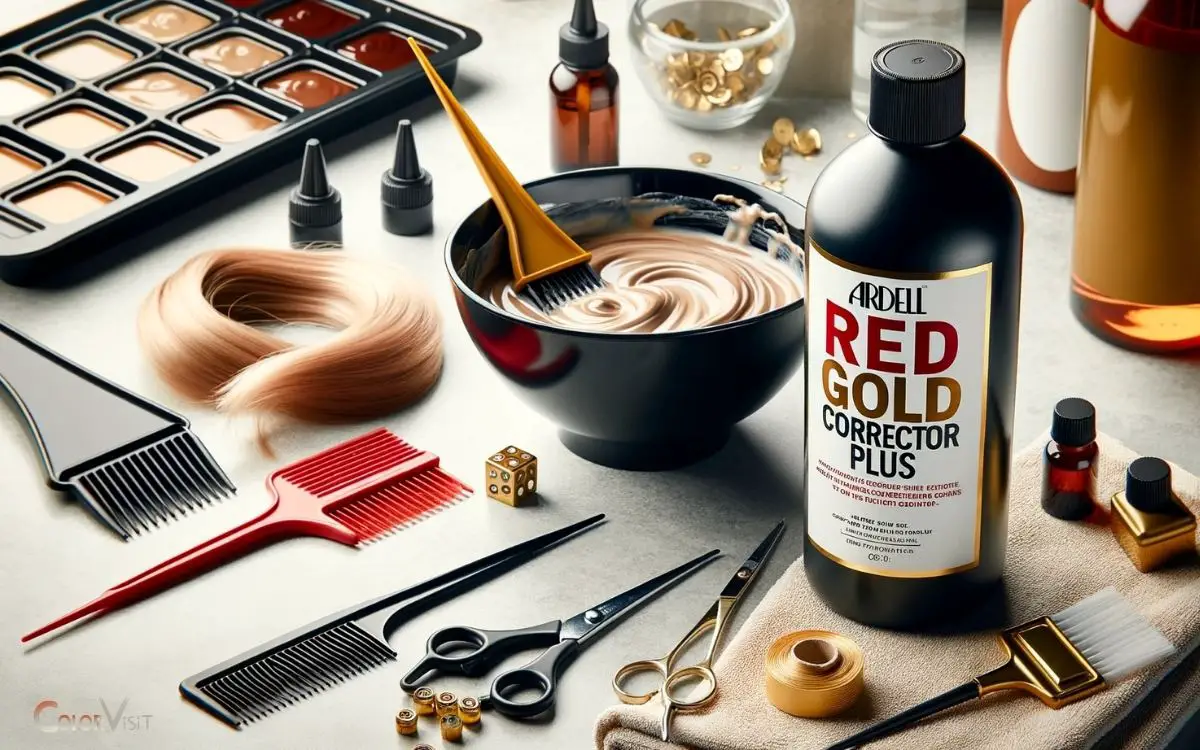
Step 1: Gather Your Supplies
First, grab your favorite false lashes. Your Ardell Red Gold Corrector Plus, of course! Don't forget your trusty lash adhesive, maybe a little applicator or toothpick, and a mirror (duh!).
Step 2: Prep Your Lashes (and Yourself)
Make sure your natural lashes are clean and mascara-free. Take a deep breath, channel your inner makeup guru, and get ready to transform!
If you need a little lash pep-talk, now's the time. "I am fabulous! My lashes will be amazing!"
Step 3: Apply the Magic Potion
This is where the Ardell Red Gold Corrector Plus comes in. Gently apply a tiny, and I mean TINY, amount to the band of your false lash.
Think of it like frosting a very, very small cupcake – you don't need a mountain of it!
I like to use a toothpick for precise application, but a small applicator brush works great too. A little dab will do ya!
Step 4: Wait a Moment (Patience, Grasshopper!)
Give it a few seconds to get a little tacky. This helps with the adhesion. You’ll know when it’s ready to be applied.
Step 5: Lash Time!
Carefully apply your false lashes as you normally would. Position them as close to your natural lash line as possible.
Use a lash applicator or your fingers to gently press them into place. Don't panic if they're not perfect at first – you can adjust!
Step 6: Seal the Deal
Once the lashes are secure, take a *teeny tiny* amount of the Ardell Red Gold Corrector Plus on a clean brush. Gently tap along the lash line, blending the false lash band with your eyelid.
This is like the final Photoshop touch – smoothing out any imperfections. Be gentle and use a light hand!
Step 7: Admire Your Work!
Look in the mirror and marvel at your gorgeous, seamless lashes. You did it! You're basically a lash artist now.
Go forth and conquer, my friend! Your lashes are ready for their close-up.
Pro Tips & Tricks (Because We Love You)
Less is more! Seriously, a tiny amount of Ardell Red Gold Corrector Plus goes a long way. You don't want to weigh down your lashes.
Clean your tools! Keep your applicators and brushes clean to prevent any bacteria build-up.
Don't be afraid to experiment! Every eye shape is different, so find what works best for you.
Practice makes perfect! Don't get discouraged if you don't get it right away. Lash application is an art form!
Final Thoughts
The Ardell Red Gold Corrector Plus is a game-changer for anyone who loves wearing false lashes. It will give your makeup look that extra oomph!
It's affordable, easy to use, and makes a HUGE difference in the overall look of your lashes. Say goodbye to obvious lash bands and hello to seamless perfection.
So go ahead, give it a try! You might just become obsessed.
Happy lashing! You deserve to feel fabulous!