Autocad How To Divide A Line Into Equal Parts

Ever stared at a line in AutoCAD and thought, "Man, I wish I could chop this thing into perfect little pieces like slicing a pizza... but without the mess"? Well, friend, you're in luck! AutoCAD has a secret weapon for just this kind of situation.
It's like magic, really. You've got this line, begging to be evenly divided, and with a few simple steps, BAM! Instant equal segments. No measuring tapes, no squinting, just pure, unadulterated dividing bliss.
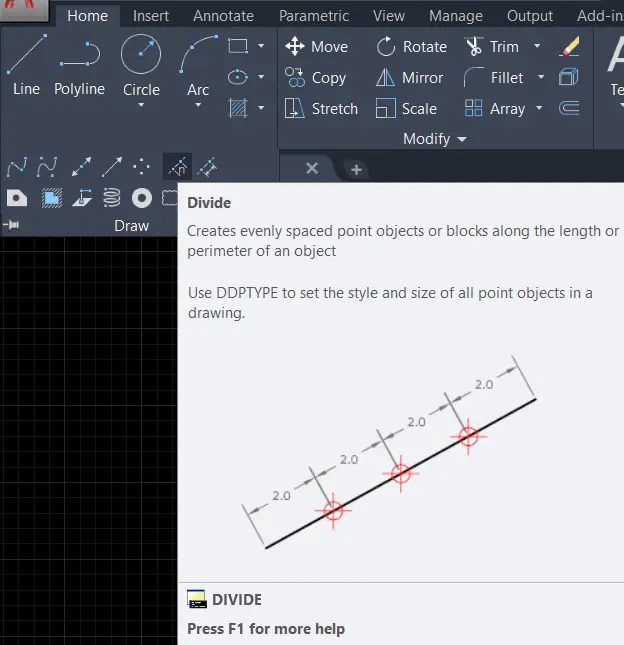
The Divide Command: Your New Best Friend
Let's talk about the star of the show: the Divide command. Sounds a bit ominous, like you're splitting atoms, but trust me, it's way less scary and way more satisfying. Think of it as a super-powered paper cutter for your digital drawings.
Getting Started
First, fire up AutoCAD and draw yourself a line. Any line will do. Short, long, straight – it doesn't matter. Think of it as the dough we're about to cut into perfect slices.
Now, type "DIVIDE" into the command line and hit enter. AutoCAD will prompt you to "Select object to divide." That's your line!
Click on the line. AutoCAD is practically drooling, waiting for you to tell it how many pieces you want.
The Number Game
Next, AutoCAD will ask you to "Enter the number of segments." This is where you tell it how many equal parts you want. Think carefully! Do you want four slices? Type "4" and press enter. Eight slices? Type "8." It's all up to you, the master chef of the CAD world.
And then... poof! It's done. But wait... where are the slices? Where's the pizza?
The Invisible Slices (Almost)
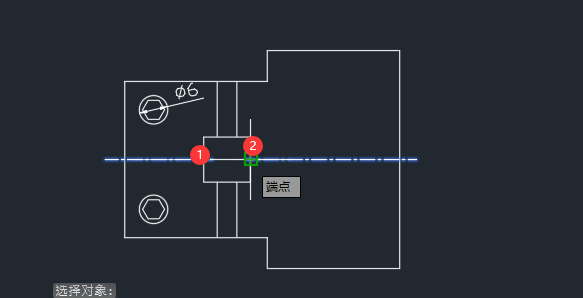
Here's the sneaky part: AutoCAD doesn't *actually* slice the line into separate lines. Instead, it places points along the line, marking the divisions. It’s like putting tiny little sprinkles where each cut should be.
These points are usually invisible by default! That's where the fun begins. You need to tell AutoCAD to show them.
To make these points visible, type "PTYPE" into the command line and press enter. A little box will pop up with different point styles. Pick one you like – a cross, a circle, a square, whatever tickles your fancy.
Also, increase the point size so you can actually SEE them. Tiny invisible points are no fun.
Cutting the Cake (Finally!)
Now you see those points! Those are your guidelines! You can use the Line command to connect those points and create separate line segments. Or, use them as reference points for anything else in your design.
You've successfully divided your line into equal parts! Go forth and conquer, armed with your newfound dividing powers! No more eyeballing it and hoping for the best.
Imagine using this for laying out evenly spaced columns in a building, perfectly aligning rivets on an airplane wing, or even just creating a cool, symmetrical design for a birthday card. The possibilities are endless!
So, next time you're wrestling with a line that needs dividing, remember the Divide command. It's not just a tool, it's a tiny act of digital wizardry that can make your AutoCAD life a whole lot easier (and a little bit more fun).
And remember, always save your work. Losing perfectly divided lines is a tragedy no one should have to endure.


![Autocad How To Divide A Line Into Equal Parts PPT - Divide the line segment [ab] into three equal parts PowerPoint](https://image2.slideserve.com/4859059/divide-the-line-segment-ab-into-three-equal-parts-n.jpg)