Best Render Settings For Sony Vegas 17

Alright, buckle up buttercups! We're diving headfirst into the magical world of Sony Vegas 17 render settings.
Think of rendering as baking a delicious cake. You've got all the ingredients (your video edits), but the oven (render settings) determines if it comes out fluffy and amazing, or a flat, sad pancake.
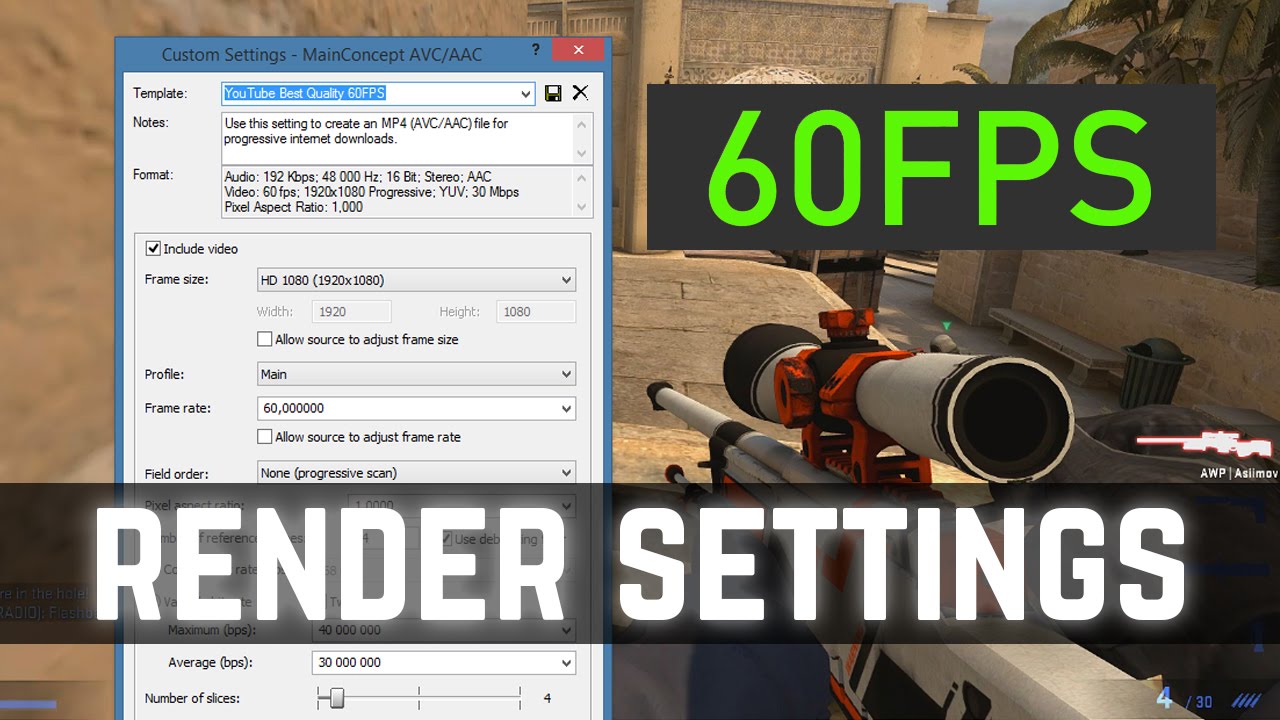
The Holy Grail: MainConcept AVC/AAC
This is usually your go-to option, the reliable friend who always brings the good snacks to the party.
Under the template settings, you'll see a bunch of numbers and letters. Don't panic! We'll break it down, simpler than explaining to your grandma what TikTok is.
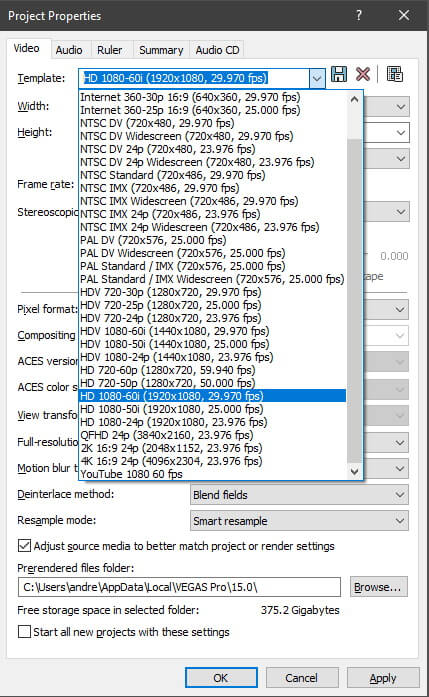
Resolution: Size Matters (Sort Of)
If your original video is 1920x1080, render it at 1920x1080. Makes sense, right? No need to upscale and make your video look like it's been stretched on a medieval torture rack.
Going smaller? Fine! But bigger is almost always a no-no unless you WANT a blurry mess.
Frame Rate: Keep It Consistent
Did you film in 30 frames per second (fps)? Render at 30 fps. Matching your filming frame rate is like making sure your socks match. Nobody wants a mismatched video!
Unless you're going for some artsy slow-motion effects, consistency is key.
Bitrate: The Secret Sauce
Ah, bitrate, the mysterious ingredient that determines how much data is crammed into each second of your video. Think of it like stuffing a suitcase. More data (higher bitrate) = more detail.
For YouTube, a variable bitrate (VBR) of 16-20 Mbps is generally fantastic for 1080p.
Want to go wild? Crank it up to 30 Mbps if you're feeling fancy. Just remember, bigger file sizes mean longer upload times. Patience, young grasshopper!
Profile: Main, Not High (Usually)
You will often see two options in the profile settings, “Main” or “High”.
In most cases, the “Main” option is enough. You'll only need the high profile if you are producing high-quality content like 4k videos.
Frame Rate: Constant or Variable
Constant Frame Rate (CFR) is great because it delivers the same number of frames every second, and it makes the video easier to edit, if you needed to. Variable Frame Rate (VFR) varies the number of frames being output based on what is happening, saving space.
For a consistent quality, choose Constant Frame Rate.
Don't Forget the Audio!
Nobody wants a video with amazing visuals and sound that sounds like it was recorded through a tin can.
Set your audio to AAC, 48000 Hz, and a bitrate of 192 kbps or higher.
Other Settings to Peek At
Under the "Project" tab, make sure your video rendering quality is set to "Best".
This is like putting the cherry on top of your already amazing video sundae.
Don't be afraid to experiment! Rendering is a journey of discovery, with maybe a few "oops, that's terrible" moments along the way. We've all been there!
Rendering Examples:
Here are a few examples of good render settings, depending on your desired end product. Choose one of the three depending on your situation.
YouTube 1080p: MainConcept AVC/AAC, 1920x1080, 30fps, VBR 16-20 Mbps, AAC audio at 192 kbps.
General Use: MainConcept AVC/AAC, 1280x720, 30fps, VBR 10-12 Mbps, AAC audio at 192 kbps.
Low End Computer: Magix AVC/AAC, 1280x720, 30fps, VBR 8 Mbps, AAC audio at 128 kbps.
Now go forth and create video magic! Remember to keep the setting "render only the loop region" on so you can see if the render settings are working without rendering the whole video.
Good luck, and may your renders always be smooth and your frame rates forever consistent.
Rendering can be intimidating, but with these tips, you'll be a Sony Vegas 17 rendering wizard in no time.


![Best Render Settings For Sony Vegas 17 BEST Render Settings for VEGAS Pro! (16/17/18/19/20) [4K 60FPS] - YouTube](https://i.ytimg.com/vi/9jXNKDU8zoQ/maxresdefault.jpg)