Como Hacer Pulseras De Hilo Faciles Y Rapidas
Okay, friend, let's talk about something seriously important: unleashing your inner artist with the magic of friendship bracelets. Forget world peace (for now), because mastering these little threads of joy is the *real* key to happiness. Trust me.
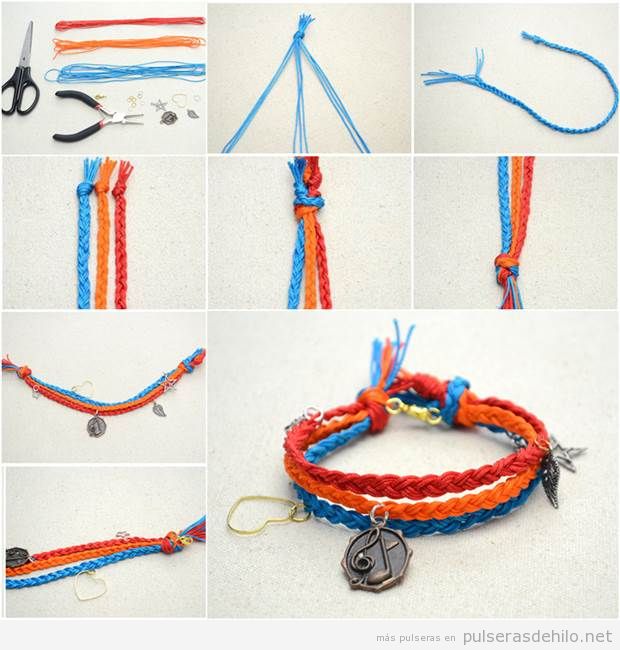
Gather Your Arsenal (of Floss!)
First things first, you need supplies! Think of it like preparing for a tiny, colorful war... a war against boredom! Grab some embroidery floss. All the colors! Seriously, the more, the merrier.
Scissors are a must (unless you enjoy ripping floss with your teeth – not recommended). And tape! Good ol' trusty tape. It's the unsung hero of the friendship bracelet world.
The Knot-So-Scary Knot
Cut your floss to your desired length. I usually go for about arm's length, give or take. No need to measure with a ruler, we're aiming for "charmingly imperfect" here, not "laser-cut precision."
Now, gather those strands of color and tie a knot at the very top. This is where the tape comes in handy. Stick that knot down to a table, a book, your forehead (kidding! Mostly!).
The Forward Knot Fiasco (Not Really a Fiasco)
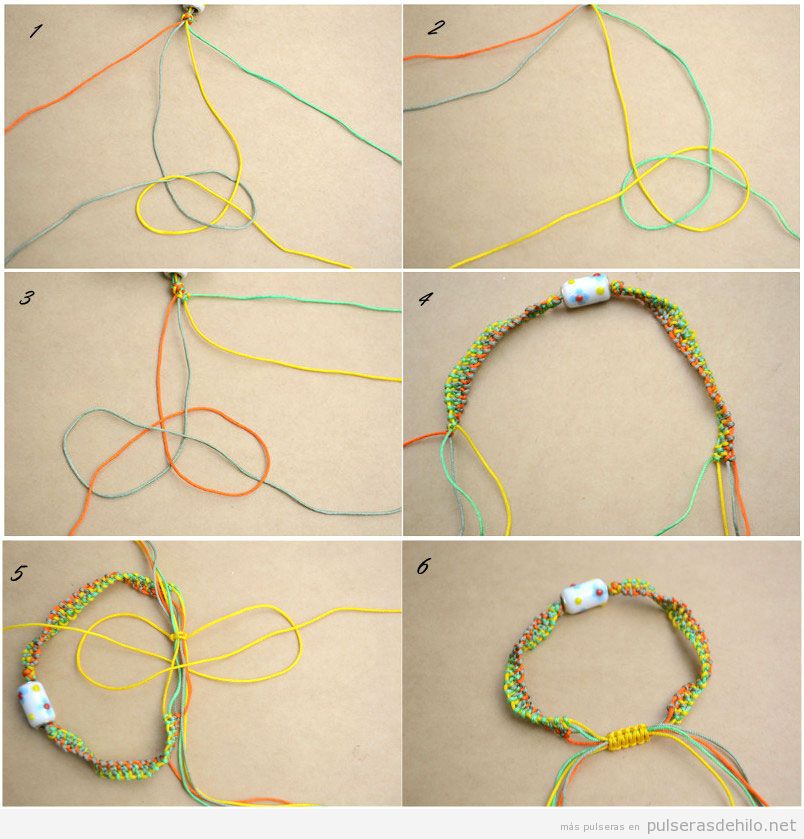
Alright, this is where the "magic" happens. Pick two colors. Let's say purple and green, because why not?
Take the purple strand and make a "4" shape over the green strand. Then, tuck the purple strand under the green strand and pull it tight to make a knot.
Repeat this process twice with the same two strands. That's your forward knot. Pretty easy, right? You're practically a bracelet-making ninja already!
Row by Row to Bracelet Glory!
Now, move onto the next color! Keep making forward knots along the row. Each color makes two knots around the following color.
Once you've knotted all the way across the row, you've completed your first row! Give yourself a pat on the back (or a high-five with your floss-covered hand!).
Start a new row using the strand that's now furthest to the left! Continue making the knots. You are already doing great!
Troubleshooting: The "Oops, I Messed Up" Moments
Let's be real, mistakes happen. If you mess up a knot, don't panic! It's not a brain surgery, just undo it and try again.
Sometimes your bracelet might start to twist. Don't worry! Just gently pull it straight as you go. Think of it as giving it a little therapy session.
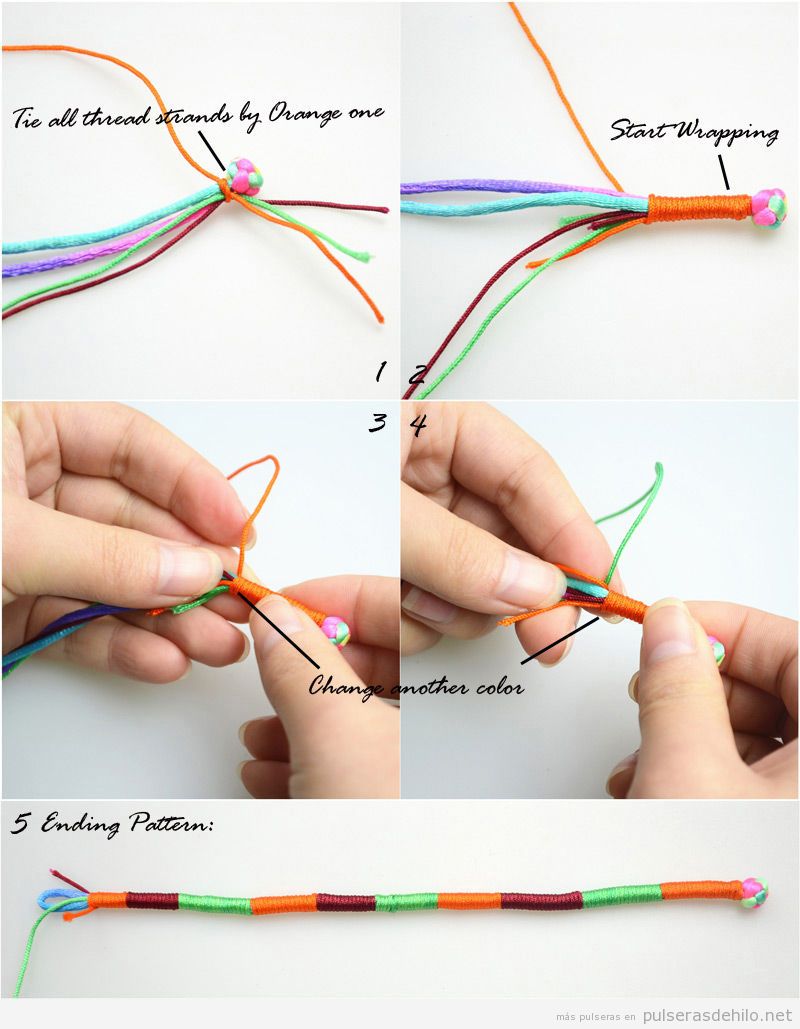
Finishing Strong (Like a Friendship Bracelet Olympian!)
When your bracelet is long enough to wrap around your wrist, it's time to finish it off. Tie another knot at the end.
You can braid the ends of the floss for a cool look. Or, just tie them in a simple knot. It's your bracelet, your rules!
Now, tie your bracelet on your wrist and bask in the glory of your creation! You've officially made a friendship bracelet. It's a masterpiece! A testament to your awesomeness!
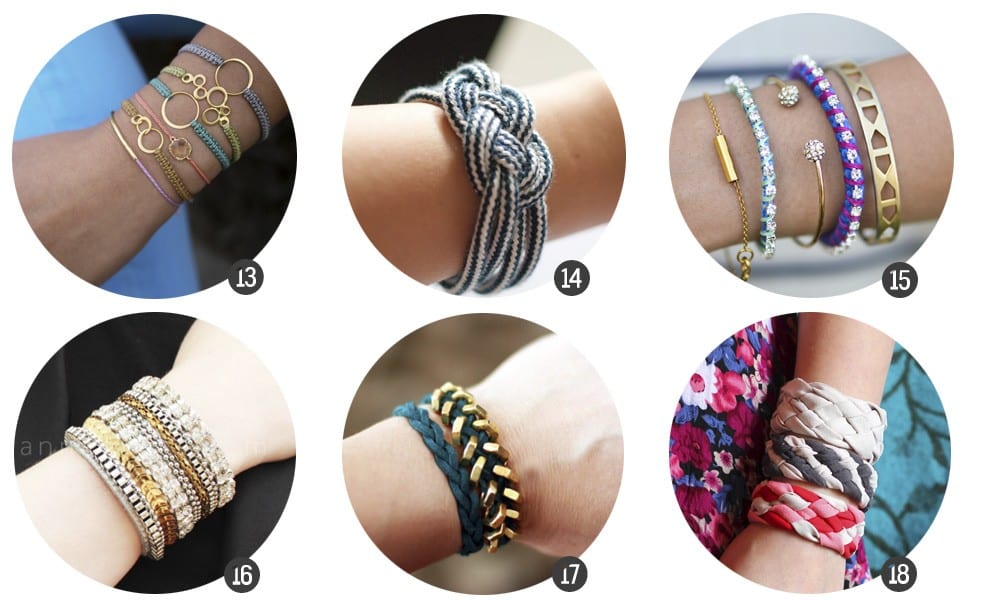
Level Up Your Bracelet Game!
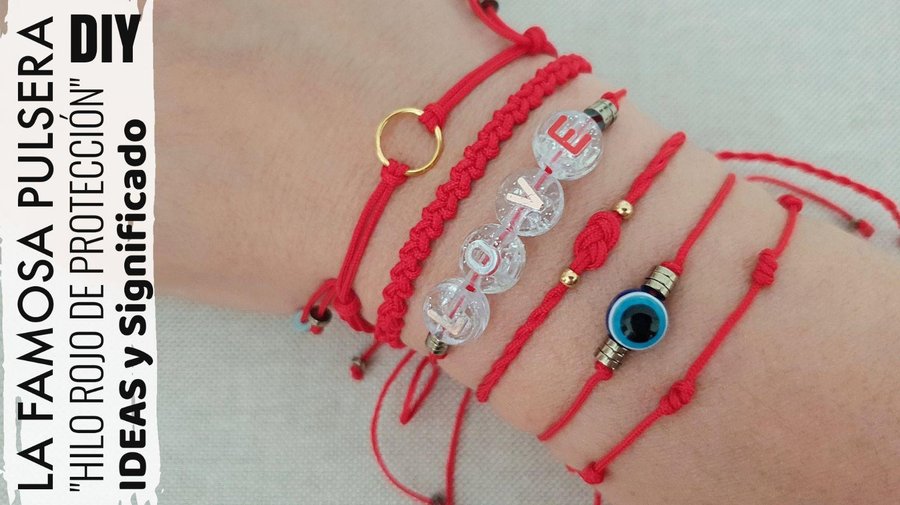
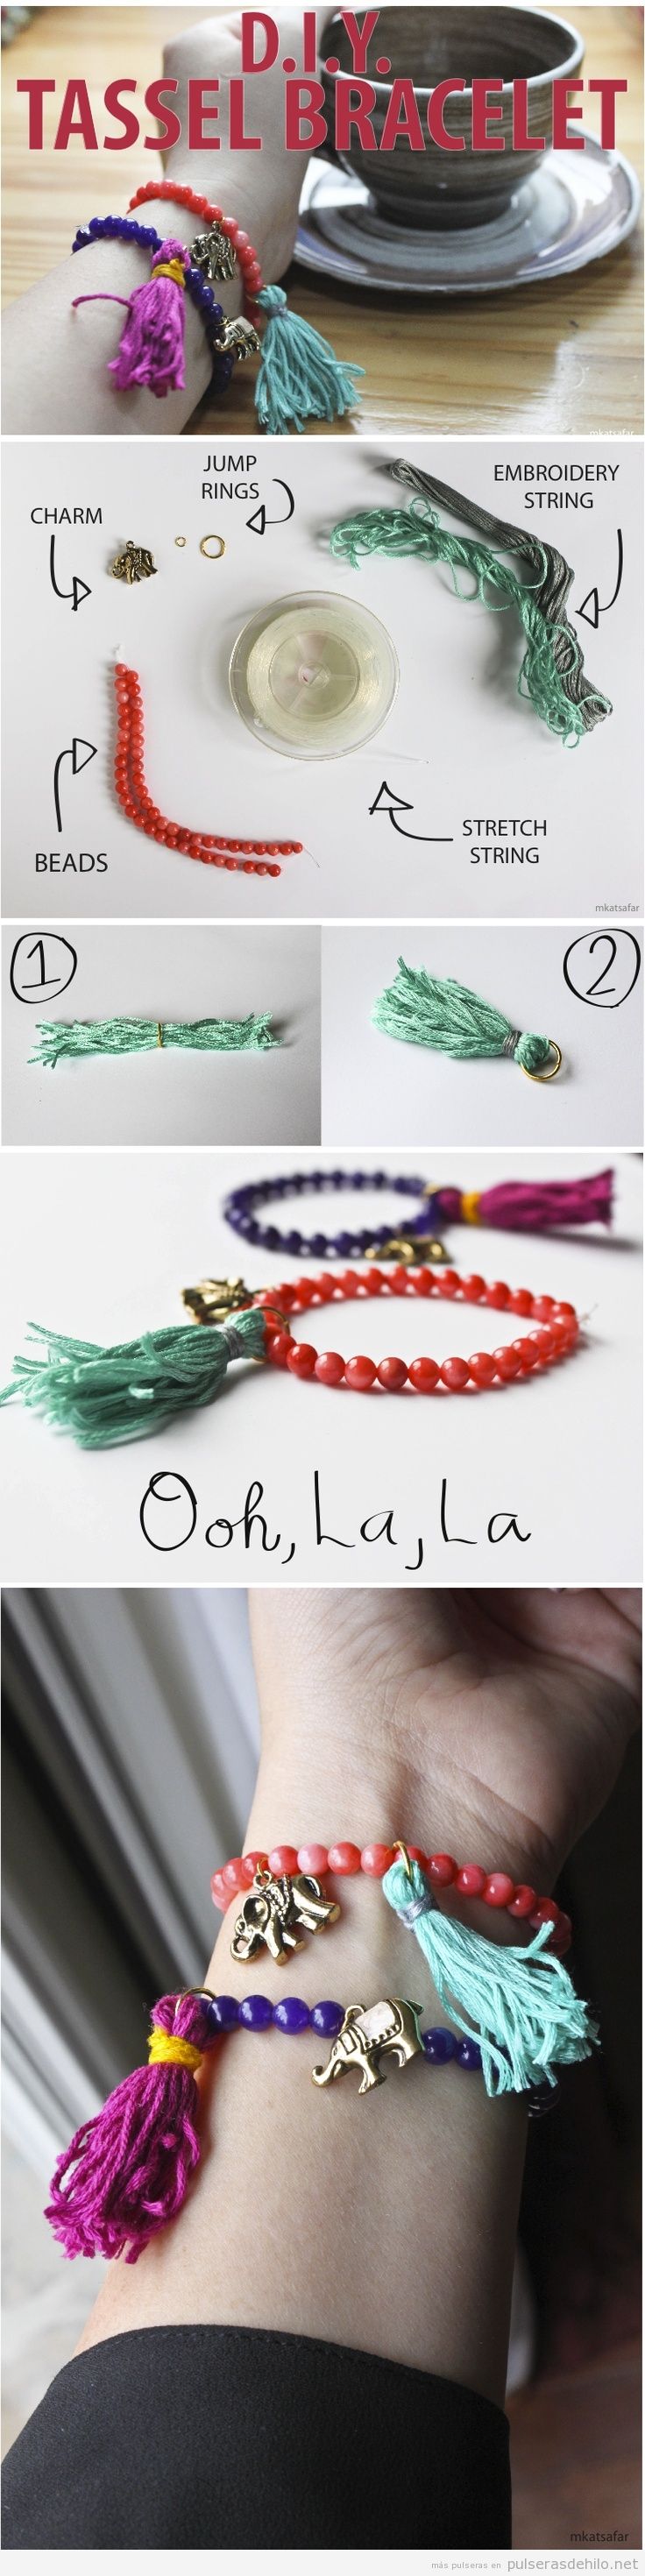
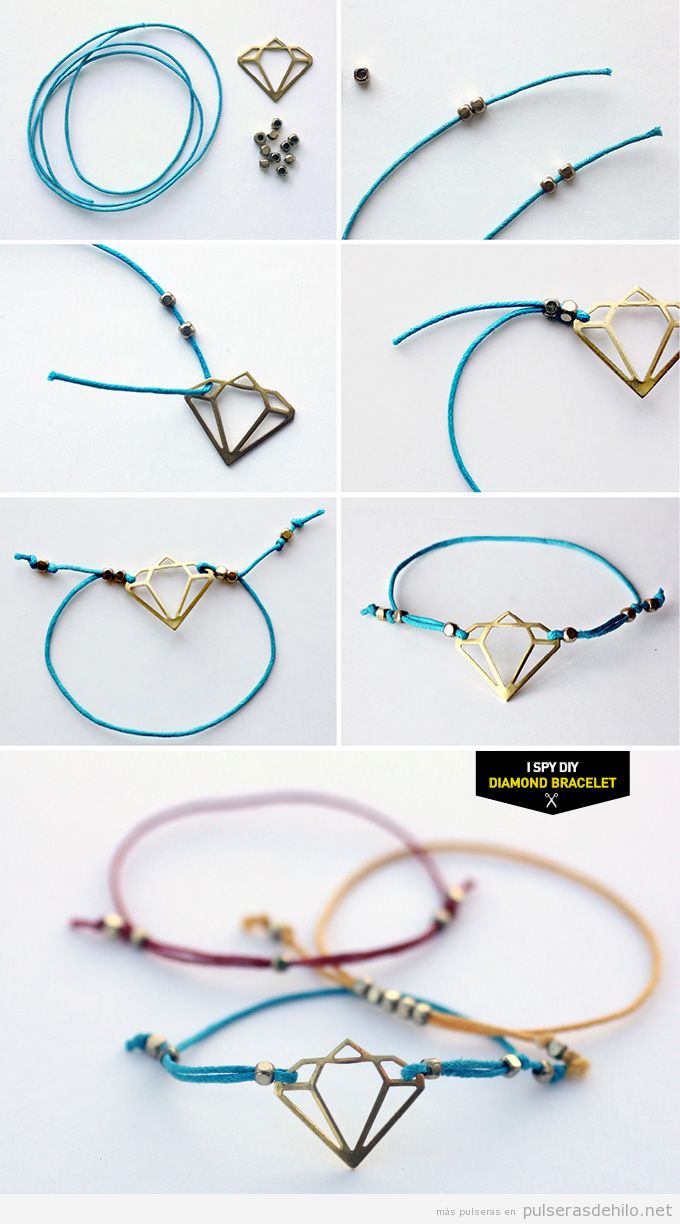
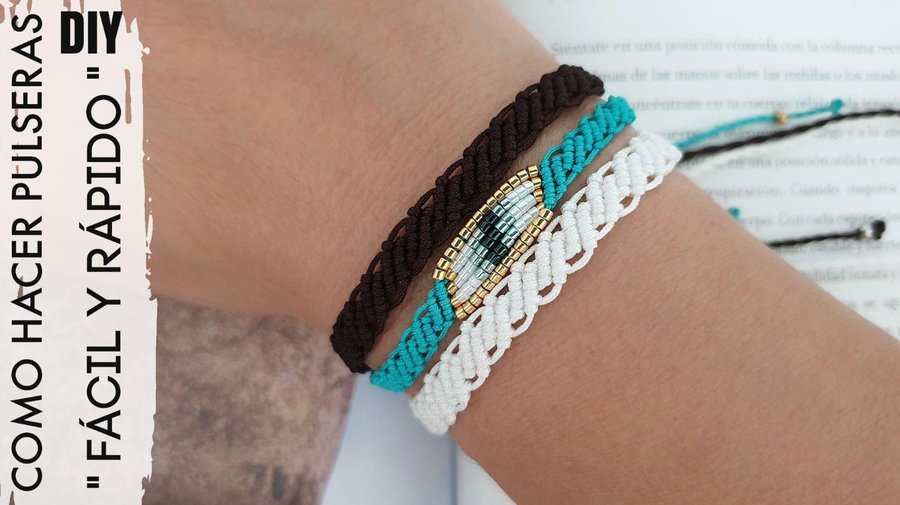
Once you've mastered the forward knot, the possibilities are endless. Experiment with different color combinations. Try adding beads!
Watch *tons* of tutorials online. Become a bracelet-making expert. Be the friend everyone goes to for custom-made flossy goodness.
The most important thing is to have fun and experiment. Friendship bracelets are all about creativity and expressing yourself. Plus, they make awesome gifts for your friends, or even for yourself (self-love is important!).
So go forth and conquer the world, one colorful strand at a time! Remember, you're not just making bracelets, you're spreading joy and sparkly floss-filled magic wherever you go! Let's get started with the best bracelet ever!