Easy Rubber Band Hairstyles For Natural Hair
Okay, naturalistas! Let's talk hair. We all know the struggle. Some days, your coils are singing, and other days, they're staging a full-blown rebellion.
But fear not! I'm here to throw you a lifeline: rubber band hairstyles. Yes, those humble little elastics can be your secret weapon to slay every single day.
Banding for Beginners (and Beyond!)
Think rubber bands are just for holding grocery bags? Think again! We're about to unleash their inner hair-styling superpowers.
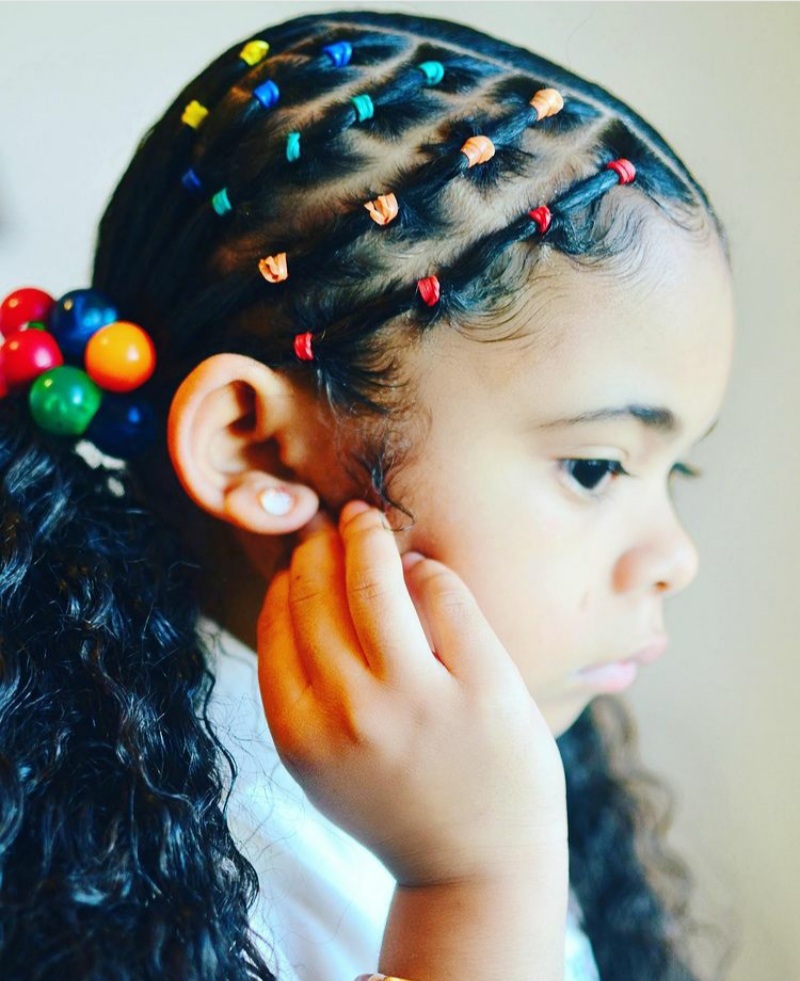
First, grab some snag-free bands. Trust me, you'll thank me later. Those little metal bits on regular rubber bands? A recipe for tangled tears. We want joyful hair, not a hair-raising experience!
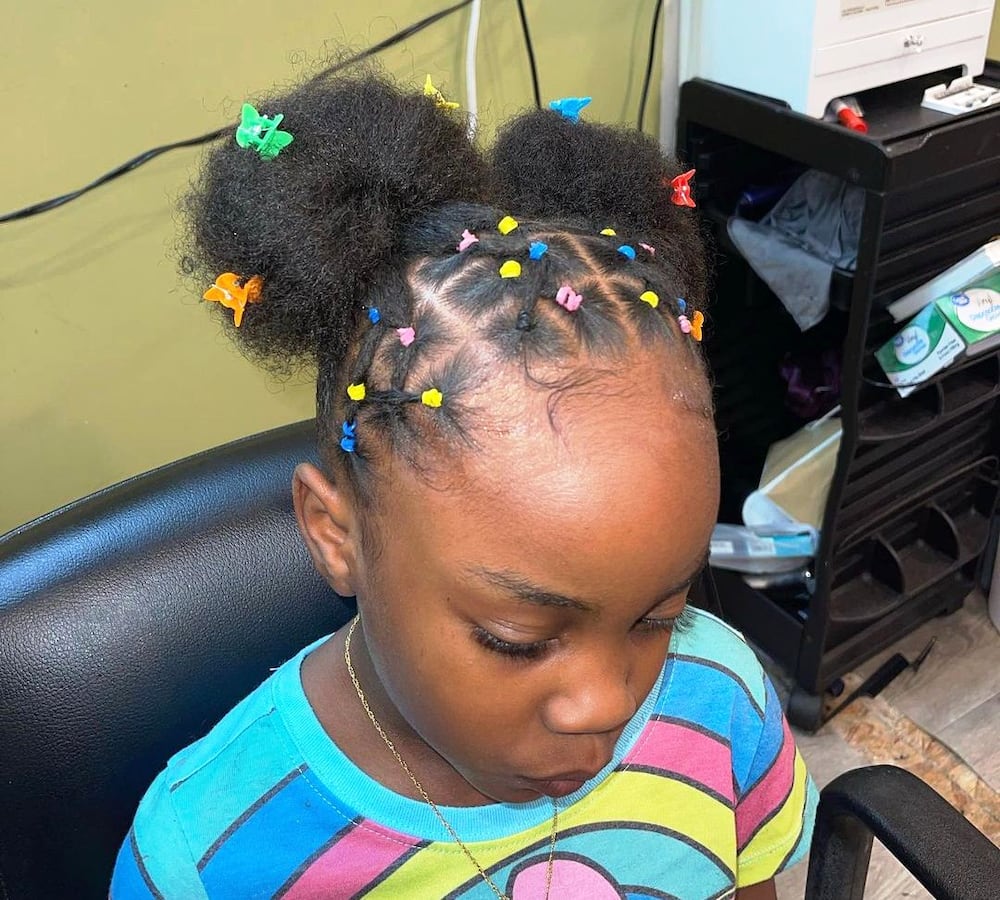
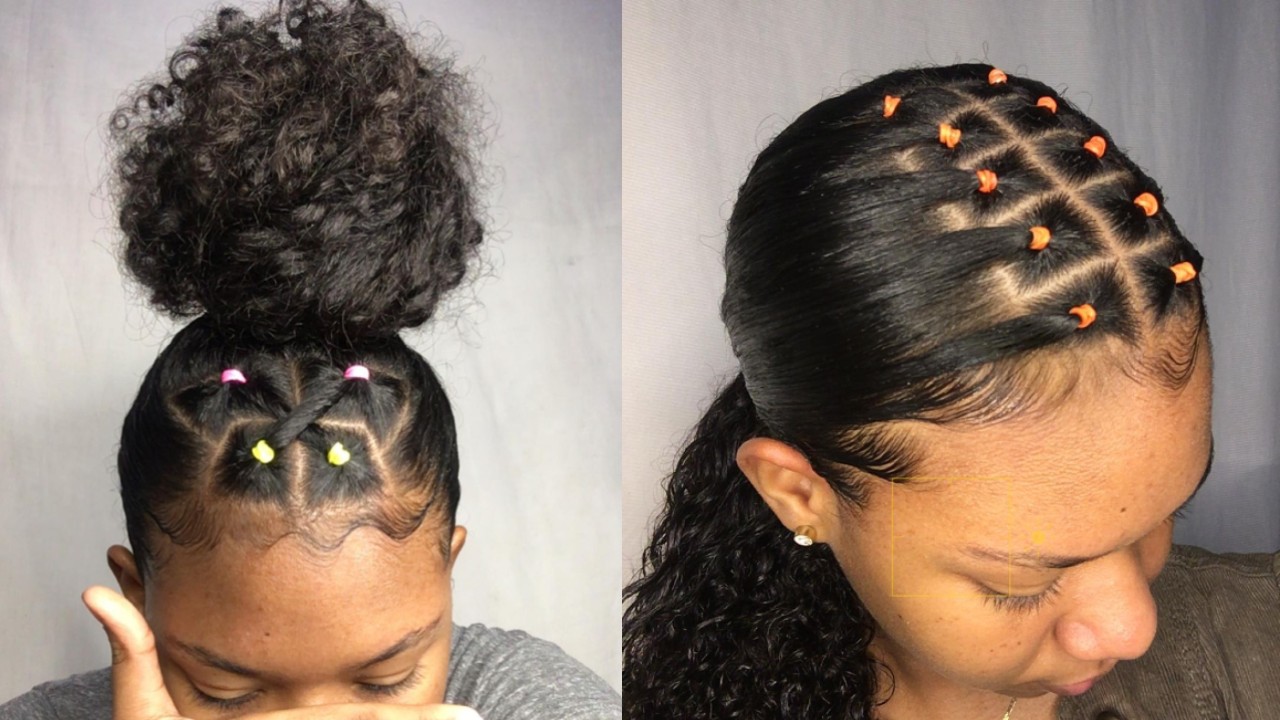
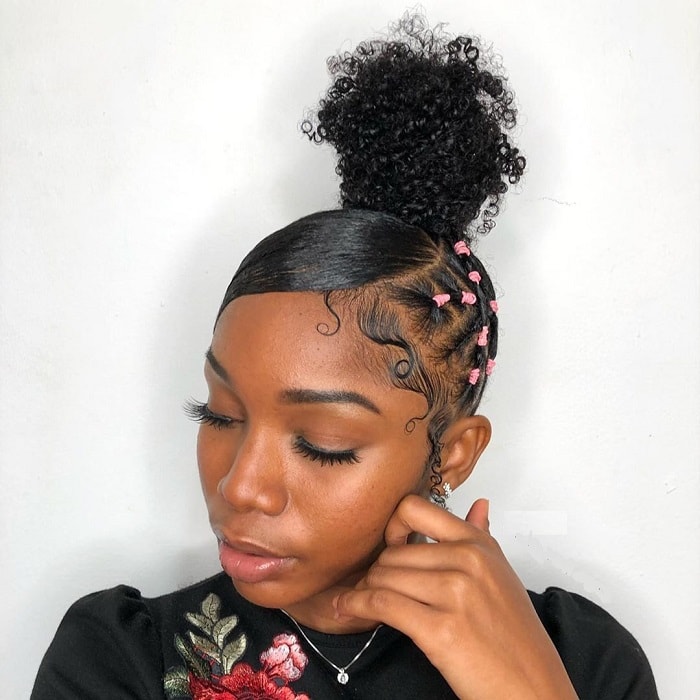
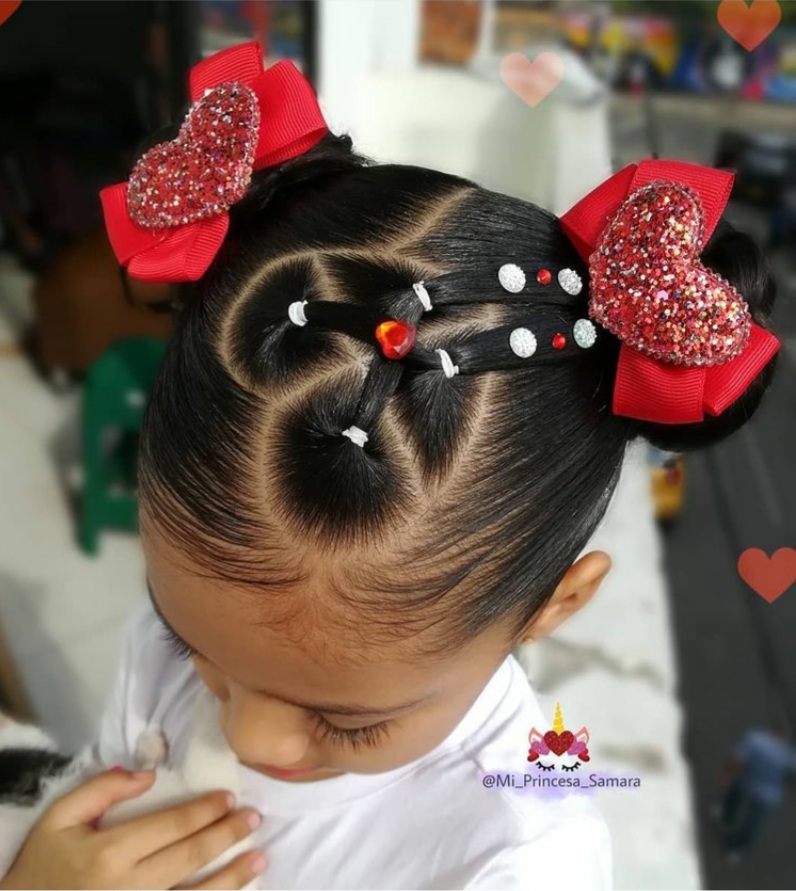
The Classic Puffball (but Elevated!)
The puffball is the OG rubber band style. It's like the little black dress of natural hair – always in style, always chic. We're just going to jazz it up a bit.
Part your hair into four sections, like you're making pigtails but way cooler. Secure each section with a rubber band. Now, gently fluff each section until you achieve maximum puffiness. BAM! Instant fabulousness.
Want extra flair? Add some beads to the ends! Or maybe a funky headwrap. Let your inner artist shine!
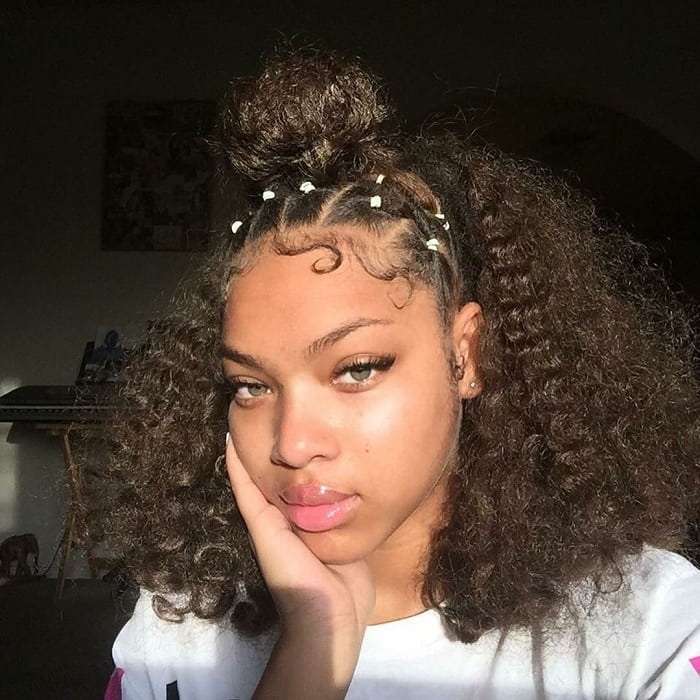
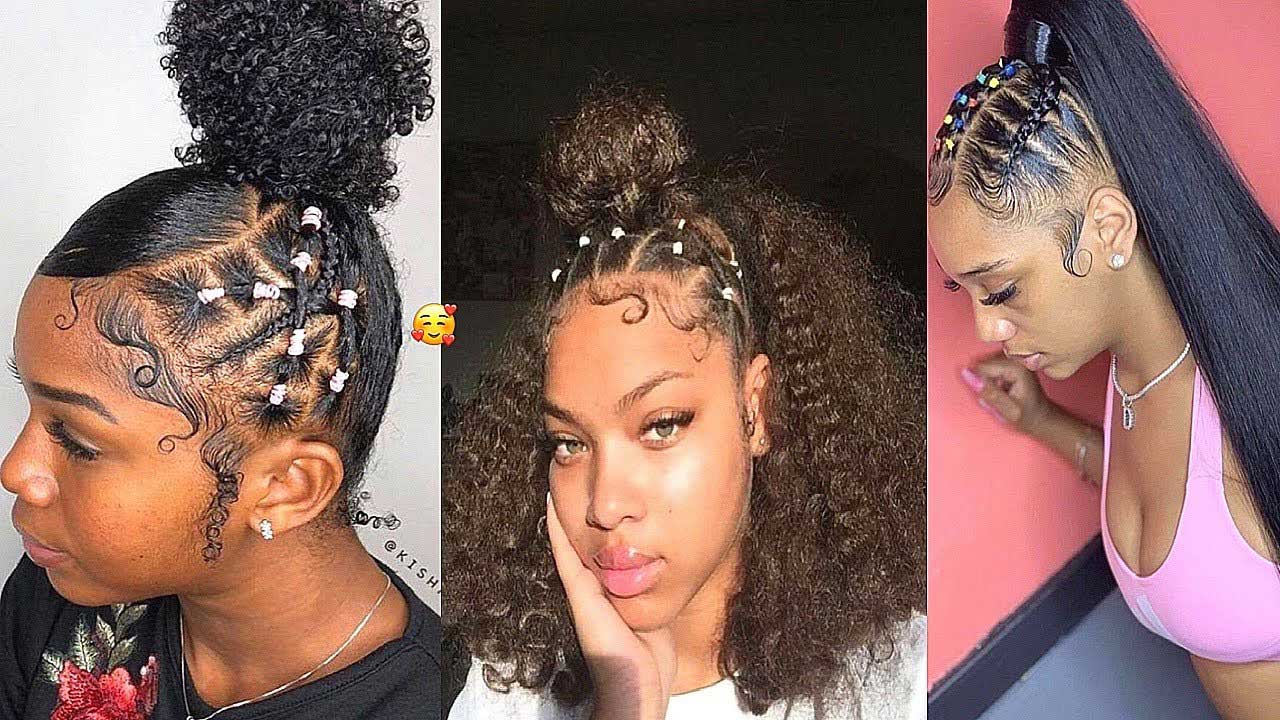
Bantu Knot Outs: Defined Curls Without the Commitment
Bantu knots are gorgeous, but sometimes, girl, you just don't have the time. Enter: the rubber band bantu knot out!
Section your hair into small squares. The smaller the squares, the tighter the curls. Twist each section down to the end, then wind it into a little knot.
Instead of tucking the ends, secure them with a rubber band. Sleep on it (or rock them as mini-buns!), and unravel in the morning for bouncy, defined curls. It's like magic, but with rubber bands.
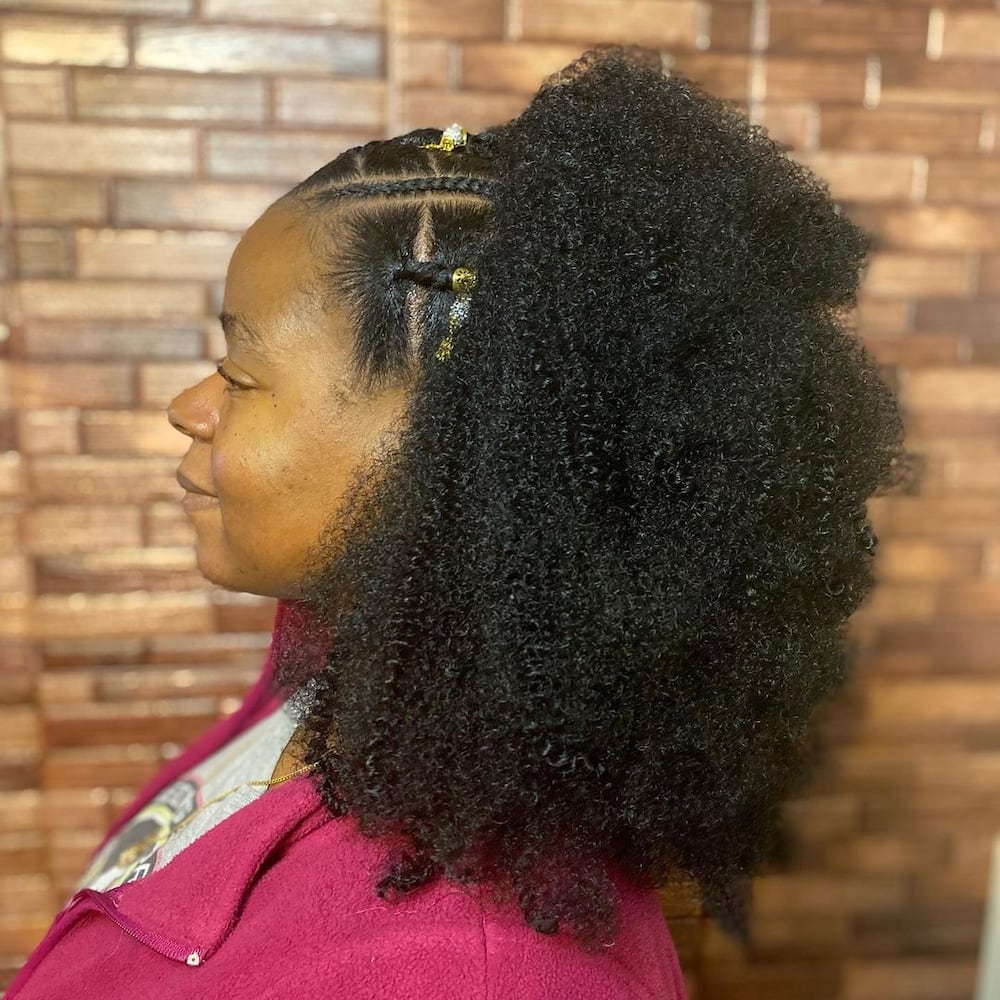
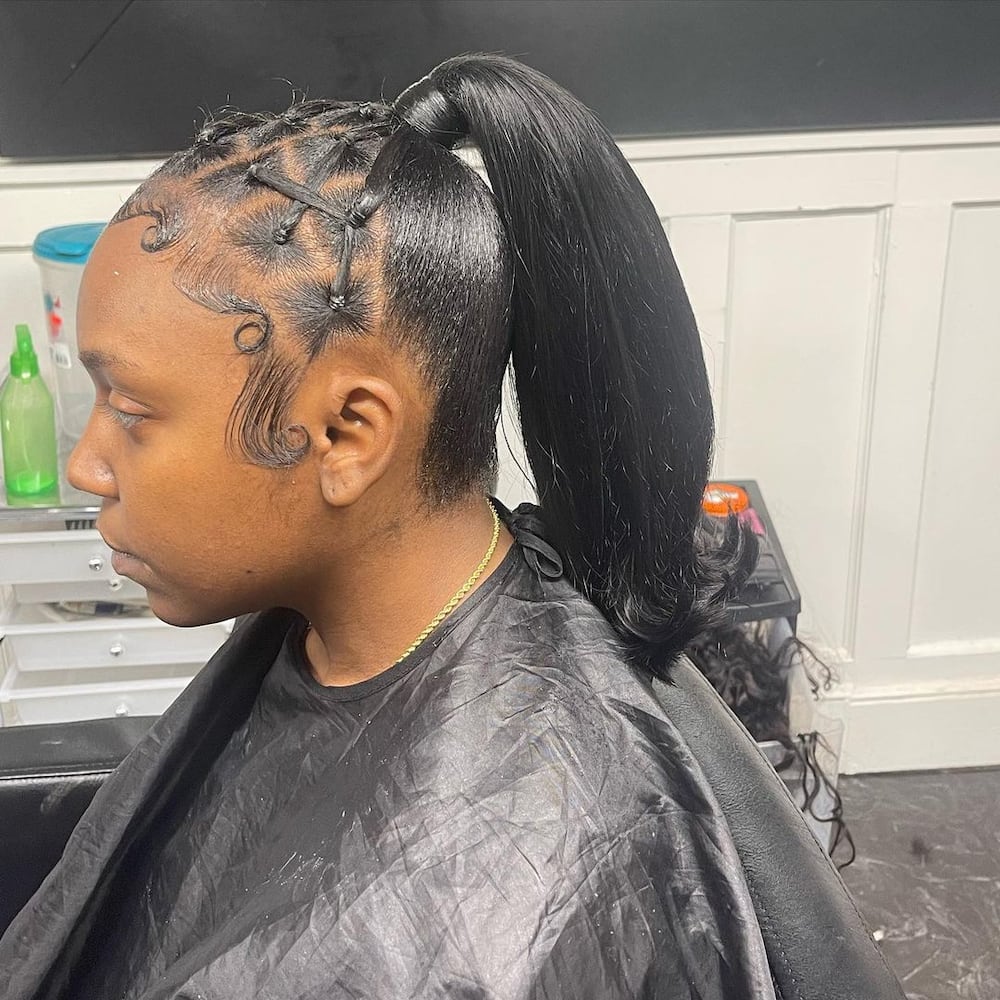
The Faux Hawk: Edgy Without the Shave
Ever dreamt of a fierce mohawk, but the commitment is just too real? Rubber bands to the rescue! This is how you get that edgy look with no commitment.
Section off the hair you want in your "mohawk" down the center of your head. Starting at your forehead, place a rubber band around a small section.
Then, grab the next section and combine it with the previous one, securing with another rubber band. Repeat all the way down to the nape of your neck. Fluff the hair in between the bands for a more voluminous look. Prepare to feel like a total rockstar!
The "I Woke Up Like This" (But Actually Tried) Style
This is for those days when you want to look effortlessly cool, but let's be honest, "effortless" usually requires a little effort. Part your hair into large sections and create loose braids. Secure the ends of each braid with a rubber band.
Now, gently pull at the braids to loosen them and create some texture. Sleep on it, or wear them all day. When you take them out, you'll have soft, beachy waves. See? Effortless, but with a tiny bit of rubber band magic.
If you want to take this look to the next level, try braiding closer to your roots before letting the ends loose. The difference is amazing!
Pro Tips for Rubber Band Rockstar Status
Always moisturize your hair before banding. Dry hair + rubber bands = a potential disaster. Think: hydrated coils, happy coils.
Don't pull the rubber bands too tight. We're aiming for style, not scalp strangulation. Listen to your hair, it will tell you!
When removing the rubber bands, be gentle! Use your fingers or a seam ripper (yes, really!) to carefully snip the bands instead of ripping them out. This prevents breakage and keeps your edges happy. Remember to be super gentle!
Experiment with different sizes and colors of rubber bands. Who says they have to be boring? Add some gold or silver for extra bling! Have fun with it! This is your hair journey.
So there you have it! A crash course in rubber band hairstyles that will have you turning heads and feeling fabulous in no time. Now go forth and conquer your hair, one rubber band at a time!
You got this, natural hair queen (or king!)!