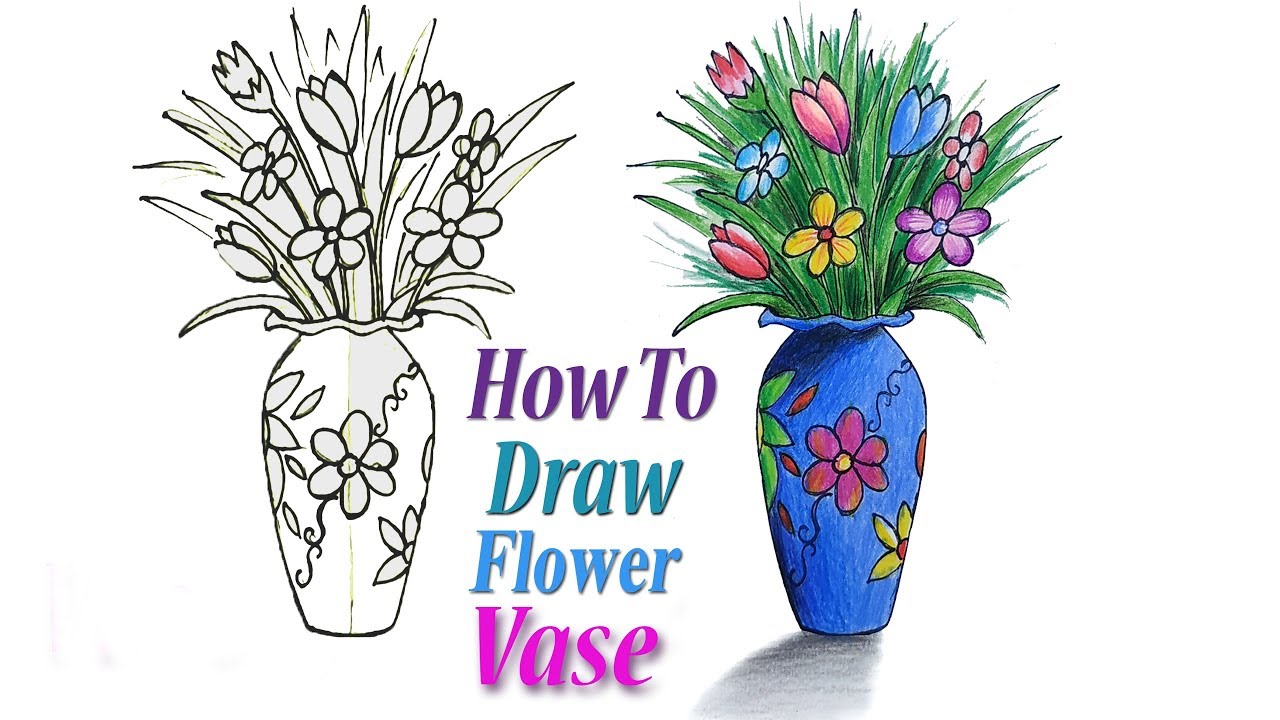
Easy To Draw Flowers In A Vase

Okay, let's talk flowers in a vase. I know what you're thinking: "I can barely draw a stick figure, let alone a bouquet!" But trust me, if I can do this (and I once drew a cat that looked suspiciously like a potato), you absolutely can too!
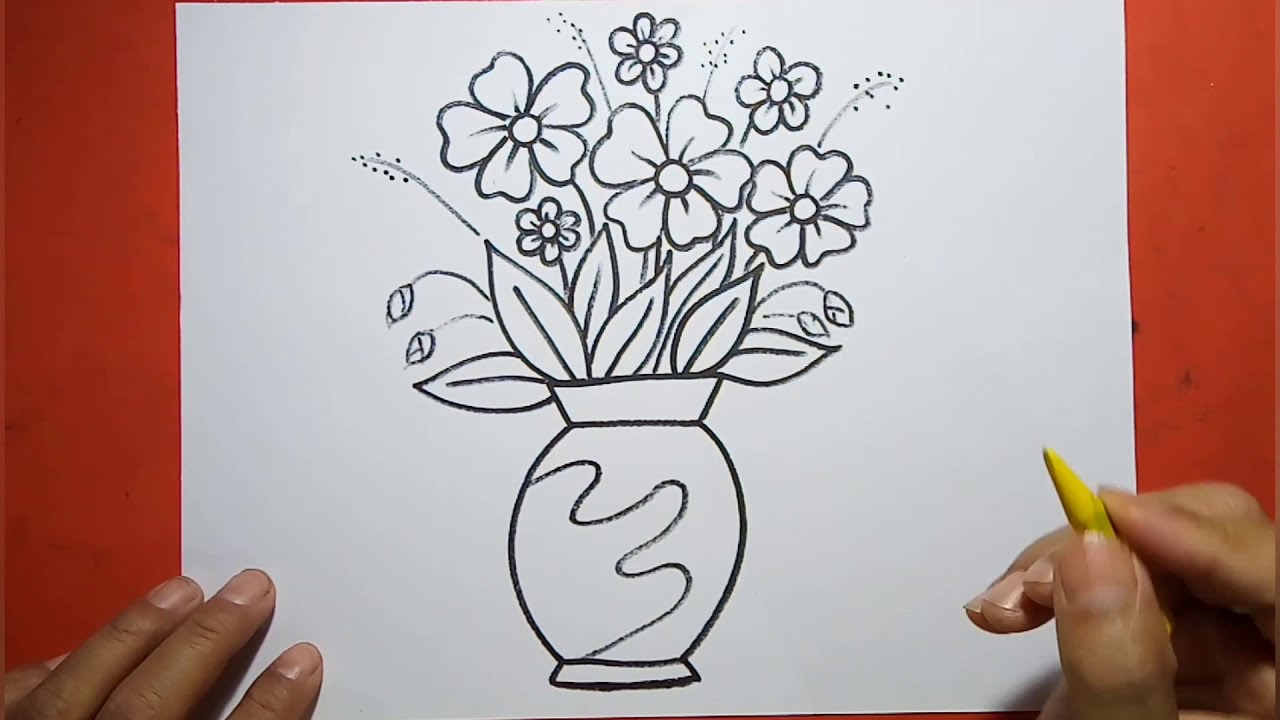
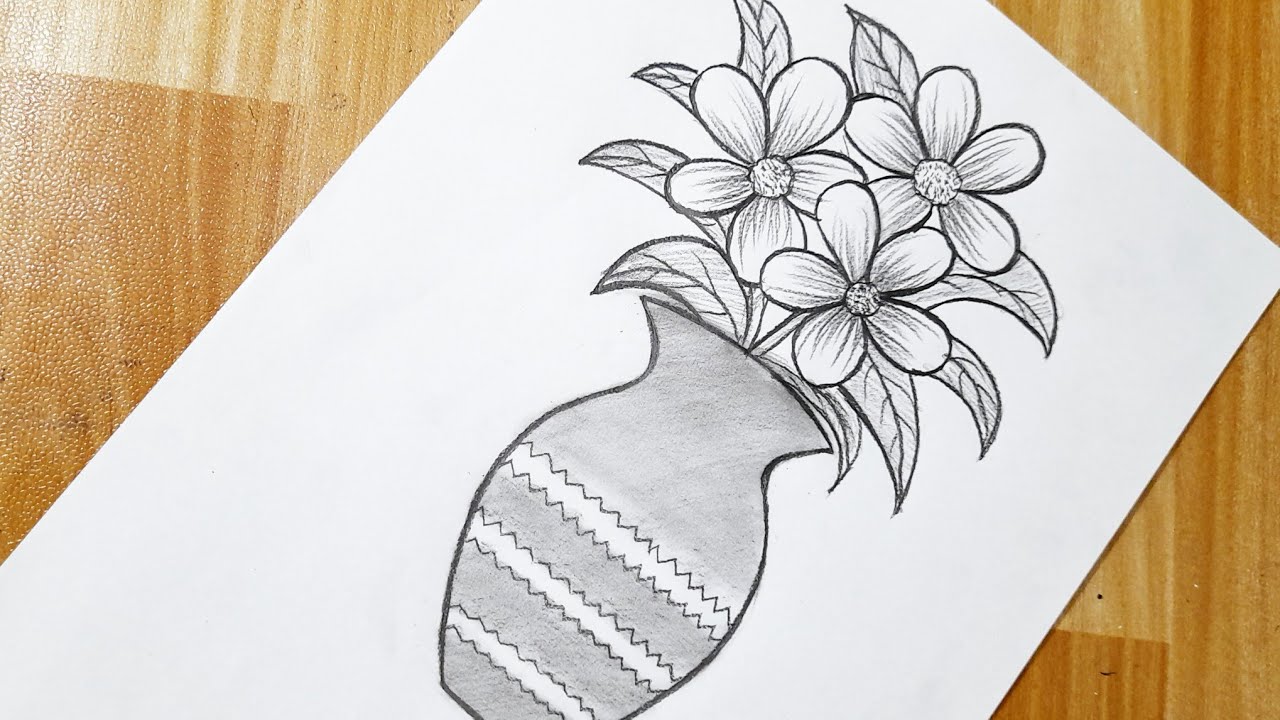
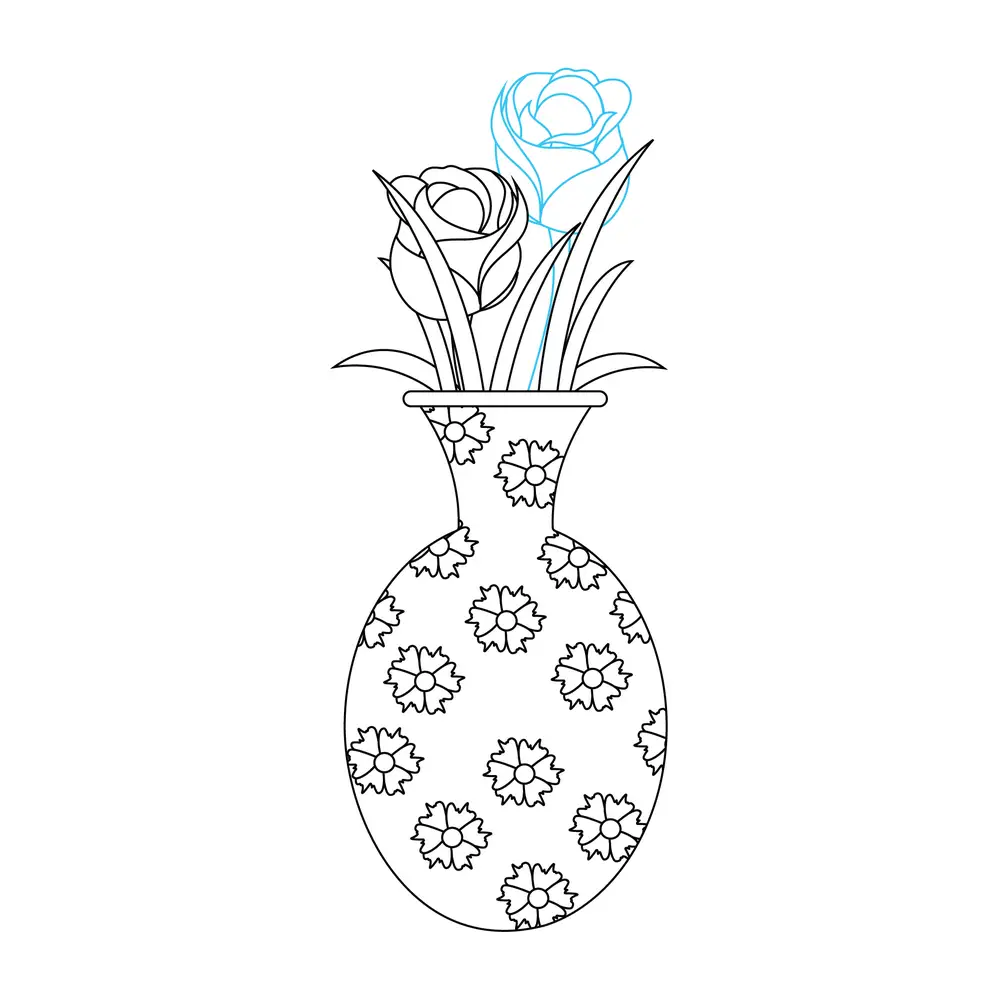
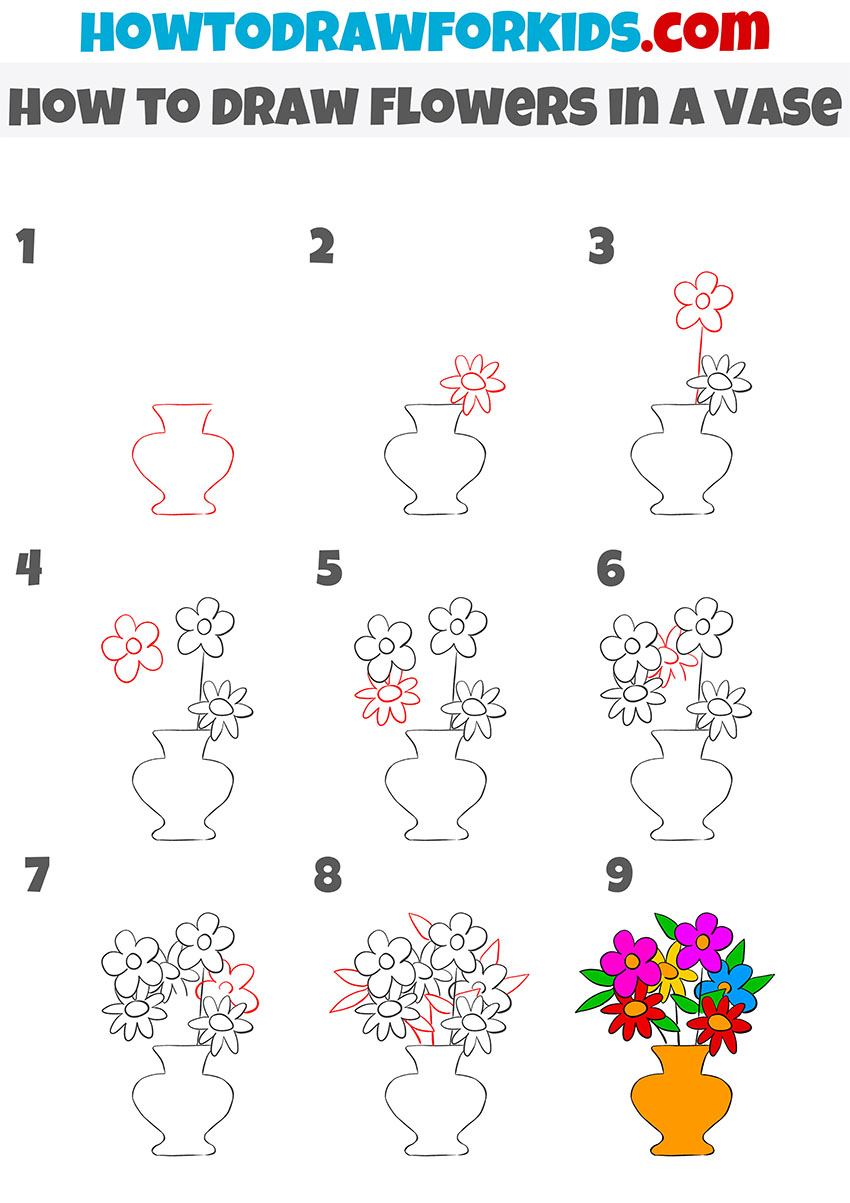
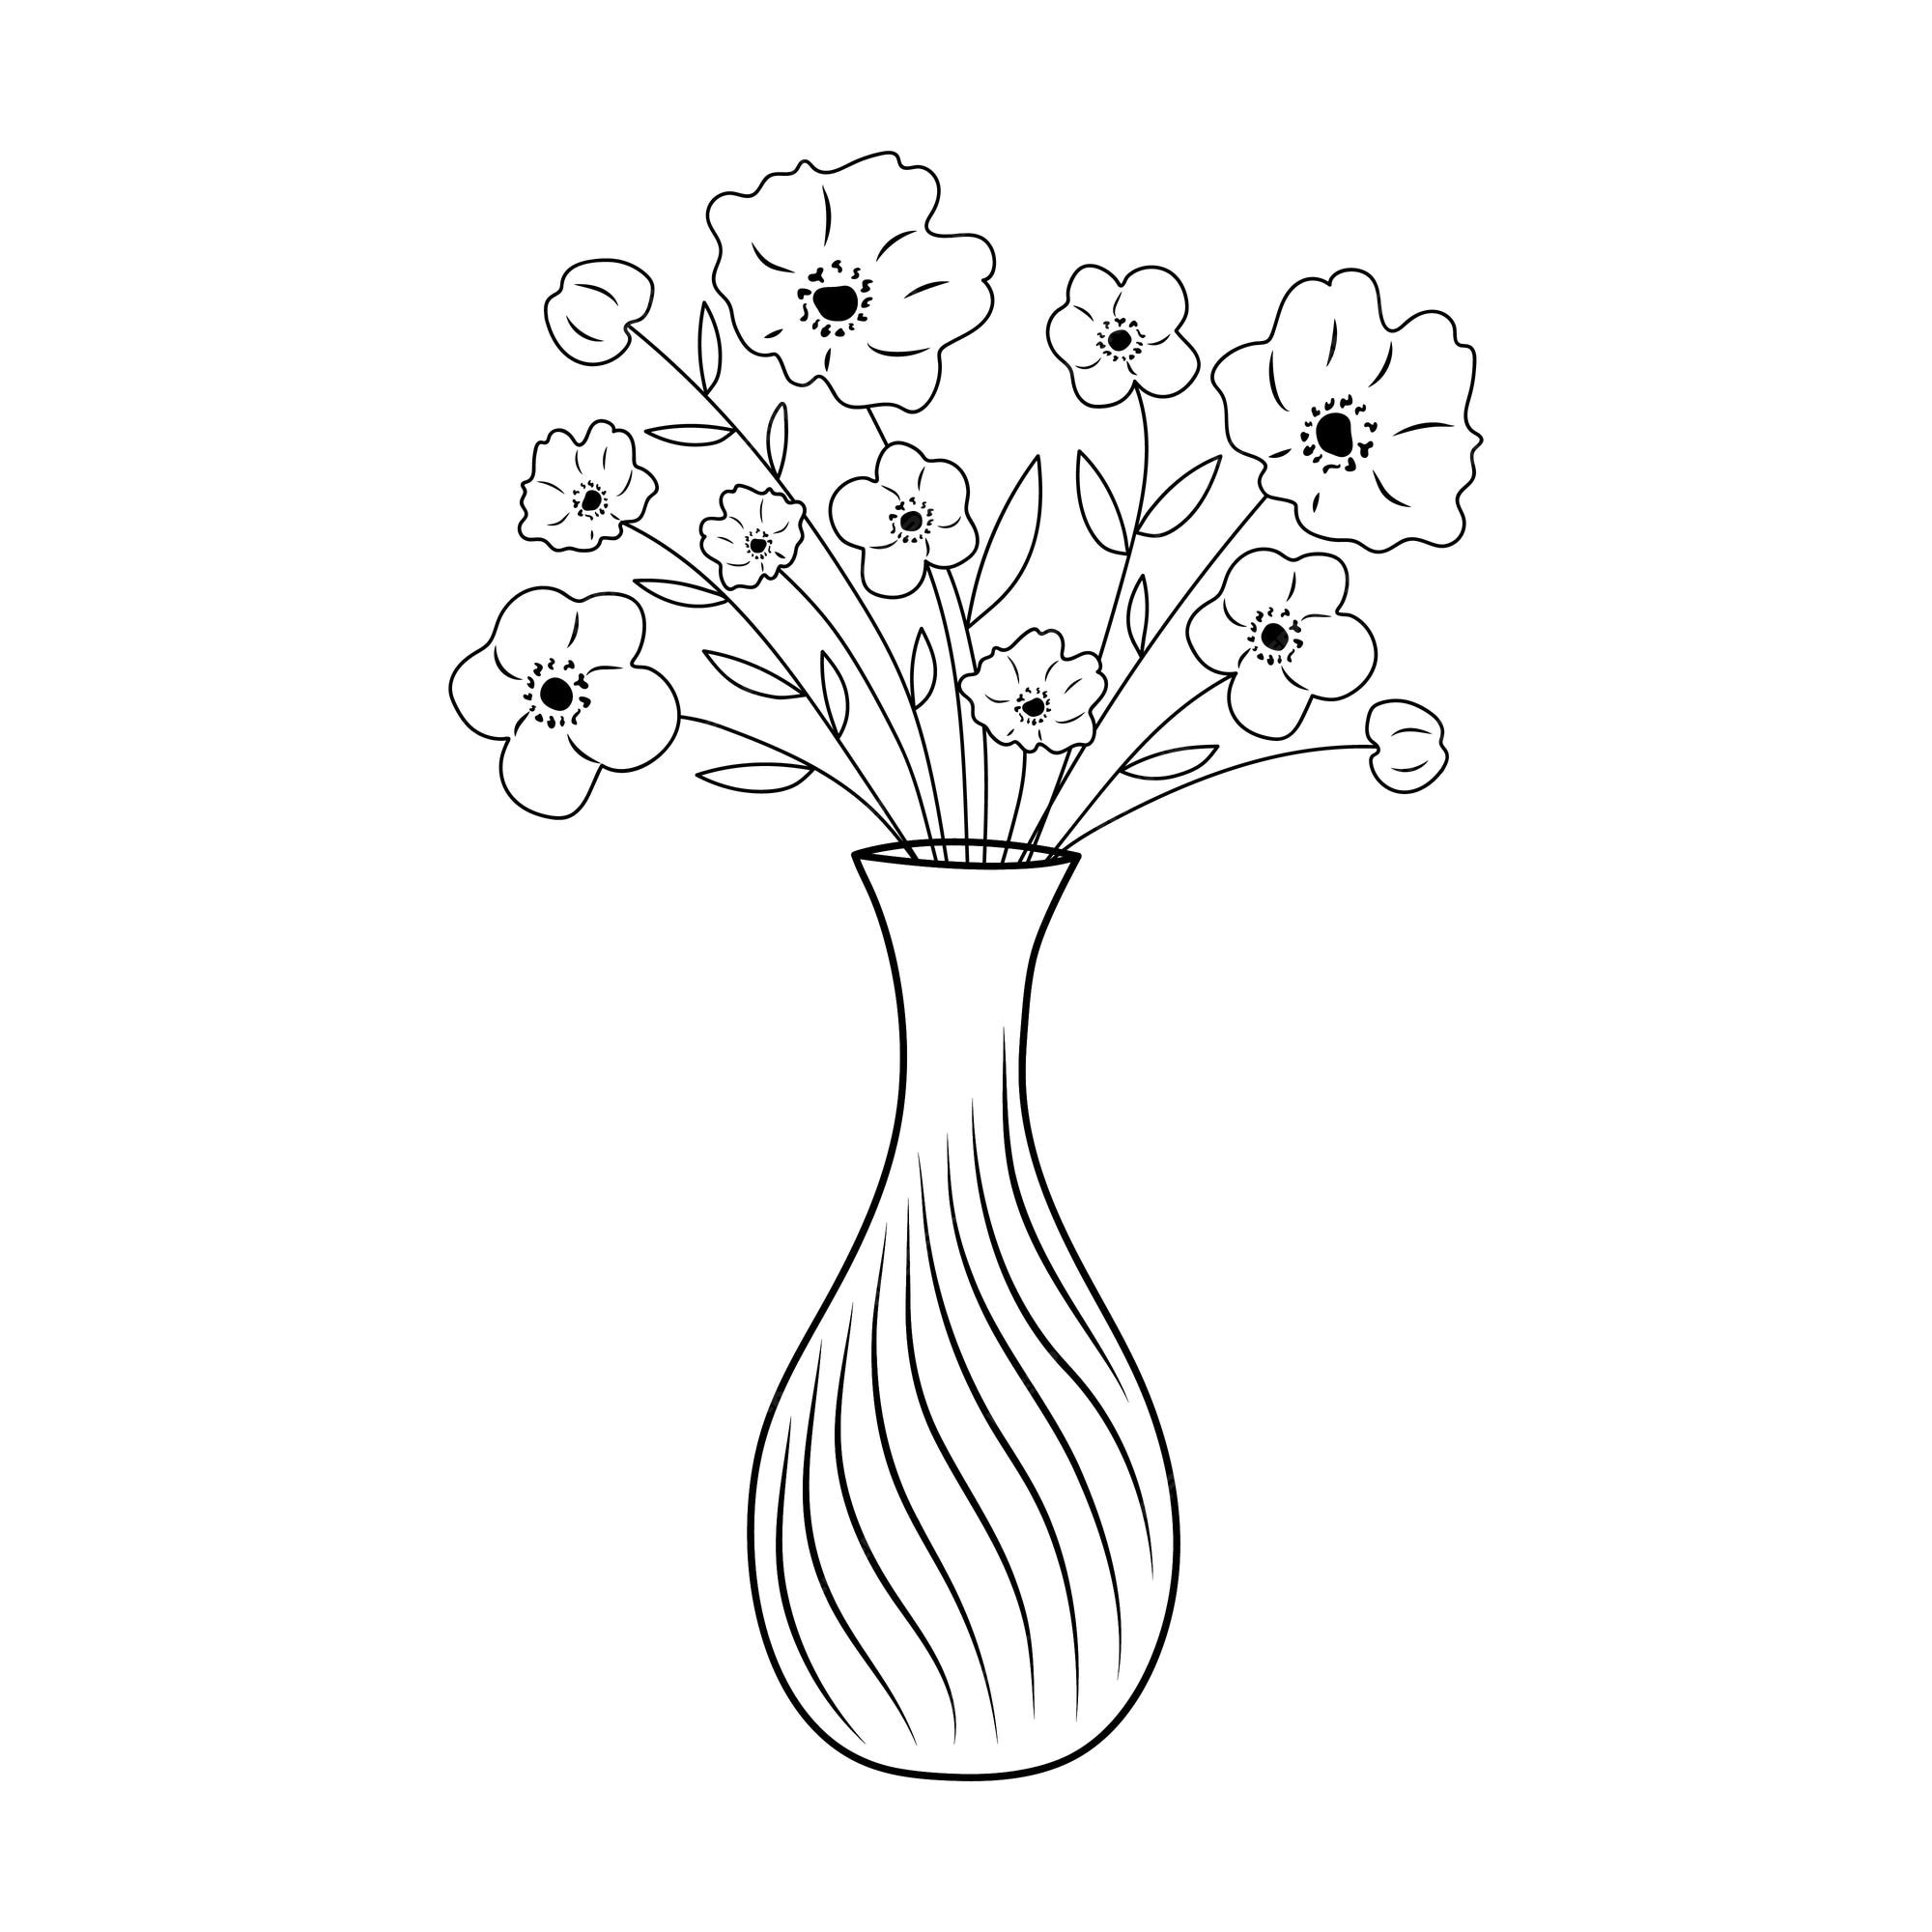
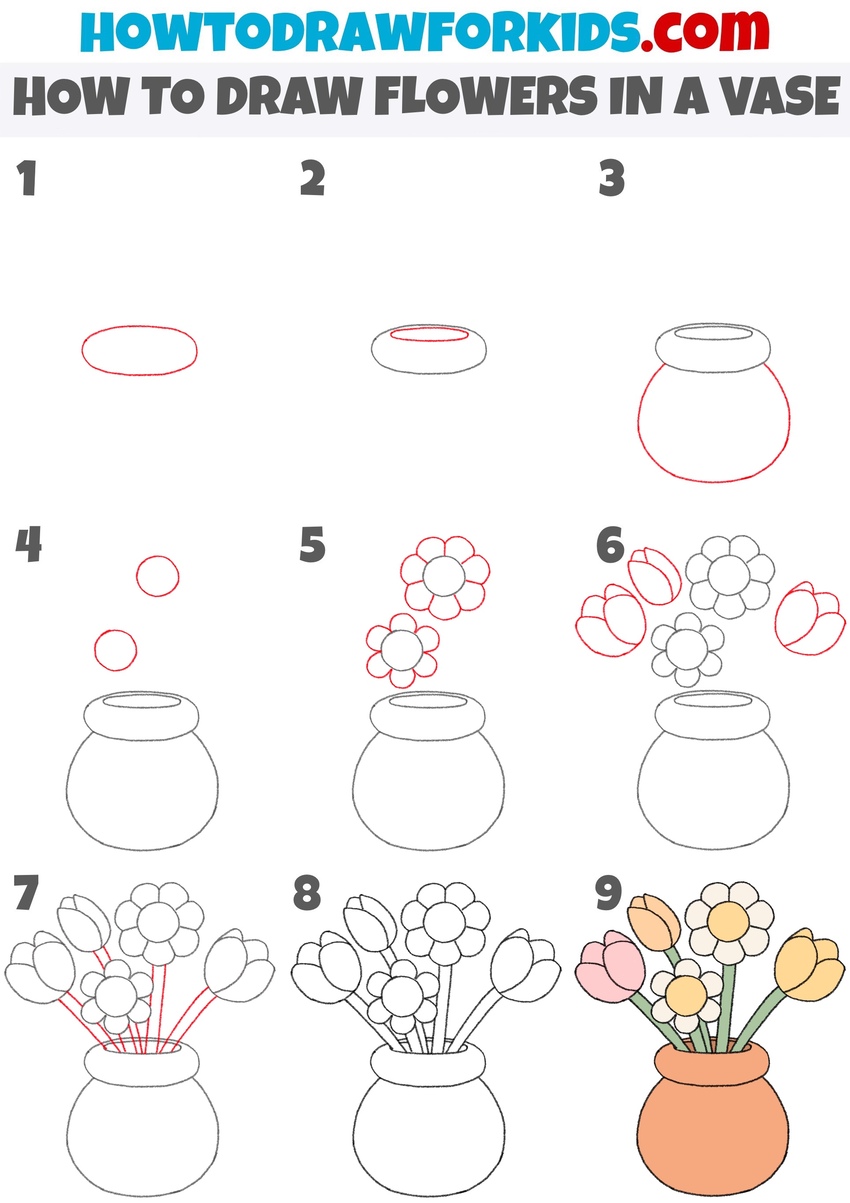
Step 1: The Vase – Your Anchor
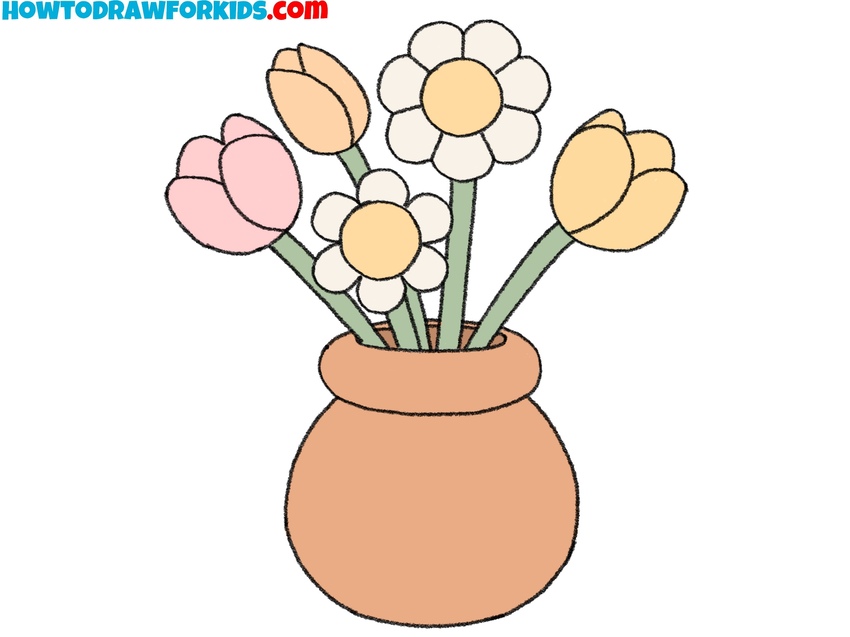
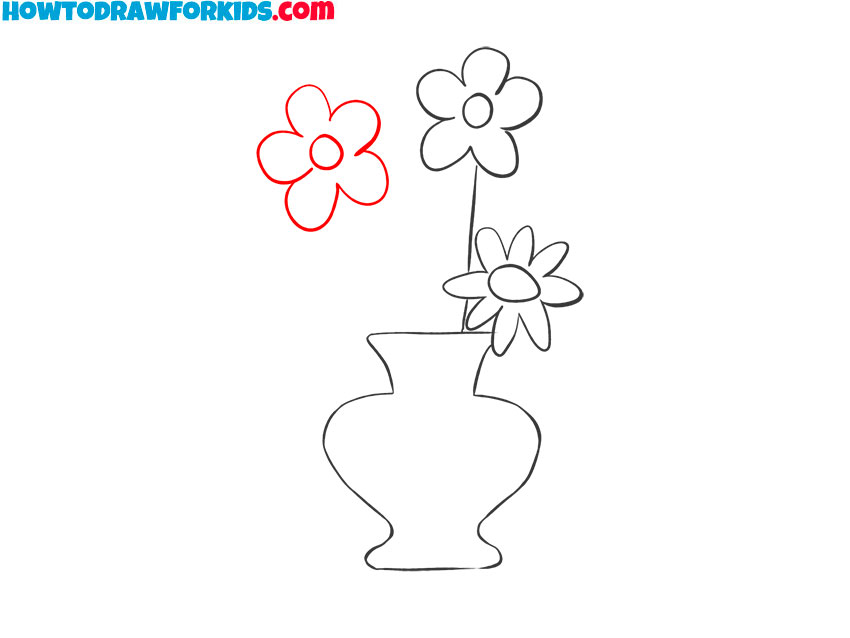
First, the vase! Think simple shapes. An oval, a rectangle with rounded corners, even a slightly wobbly trapezoid works. Seriously, nobody's judging your vase skills. Unless maybe you're entering a vase-drawing contest. Then, okay, maybe practice a bit.
Imagine your vase is like a friendly ghost – it needs a bottom to stand, a middle to hold the good stuff (water and flower stems, of course!), and a top to let the beautiful flowers spill out. Don't overthink it. A simple curve for the opening is all you need.
Pro Tip: Symmetry is Overrated
Who decided vases had to be perfectly symmetrical anyway? A little asymmetry adds character! Maybe one side is a bit wider than the other. Maybe it's slightly tilted, like it's had a long day. Embrace the wonkiness!
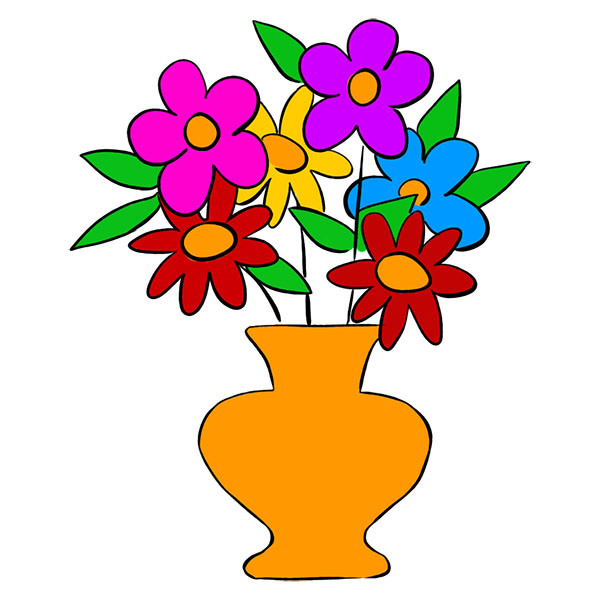
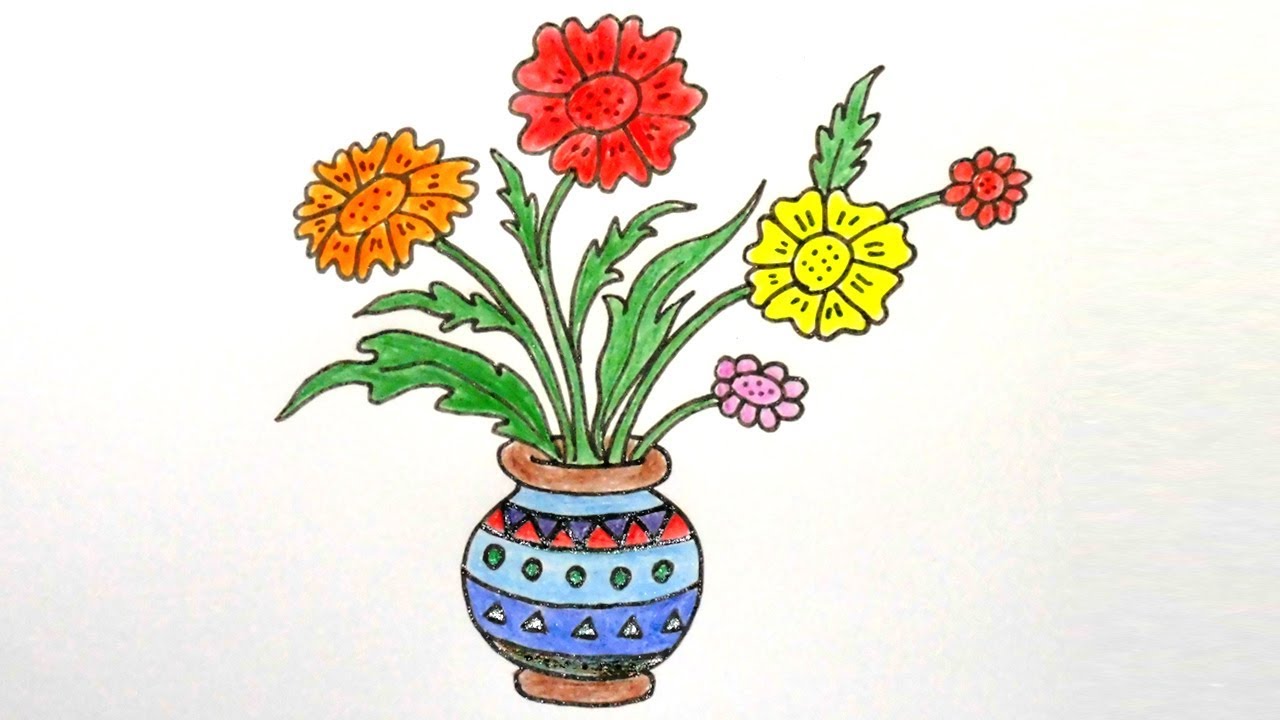
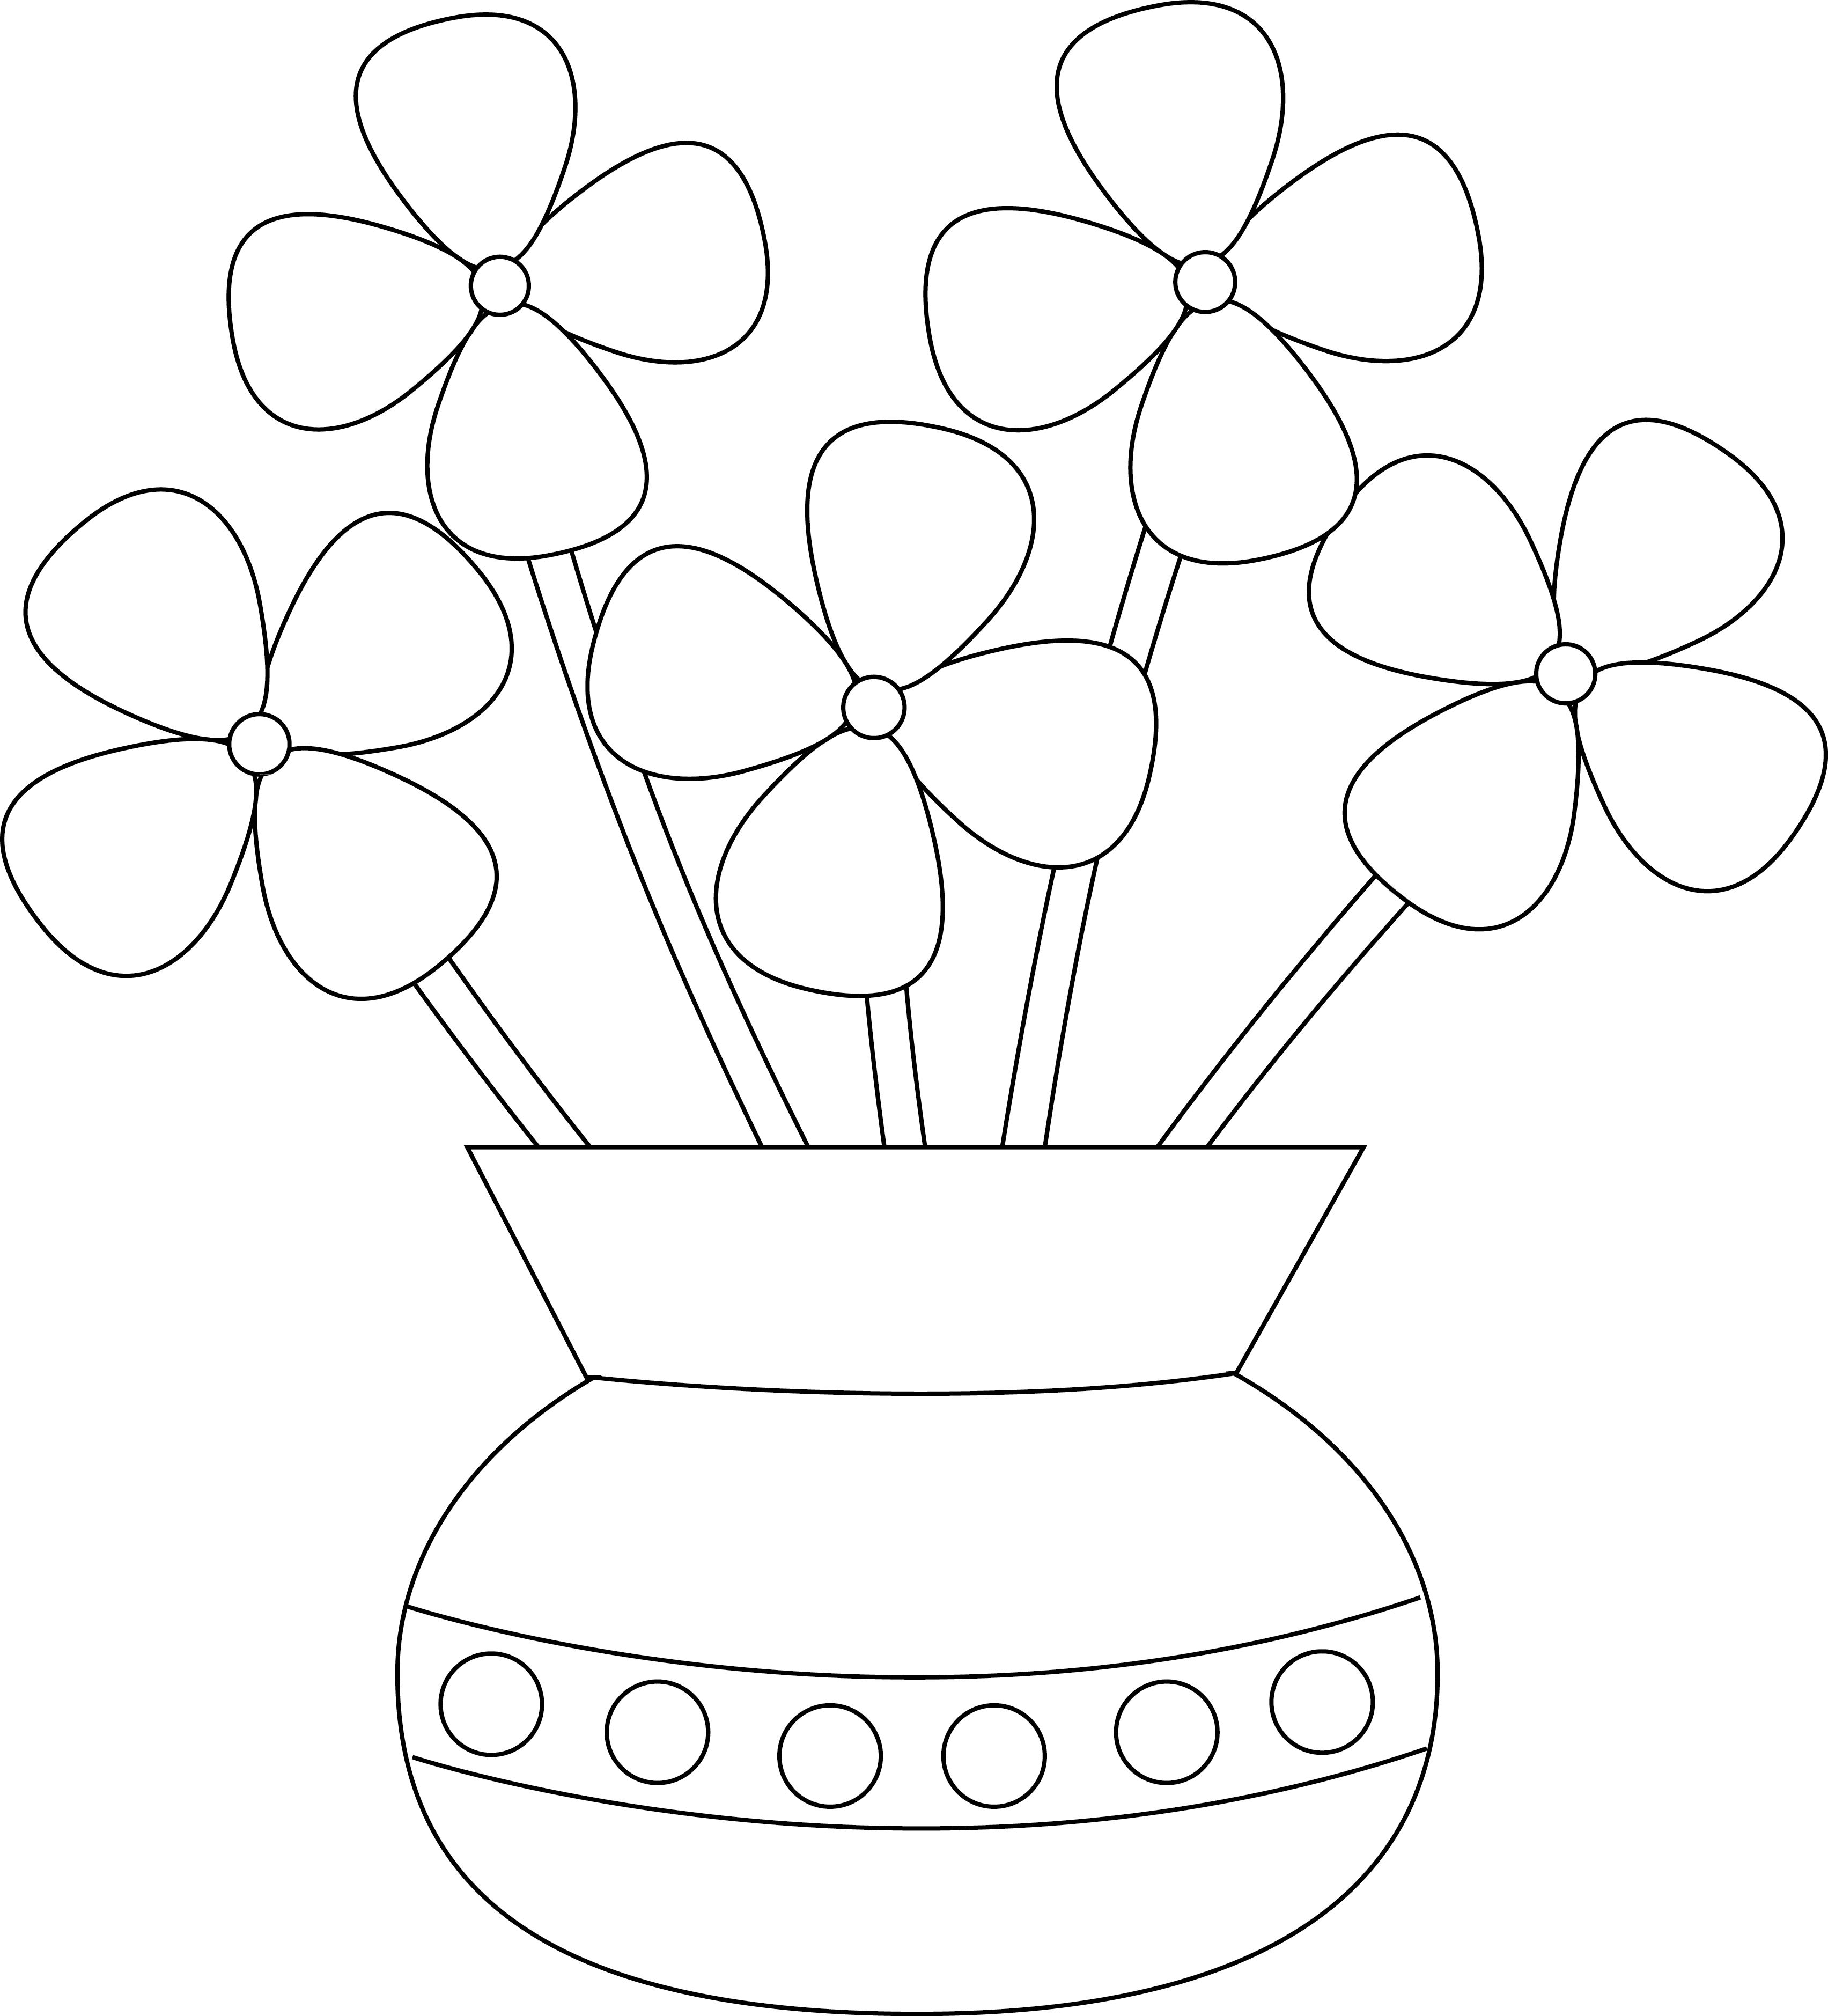
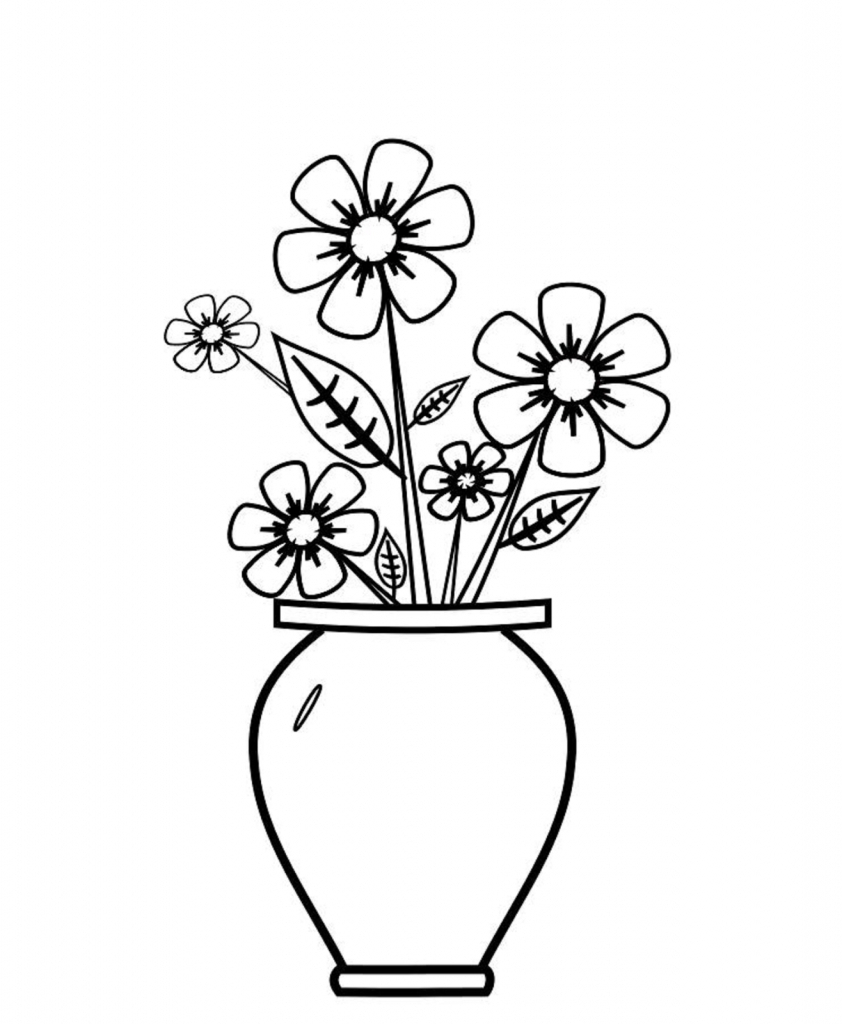
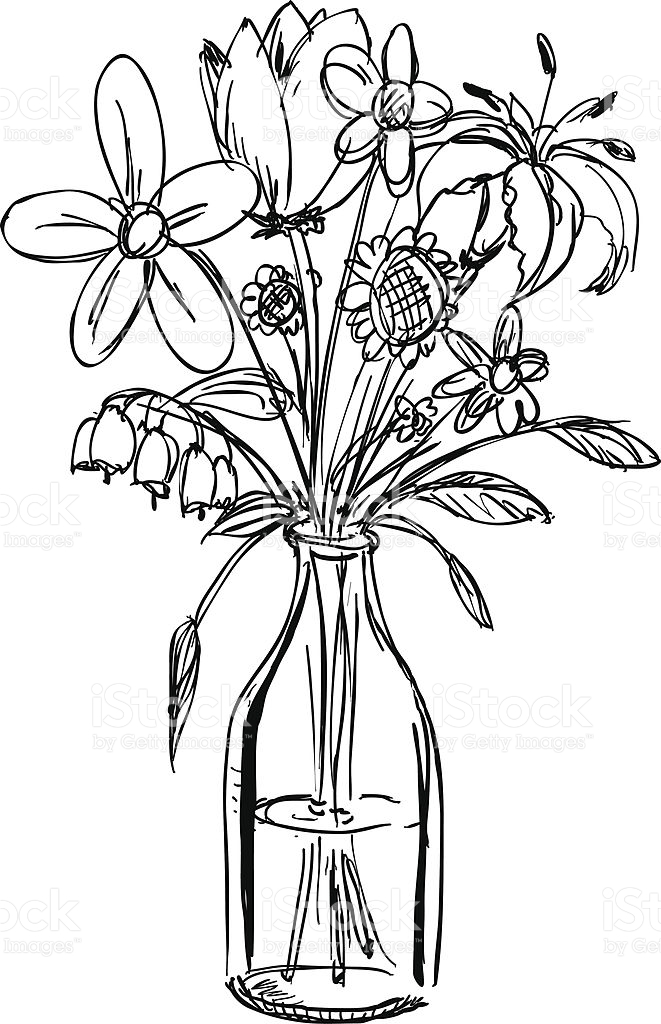
Step 2: Flower Power – Easy Blooms
Now for the fun part: the flowers! Forget realistic petals and intricate details. We're going for charmingly simple. Think circles, ovals, and teardrops.
Start with a circle for the main part of the flower. Add a smaller circle in the middle for the center. Boom! Instant flower. Need more flower power? Draw some petals around the circle. Little hearts, simple ovals, even just slightly pointy shapes will do.
Think of drawing basic flower shapes similar to drawing a child's rendition of a daisy. It's all about capturing the essence, not the botanical accuracy!
Stemming the Tide
Don't forget the stems! Simple lines from the flowers down into the vase will do the trick. You don't have to draw every single stem perfectly visible. In fact, overlapping stems add to the illusion of a full, overflowing bouquet.
Step 3: Leaf It All Out There – Foliage Fun
Leaves are your secret weapon for adding depth and interest. Think simple teardrop shapes or long ovals. Attach them to the stems, pointing in different directions. Some leaves can even overlap the vase!
Again, don't stress about perfection. Leaves come in all shapes and sizes in the real world, so feel free to experiment.
Step 4: Shading and Details (Optional, But Awesome)
Want to take it up a notch? Add a little shading! A few light lines on one side of the vase and flowers can make them pop off the page. Use a pencil to lightly shade the area away from the light source.
Another easy detail is adding some dots or dashes to the flower centers. This adds texture and makes them look a little more interesting.
Step 5: Enjoy Your Masterpiece!
There you have it! Your very own flower-in-a-vase drawing. It might not be hanging in the Louvre anytime soon, but who cares? You created something beautiful (or at least charmingly awkward), and that's what matters.
The most important thing is to have fun and not take yourself too seriously. Remember, art is subjective, and the only critic that truly matters is you!
So, grab a pencil, some paper, and let your inner artist bloom! I promise, even if you think you can't draw, you might just surprise yourself. And if not, well, at least you'll have a good laugh. Happy drawing!
"Every artist was first an amateur." - Ralph Waldo Emerson