How Do You Make A Gamepass On Roblox
Ever dreamed of being a Roblox tycoon, swimming in Robux like Scrooge McDuck in his money bin? Well, my friend, creating a Game Pass is one giant leap towards that glorious goal! It's easier than convincing your little brother that vegetables are actually candy, I promise.
First things first, you'll need a Roblox game. Now, don’t panic! It doesn’t need to be the next Adopt Me! or Blox Fruits. Even a simple, bare-bones game will do.
Think of it like this: your game is the stage, and the Game Pass is the VIP backstage pass. People pay extra for the exclusive treatment, see?
Navigating to Creation
Alright, buckle up, because we're diving into the Roblox Creator Hub! Head over to the Roblox website. Log in, if you haven’t already. And if you haven't, what are you waiting for? Log in!
On the left-hand side of the screen, you'll spot a button that says "Create." Click it like you're claiming your reward after a particularly epic quest. This takes you to the Creator Hub, the magical land where games and experiences are born.
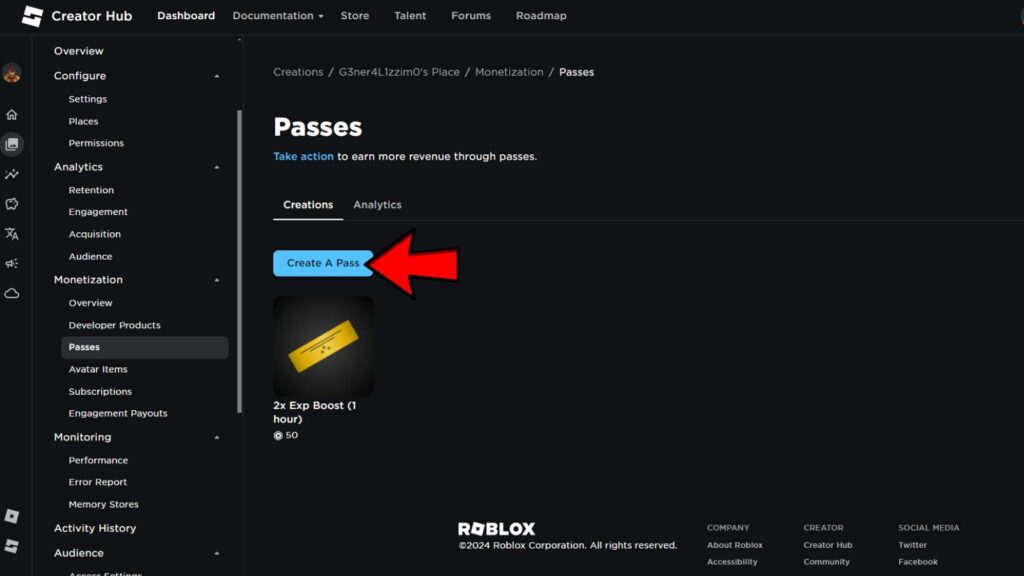
Find your game on the dashboard. It should be listed under "Experiences." Click on your game’s tile to get started.
Crafting Your Game Pass
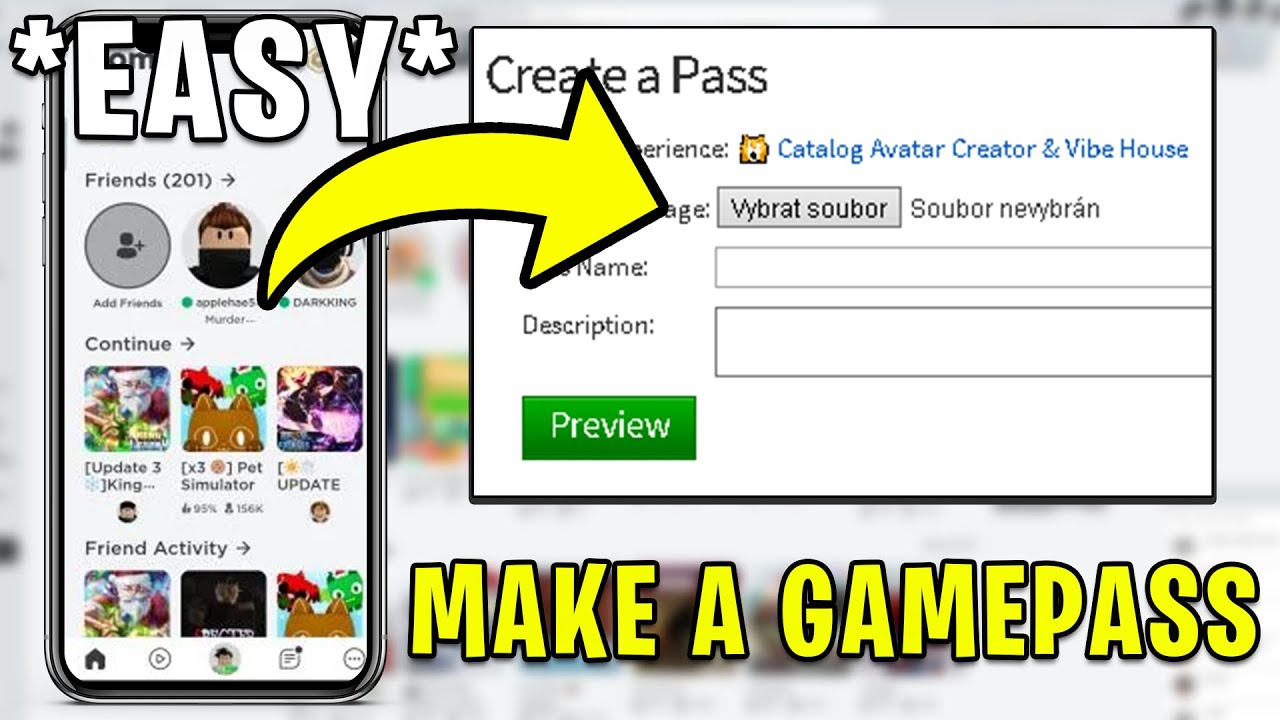
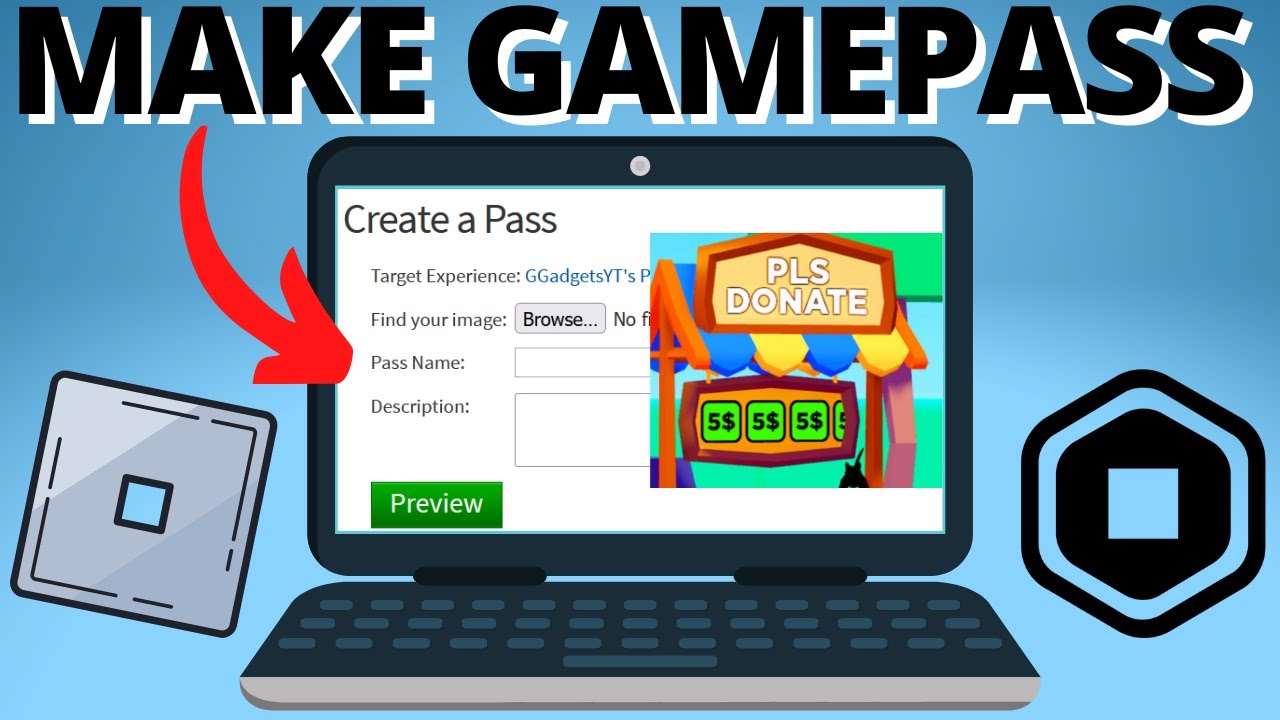
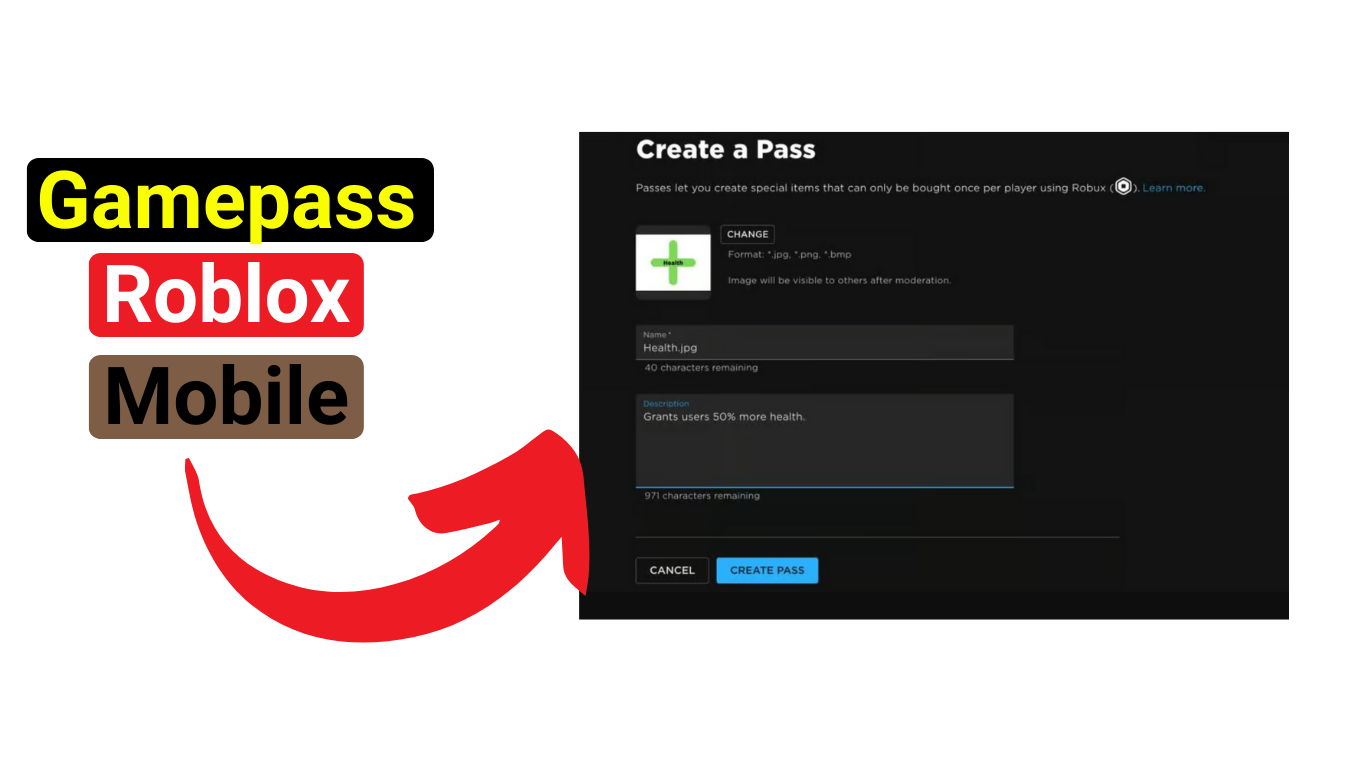
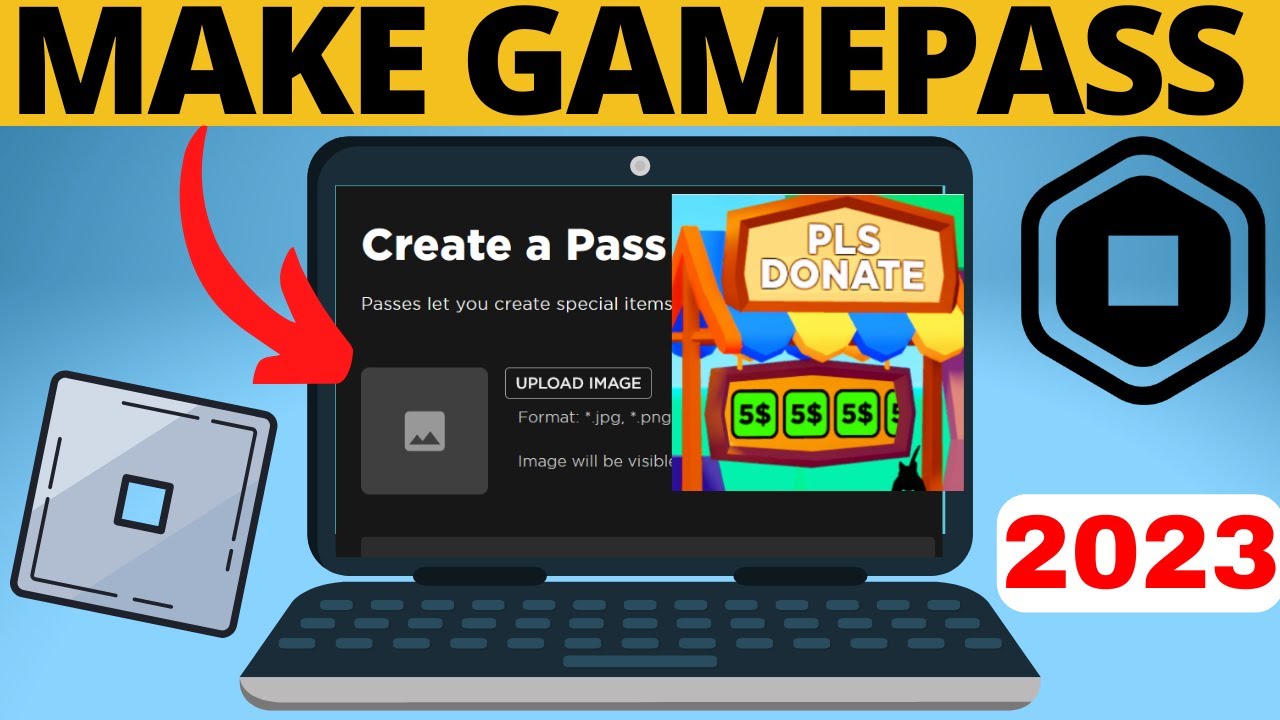
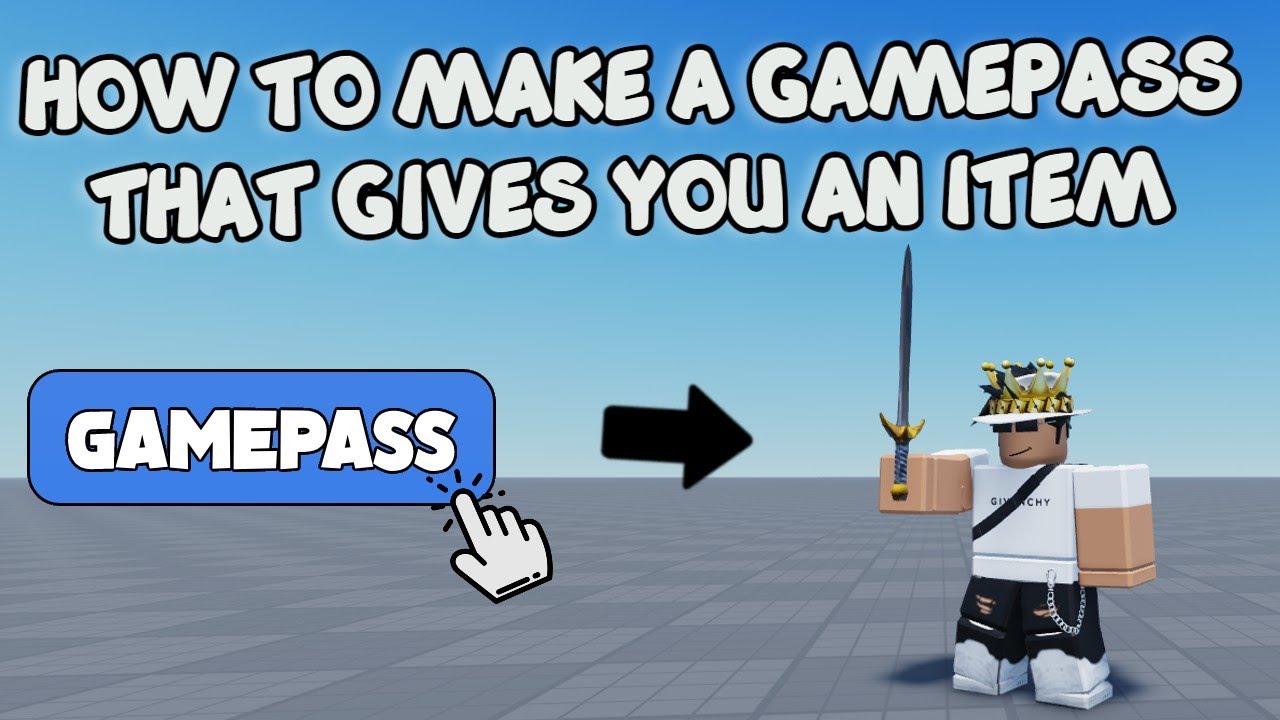
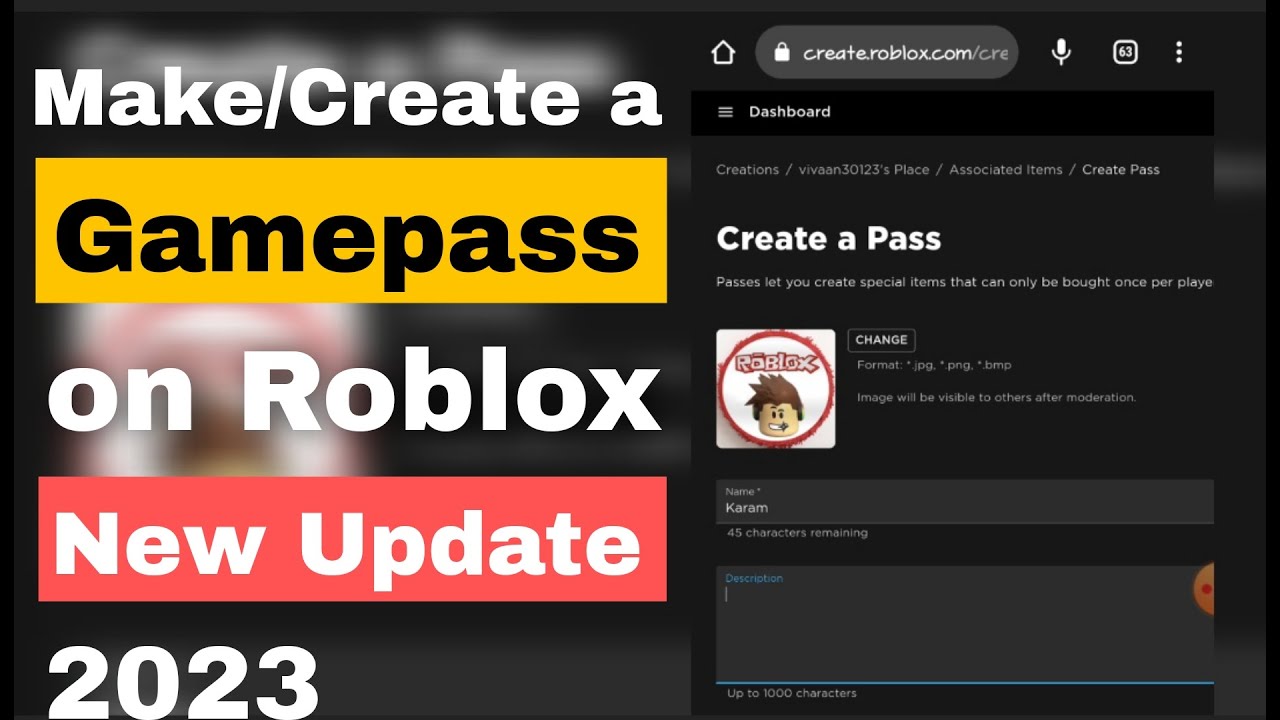
Now for the fun part! In the left-hand menu, you should see "Associated Items." Click on it and then click the "Passes" tab. Now, summon your inner artist and click on the glorious "Create Pass" button!
You'll be greeted with a screen asking for details. Time to unleash your creativity!
First, give your Game Pass a name. Something catchy, intriguing, and oh-so-desirable! "Super Speed Boost," "VIP Lounge Access," "Rainbow Unicorn Pet" - the sky's the limit! Just make sure it relates to what the Game Pass actually does. Don't promise a jetpack and deliver a pair of socks, okay?
Next, you’ll need a description. This is your chance to sell the dream! Explain the benefits of your Game Pass like you're convincing a friend to try your grandma's secret recipe pie. Emphasize the awesome-ness!
You'll also need to upload an image for your Game Pass. This is your chance to make it visually appealing. Use an image that is eye-catching. Get your players excited.
Once you’ve filled in the details and uploaded your picture, click the "Create Pass" button again. Boom! Your Game Pass exists! Kind of...
Setting the Price
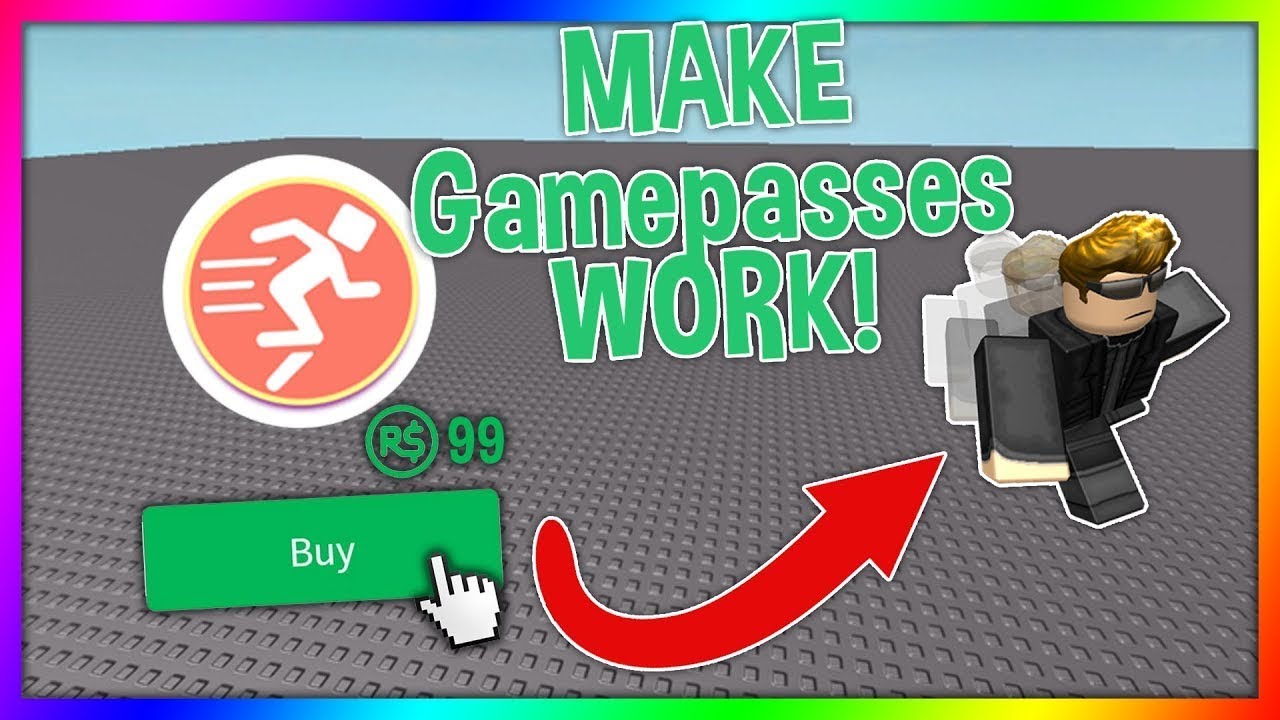
Hold your horses, we're not done yet. Your Game Pass is born, but it's not *alive* until it has a price tag. Right now, it is just an idea.
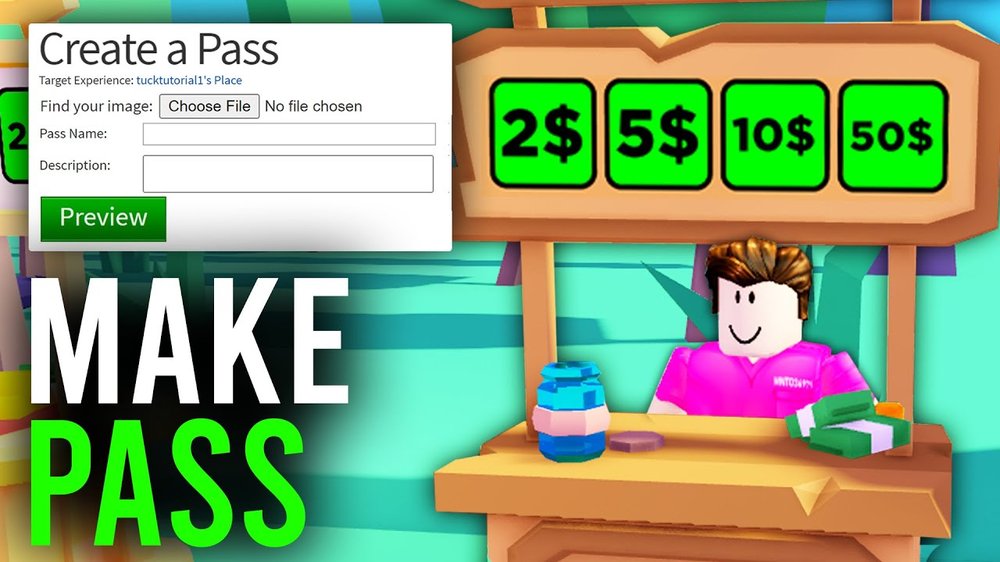
Find your newly created Game Pass in the list. Click on it, and you'll be taken to its individual page. Look for the "Sales" tab. Flip the "Item for Sale" toggle to the on position, like you're flipping the switch on a money-making machine!
Now, for the crucial part: setting the price. This is where the magic happens. Be reasonable! If your game is super simple, don't charge 1,000 Robux for a slightly brighter hat. Find that sweet spot between "affordable" and "worthwhile."
A good starting point is usually somewhere between 50 and 200 Robux, but it depends on what the Game Pass offers. Experiment and see what works best for your audience.
Once you've set your price, hit "Save Changes." Congratulations! Your Game Pass is officially on sale and ready to bring in the Robux!
Spread the Word!
Don't just sit back and wait for the Robux to roll in (although, wouldn't that be nice?). Promote your Game Pass within your game! Create signs, add it to the in-game store, and shout it from the rooftops! (Well, virtually, anyway.)
Let your players know why they *need* this Game Pass in their lives. Make it irresistible!
And that's it! You've officially created a Game Pass on Roblox. Now go forth and conquer the Roblox world with your amazing creations and your newfound Robux-generating abilities! Remember, even the most successful developers started somewhere. Happy creating!


.jpg?format=1500w)