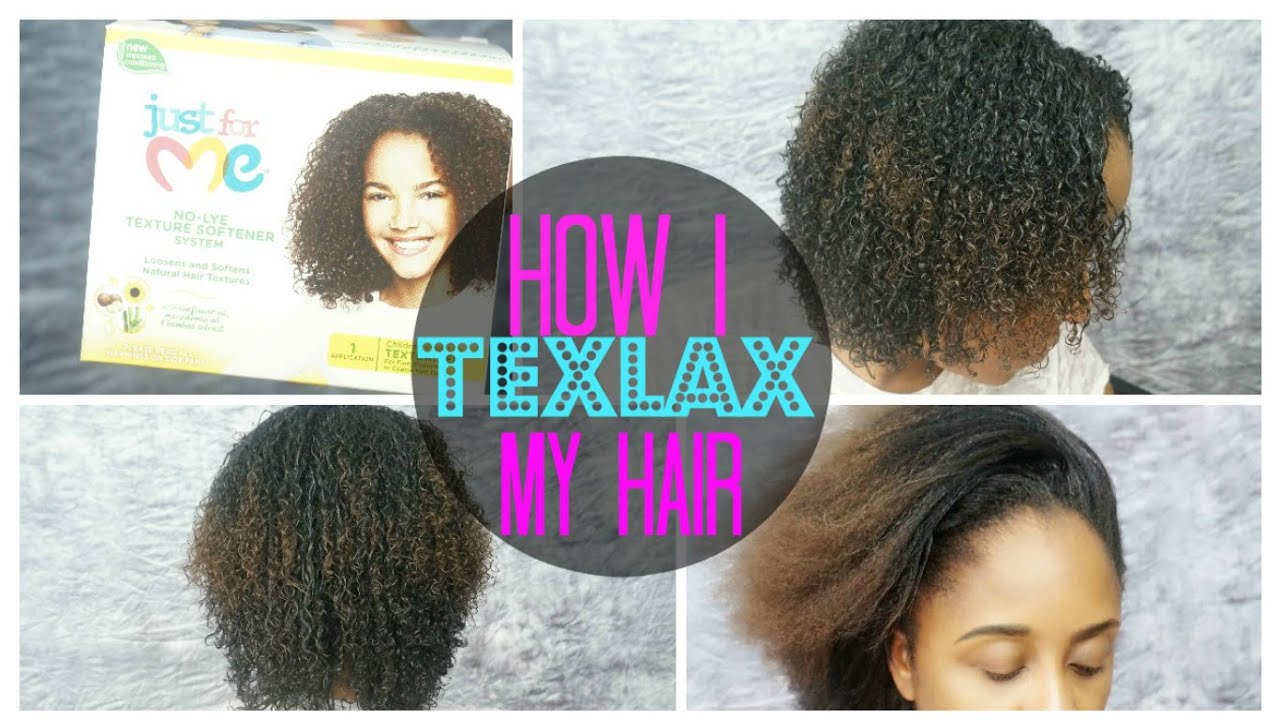
How To Apply A Texturizer To Natural Hair
Okay, so you're thinking about that texturizer. The one that promises to loosen those glorious coils into something a little… bouncier. It's a big step! Buckle up, Buttercup, because we're about to dive in.
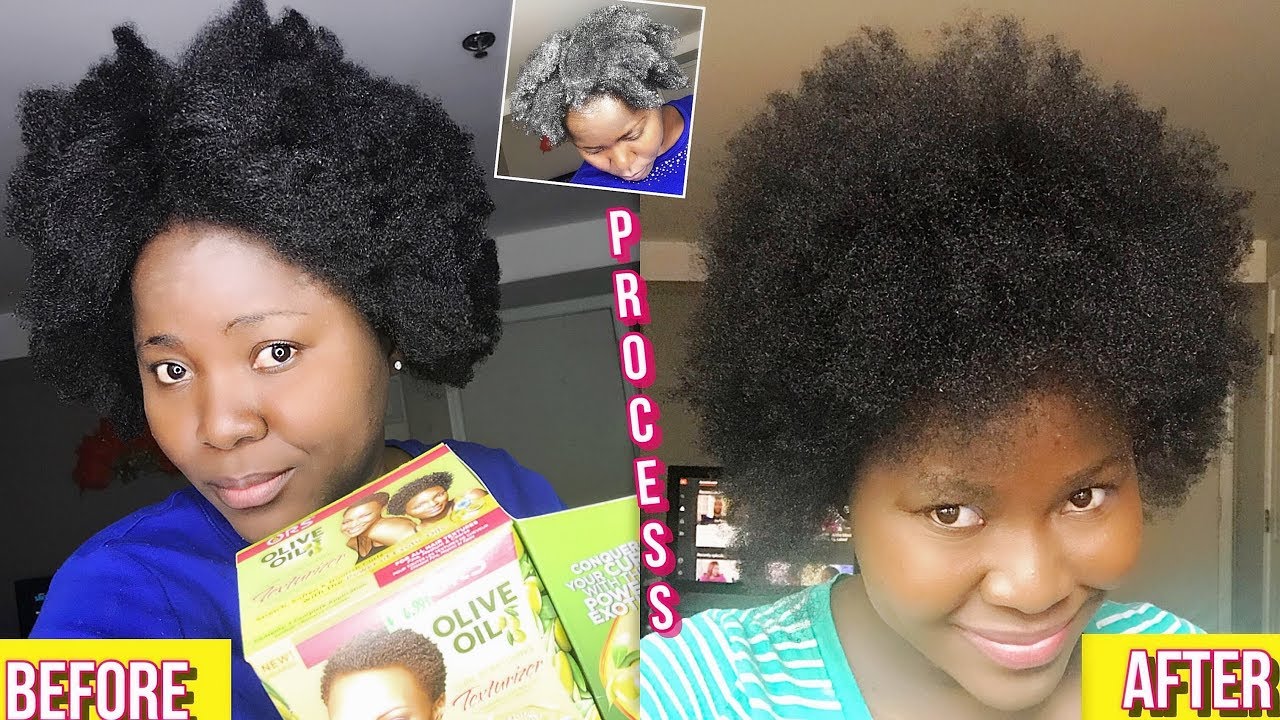
First things first, gather your supplies. You'll need the texturizer kit (duh!), a plastic bowl (because who wants to stain their good china?), and some gloves (unless you're aiming for that "acid-wash hands" look, which I highly advise against). A timer is crucial, and an old towel or cape that you don't mind sacrificing to the hair gods.
Prepping Like a Pro
Now, about that hair. Make sure it's clean, dry, and free of any product. Think of it as prepping a canvas before creating a masterpiece... a masterpiece of slightly looser curls, that is.
Sectioning is key. Imagine you're building a tiny hair-apartment complex, one section at a time. Four sections usually does the trick. Secure each with plastic clips, ready to be texturized.
The Application Adventure
Alright, mixing time. Follow the instructions on the kit precisely. This isn't the time to get creative and throw in some extra ingredients "for good measure". Trust me, your hair will thank you.
Gloves on! Here we go! Apply the texturizer section by section. Start at the back (if you can see back there! Use a mirror or better yet, grab a friend). Use a comb to evenly distribute the product, making sure to coat every strand.
Remember that timer? This is where it earns its keep. The amount of time the texturizer sits determines the final result. Go too short, and you'll barely notice a difference. Go too long, and... well, let's just say you'll be rocking a drastically different 'do.
Keep a close eye on your hair. If you start feeling any burning or irritation, rinse immediately. Better safe than sorry, always!
Rinse and Reveal
Time to rinse! And rinse. And rinse again. You want to make absolutely sure that all the texturizer is gone. This is like washing away all your hair-related sins.
Use the neutralizing shampoo provided in the kit. This step is crucial to stop the processing and restore your hair's pH balance. Think of it as hitting the "reset" button for your strands.
Post-Texturizer Pampering
Follow up with a deep conditioner. Your hair has been through a lot, and it deserves some serious TLC. Let it soak in all that goodness for at least 20 minutes.
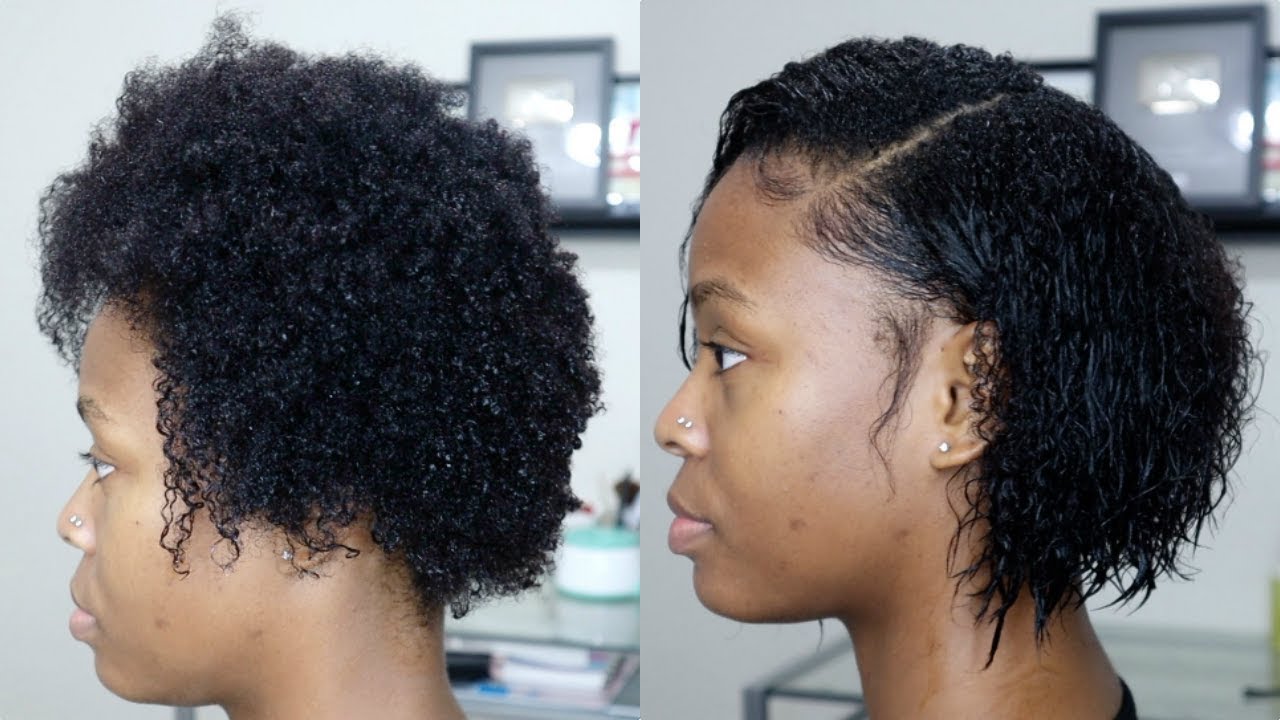
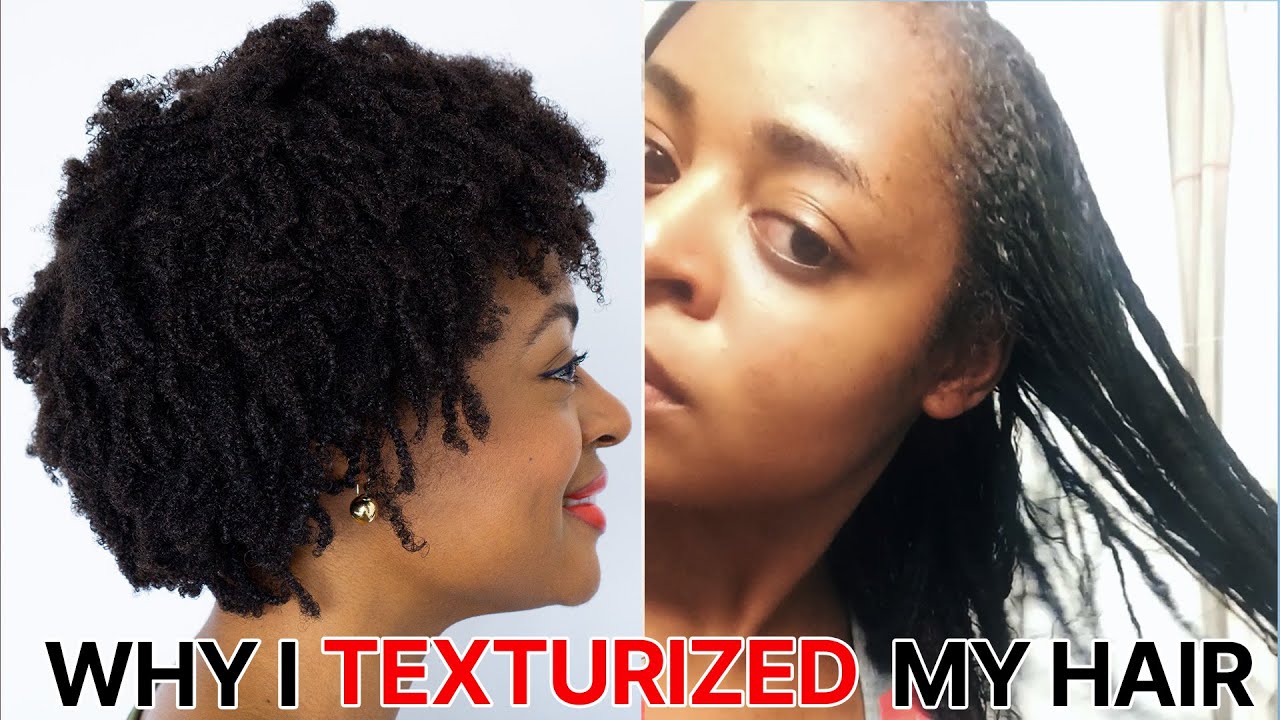
Rinse again (yes, more rinsing!). Style as usual, and voila! Behold your slightly looser, bouncier curls. You've conquered the texturizer!
Now, for the love of all that is hair-related, moisturize, moisturize, moisturize! Texturized hair needs extra love and hydration. A good leave-in conditioner and regular deep conditioning treatments are your new best friends.
And remember, maintaining your texturized hair is an ongoing journey, not a one-time event. Regular trims, gentle handling, and lots of moisture will keep your locks looking their best. Enjoy your newly defined hair!
Don't be afraid to experiment with different styles and products to find what works best for you. After all, hair is just another way to express your unique personality. So go forth, and rock those luscious, slightly looser curls with confidence!