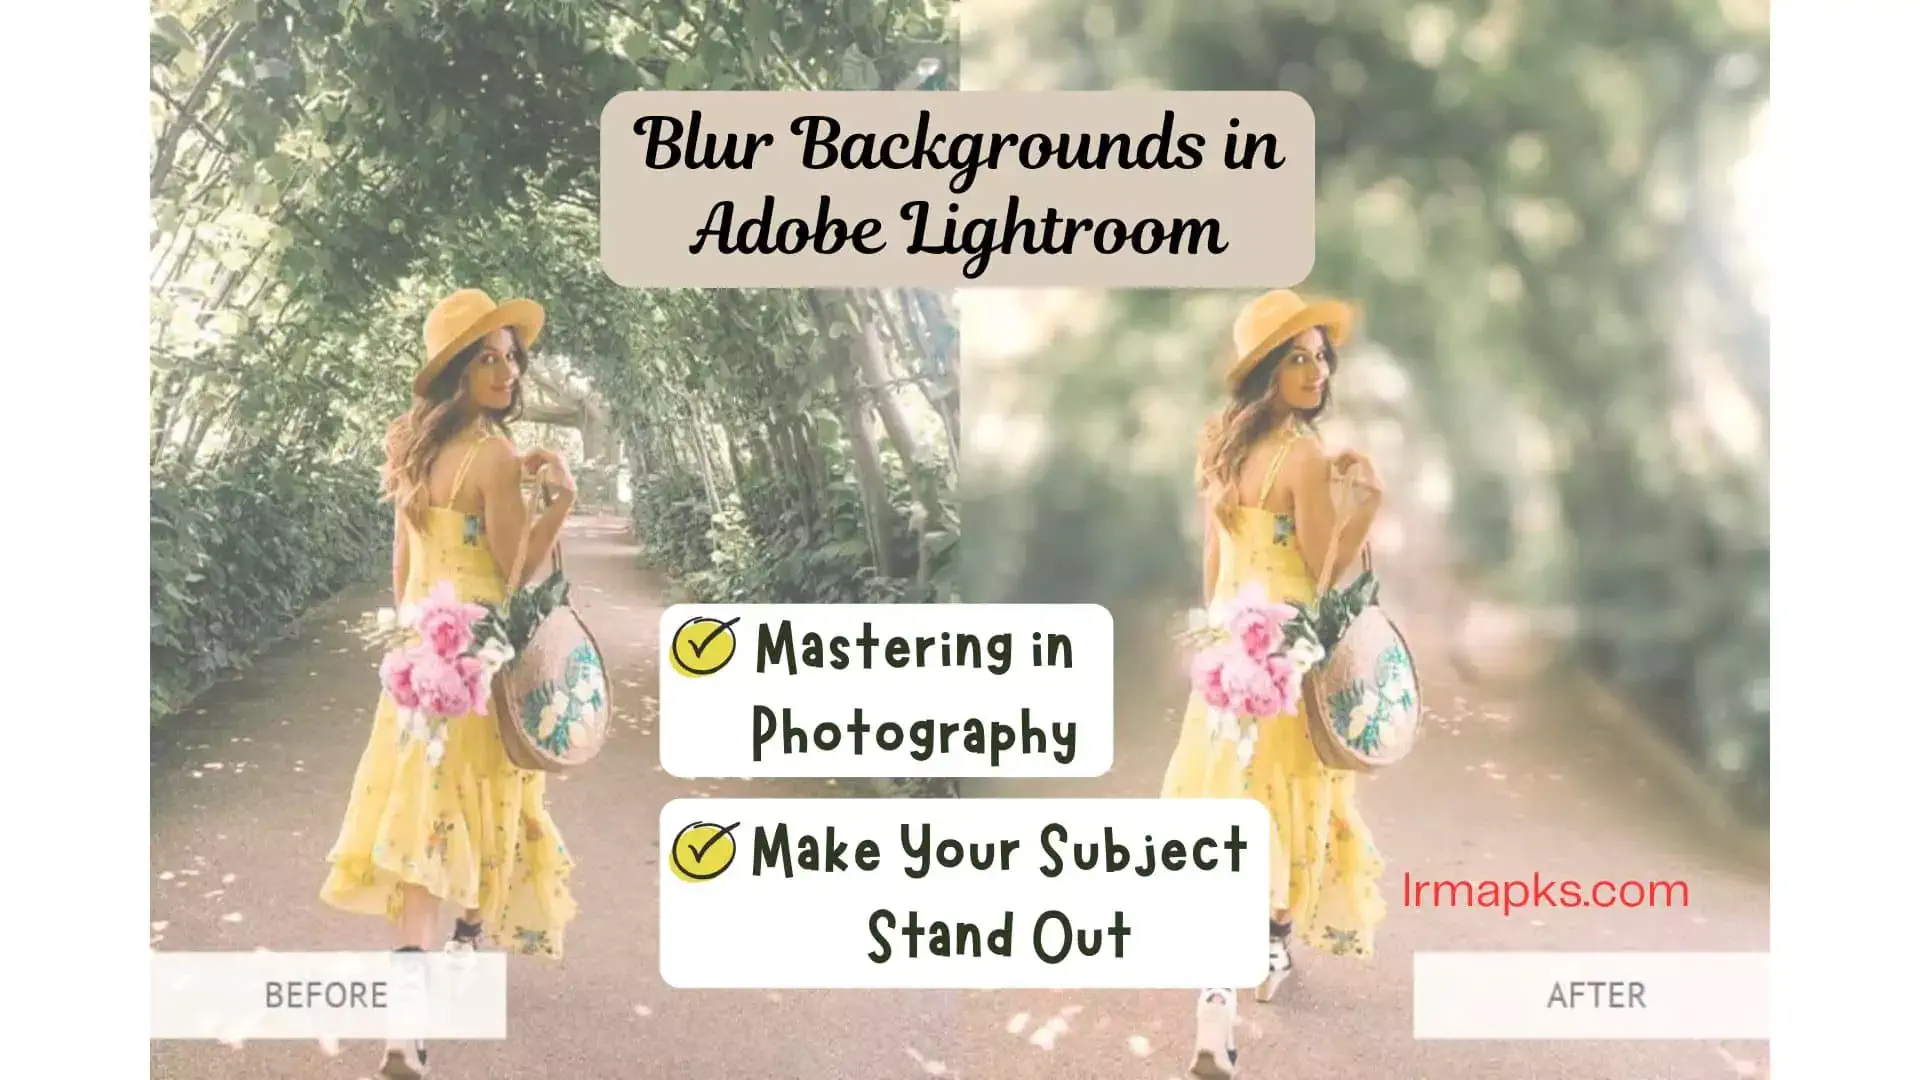
How To Blur Background In Lightroom Mobile

Okay, picture this: You’ve snapped the *perfect* photo of your dog, Sparky, looking impossibly cute. He's got that head tilt, the sun's hitting just right, and you’re ready to share his adorableness with the world. But then you look closer.
Oh no! There's a pile of laundry lurking in the background. And maybe a half-eaten pizza box (we’ve all been there!). Fear not, photo-loving friend! Lightroom Mobile is here to save the day and turn that background blur-tiful!
The Selective Tool: Your Blur Bestie
First, fire up the Lightroom Mobile app and open the photo you want to transform. We're going on an adventure, so make sure your phone's charged!
Now, tap the "Selective" tool at the bottom. It looks like a plus sign inside a circle – think of it as a plus for your pictures!
Adding a Blur-tastic Selection
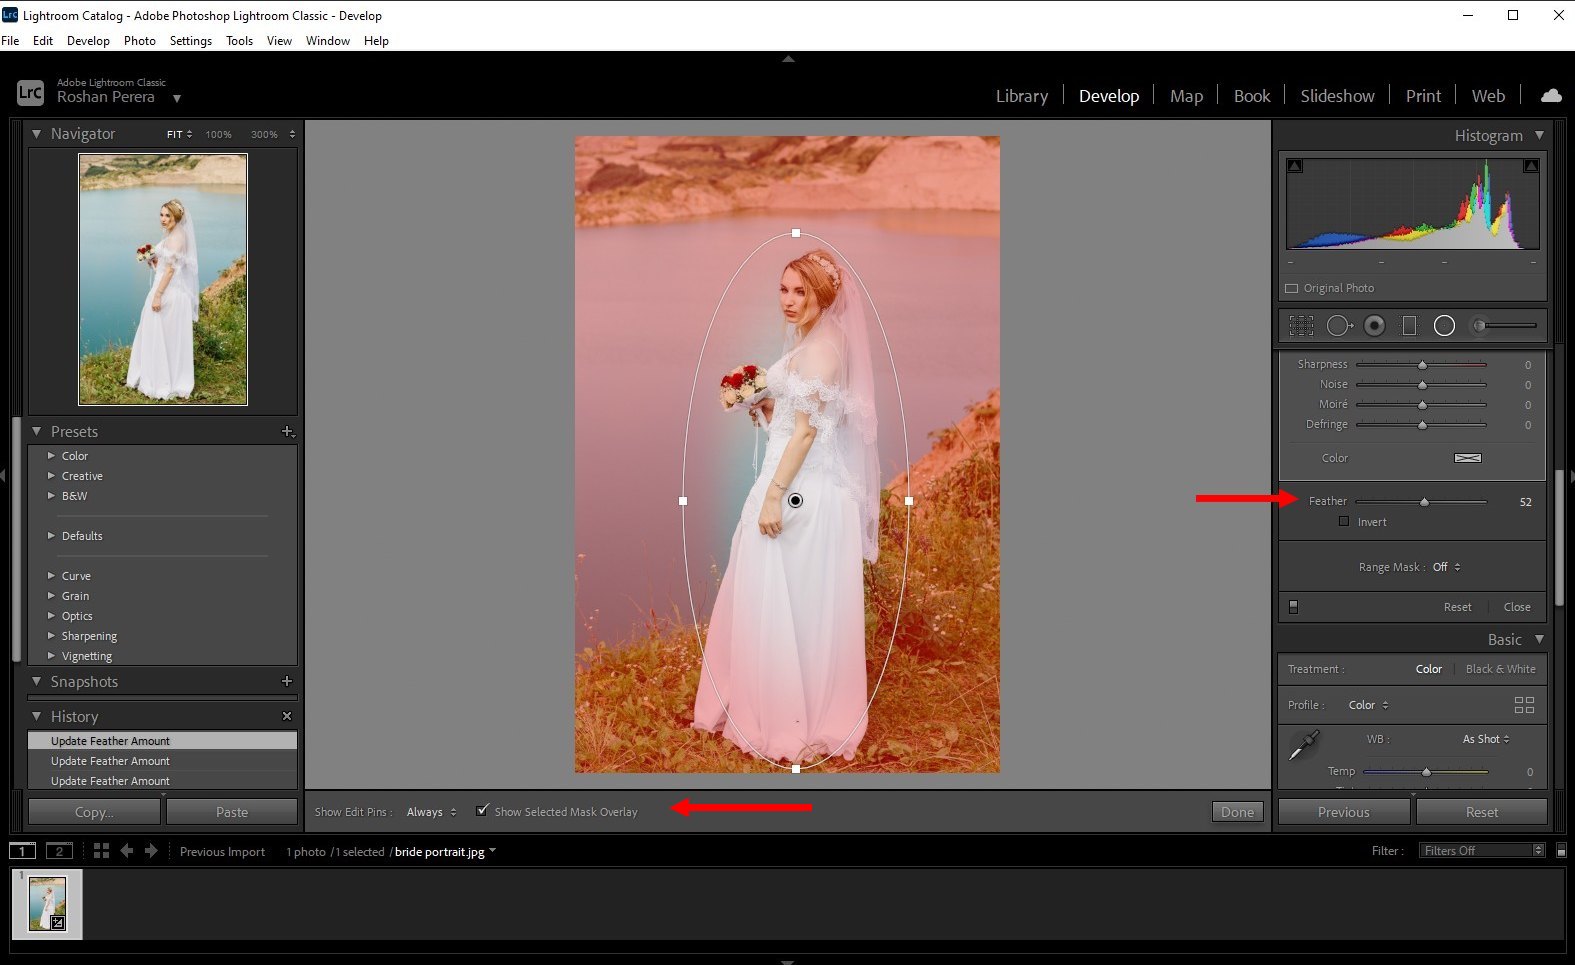
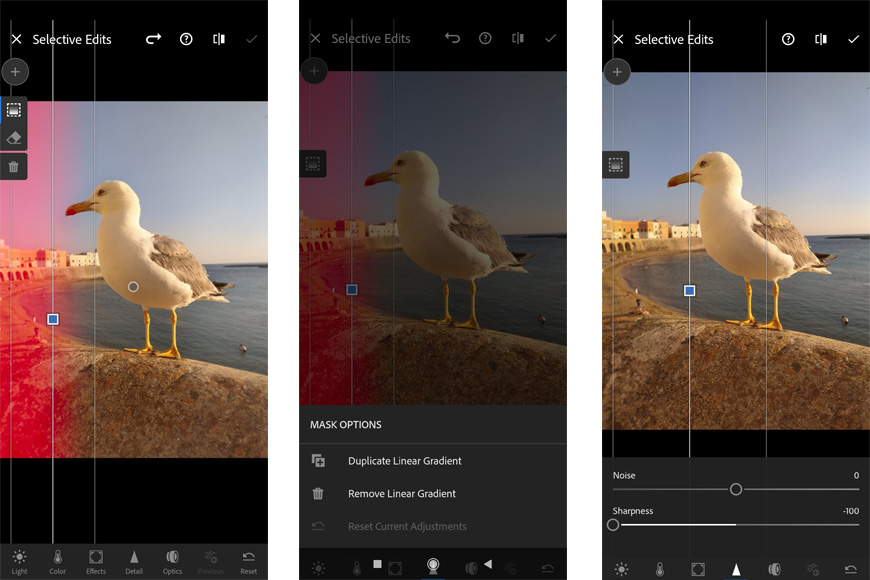
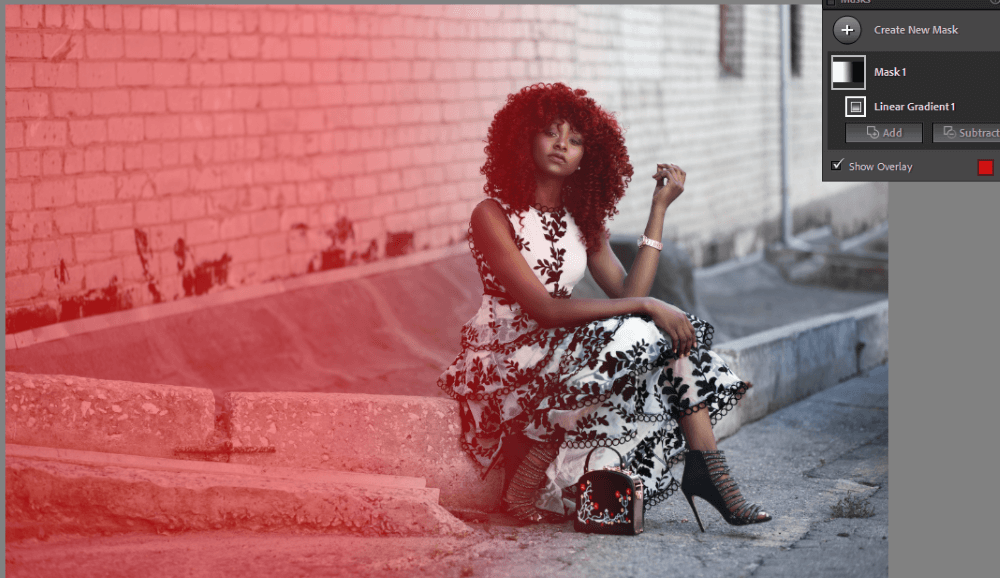
Time to get selective! Tap the "+" icon at the top, then choose the tool that suits your needs. For general background blurring, the "Radial Gradient" is often your best bet.
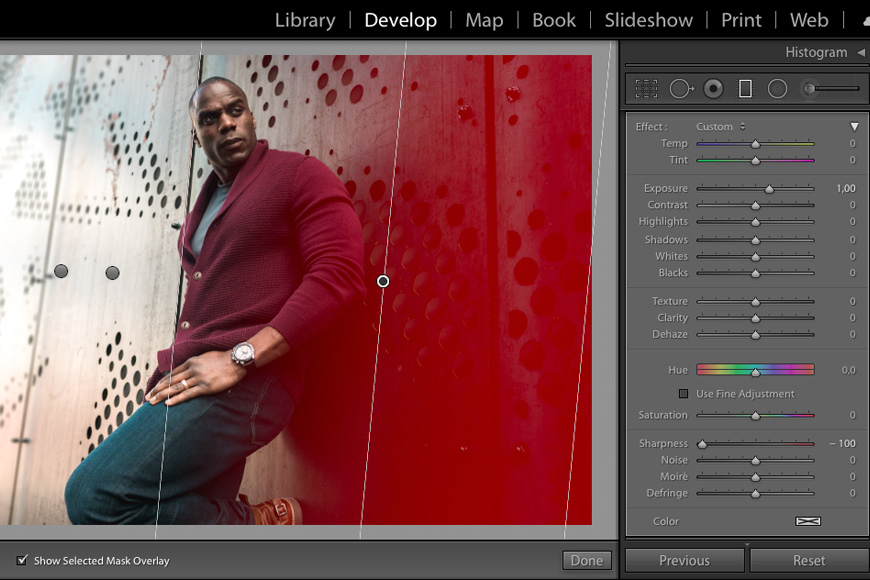
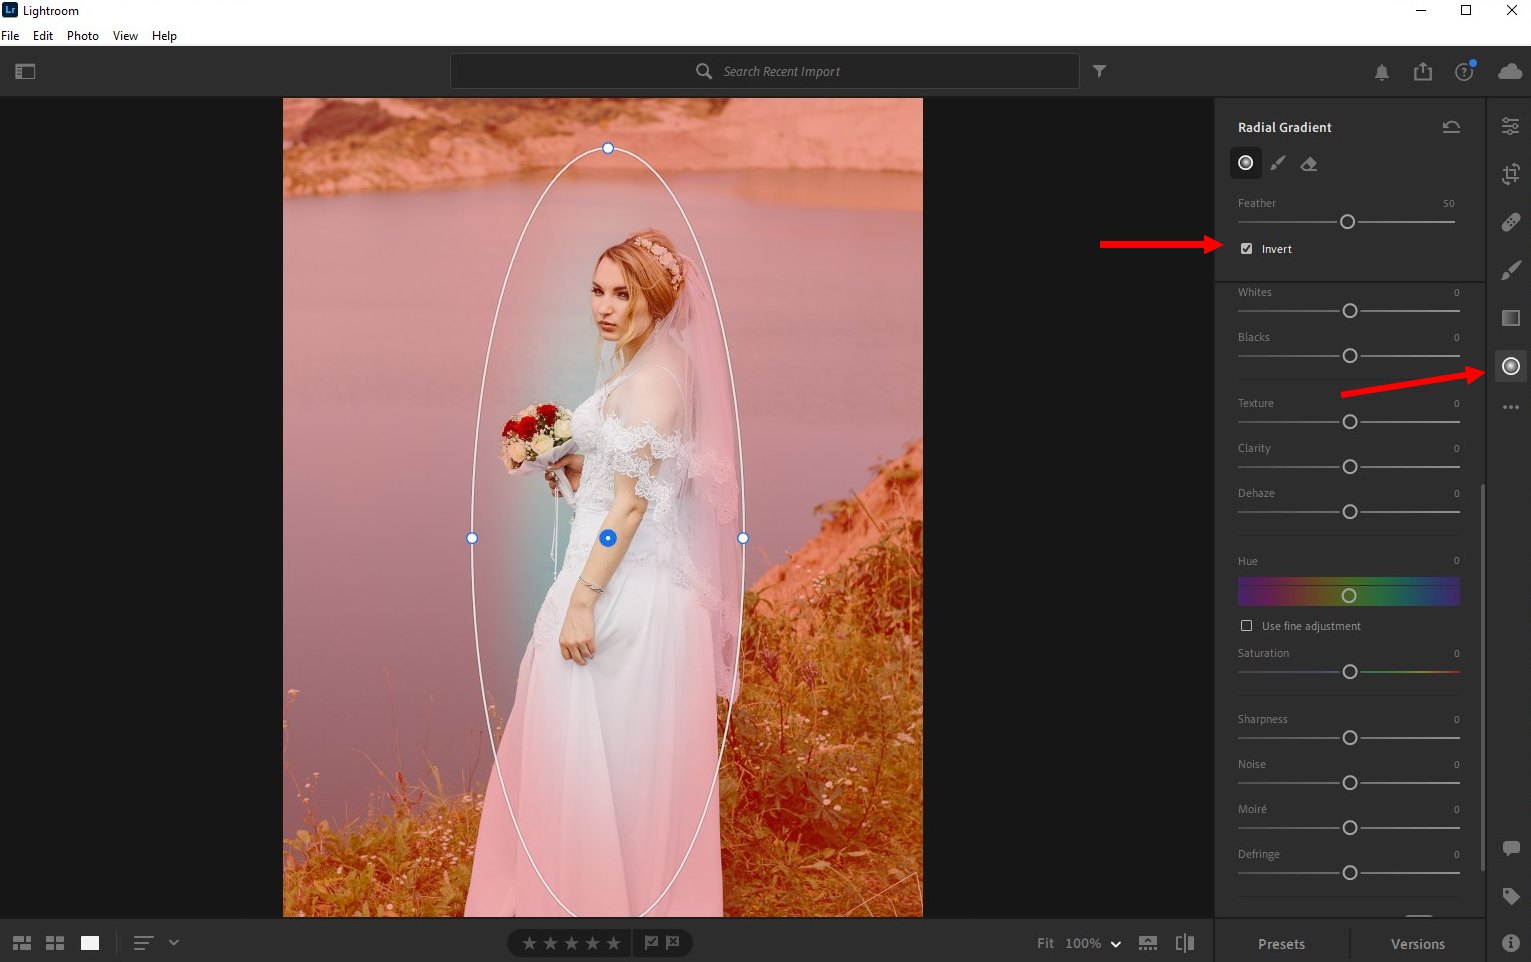
Imagine it like dropping a virtual spotlight onto your subject. Drag the circle to cover the area you want to keep sharp - Sparky in our example. Pinch and zoom to adjust the size and shape – make it fit just right!
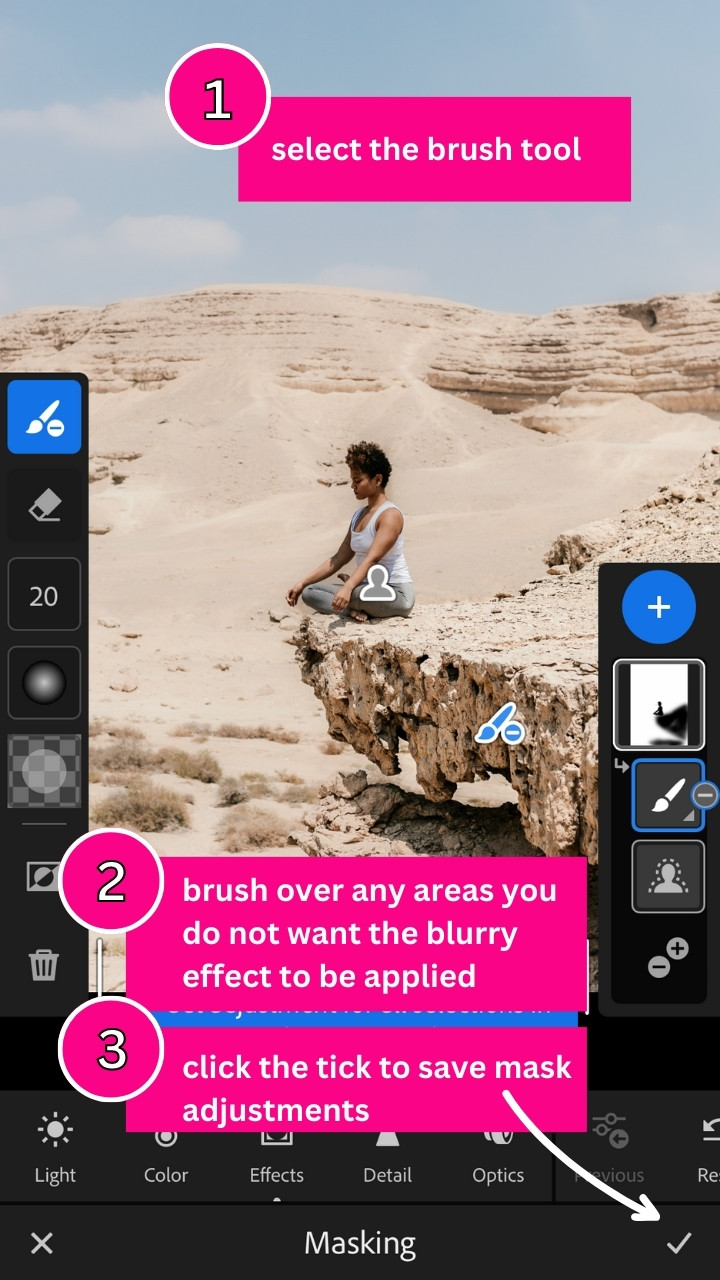
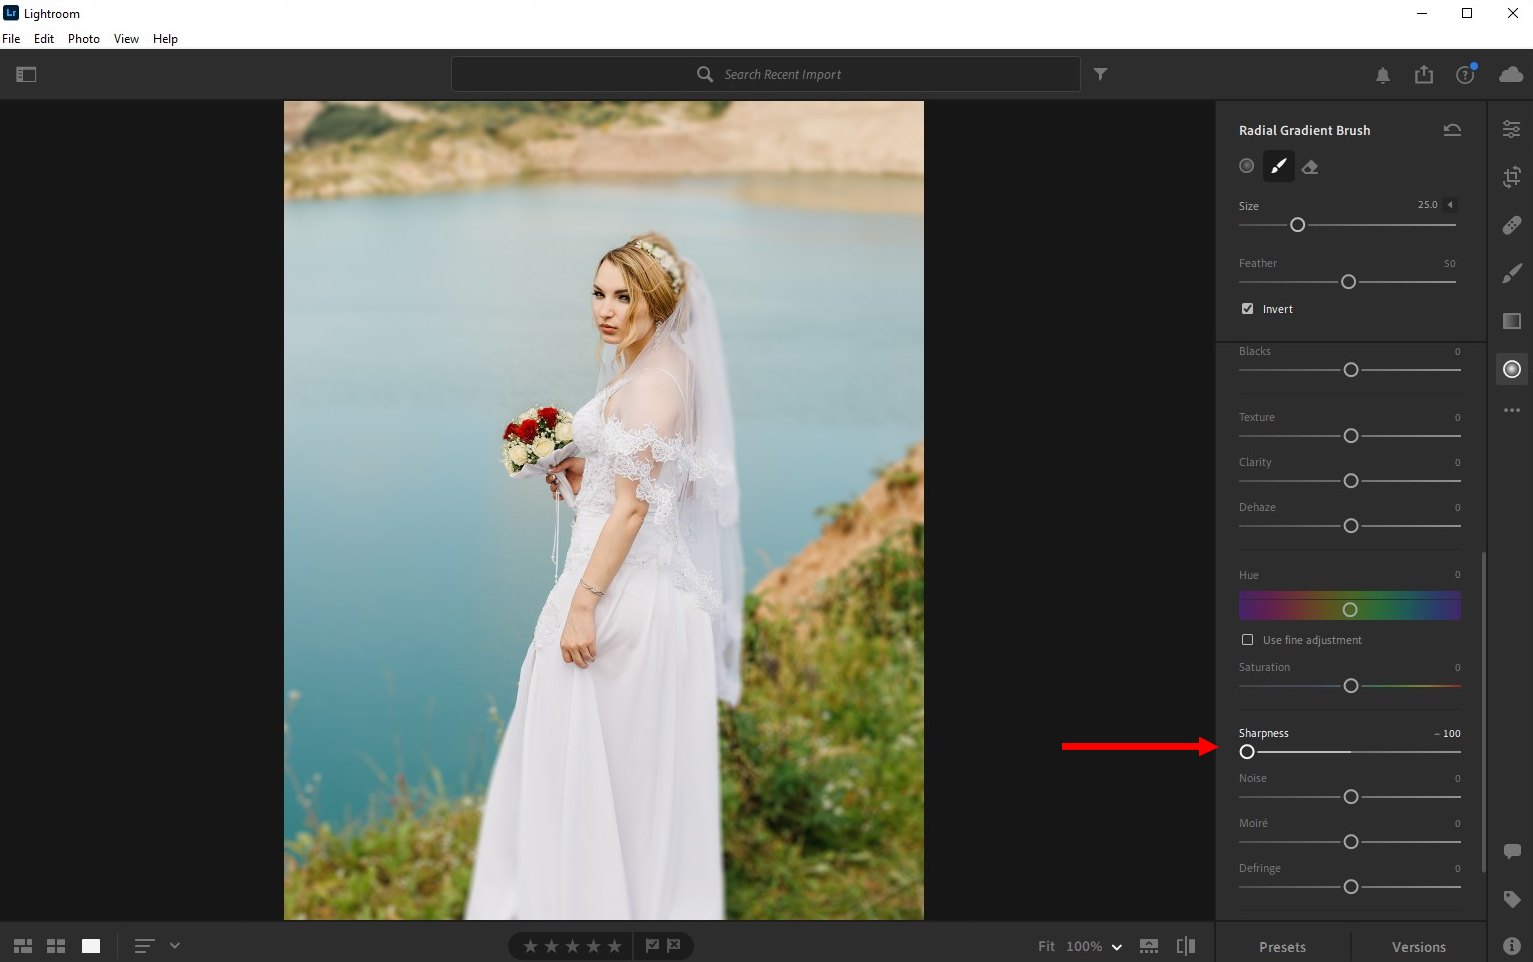
Alternatively, the "Brush" tool is your friend for more intricate background situations. It's like you're painting with blur! Just carefully brush over the areas you want to soften.
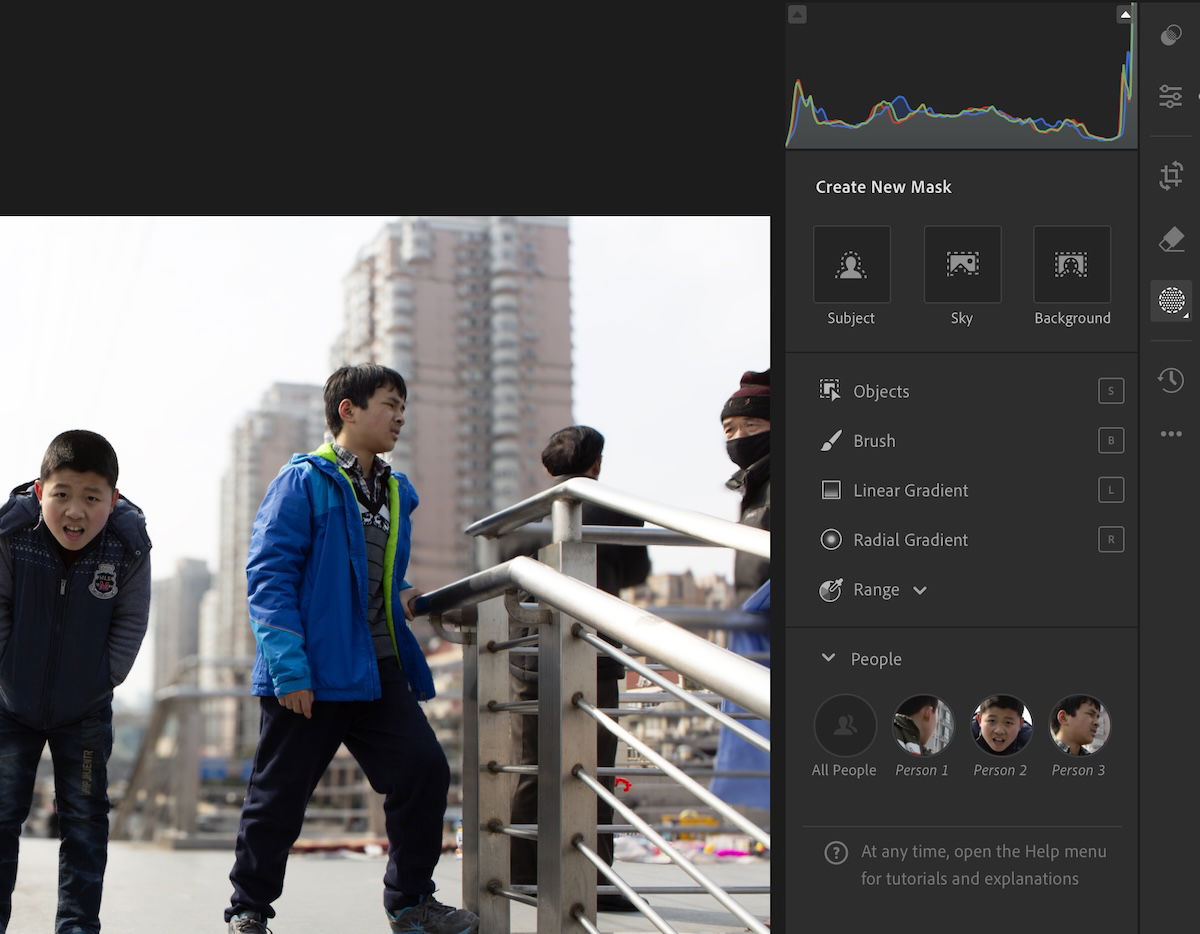
"Select Subject" option is also a game changer! Lightroom's AI magically identifies your subject for you. This is like having a tiny, digital art assistant!
Blur it Like You Mean It!
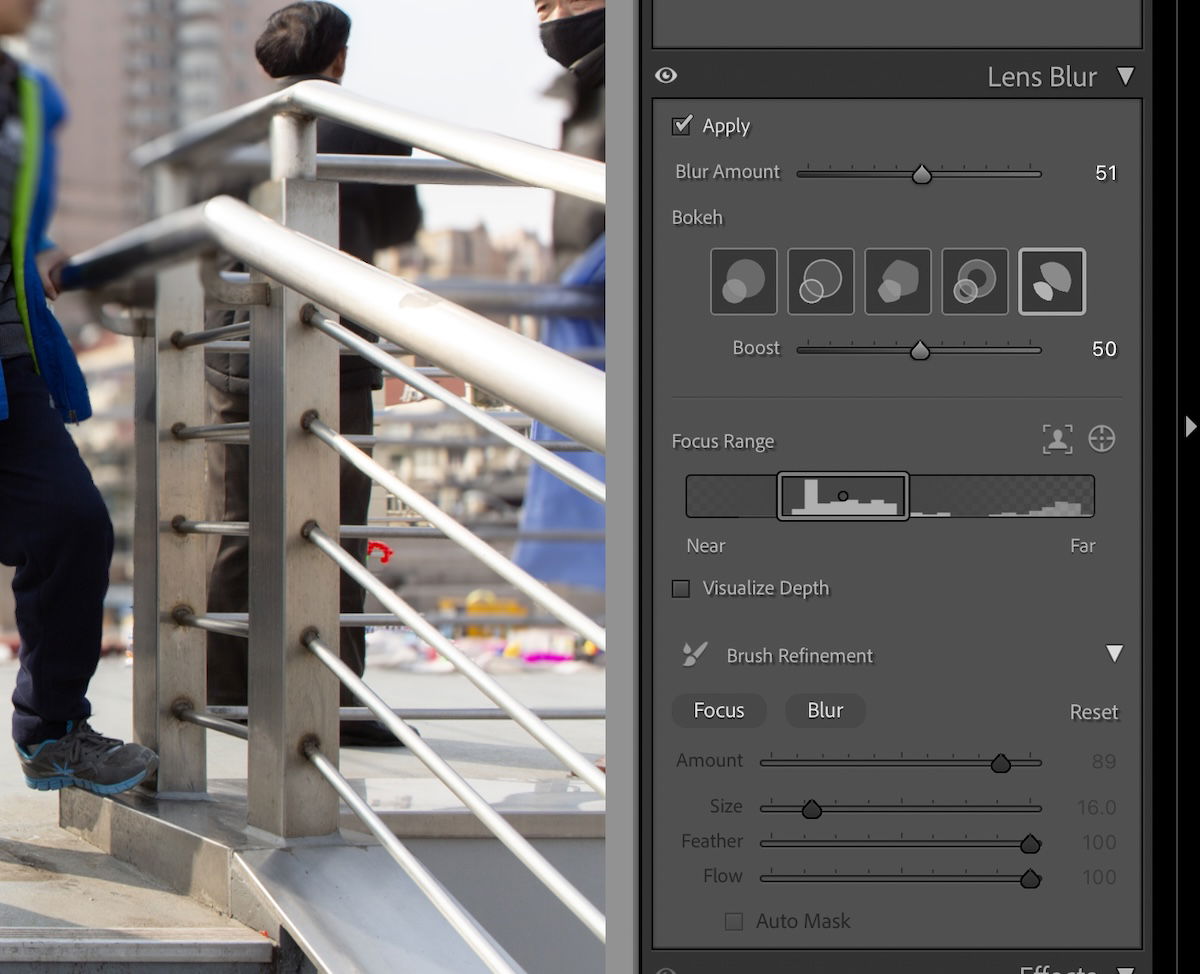
Once you've made your selection, look for the sliders at the bottom of the screen. Scroll until you find the "Effect" section.
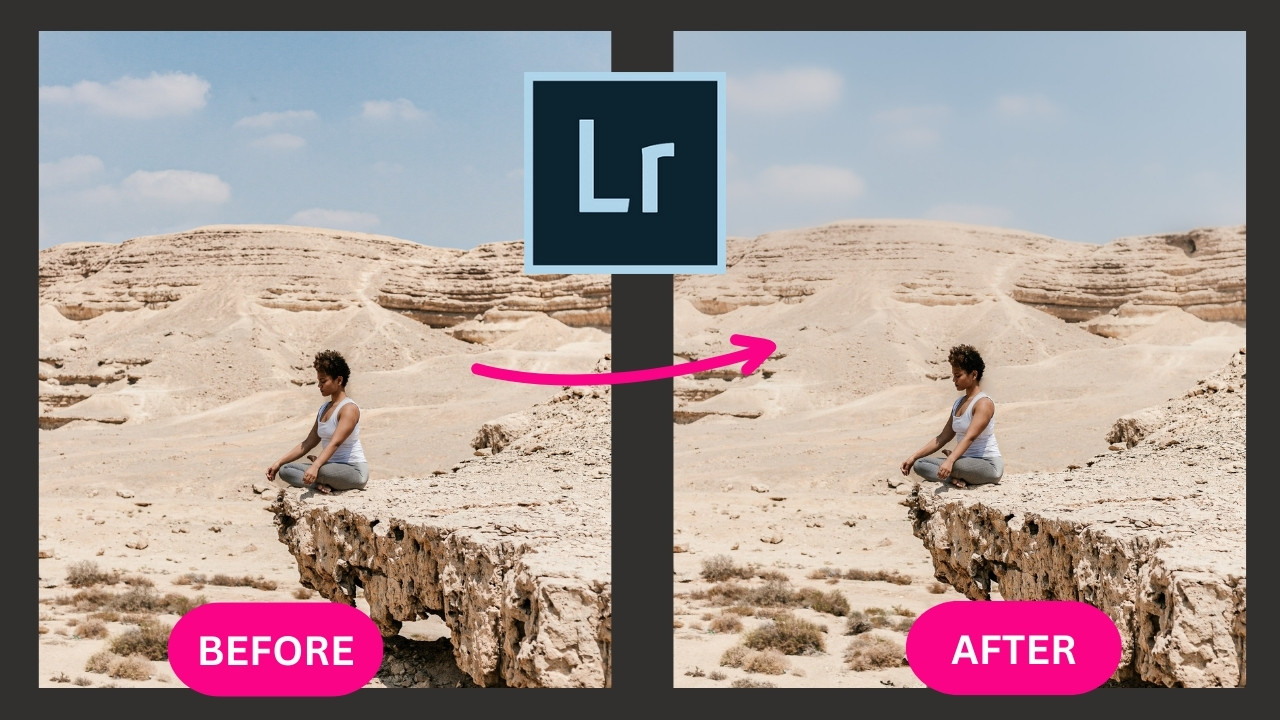
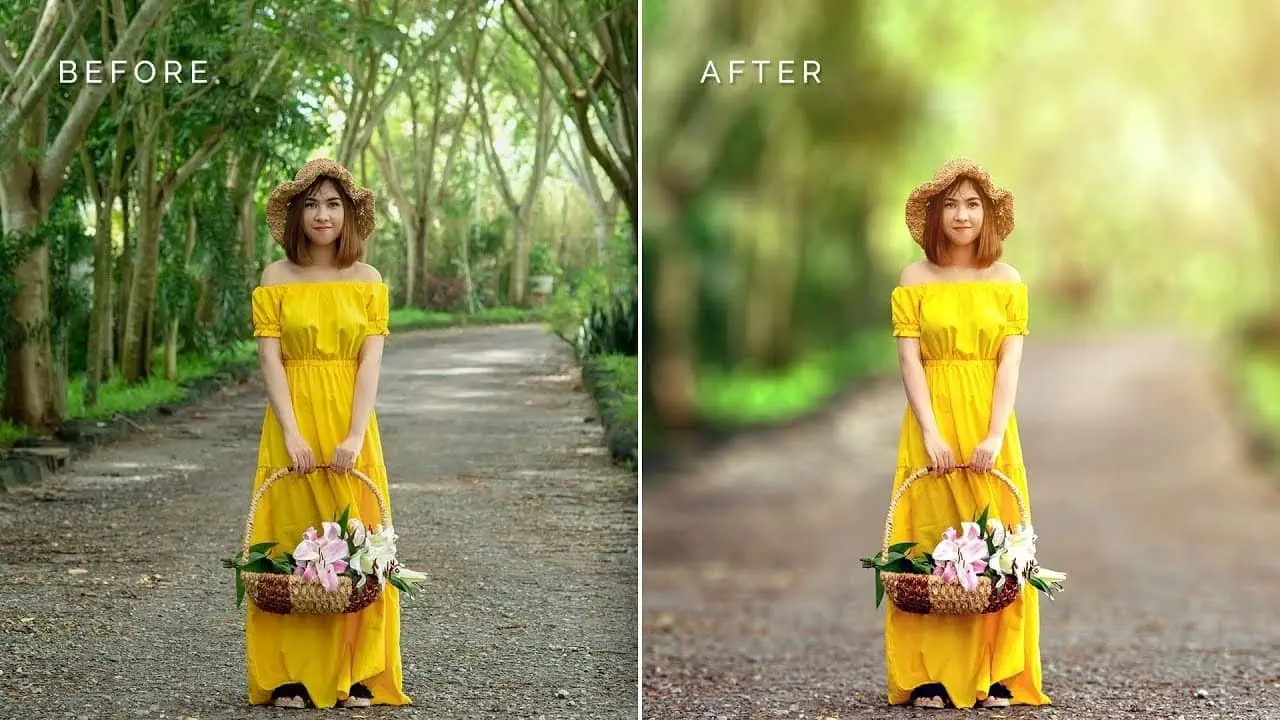
There it is – the holy grail of background blurring: "Clarity". Negative clarity equals blur! Drag that Clarity slider to the left. You'll see the background melt away like butter on a hot pancake.
Be careful not to overdo it! Too much blurring can look unnatural, like you stuck your subject in front of a green screen from a bad 80s movie. Subtlety is key, my friend! Aim for a dreamy, soft background that complements your subject.
Fine-Tuning Your Masterpiece
Now, zoom in and check the edges of your selection. See any haloing or weird artifacts? Don’t panic!
Use the "Erase" option in the Selective tool to clean up those edges. It's like using a tiny eraser to perfect your blur masterpiece. You are practically Michelangelo at this point!
You can also adjust other settings within the selection to further enhance the effect. Experiment with exposure, contrast, and highlights to blend the blur seamlessly into the overall image.
For example, slightly darkening the blurred background can really make your subject pop! Like turning up the volume on a superstar performance.
The Power of Perspective
Sometimes, even with the best blurring, the background is still a bit distracting. That's where perspective comes in!
If possible, try shooting from a lower angle. This can help to separate your subject from the background and create a more natural blur. Think of it as giving your subject their own personal stage.
Also, consider moving your subject further away from the background. The greater the distance, the more natural the background blur will be. It's all about creating depth and dimension!
Sharing Your Blur-tastic Creation
Once you’re happy with your blurred background, tap the checkmark to save your changes. Now you are ready to show your gorgeous dog, Sparky, to the world!
Share your stunning photo on social media and bask in the glow of admiration. Be prepared for the flood of comments asking you how you achieved such a professional-looking blur!
So, there you have it! Background blurring in Lightroom Mobile is easy as pie! Now go forth and create some blur-tiful images!