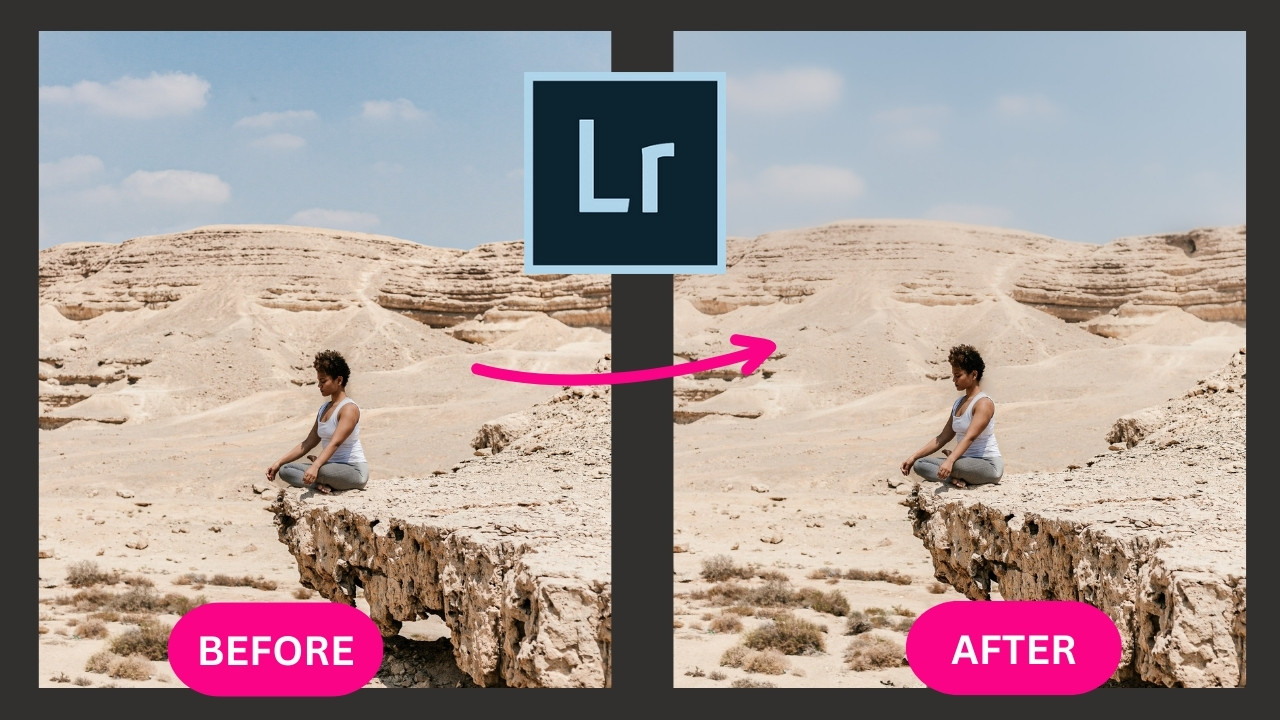
How To Blur The Background On Lightroom

Okay, let's talk about making your photos look super fancy, like they were taken by a professional with one of those huge, intimidating cameras. We're going to learn how to blur the background in Lightroom. And trust me, it's easier than trying to parallel park on a busy street.
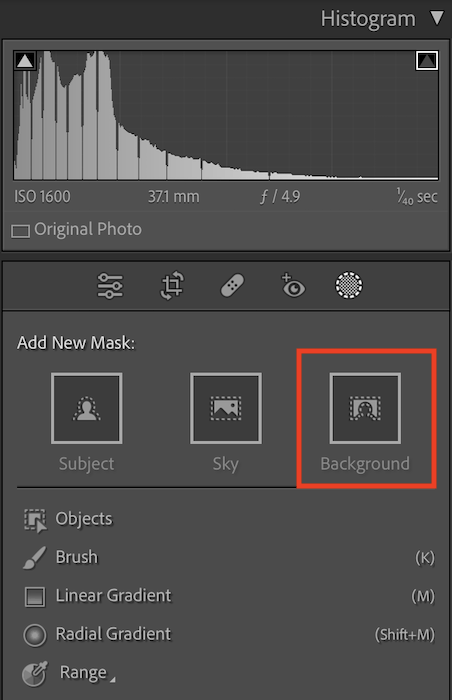
The Secret Weapon: Radial Filter
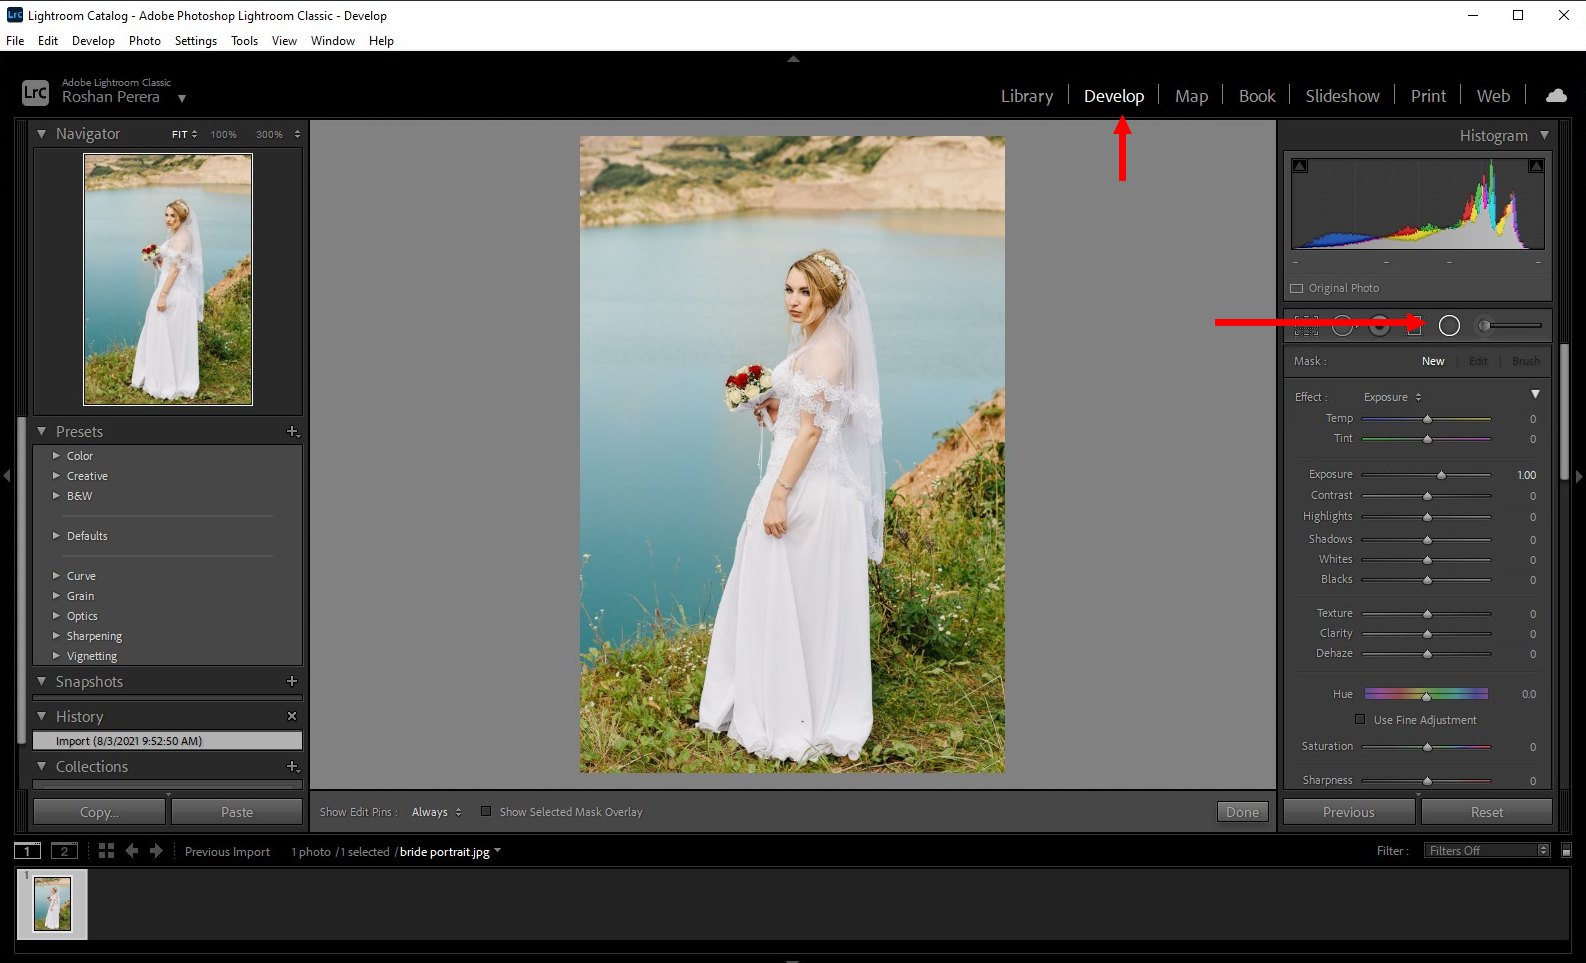
First, fire up Lightroom and pick a photo. Ideally, one where you've got a clear subject in the foreground and a background that's, well, maybe a little too busy. Think of it as rescuing your grandma from a rogue flock of pigeons photobombing her picture. (Hypothetically, of course.)
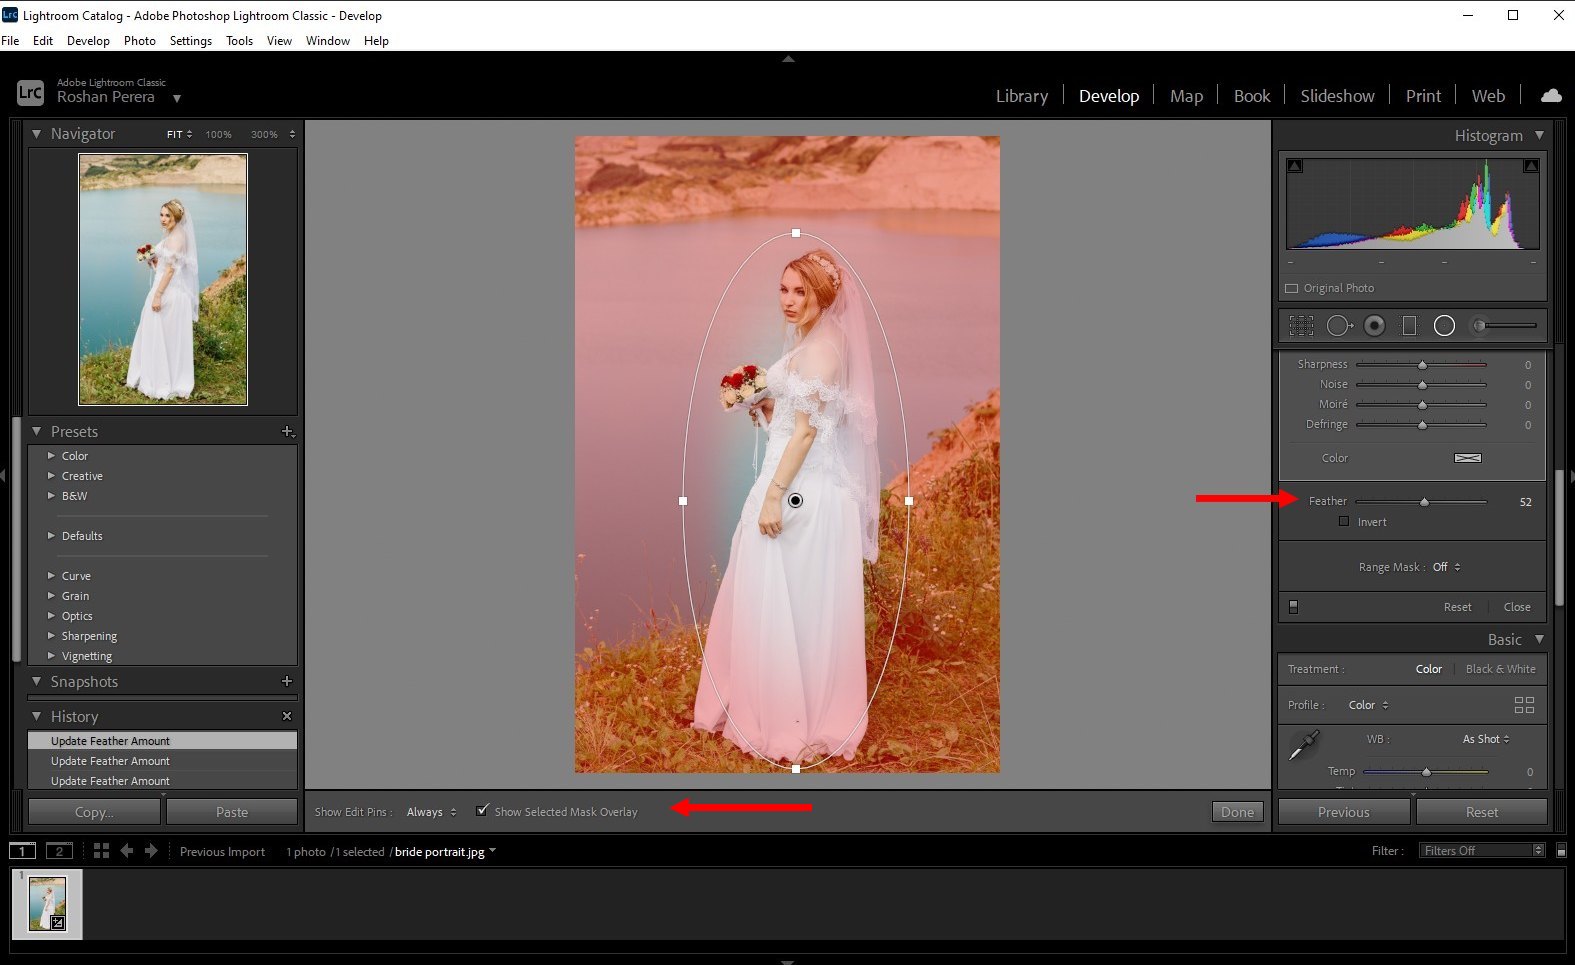
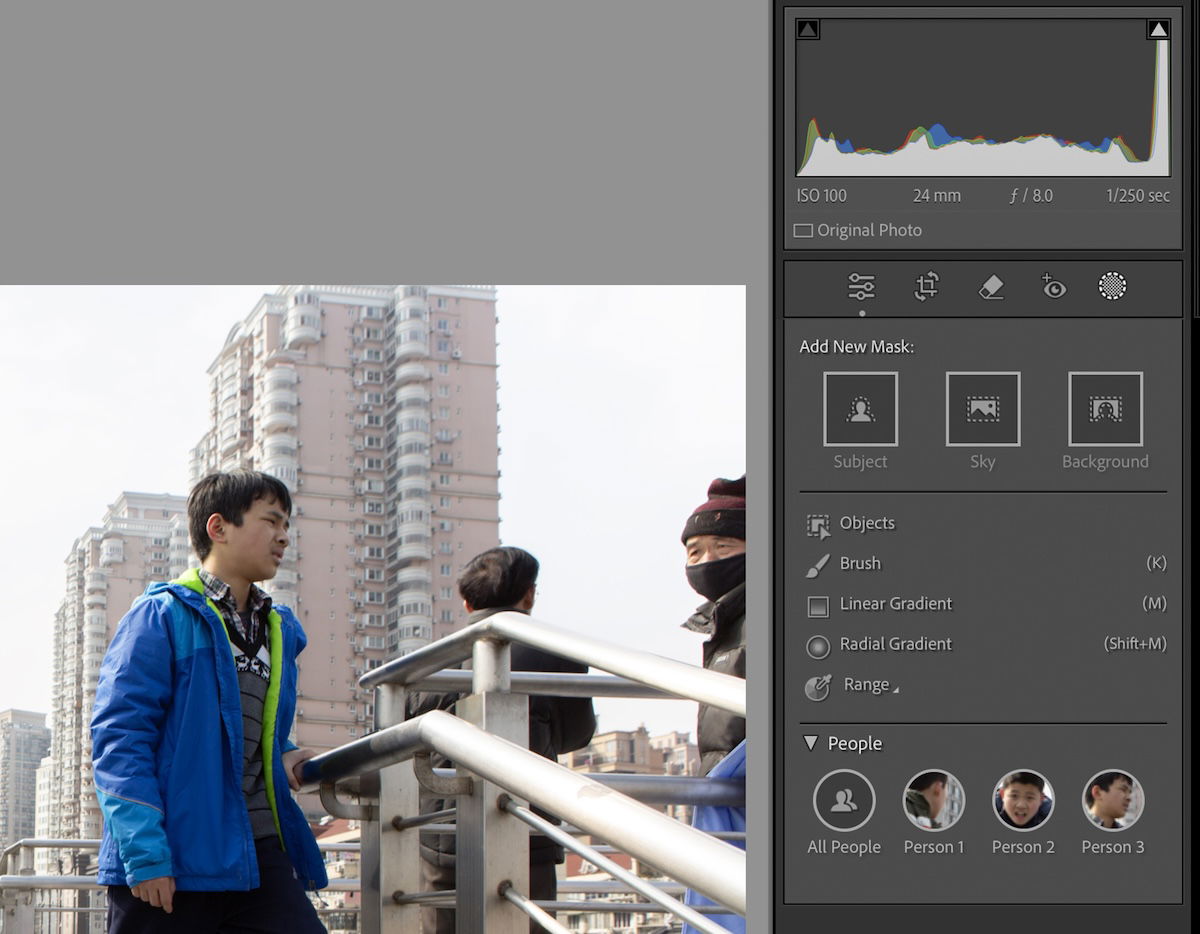
Now, find the Radial Filter tool. It looks like a little circle with a plus sign in the middle. It's usually hanging out with the other adjustment tools. Don't worry, it doesn't bite.
Drawing Your Focus
Click on the Radial Filter and then click and drag on your photo to create an oval. This is your focus zone. Make sure your subject (the star of the show!) is inside this oval. Think of it like drawing a protective bubble around your pet hamster.
Adjust the size and shape of the oval until it fits snugly around your subject. You want it to be snug, but not *too* snug, we don't want our hamster feeling claustrophobic, do we?
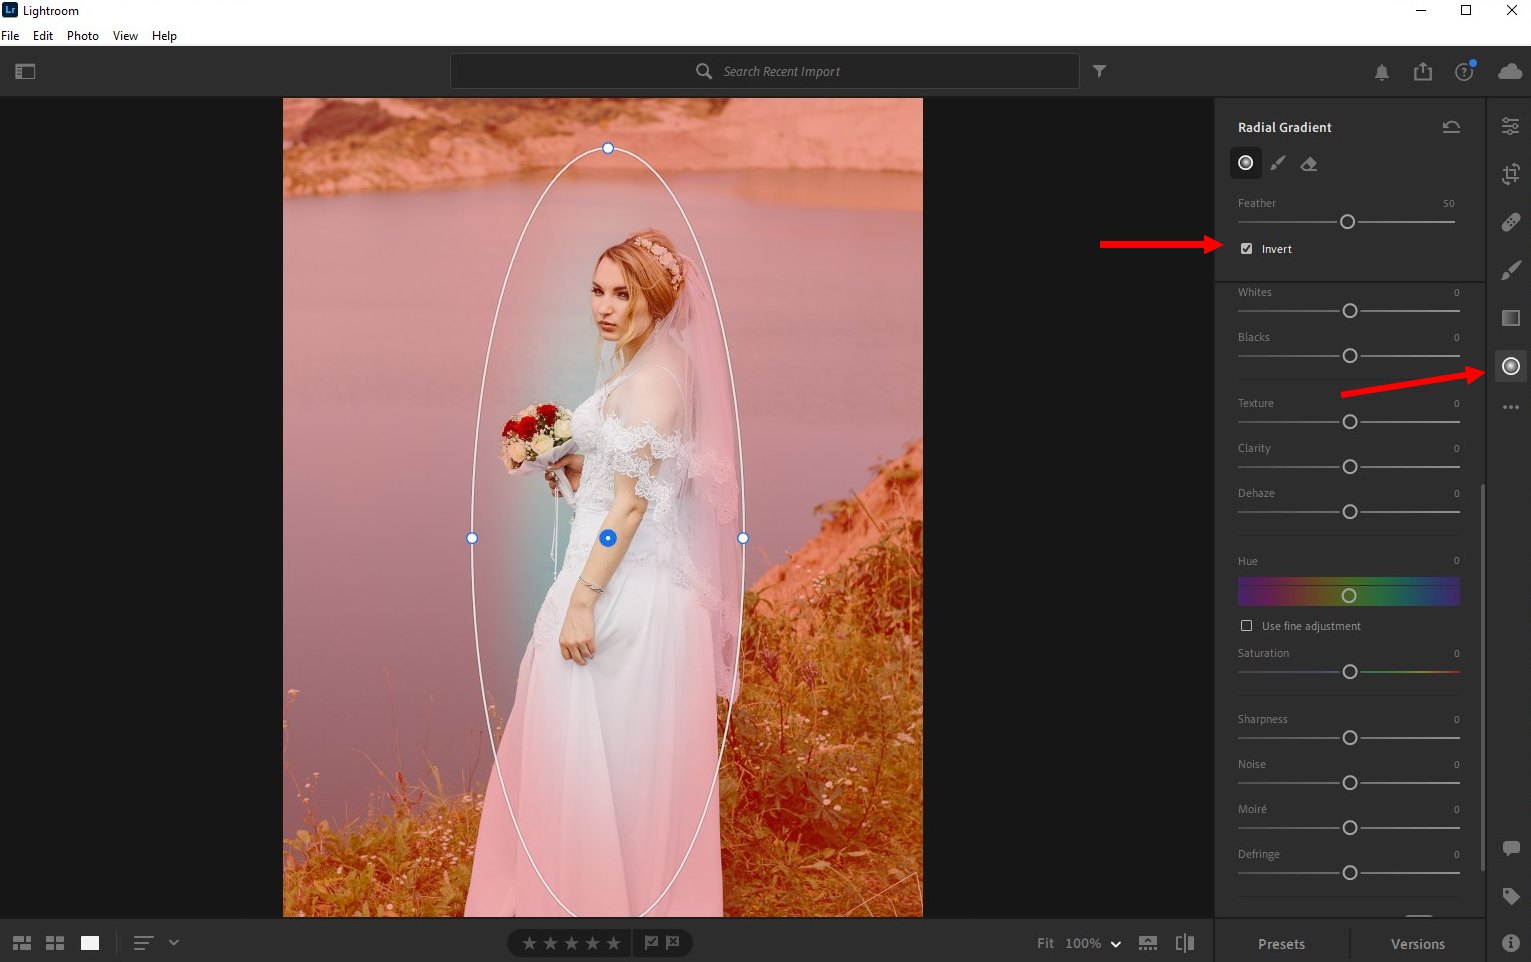
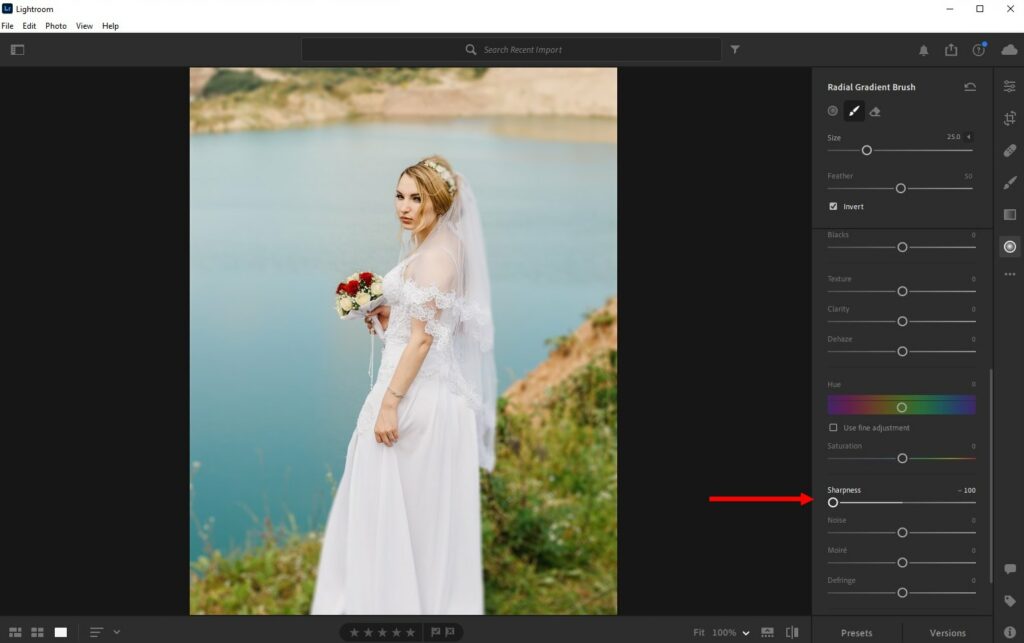
Here's a sneaky trick: down at the bottom of the Radial Filter panel, make sure the "Invert" box is unchecked! Otherwise, you'll be blurring *everything* *inside* the oval. So, unless your goal is to make your grandma look like she's fading out of existence, leave it unchecked.
The Blur Begins
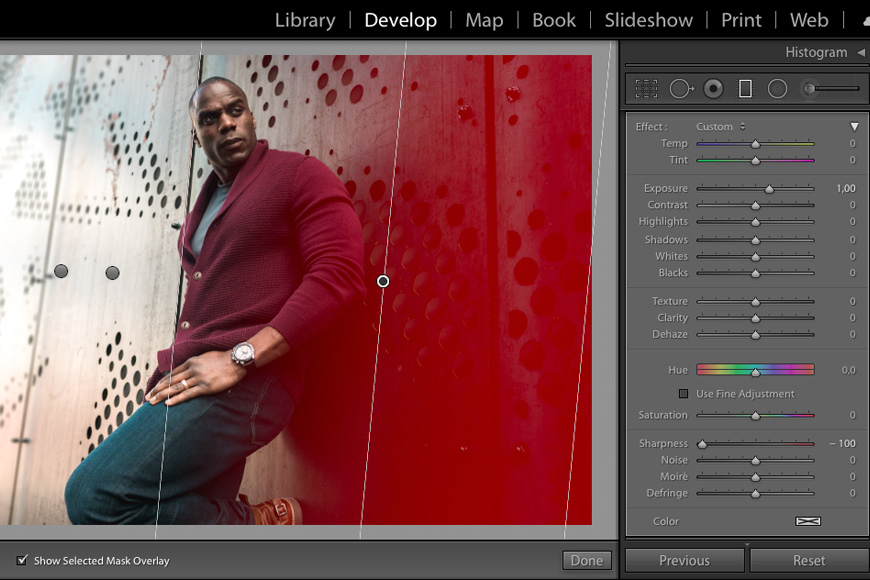
Now, look for the "Sharpness" slider. It might seem counterintuitive, but this is where the magic happens. Drag that slider *to the left* into the negative values.
As you drag, you'll see the background outside the oval start to soften and blur. Keep going until you achieve the desired level of blurriness. It's like gradually turning down the volume on all the distractions in the background.
Fine-Tuning Your Masterpiece
Sometimes, the blur can look a bit harsh around the edges of your oval. Fear not! There's a "Feather" slider, which will smooth out the transition between the sharp subject and the blurry background. Experiment with this until it looks natural.
You can also tweak other settings like "Exposure," "Contrast," and "Highlights" within the Radial Filter to further refine the look. But remember, less is often more. We want "subtly artistic," not "obviously photoshopped."
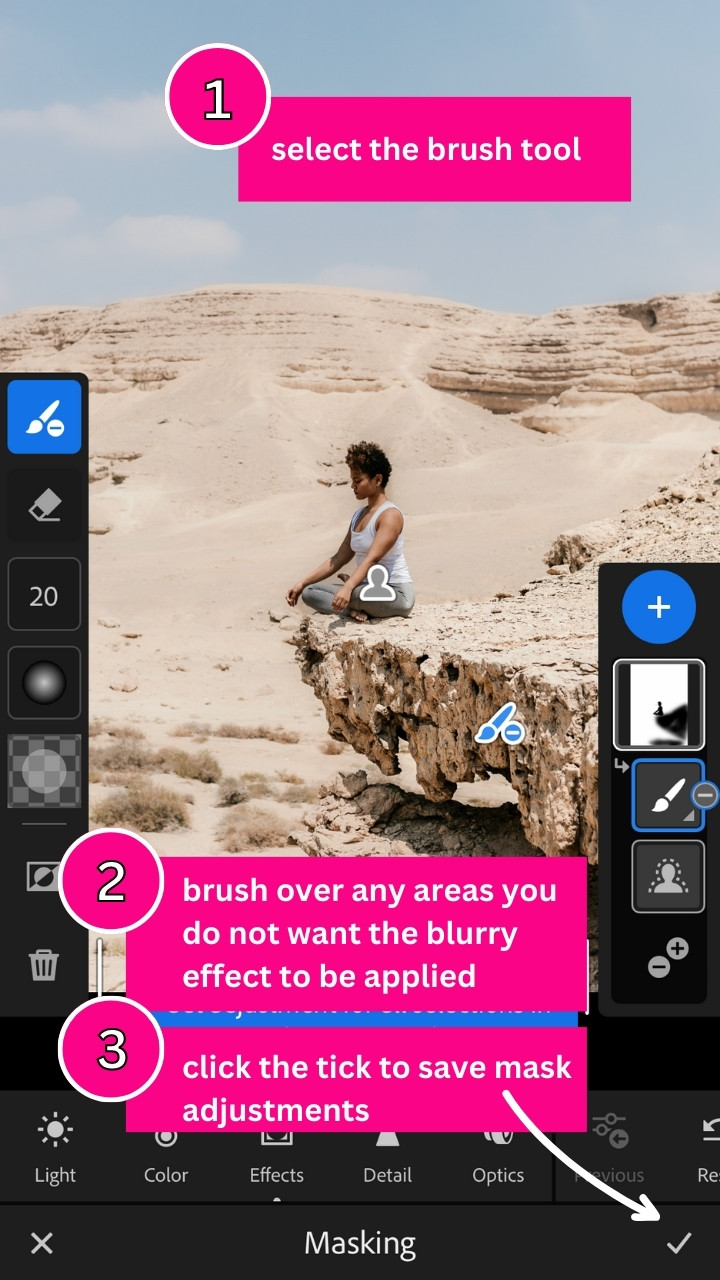
Oops, I Made a Mistake!
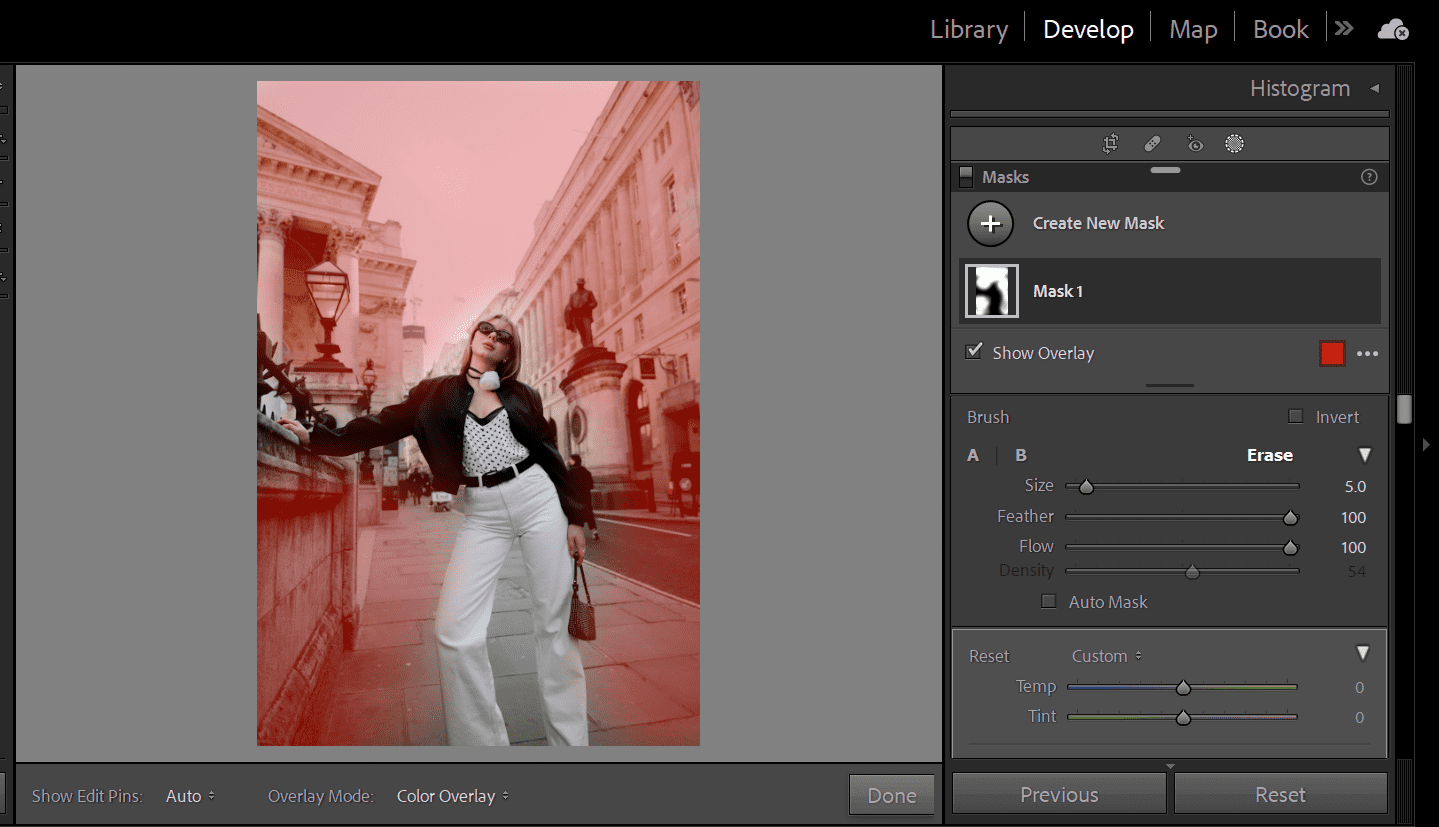
Don't panic! If you accidentally blurred your grandma's nose or gave your dog a fuzzy ear, you can use the "Erase" brush within the Radial Filter. Simply paint over the areas you want to bring back into focus.
The "Erase" brush is your undo button, your get-out-of-jail-free card, your… well, you get the idea. It's very helpful.
The Big Reveal
Once you're happy with your blurry background masterpiece, hit "Done." Bask in the glory of your newly enhanced photograph. You've just turned an ordinary snapshot into something that looks like it belongs in a magazine. (Or at least on your Instagram feed.)
And that's it! Now go forth and blur, and remember, even if you mess up, you can always blame it on the cat.