How To Build An Outboard Motor Stand

Ever feel like your outboard motor is just… floating around? Like it needs a proper throne? Well, let's talk about building it a stand! It's way more fun than it sounds, trust me.
Getting Ready for Some Fun
First, let's gather some goodies. You'll need wood, of course! Think 2x4s – they're sturdy and reliable, like your favorite pair of jeans. Grab some screws too. They're the glue holding this whole operation together.
Now, tools! A saw is a must. We need to cut the wood, after all. A drill with a screw bit is a game-changer. No one wants to hand-screw a million screws. A measuring tape helps everything line up square.
Don't forget safety gear! Goggles are a must. Splinters are no fun. Gloves are great too. Protect those hands. Safety first, then fun!
Building the Base
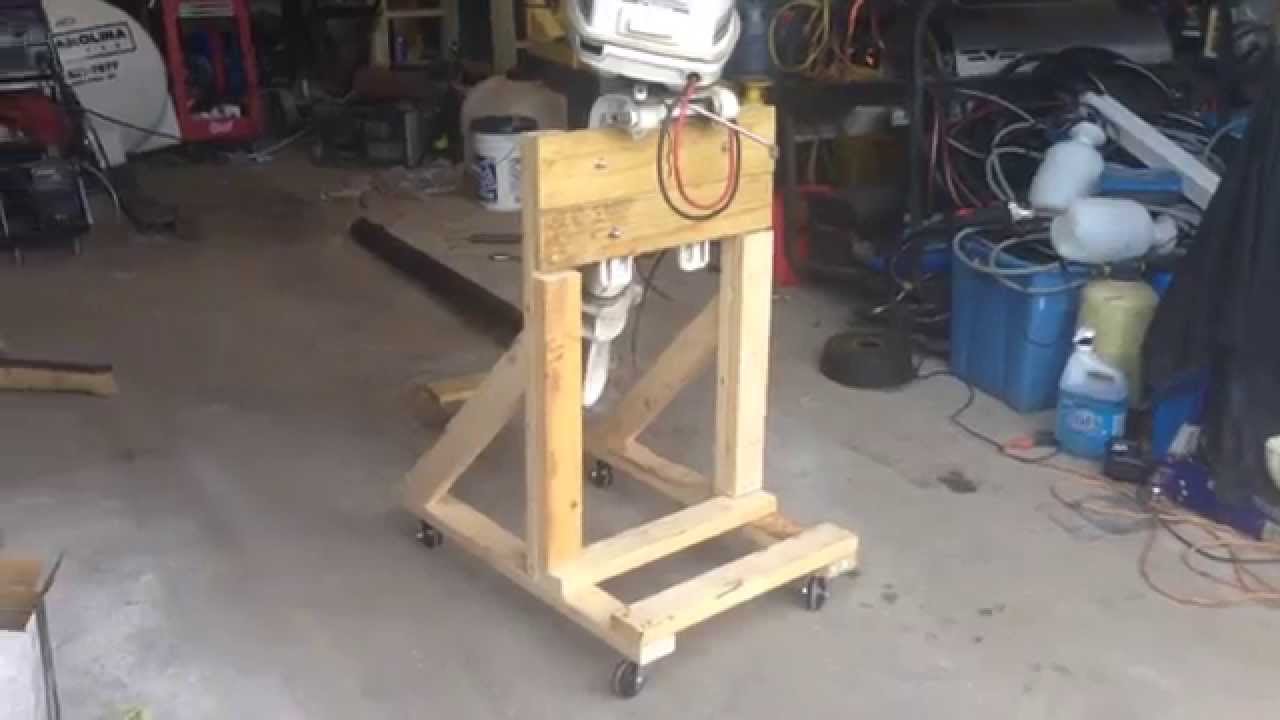
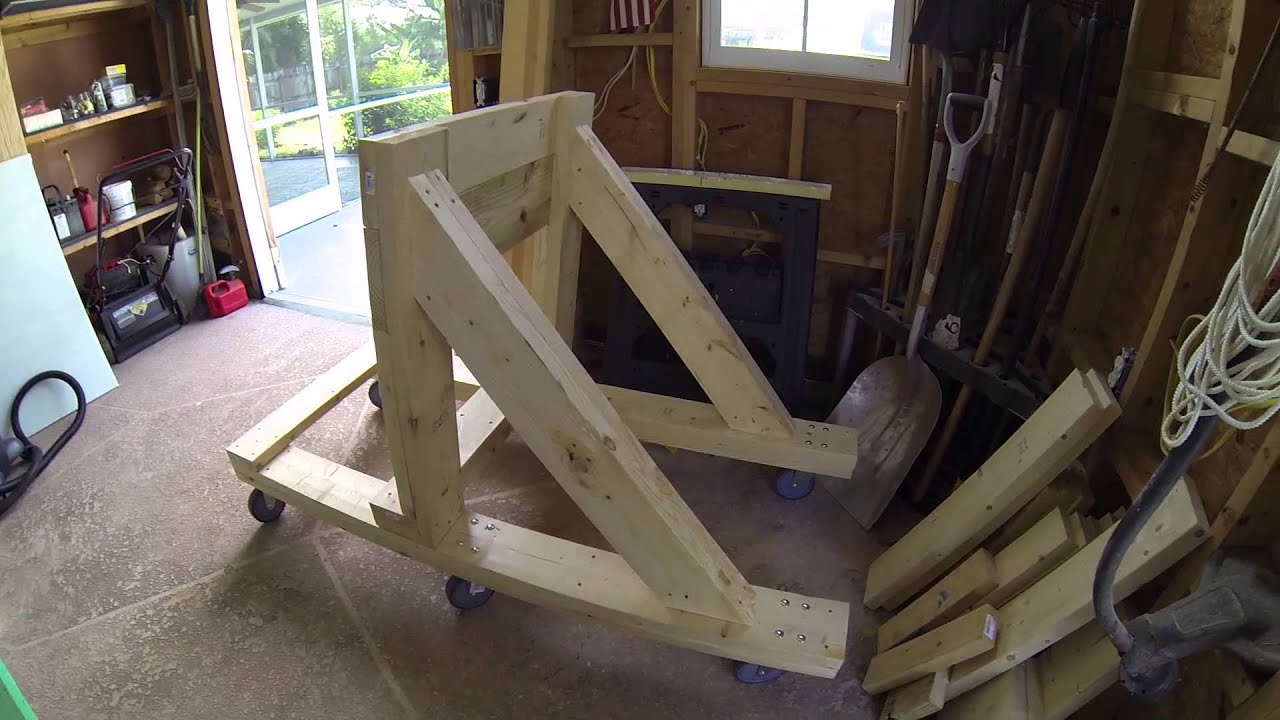
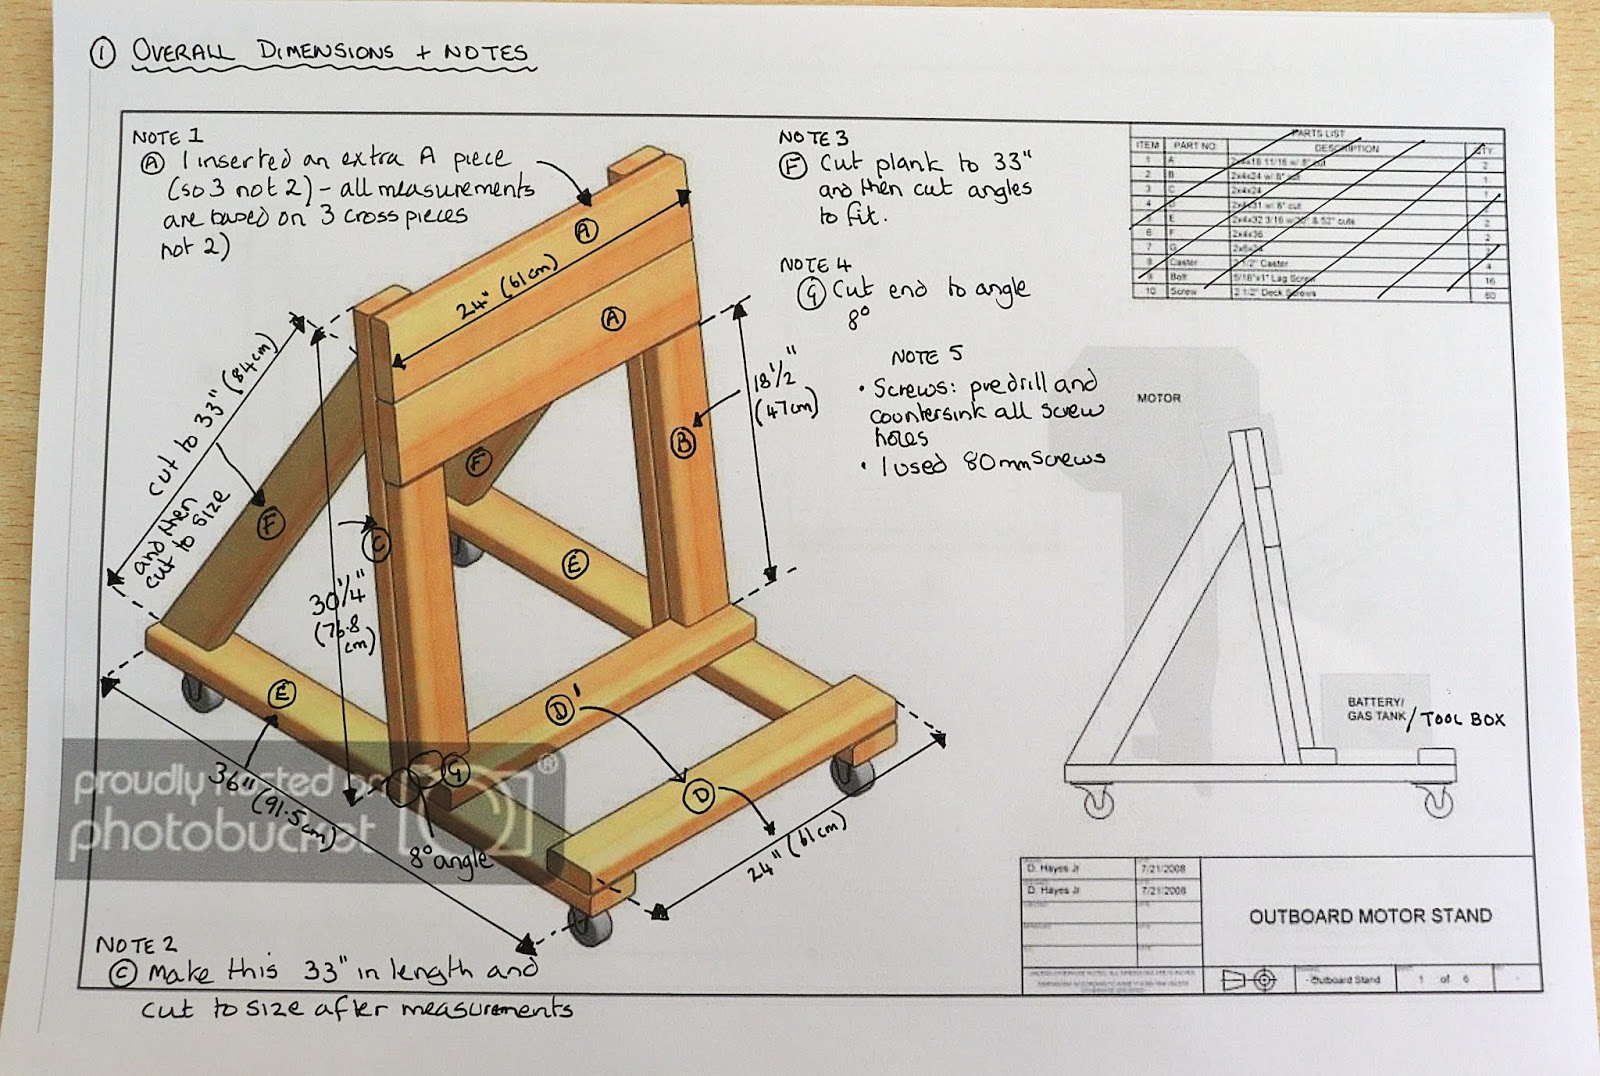
Time to cut the base! Think of this as the foundation of your motor's kingdom. Four pieces of wood, all the same length. Square them up, and screw them together. Making a rectangle.
Pre-drill the holes. This is a secret weapon against splitting wood. Then, screw those corners tight. Now you've got a frame.
Add some cross supports. These give the base extra strength. It's like adding extra frosting to a cake. Always a good idea. Attach the support to the base frame.
Creating the Uprights
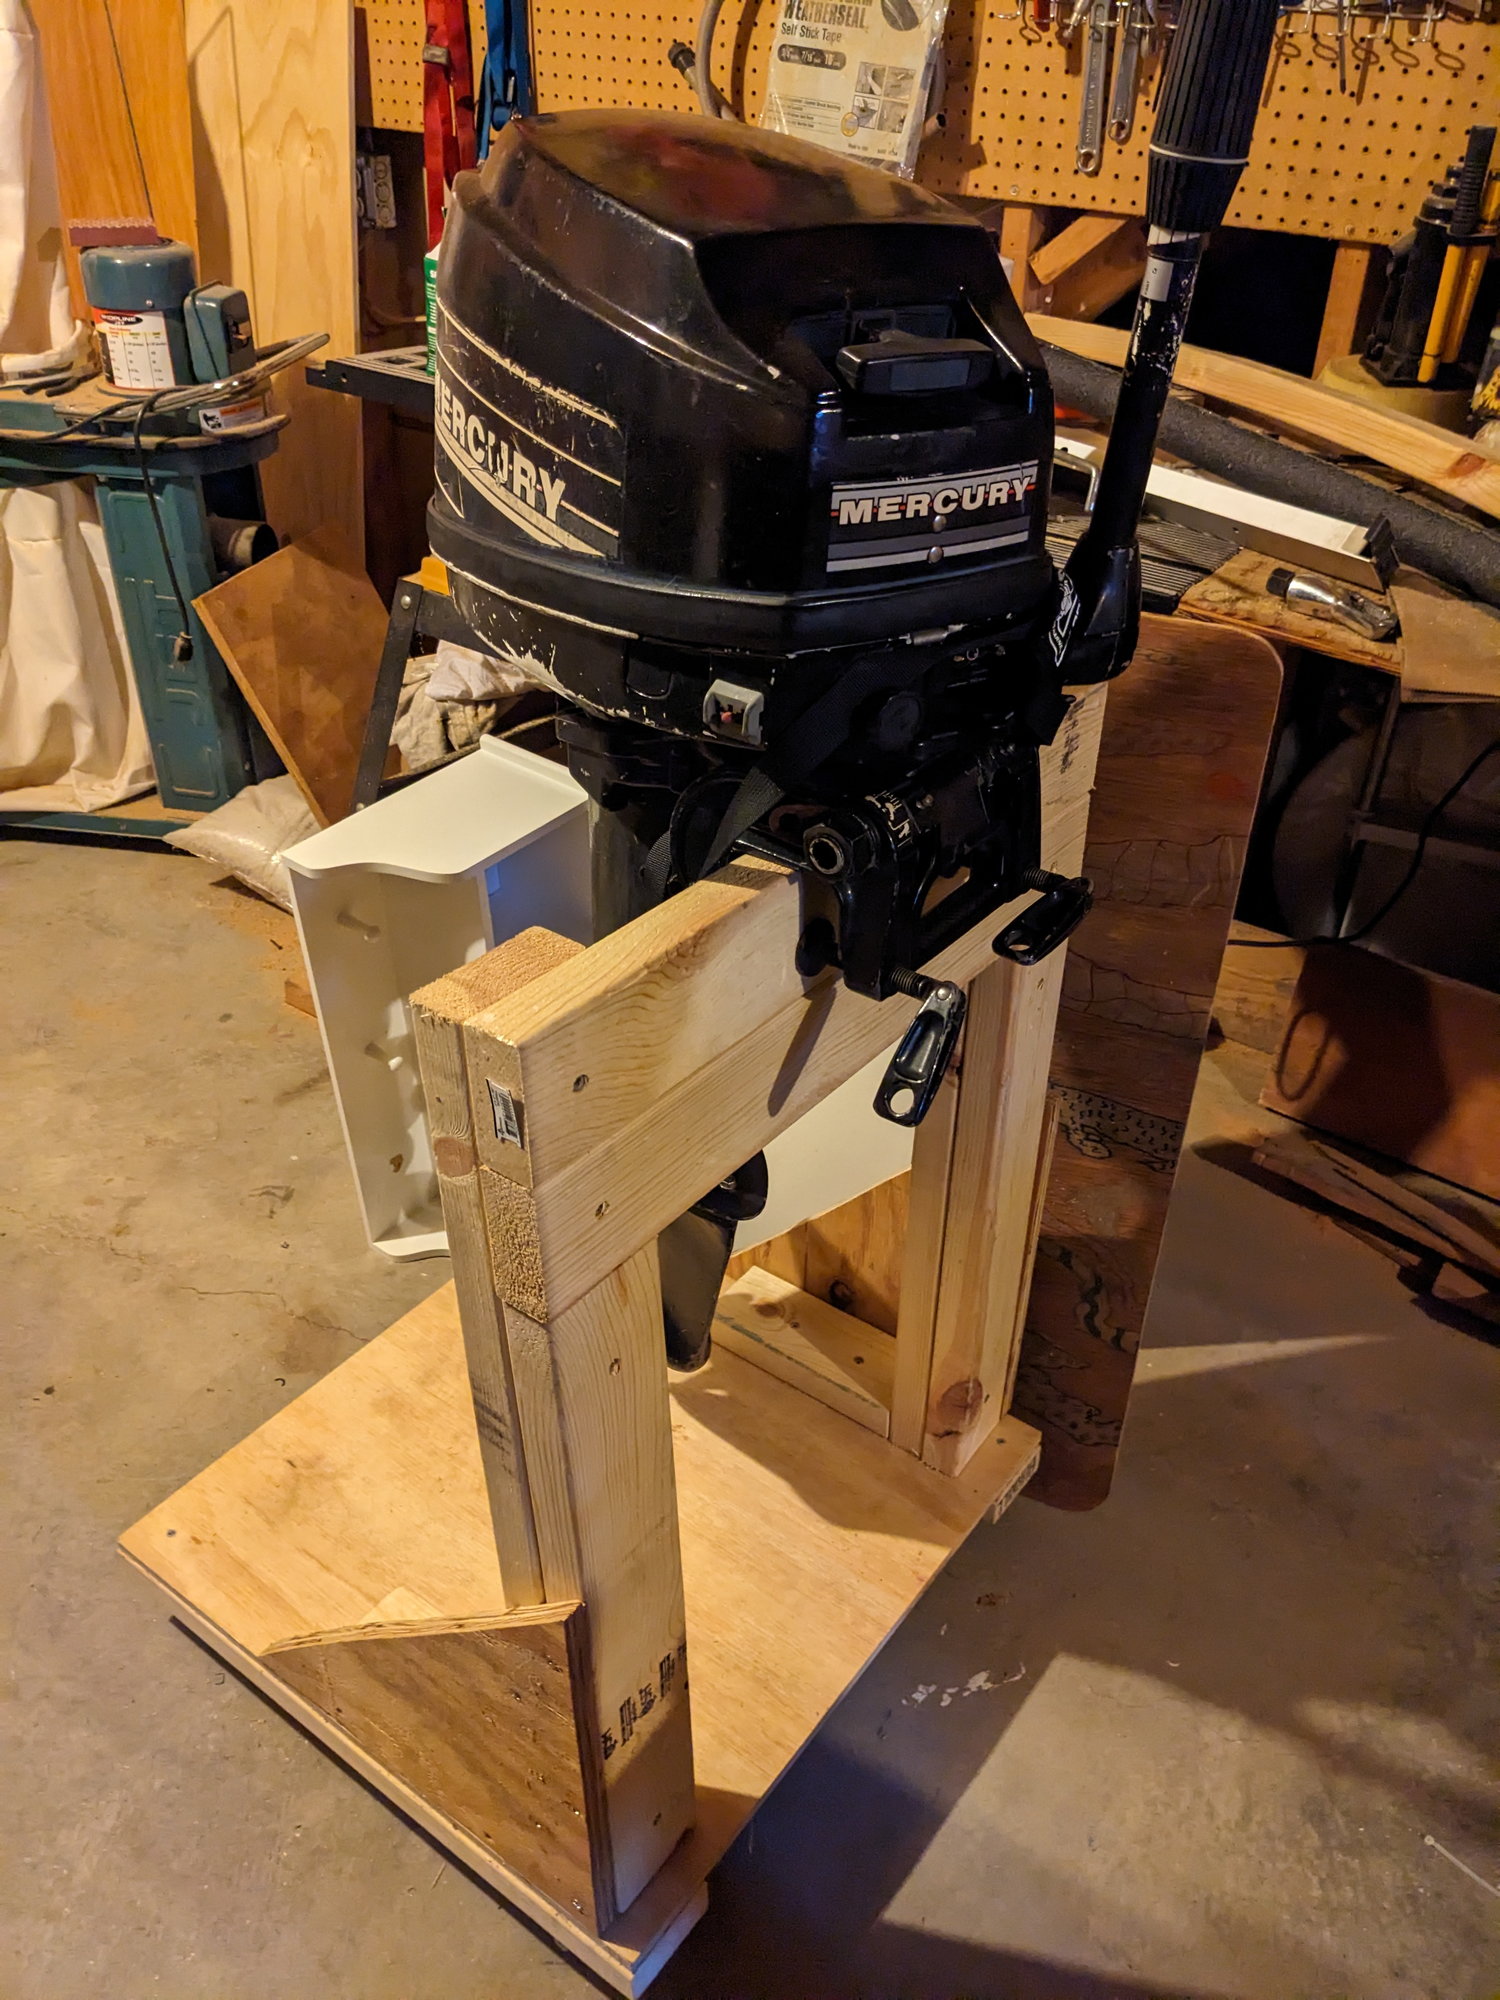
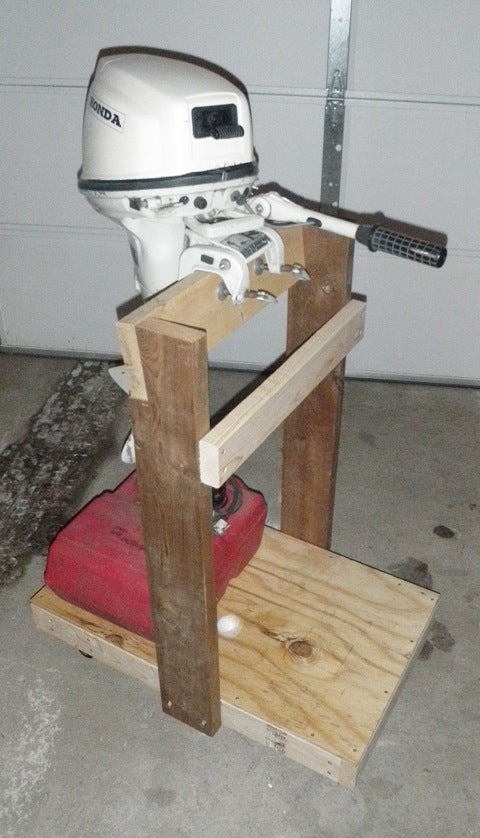
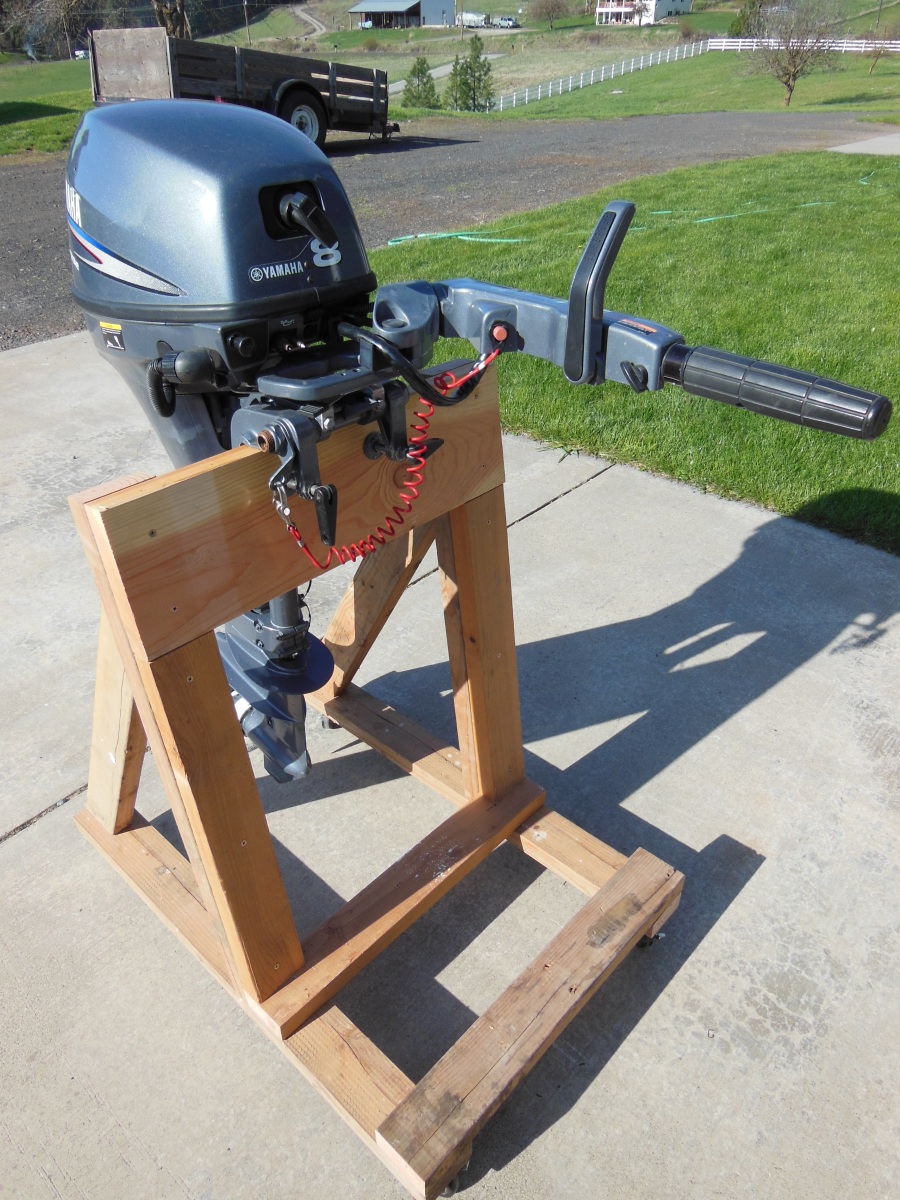
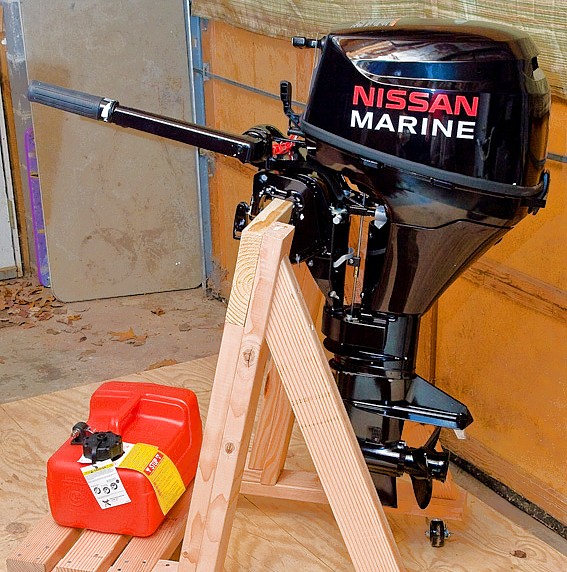
Cut two more pieces of wood. These are the uprights. They hold the motor in place. Measure your motor’s mounting bracket before you start.
Attach the uprights to the base. Make sure they're nice and sturdy. Those screws need to be tight. You don't want your motor taking a dive.
Brace the uprights! This is crucial for stability. Angles are your friend here. Think triangles. Triangles are strong.
The Mounting Platform
Now for the top! This is where the magic happens. Cut a piece of wood to fit between the uprights. It has to be able to bear the weight of the motor.
Attach the mounting platform. Make sure it's level. A wonky platform is no good. Pre-drill the holes, and screw it in.
Finishing Touches
Sand those rough edges. No one likes splinters. A smooth finish is a happy finish. Think of it as giving your stand a spa day.
Consider painting or staining. It protects the wood from the elements. Plus, it looks cool. You can even add some racing stripes!
Test it out! Carefully place your outboard motor on the stand. Make sure it's stable. Now you're ready to rev up… in your garage, of course!
Important Note: Always consult your motor's manual for weight specifications and mounting recommendations. We want a safe and sturdy stand, not a wobbly disaster!
So there you have it! You've built a custom outboard motor stand! It's a fun project that’s both entertaining and satisfying. Now you can proudly display your motor, ready for its next adventure. Enjoy!