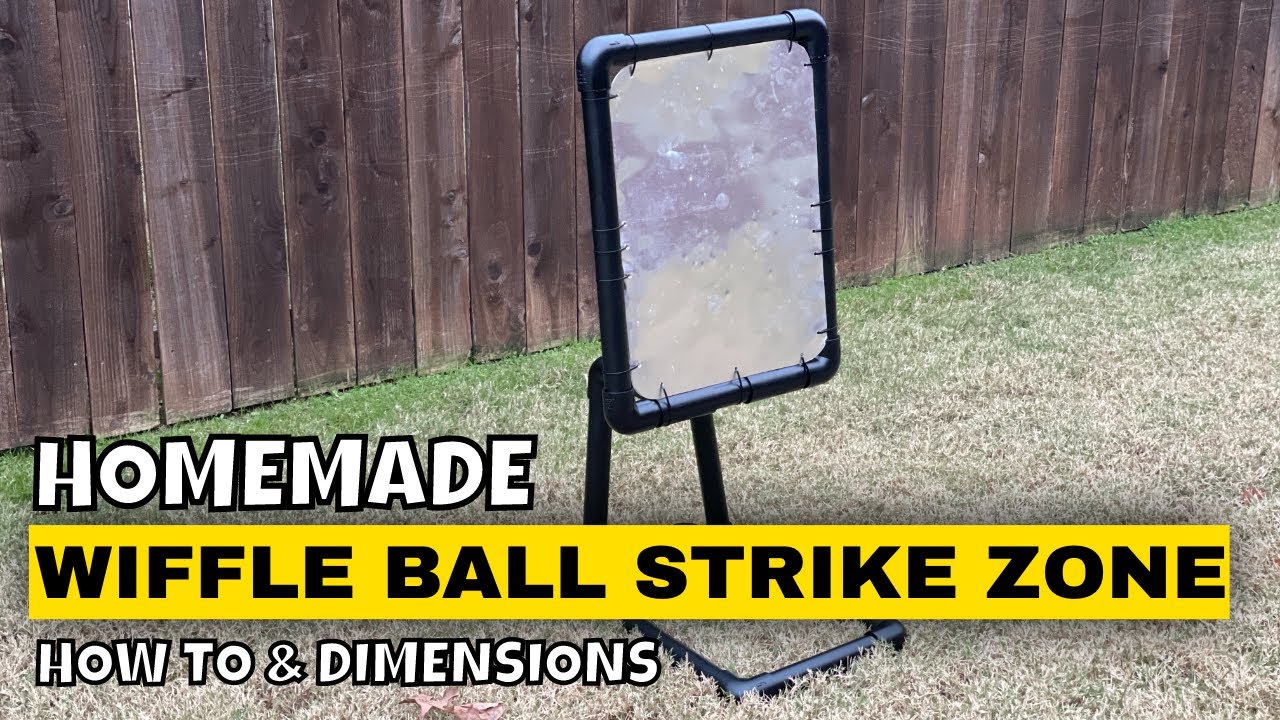
How To Build Wiffle Ball Strike Zone

Alright, listen up, Wiffle Ball fanatics! Prepare to elevate your backyard battles from chaotic flailing to strategic masterpieces.
I'm talking about building a strike zone, baby! Forget arguing about whether that crazy curveball *actually* clipped the corner.
Gather Your Arsenal
First, raid your garage, shed, or that forgotten corner of your basement. We're hunting for the tools of creation!
Think simple: sturdy cardboard boxes (appliance-sized is glorious, but cereal boxes can work in a pinch!), some string or twine that's seen better days, and a trusty marker or even a crayon.
Don't forget the measuring tape! We're not building the Taj Mahal here, but a little precision prevents future squabbles.
Construction Time!
Okay, let's get our hands dirty (figuratively, unless your boxes are covered in mystery goo). Time to assemble our masterpiece!
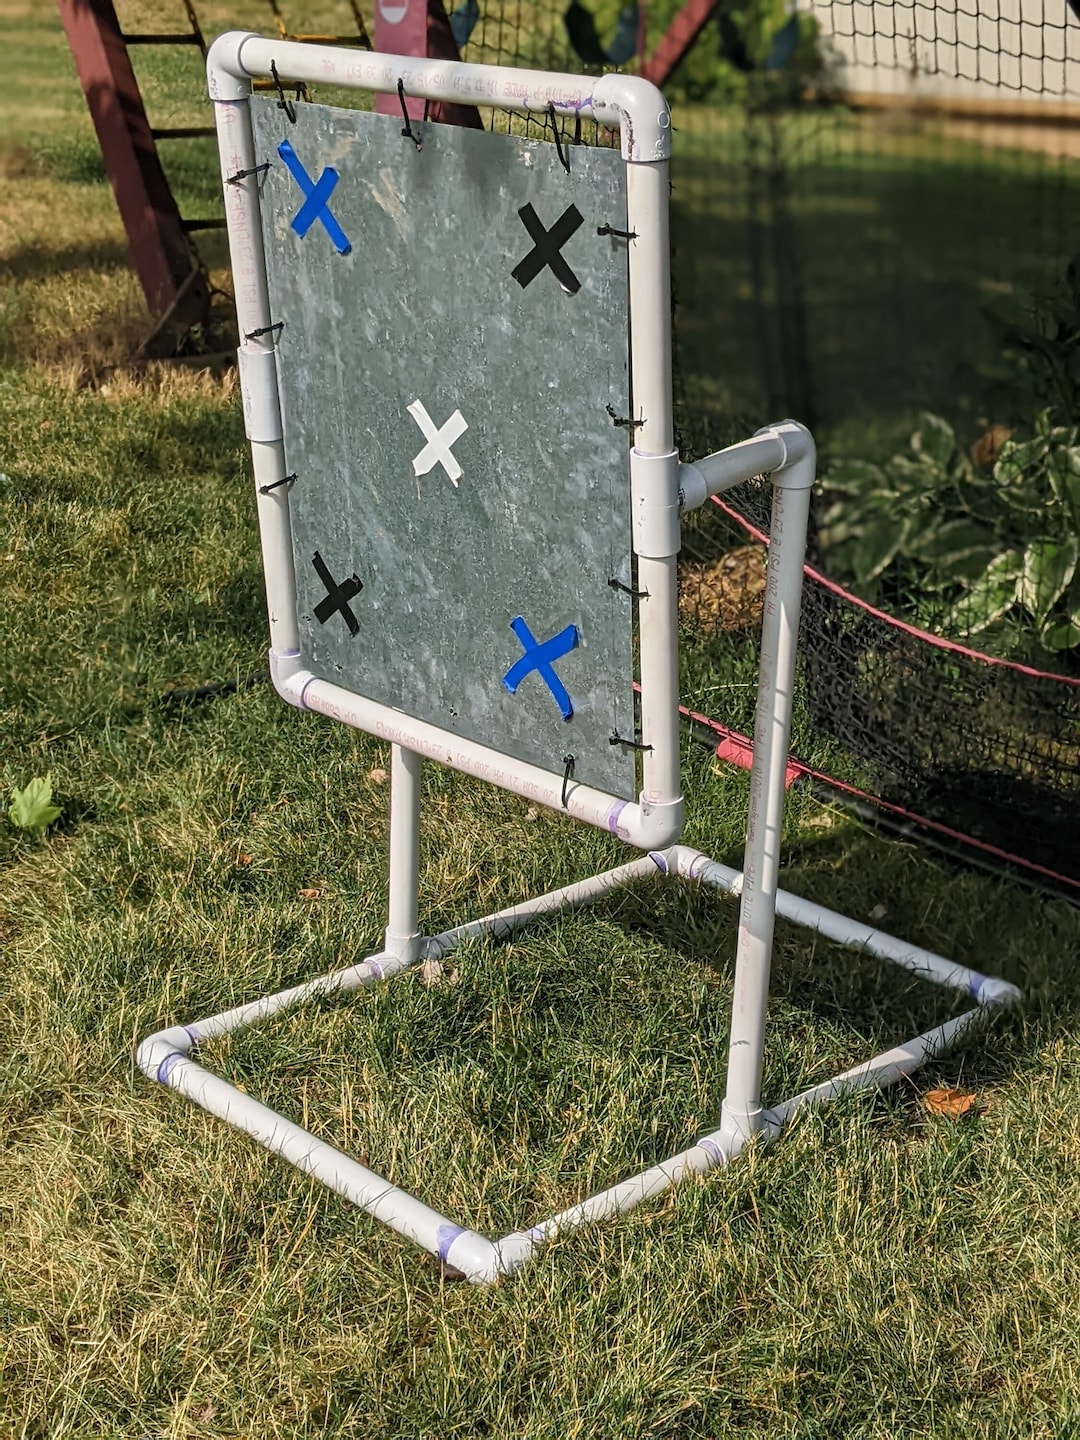
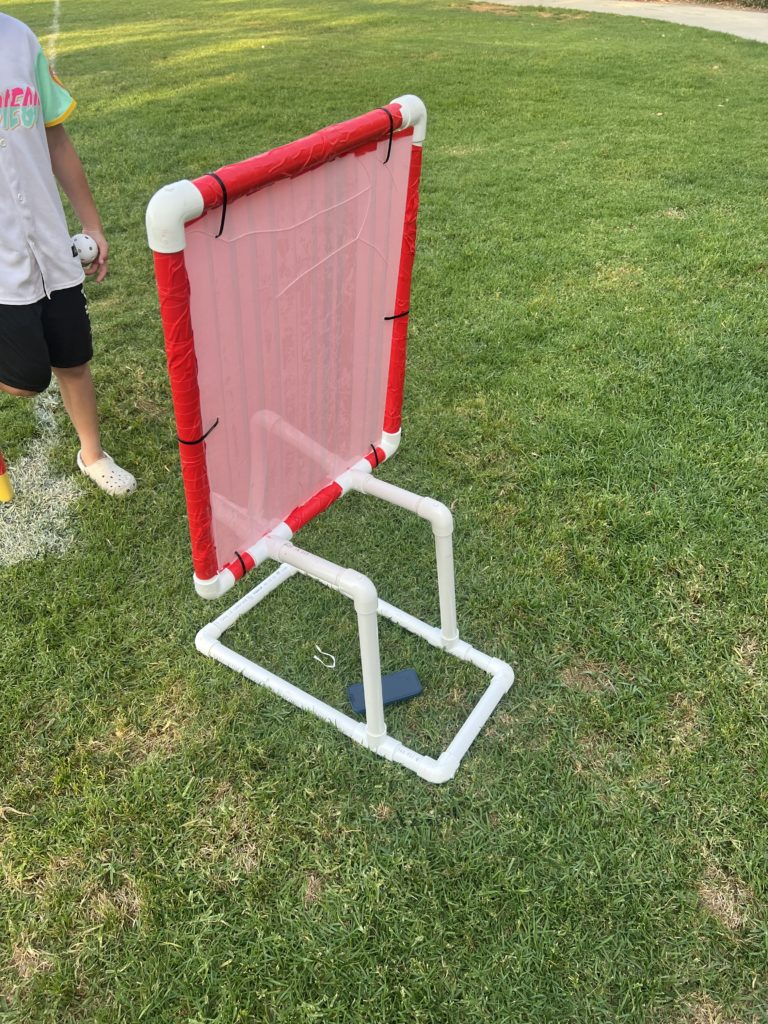
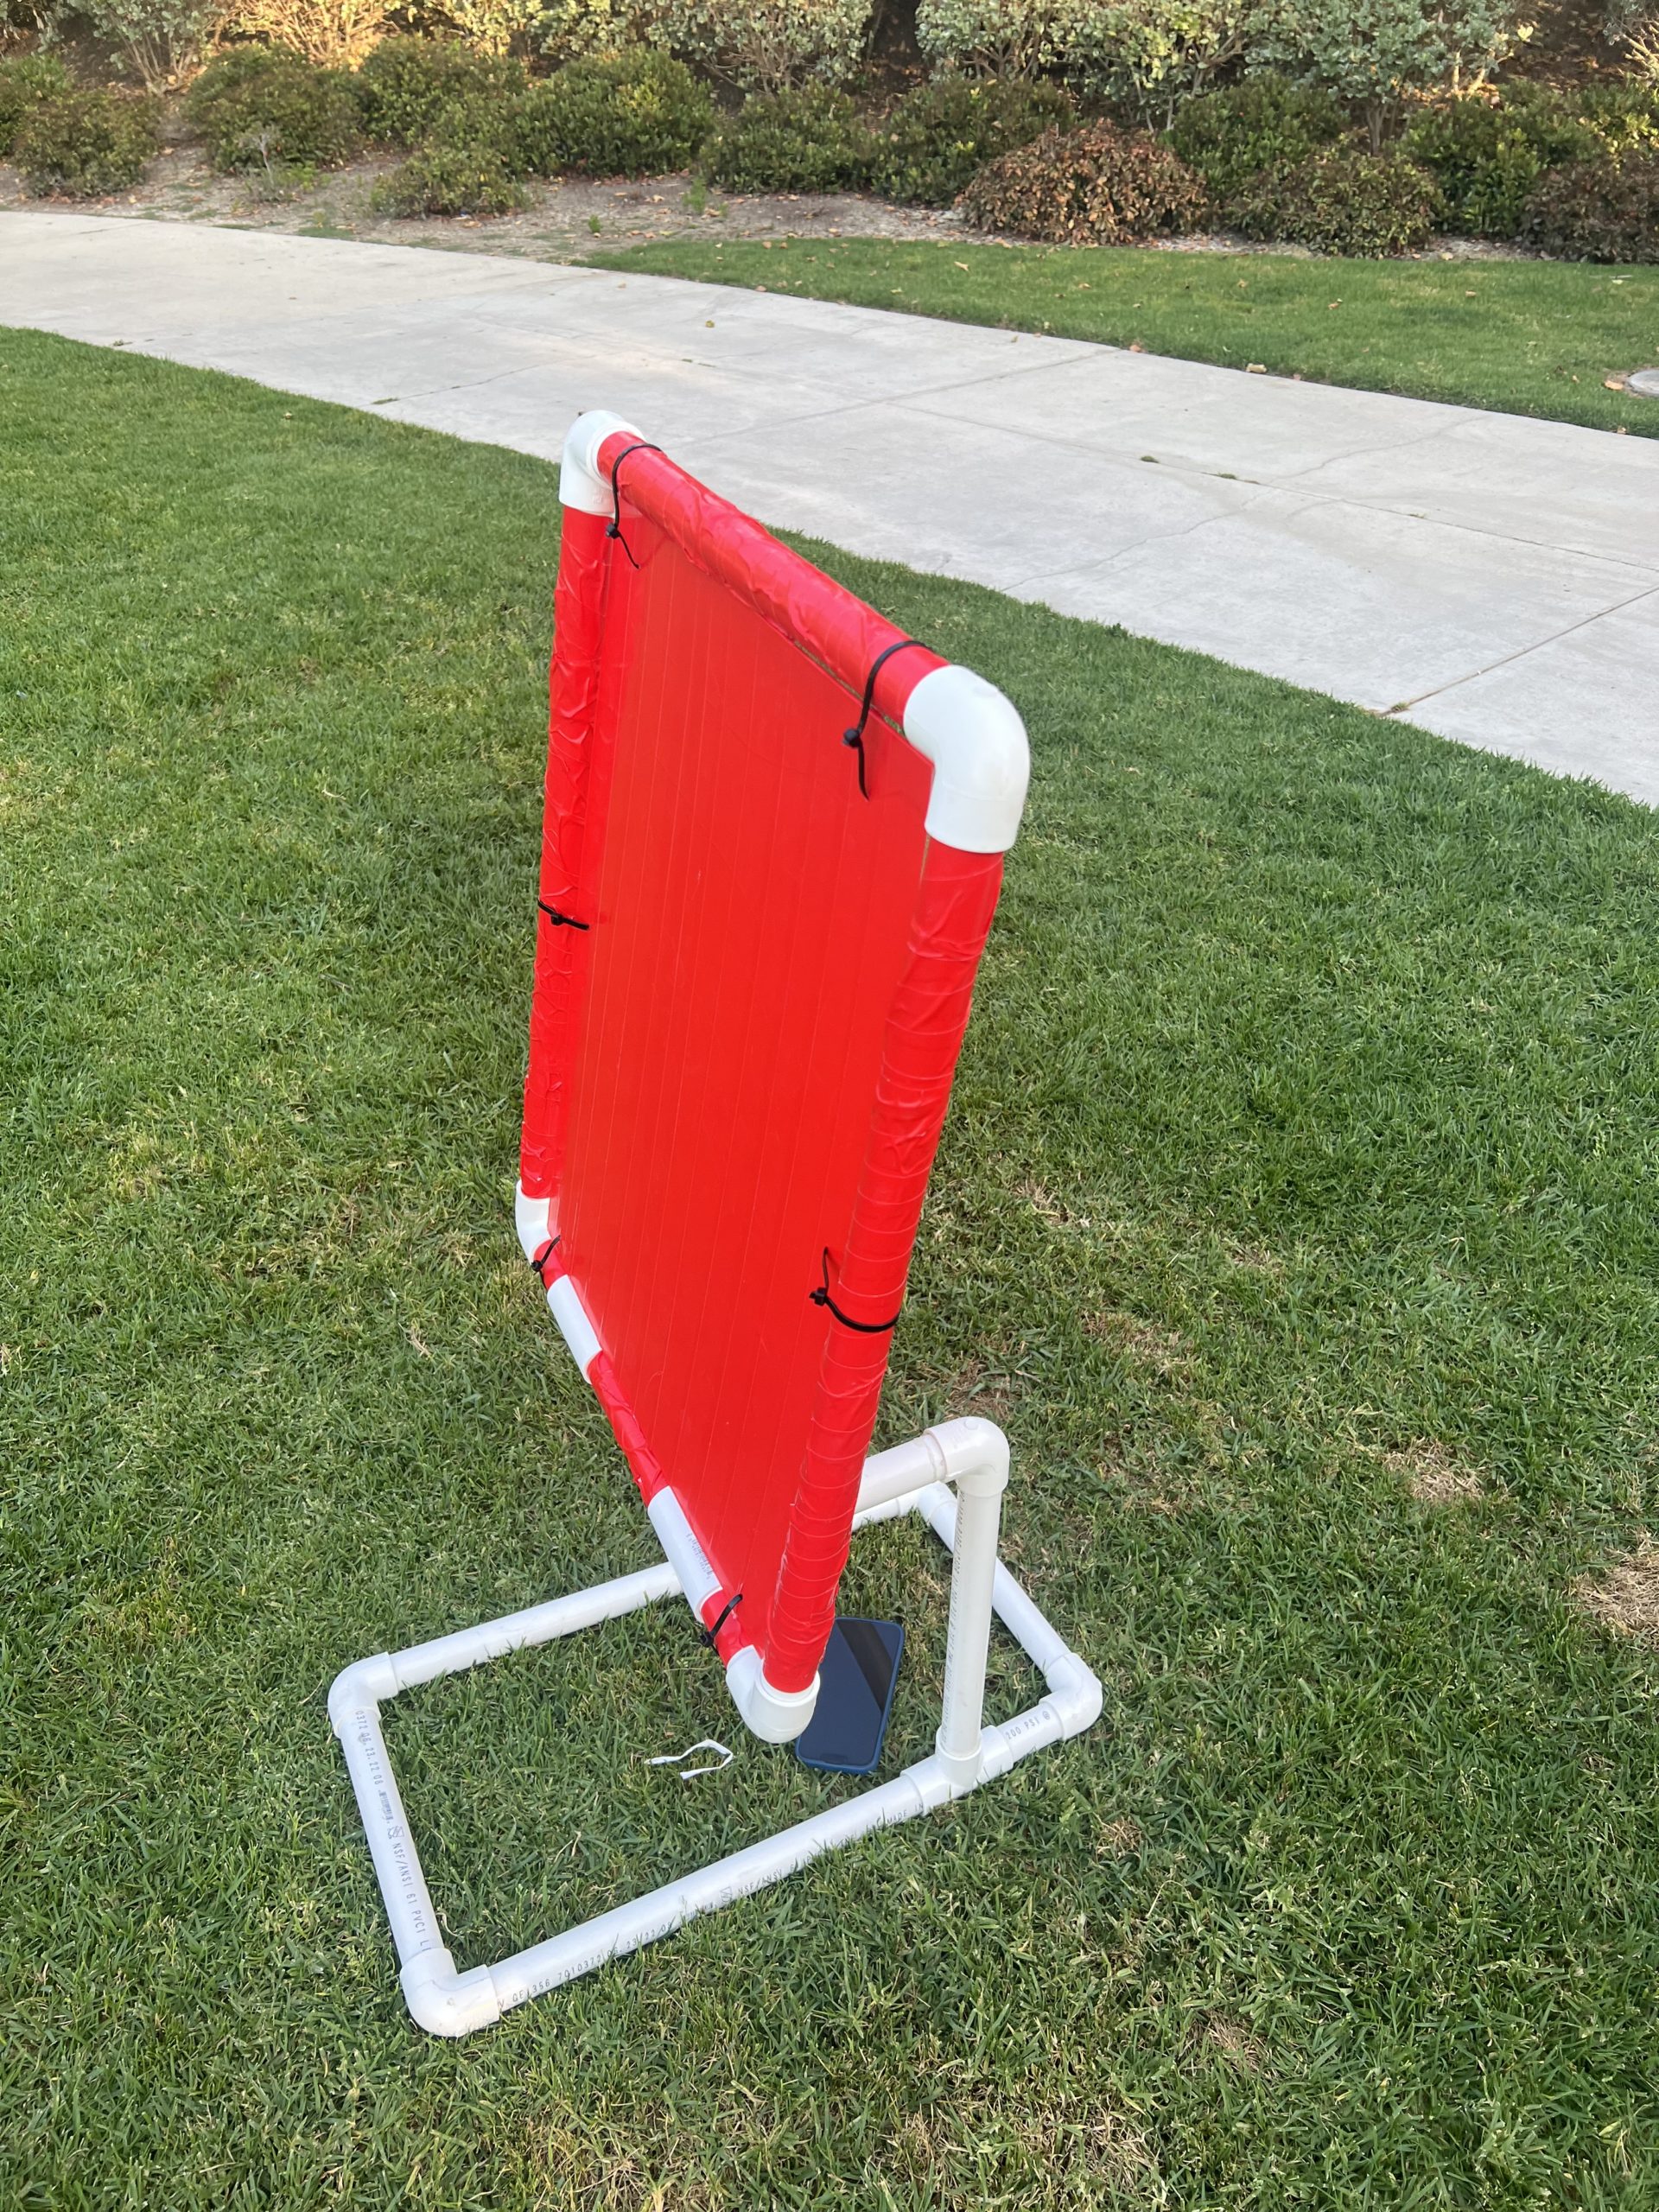
The Cardboard Colossus
Arrange your cardboard boxes into a rectangular shape. This is the backbone of our strike zone, so stability is key!
Tape those bad boys together like you're reinforcing Fort Knox against a Wiffle Ball invasion. Overkill is encouraged!
If you're using smaller boxes, stack 'em high! Remember, a majestic strike zone is a beautiful strike zone.
Stringing It All Together
Now, for the fine details. Grab that string and let's define those edges. Pretend you're an artist, but with twine.
Tie the string from corner to corner, outlining the top and bottom of your strike zone. Aim for straight lines – no zigzags allowed!
Think of it as creating the boundaries of a magical land where only perfectly pitched Wiffle Balls dare to venture.
Marking the Territory
Time to unleash your inner graffiti artist! With your marker (or crayon – embrace the chaos!), clearly mark the strike zone's boundaries.
Draw a bold line around the entire perimeter. The clearer the lines, the fewer the arguments later.
You can even add fancy decorations, like lightning bolts or warnings that say "Beware: Killer Curves Only!"
Fine-Tuning and Placement
Almost there! Now for the critical step: positioning. Consider your batter's stance and usual swing path.
Place the strike zone so it covers the area where a "perfect" pitch would cross the plate. This might take some trial and error – that's half the fun!
Don't forget to anchor your strike zone! A rogue gust of wind could send your creation tumbling, leading to utter dismay.
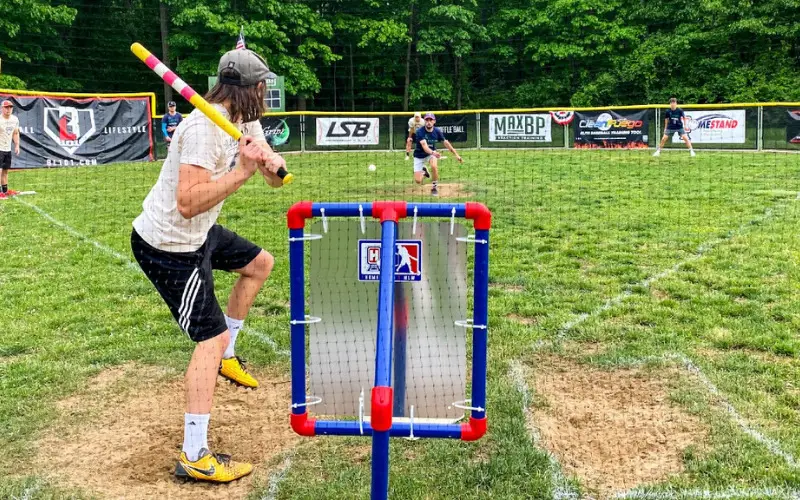
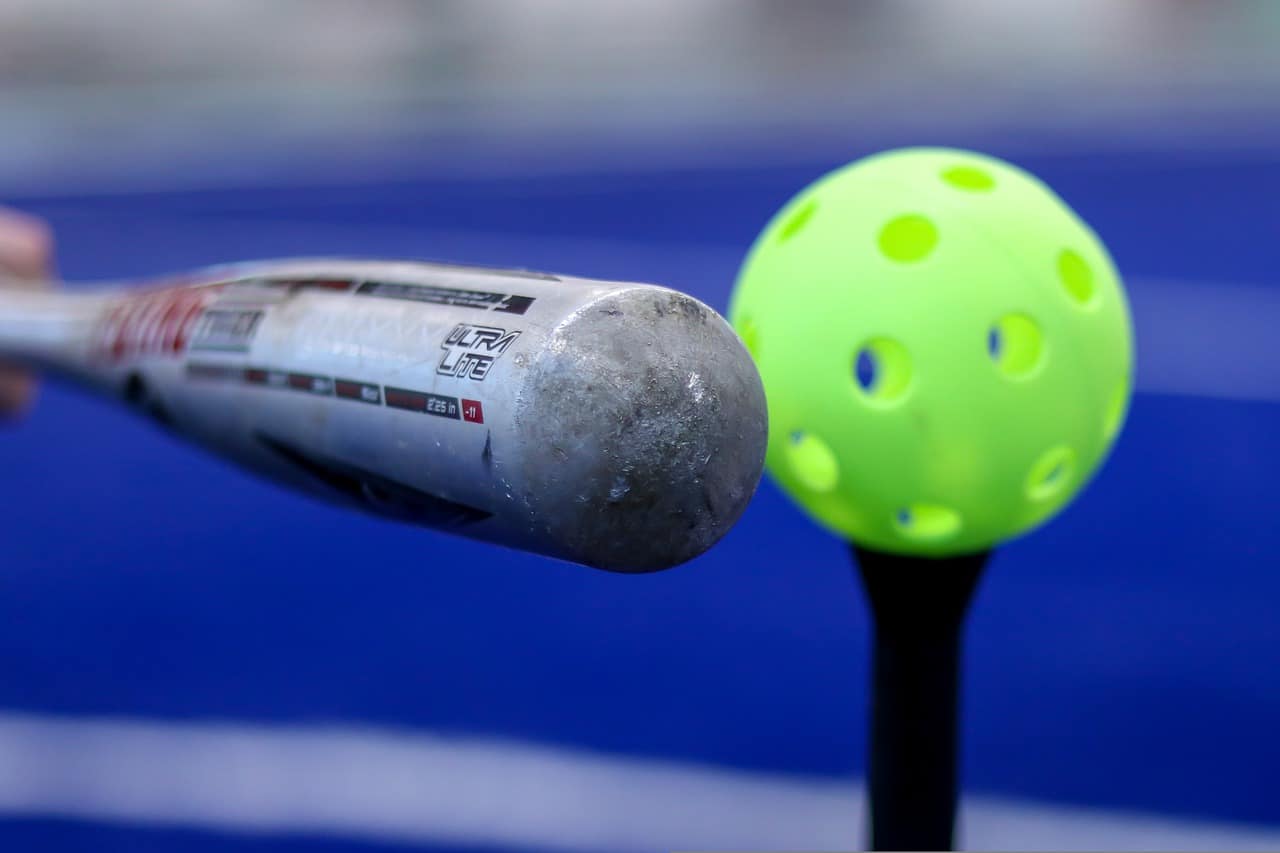
The Ultimate Test
The moment of truth! Grab your bat, your most trusted pitcher, and prepare to christen your new strike zone.
Have your pitcher unleash their best (or worst) Wiffle Ball wizardry. Watch in awe as pitches either dance through the zone or miss entirely.
Adjust the strike zone as needed. Perfection takes practice! And maybe a few more layers of tape.
Important Considerations (and a touch of exaggeration)
Remember, this is Wiffle Ball! Don't get too hung up on rigid perfection.
If a pitch *almost* clips the corner, let the batter have it. It's about fun, not winning a Nobel Prize for Wiffle Ball accuracy.
But seriously, a well-defined strike zone will transform your games. Prepare for fewer arguments, more strategic pitching, and memories that will last a lifetime!
So, go forth and build! Unleash your inner Wiffle Ball architect! The fate of your backyard league rests in your hands! And remember, if anyone questions your strike zone, just tell them
"It's scientifically proven to be the most accurate Wiffle Ball strike zone ever created!"(Even if that's a *slight* exaggeration.) Happy Wiffle Balling!
One last thing, name your creation! How about, The Wiffle Wonder or The Strike Zone of Destiny?