How To Create Neon Text In Gimp
Okay, let’s be honest. Sometimes, fancy graphics are just… fun.
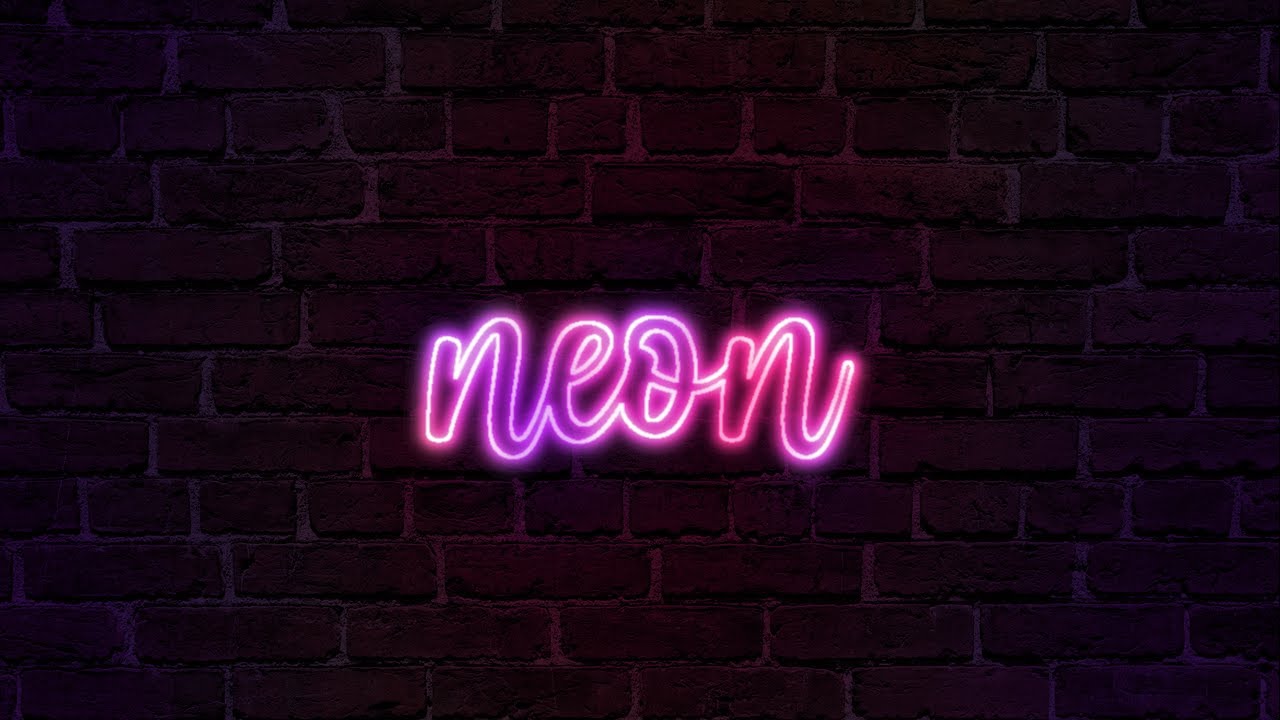
And who doesn't love that glowing, buzzing vibe of neon?
Unpopular opinion: Neon signs are cool everywhere, not just in dive bars. Don't @ me.
GIMP and Glow-Ups: Your Neon Adventure Begins
Ready to ditch Photoshop’s price tag? We're diving into creating neon text using GIMP. It’s free! (And surprisingly powerful.)
First, fire up GIMP. Let’s create a new image. Something like 800x600 pixels should do nicely.
Background color? Black! Trust me on this one.
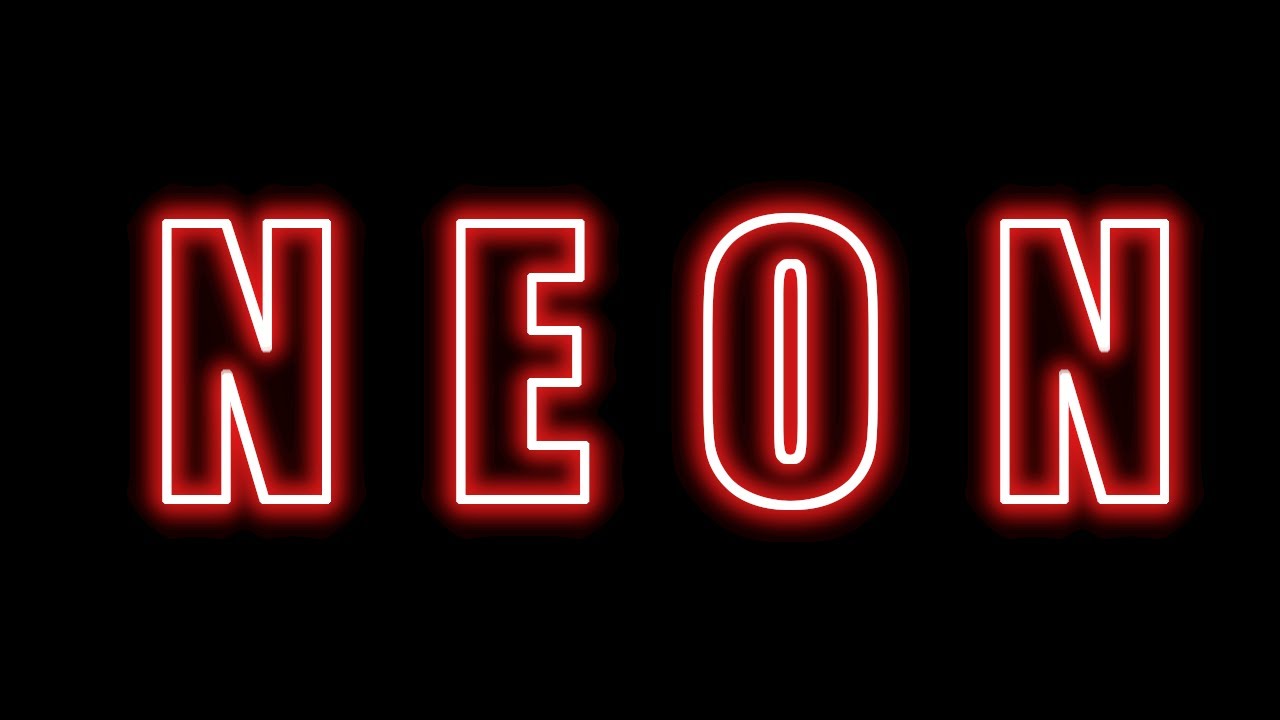
Step 1: The Text - Your Message in Light
Grab the Text tool (it looks like a big “T”). Pick a font. Something bold and blocky screams "NEON!".
Type your text. What message will you broadcast to the world?
White works great for the initial color. But feel free to experiment, rebel a little!
Step 2: Blur the Lines (Literally)
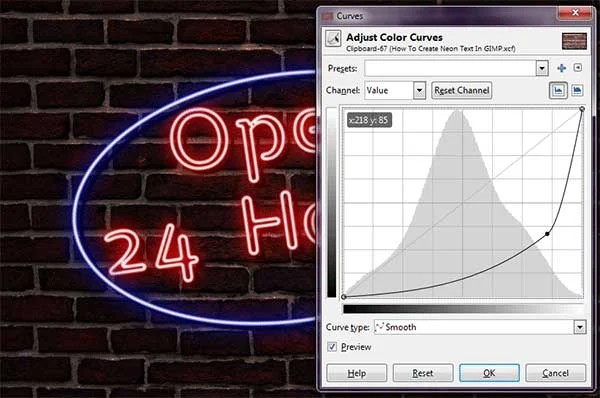
Now, the magic starts! Go to Filters -> Blur -> Gaussian Blur.
Blur it! Play with the settings. A radius of around 5-10 pixels is a good starting point.
Too much blur? Too little? Adjust until it looks softly glowing, like a distant galaxy.
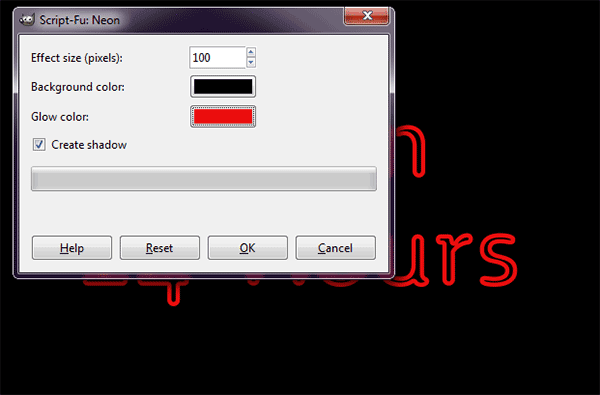
Step 3: The Outer Glow - Amplifying the Buzz
Duplicate your text layer. (Right-click the layer and choose "Duplicate Layer").
Apply Gaussian Blur again, but this time, go bigger! Think 15-20 pixels.
This creates the *outer* glow, making it really pop.
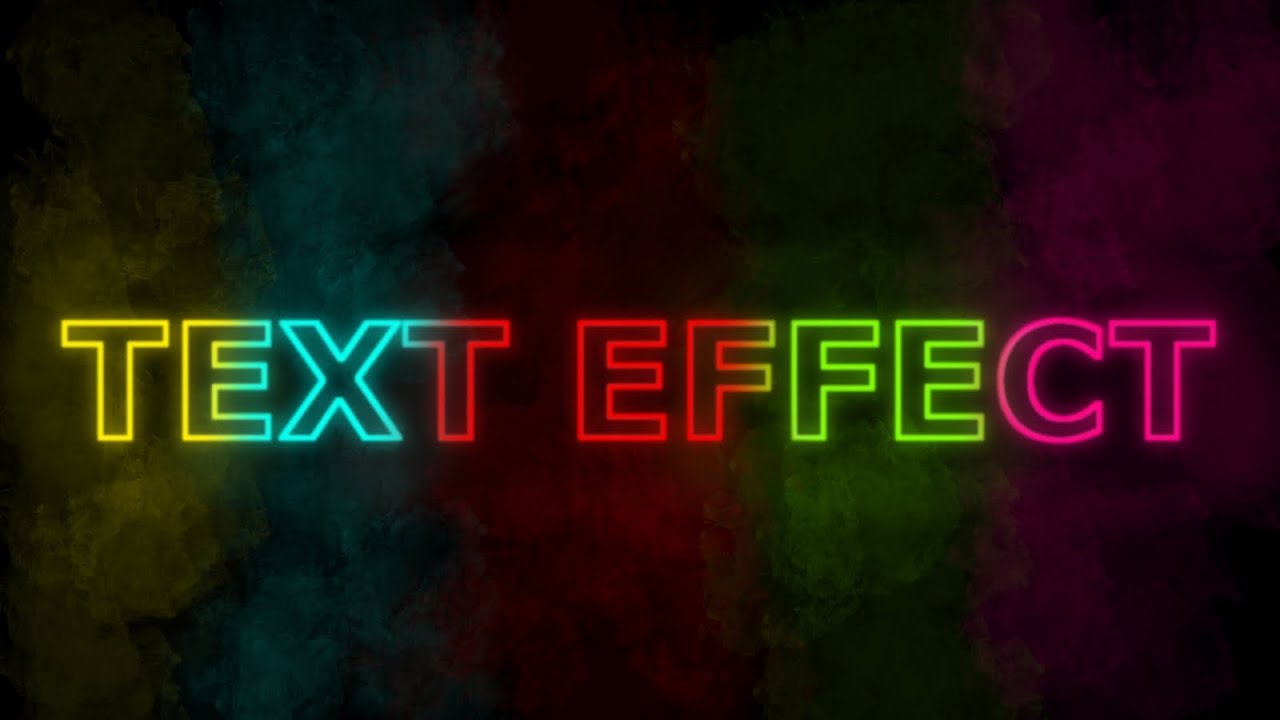
Step 4: Color Me Neon (Your Choice!)
Time for color! This is where you get to inject your personality.
Use the “Colorize” tool (Colors -> Map -> Colorize). Tweak the hue, saturation, and lightness.
Hot pink? Electric blue? Go wild! My favorite is a vibrant, almost toxic green. (Again, unpopular opinion, I know.)
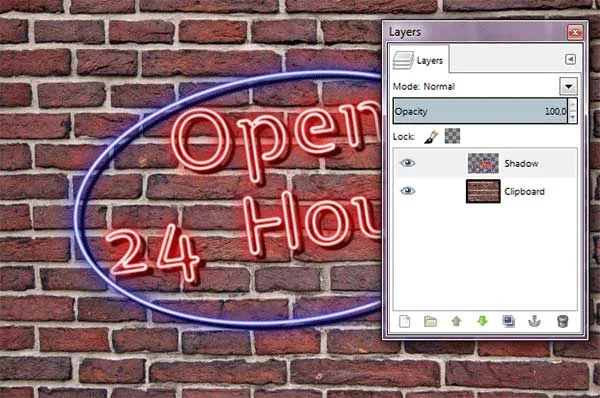
Step 5: Layer Up for Extra Oomph
Duplicate that colorized layer! Yes, again. We’re layering up the glow.
Slightly increase the Gaussian Blur on this new layer. Just a touch.
Change the layer mode to “Screen” or “Overlay”. See what looks best to your eye.
Step 6: Fine-Tuning and Final Touches
Almost there! Adjust layer opacities to control the intensity of the glow.
Add a subtle drop shadow for extra depth. Filters -> Light and Shadow -> Drop Shadow.
Experiment! There's no right or wrong way to neon.
Like adding a subtle vignette, or even a little bit of noise to give it a vintage look.
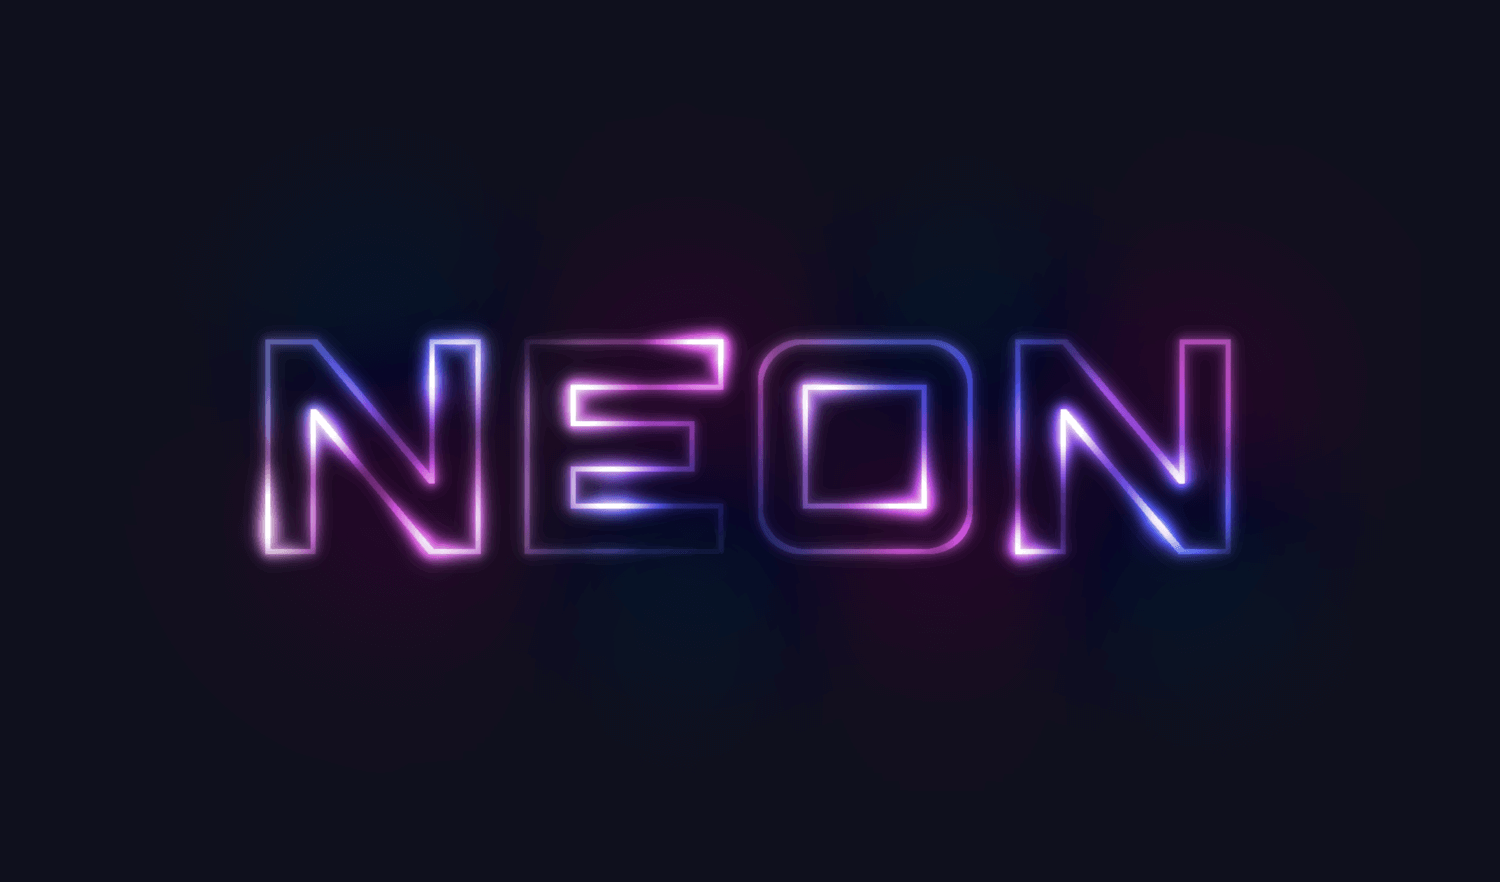
Step 7: Bask in Your Neon Glory
You did it! You've created awesome neon text in GIMP. Give yourself a pat on the back.
Save your creation as a .PNG to preserve transparency. Share it with the world!
Remember, this is just a starting point. Explore different colors, fonts, and effects.
And don't forget to share your creations! Because let's face it, everyone needs a little more neon in their lives.
Now go forth and create! And remember, if anyone tells you neon is outdated, just point them to this article. The future is bright (and slightly blurry!).
Just kidding, neon for life, my friend, neon for life!