How To Delete Background In Pixlr Editor
Ever taken a photo that’s *almost* perfect? You know, the one where you look like a movie star, but there's a rogue bin in the background, or maybe a photobombing pigeon?
The Magic Eraser, Digital Edition
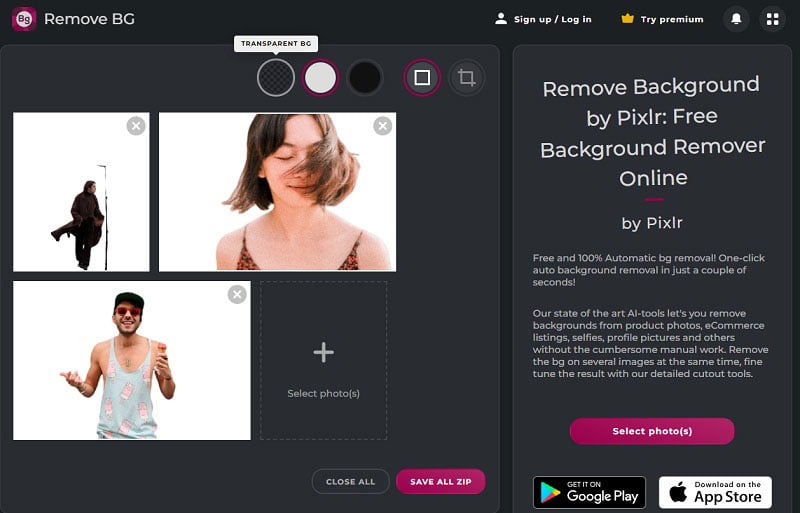
Well, fret no more! Pixlr, that handy online photo editor, is here to help. Think of it as having a magic eraser for your digital life. Let's dive in!
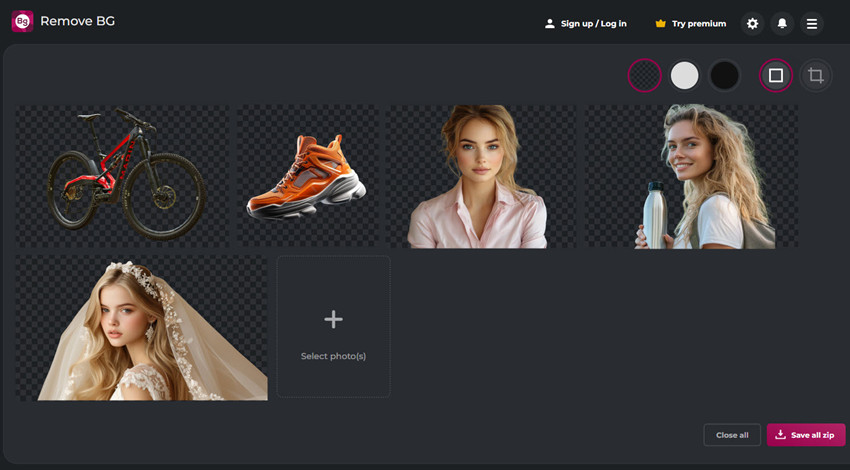
First Things First: Open Sesame!
Head over to the Pixlr website. You'll see two options: Pixlr E (the advanced editor) and Pixlr X (the express version). We're going with the easier, breezier Pixlr X. Trust me, it's like choosing the easy-bake oven over a professional chef's kitchen.
Upload your image, the one you want to fix. Maybe it's your cat looking majestic, but there's a pile of laundry behind her.
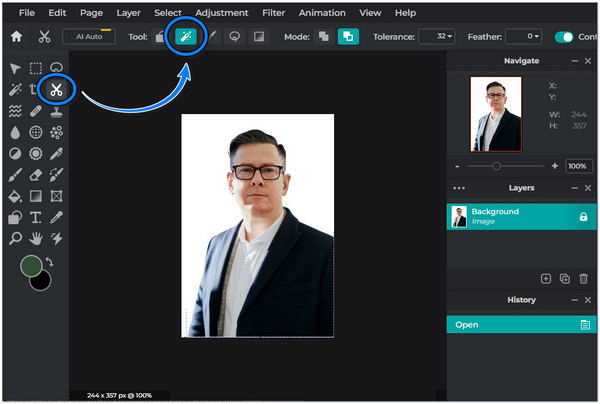
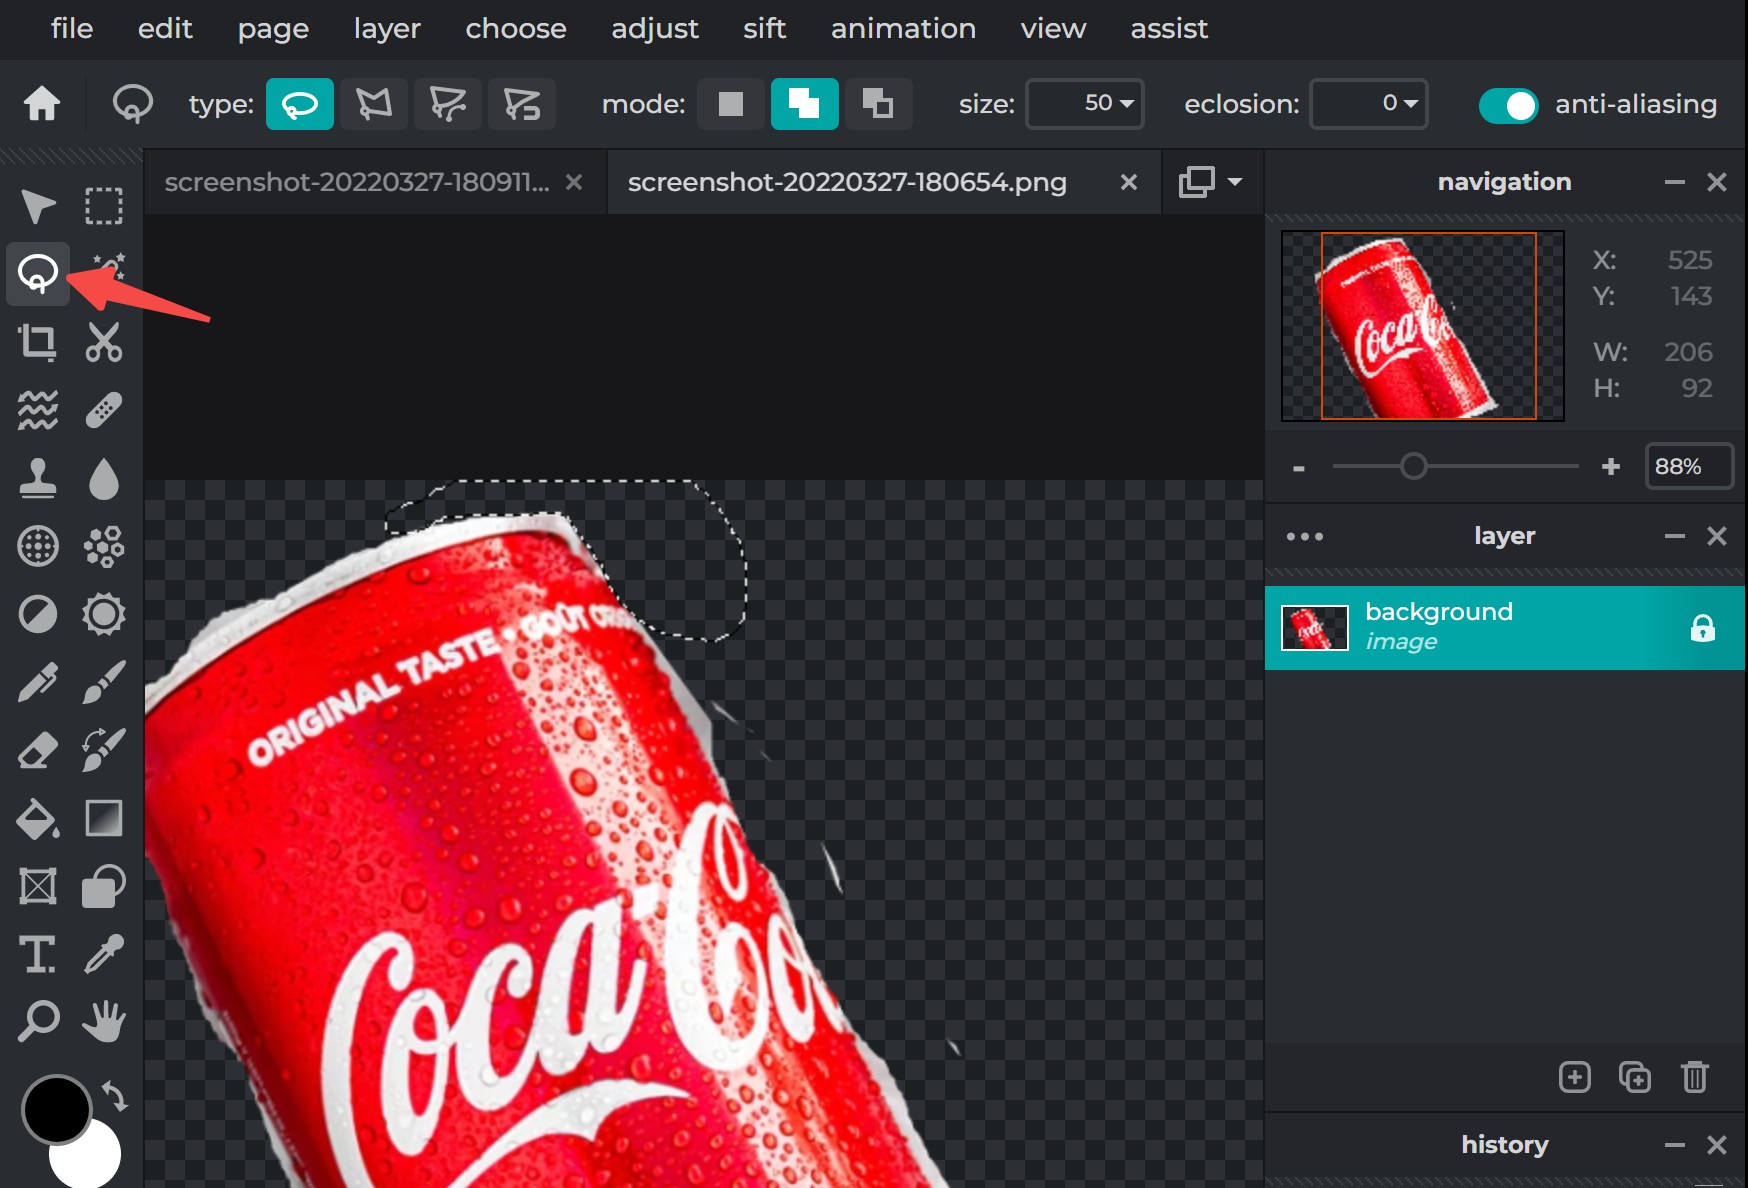
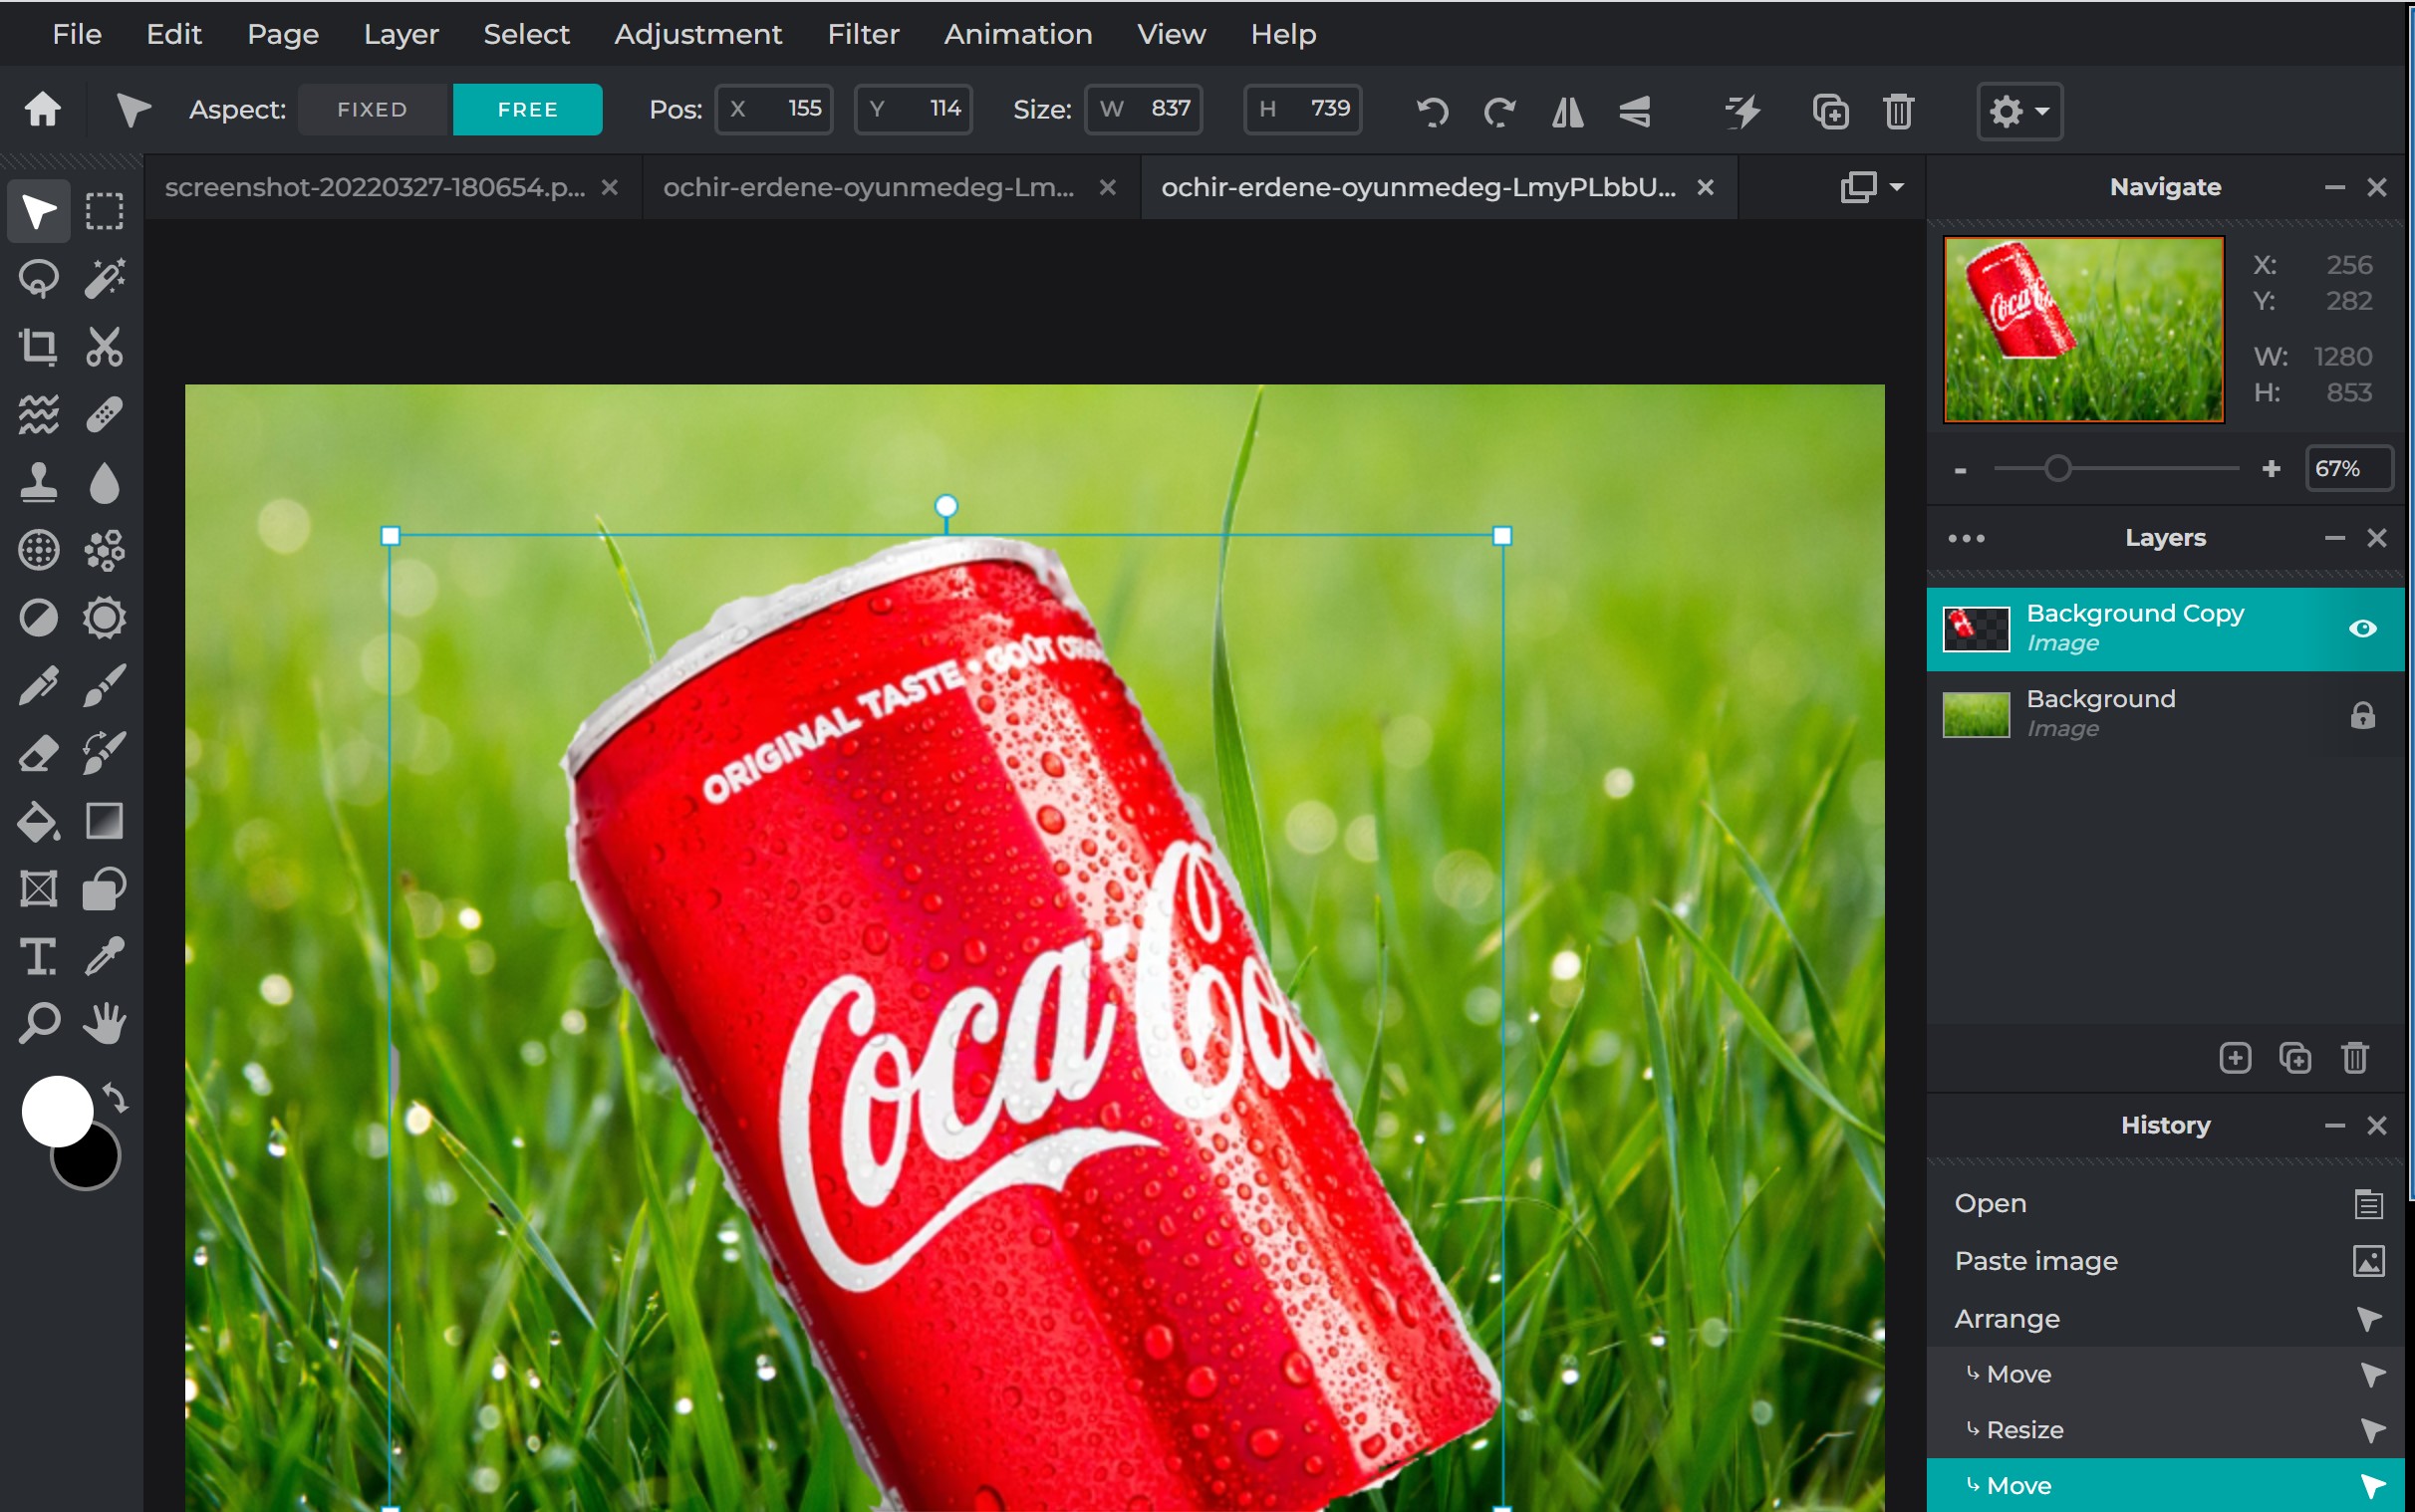
The Cutout Tool: Your New Best Friend
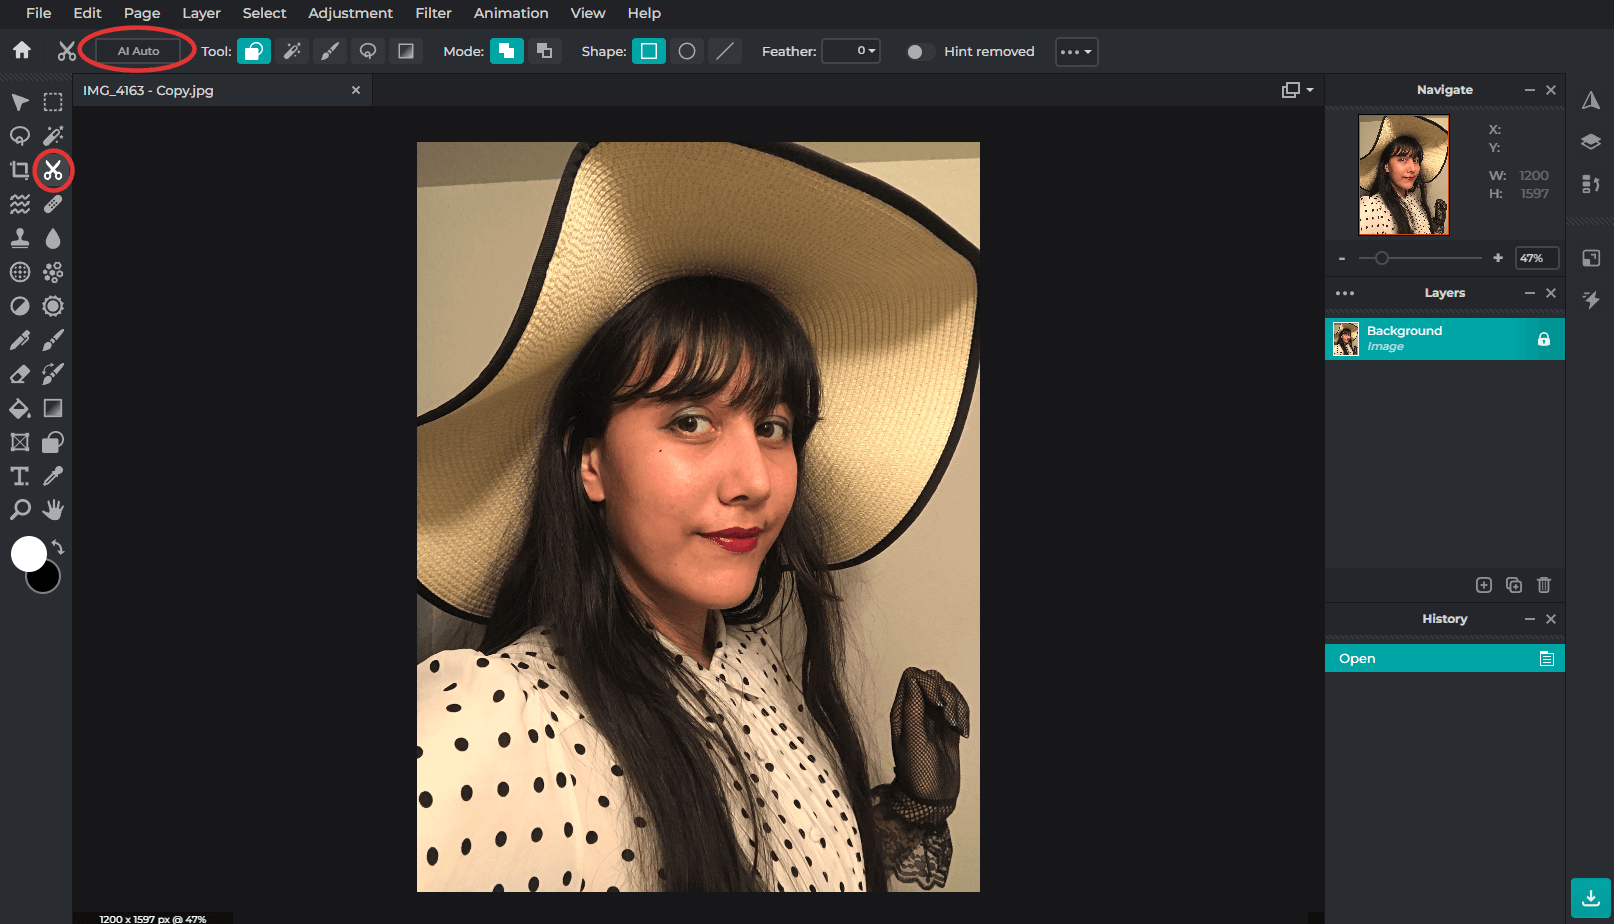
On the left-hand side, you'll see a toolbar. Look for the icon that resembles a pair of scissors, or maybe a ninja star. That's your "Cutout" tool!
Click on it. Now, you have a few options.
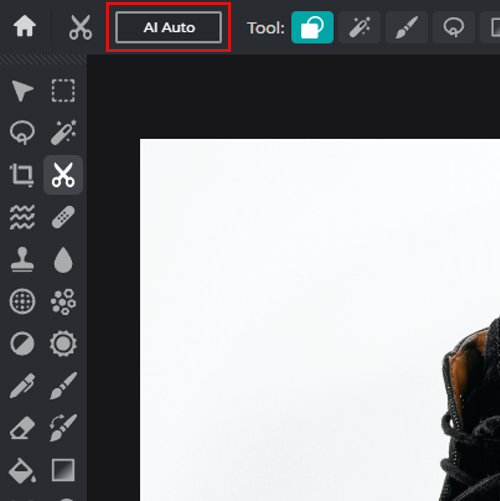
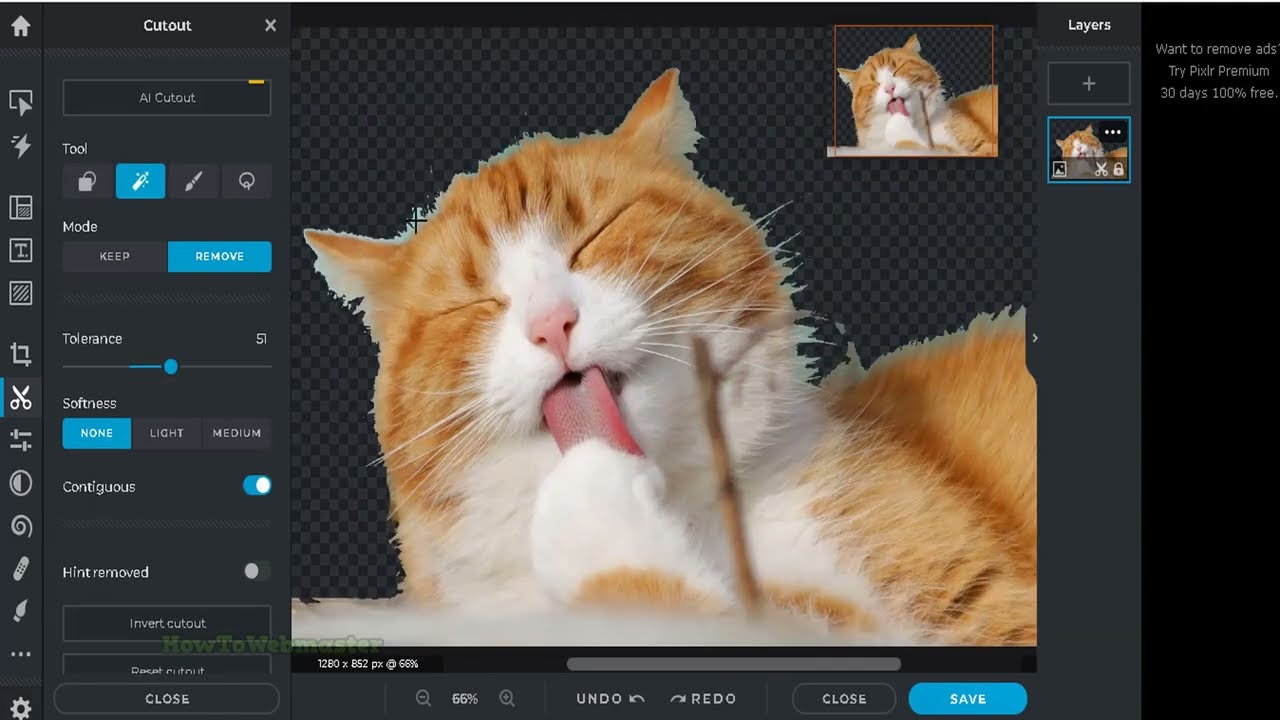
Auto Cutout: For the Lazy Perfectionist
The *Auto Cutout* tool is amazing. Pixlr tries to guess what you want to keep and what you want to ditch. It's like having a super-smart AI assistant who understands your questionable fashion choices (at least when it comes to backgrounds).
Click on the subject. Watch in amazement as the background disappears! It's not always perfect, but it's a great starting point.
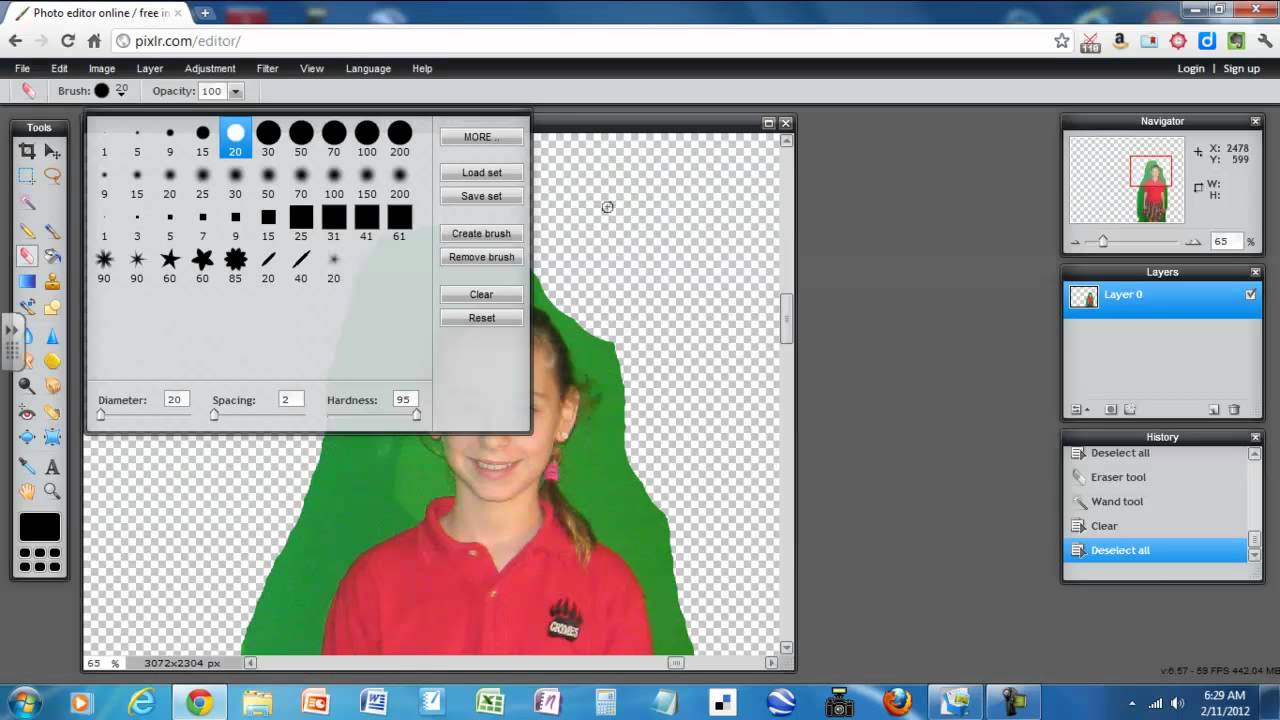
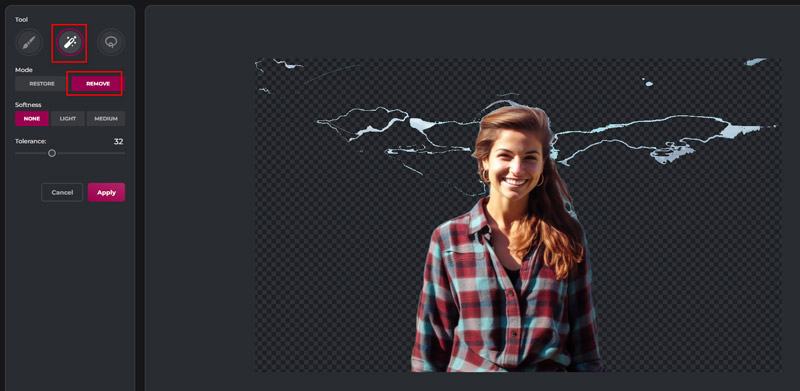
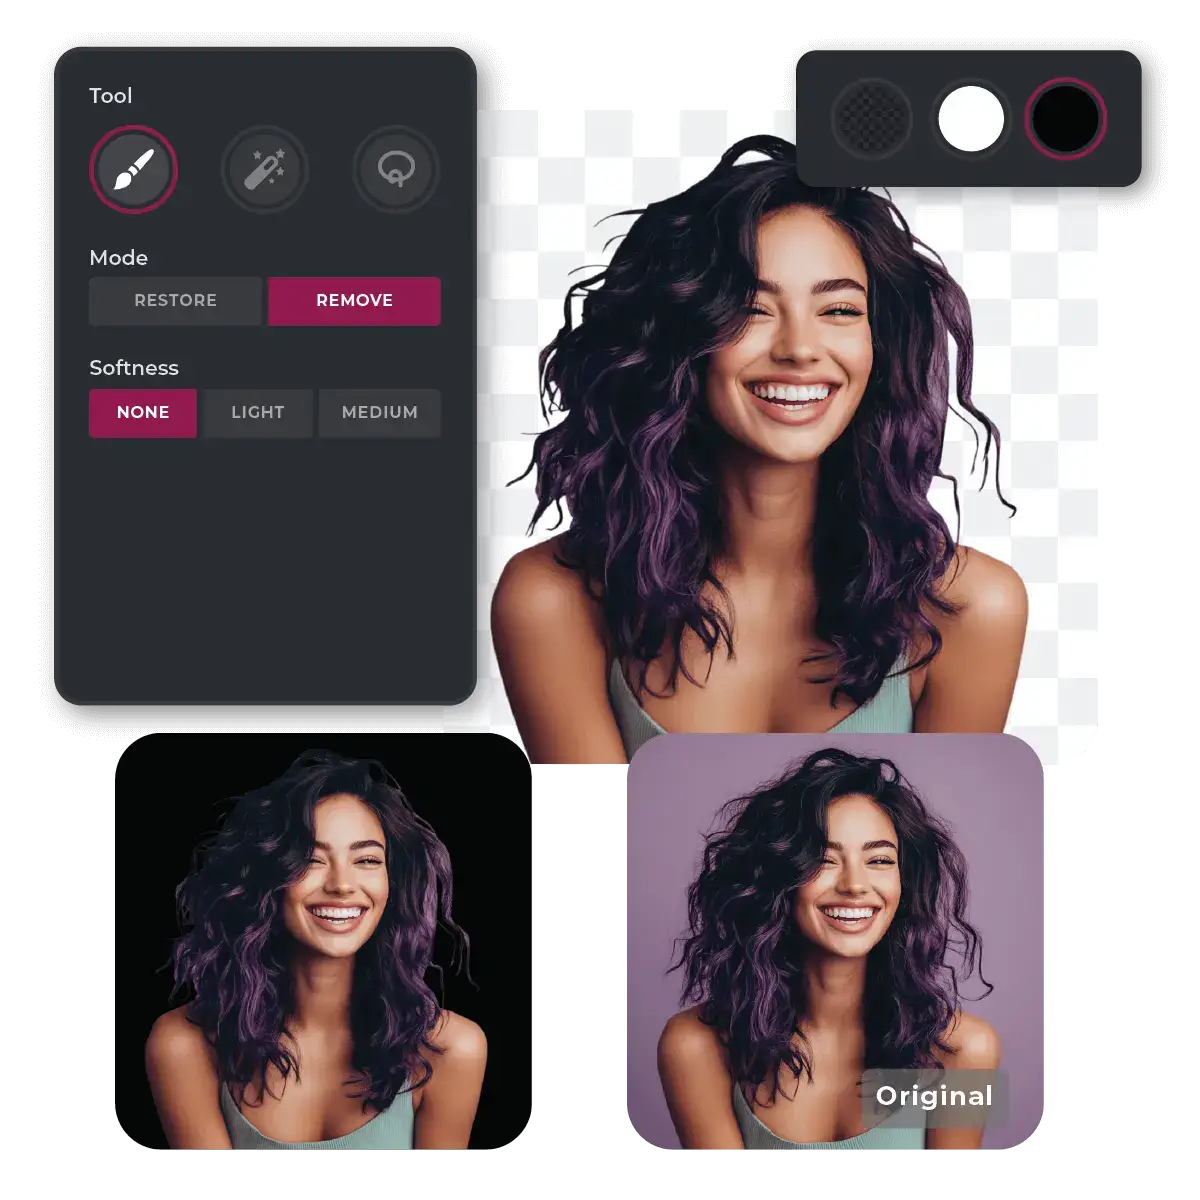
Manual Cutout: Get Your Hands Dirty
Sometimes, the Auto Cutout needs a little help. This is where the *Manual Cutout* comes in. Think of it as drawing around the object you want to keep. You can adjust the brush size for those tricky spots, like hair blowing in the wind.
Select *Draw Mask* and paint over the area you want to keep. If you accidentally go overboard, use the *Erase Mask* option to undo your "artistic" choices. It’s like coloring inside the lines, but with far fewer crayons.
Shape Cutout: For the Minimalists
Need to cut something out in a perfect circle? *Shape Cutout* is your friend. Choose a shape, drag it over the area you want to remove, and boom! Instant graphic designer vibes.
Refine: The Secret Weapon
See the *Refine* option? This is your secret weapon. It lets you clean up the edges of your cutout, making it look super smooth and professional. No more pixelated outlines!
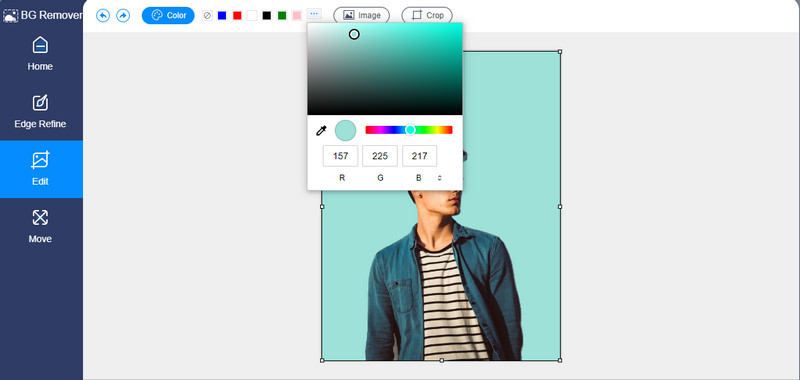
The Grand Finale: New Beginnings
Once you're happy with your cutout, click "Apply." Now you have a background-free image! What to do with it?
You can upload a new background! Maybe a tropical beach, a bustling city street, or even a picture of outer space. The possibilities are endless.
Or, you can save the image as a PNG with transparency. This means you can use it in other projects, like adding your majestic cat to a movie poster.
Behold! The Power of Pixlr
Congratulations! You've just mastered the art of background removal. It's easier than making toast, and way more rewarding. Go forth and create! Who knows what masterpieces you'll conjure up with this newfound power? Just remember, with great power comes great responsibility... and the ability to remove that embarrassing photobomb from your cousin's wedding photos.
So, unleash your inner artist, play around with Pixlr, and have fun! After all, life's too short to have boring backgrounds.
![How To Delete Background In Pixlr Editor How to Remove Background in Pixlr Remove BG? [TUTORIAL]](https://techliteblogs.com/wp-content/uploads/2024/08/How-to-Remove-Background-in-Pixlr-by-Remove-BG-Tool.webp)