How To Depixelate An Image In Photoshop 2021
Ever zoomed in too far on a picture and thought, "Whoa, suddenly I'm living in an 8-bit video game!"? Those pesky squares, or pixels, can be a real buzzkill when you're trying to admire a picture. Fear not, fellow photo enthusiast! We're diving into the magical world of depixelating images in Photoshop 2021, and trust me, it's way less scary than it sounds.
Step 1: Open Sesame (Your Image, That Is!)
First things first, fire up Photoshop! Now, go to "File" then "Open" and choose the image you want to rescue from pixel purgatory. It's like opening a treasure chest, except the treasure is a potentially less-pixelated version of your photo.
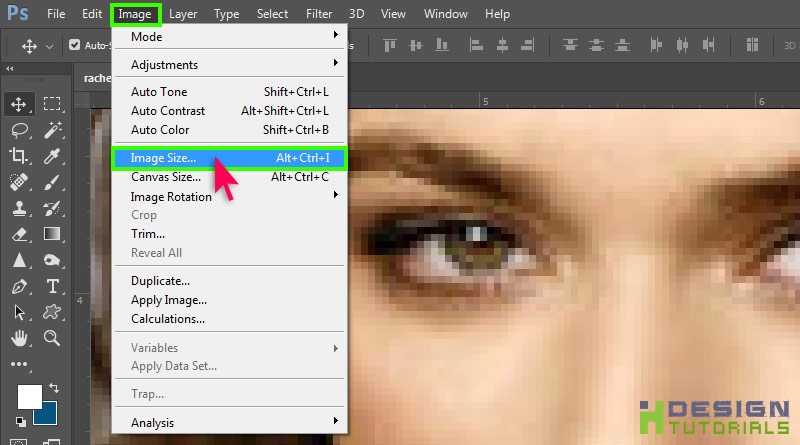
Step 2: Size Matters (Image Size, Specifically)
Head up to "Image" and then click on "Image Size". This is where the magic (and some math, but don't worry, it's easy!) happens. Think of it like giving your image a growth spurt.
You'll see a little window pop up with numbers for Width and Height. Here's the key: Change the "Width" and "Height" to make your image bigger.
Make sure the "Resample" box is ticked. This is super important! Ticking Resample tells Photoshop to add information to the image, it essentially "fills in" the blank canvas.
Step 3: Resampling – Choose Your Weapon!
See that little dropdown menu next to "Resample"? This is where you choose your weapon in the war against pixels. It's like choosing your fighter in a video game, but with more image-smoothening power.
I always start with "Bicubic Smoother (best for enlargement)". This one's a gentle giant, perfect for softening those harsh pixel edges. But don’t be afraid to experiment and see what option works best for your specific image!
"Preserve Details 2.0" is a fantastic option for keeping the image sharp while scaling up. It’s like having a magnifying glass that also cleans your glasses – preserving the detail while boosting size!
Step 4: Crank It Up (But Not Too Much!)
Now, increase the Width and Height. A good starting point is to double the values or increase by 50%. Think of it as adding a healthy dose of vitamins to your image.
Don't go overboard though! Making the image ridiculously huge will just make it blurry, not better. Imagine trying to blow up a balloon too much – pop!
Step 5: The Zoom Test (The Moment of Truth!)
After you've increased the size, hit "OK". Now, zoom in! Are those pixelated squares looking a little less…square? Hooray! You're winning the battle!
If it's still too pixelated, repeat steps 2-4. It's like leveling up your image, one step at a time.
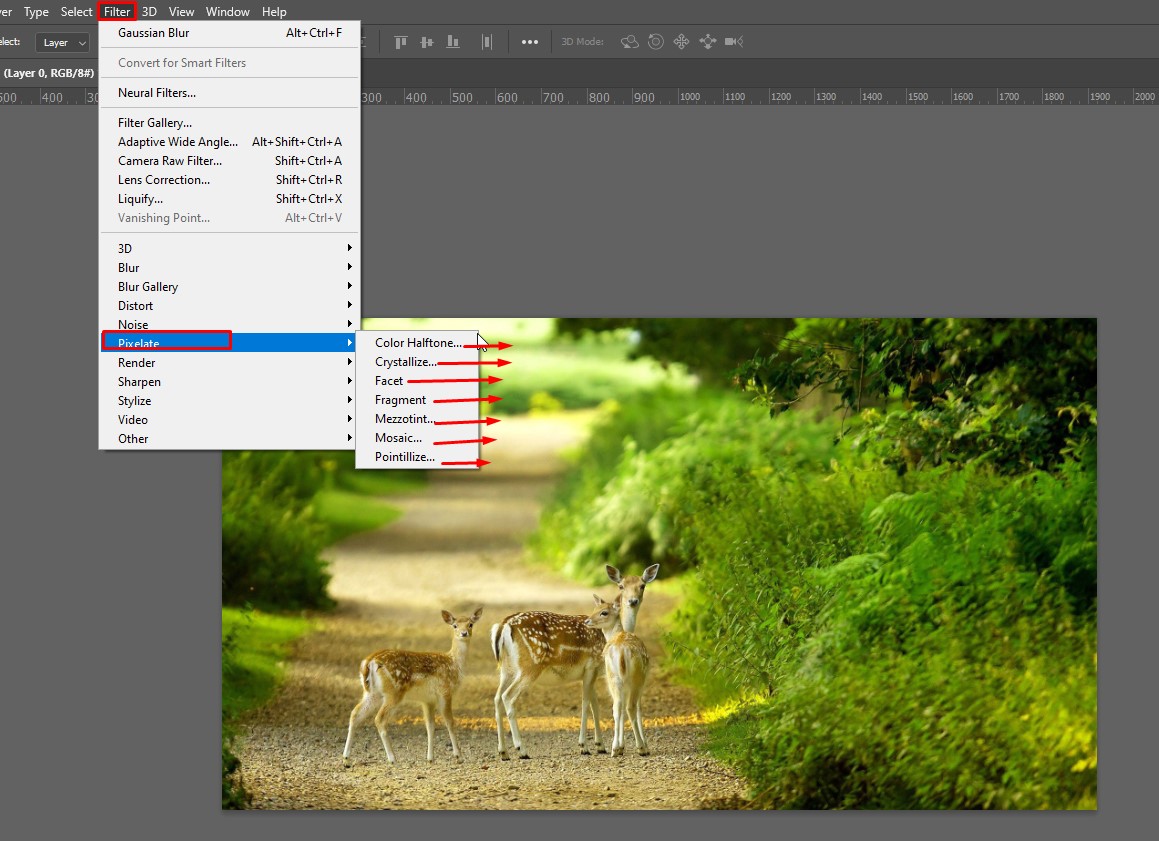
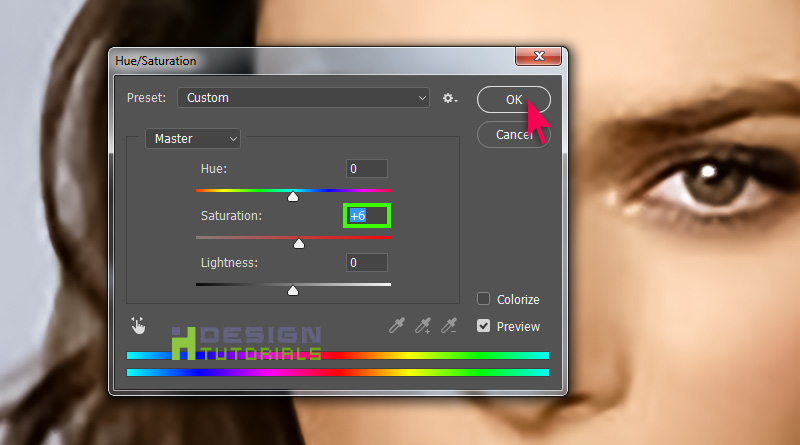
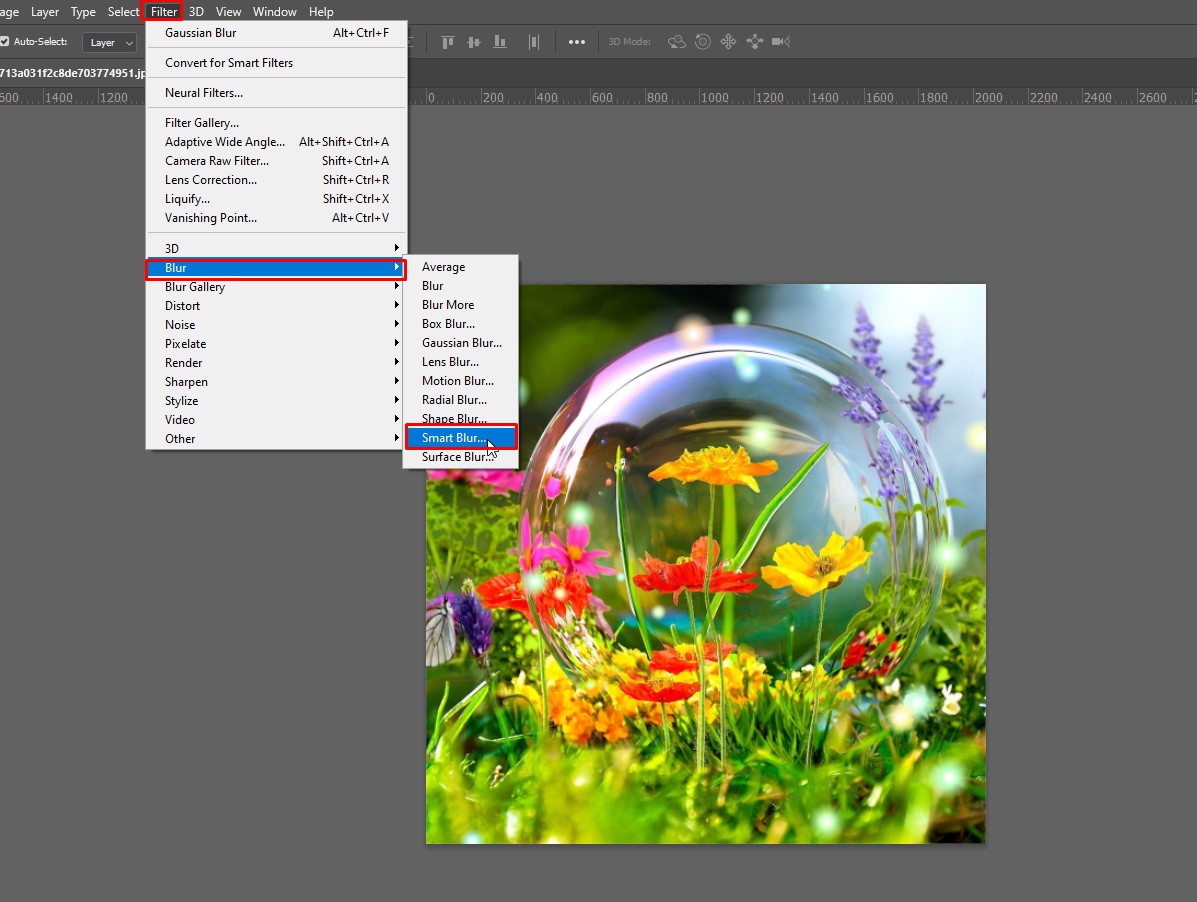
Step 6: Sharpening (A Little Kick in the Pants!)
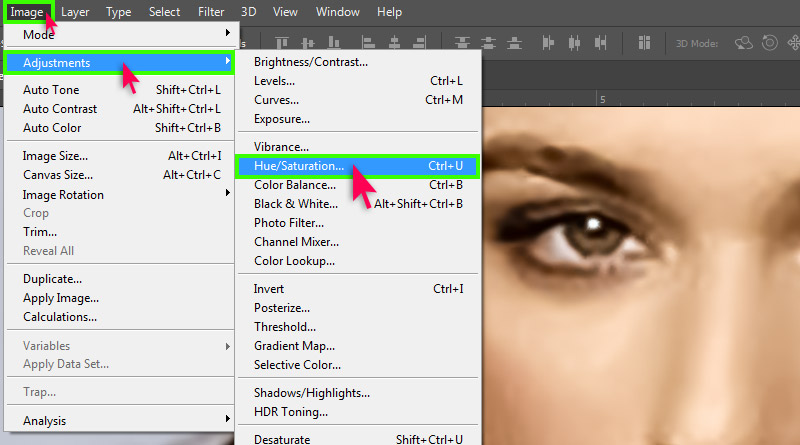
Sometimes, after enlarging, your image might look a little soft. Time for a little *sharpening*! Go to "Filter," then "Sharpen," and choose "Unsharp Mask".
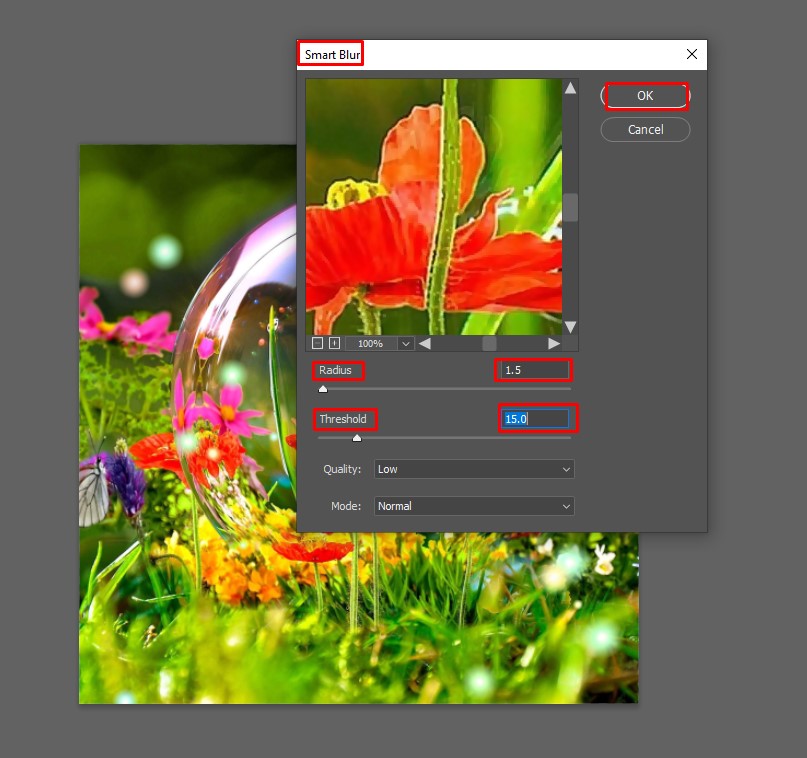
A little Unsharp Mask can bring back that crispness. Adjust the "Amount," "Radius," and "Threshold" sliders carefully.
Start with small adjustments, and don’t overdo it! Too much sharpening can make your image look grainy or artificial. It’s like adding too much spice to a dish – you want flavor, not fire!
Step 7: Save the Day (and Your Image!)
Once you're happy with the results, save your masterpiece! Go to "File," then "Save As." Choose a high-quality format like JPEG with high settings, or better yet, save as a TIFF or PNG for minimal quality loss.
Congratulations! You've successfully depixelated an image in Photoshop 2021! You've taken a pixelated problem and turned it into a photographic triumph.
Now go forth and conquer the pixelated world, one image at a time! May your photos always be sharp, clear, and utterly fabulous!