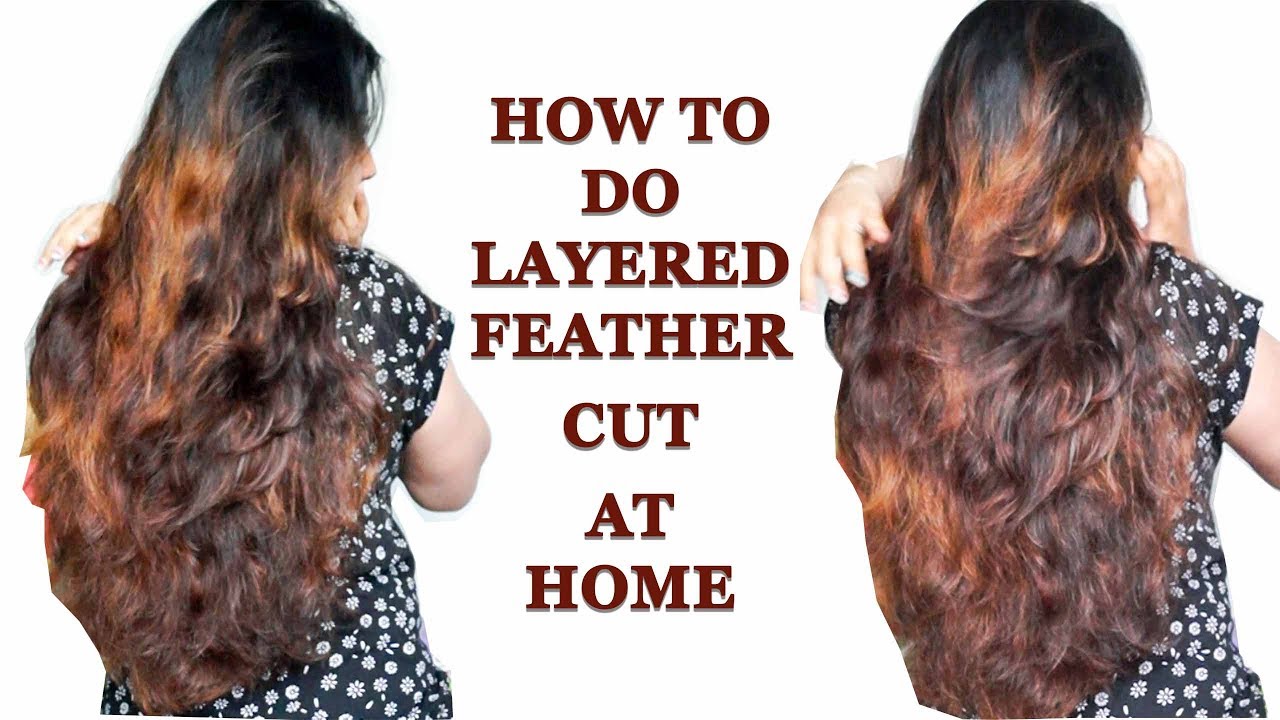
How To Do Feather Cut At Home Step By Step
Okay, so you're thinking about joining the *feathered hair* revolution but dread the salon price tag? Fear not, my friend! We're diving headfirst into the DIY feather cut. Get ready to unleash your inner stylist (even if your only experience is cutting wrapping paper).
Just picture it: bouncy layers, effortless style, and all the compliments. It's totally achievable from the comfort of your own bathroom. Let's get started, shall we?
What You'll Need (aka, The Arsenal of Awesome)
First things first, gather your supplies. Imagine you're a superhero preparing for a hair-transforming mission!
The Essentials:
Grab a pair of sharp *hair scissors*. Please, for the love of all that is holy, don't use kitchen scissors!
Comb your hair. You'll also need some hair ties, and a mirror (or two!).
Optional (But Highly Recommended) Goodies:
A spray bottle filled with water is your secret weapon against dry, unruly strands. This is a lifesaver.
Sectioning clips are a godsend for keeping things neat and tidy. Trust me, they'll become your new best friends.
And finally, hair serum to protect and nourish your hair. Do not skip this.
The Feather Cut How-To: A Step-by-Step Adventure
Now for the fun part! Remember, we're aiming for *effortless chic*, not a perfectly symmetrical masterpiece. Imperfection is what makes it unique.
Start with damp (not soaking wet!) hair. Think "freshly showered" vibes.
Comb your hair. This will make everything much easier, and avoid tangles.
Sectioning Time!
Divide your hair into sections. Imagine creating a mohawk shape on top of your head. Secure each section with a hair tie or clip.
Don't worry about making them perfectly even! This is not rocket science.
The Cutting Begins (Hold On Tight!)
Take one section at a time. Comb it straight up away from your head.
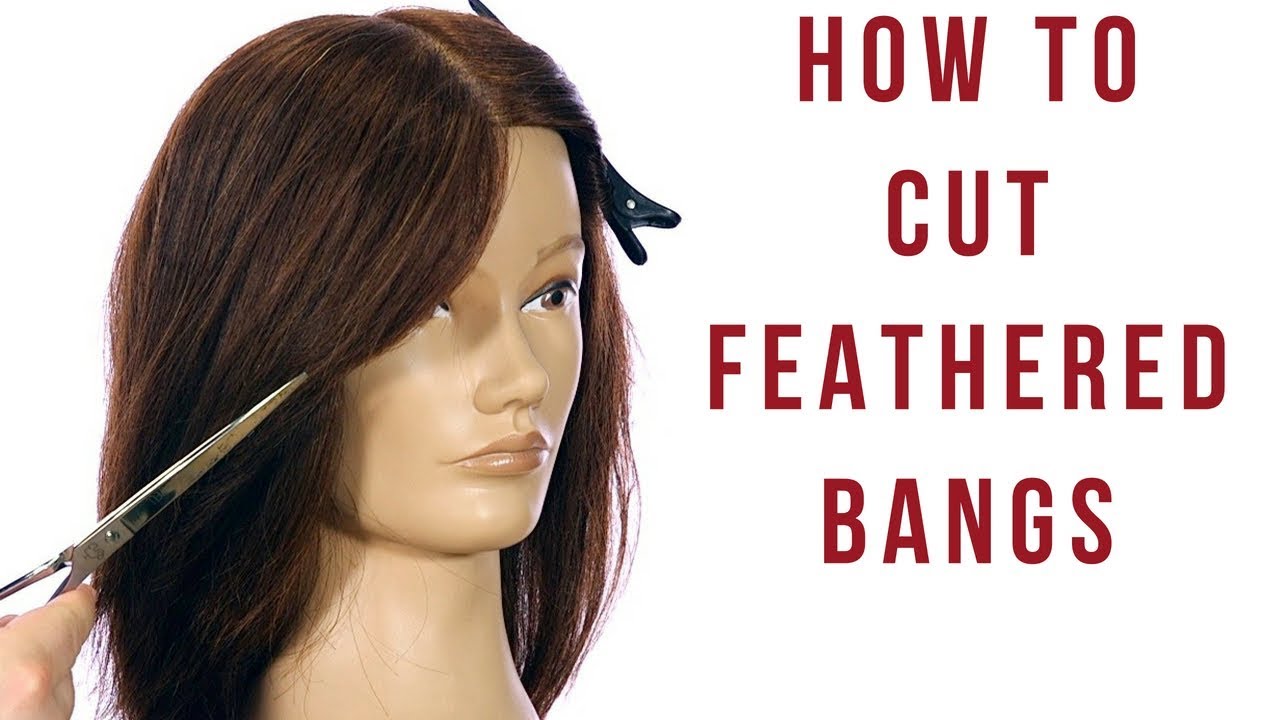
Now, *carefully* start snipping at an angle, pointing the scissors downwards. Imagine you are softening the edges.
Don't go too short all at once! You can always cut more, but you can't glue it back on (sadly).
Repeat and Conquer
Repeat the snipping process with all sections. Making sure the hair is comb and tidy.
Take your time and remember to breathe! We're creating a *feathered effect*, not a chopped salad.
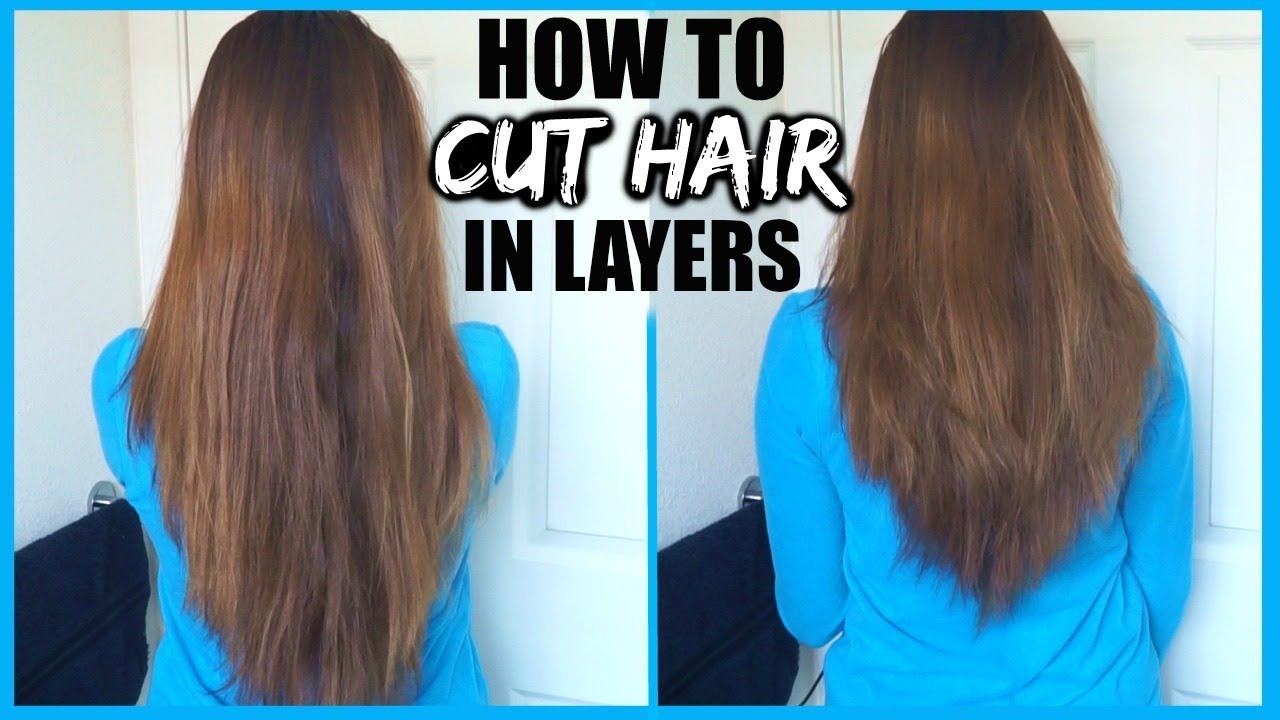
As you work through each section, compare the lengths and angles. It's all about creating a blended, layered look.
The Final Flourish
Once you've feathered all sections, take down your hair and give it a good shake. See how it falls.
Are there any rogue strands that need a little trim? Now's the time to fix them.
Use a bit of hair serum or hair oil to protect and nourish the hair. Now blow dry your hair.
Admire Your Handiwork!
Step back, admire your masterpiece! You've officially *feathered* your own hair. Now, go rock that new look!
Remember, practice makes perfect (or at least, less imperfect). Don't be afraid to experiment and have fun with it.
If it doesn't turn out exactly as planned the first time, that's okay! It's just hair, it will grow back.
So grab those scissors, unleash your inner stylist, and get ready for some seriously fabulous *feathered hair*!