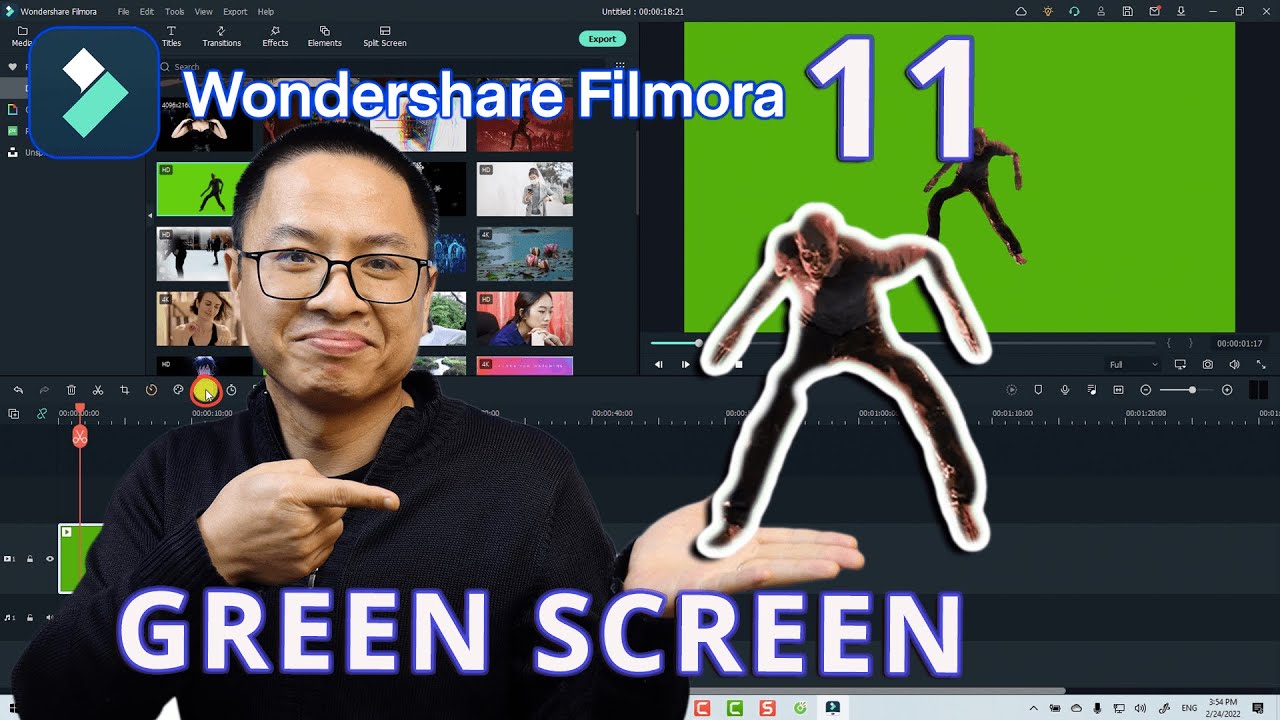
How To Do Green Screen On Filmora
Alright, buckle up buttercups! You're about to become a green screen guru, Filmora style! It's easier than making toast (and probably more exciting!).
Step 1: Gather Your Goods
First things first, snag your footage. You’ll need your background video or image and the magical green screen clip. Think of it like assembling the ultimate sandwich – you need all the ingredients!
Import both into Filmora. Just drag and drop those babies into the Media Library. Easy peasy!
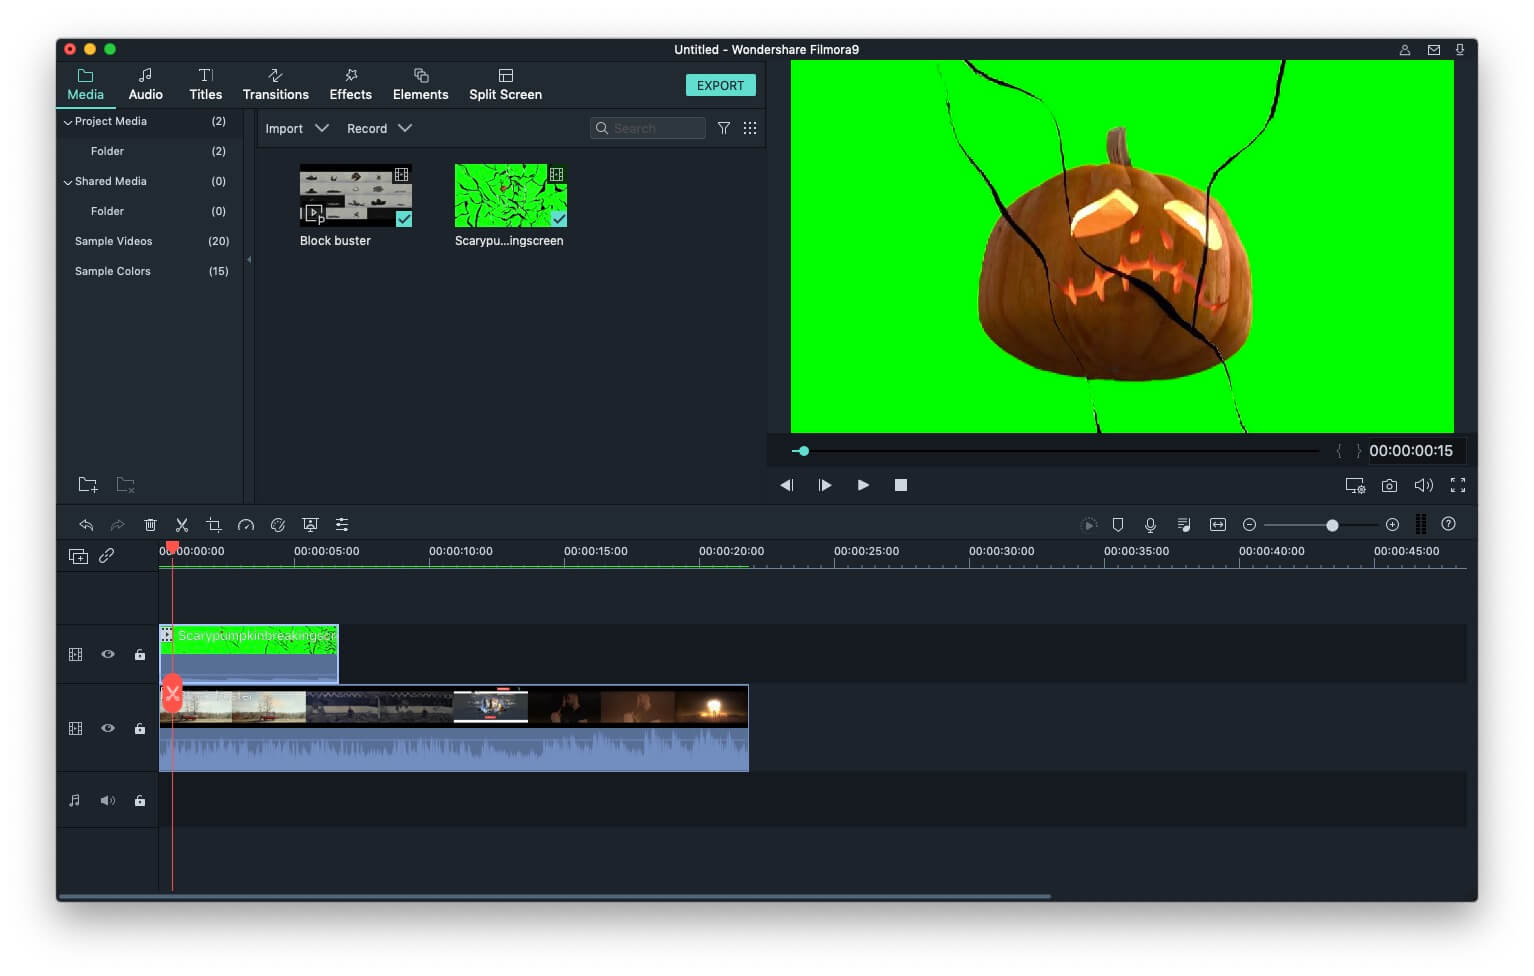
Step 2: Lay Down the Foundation
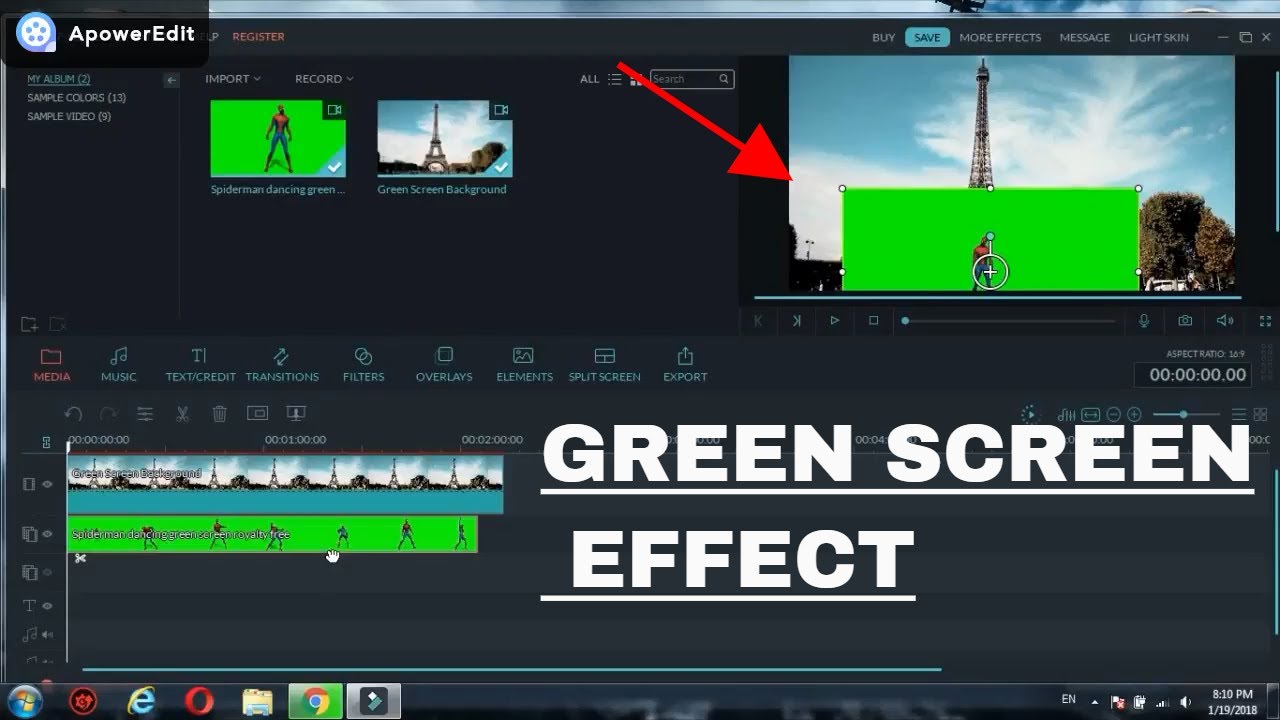
Now, drag your background footage onto the timeline's first track (Video 1). This is the stage where the magic is gonna happen.
Next, plop your green screen footage right above it, on Video 2. We're layering up for maximum impact!
Step 3: Unleash the Green Screen Power
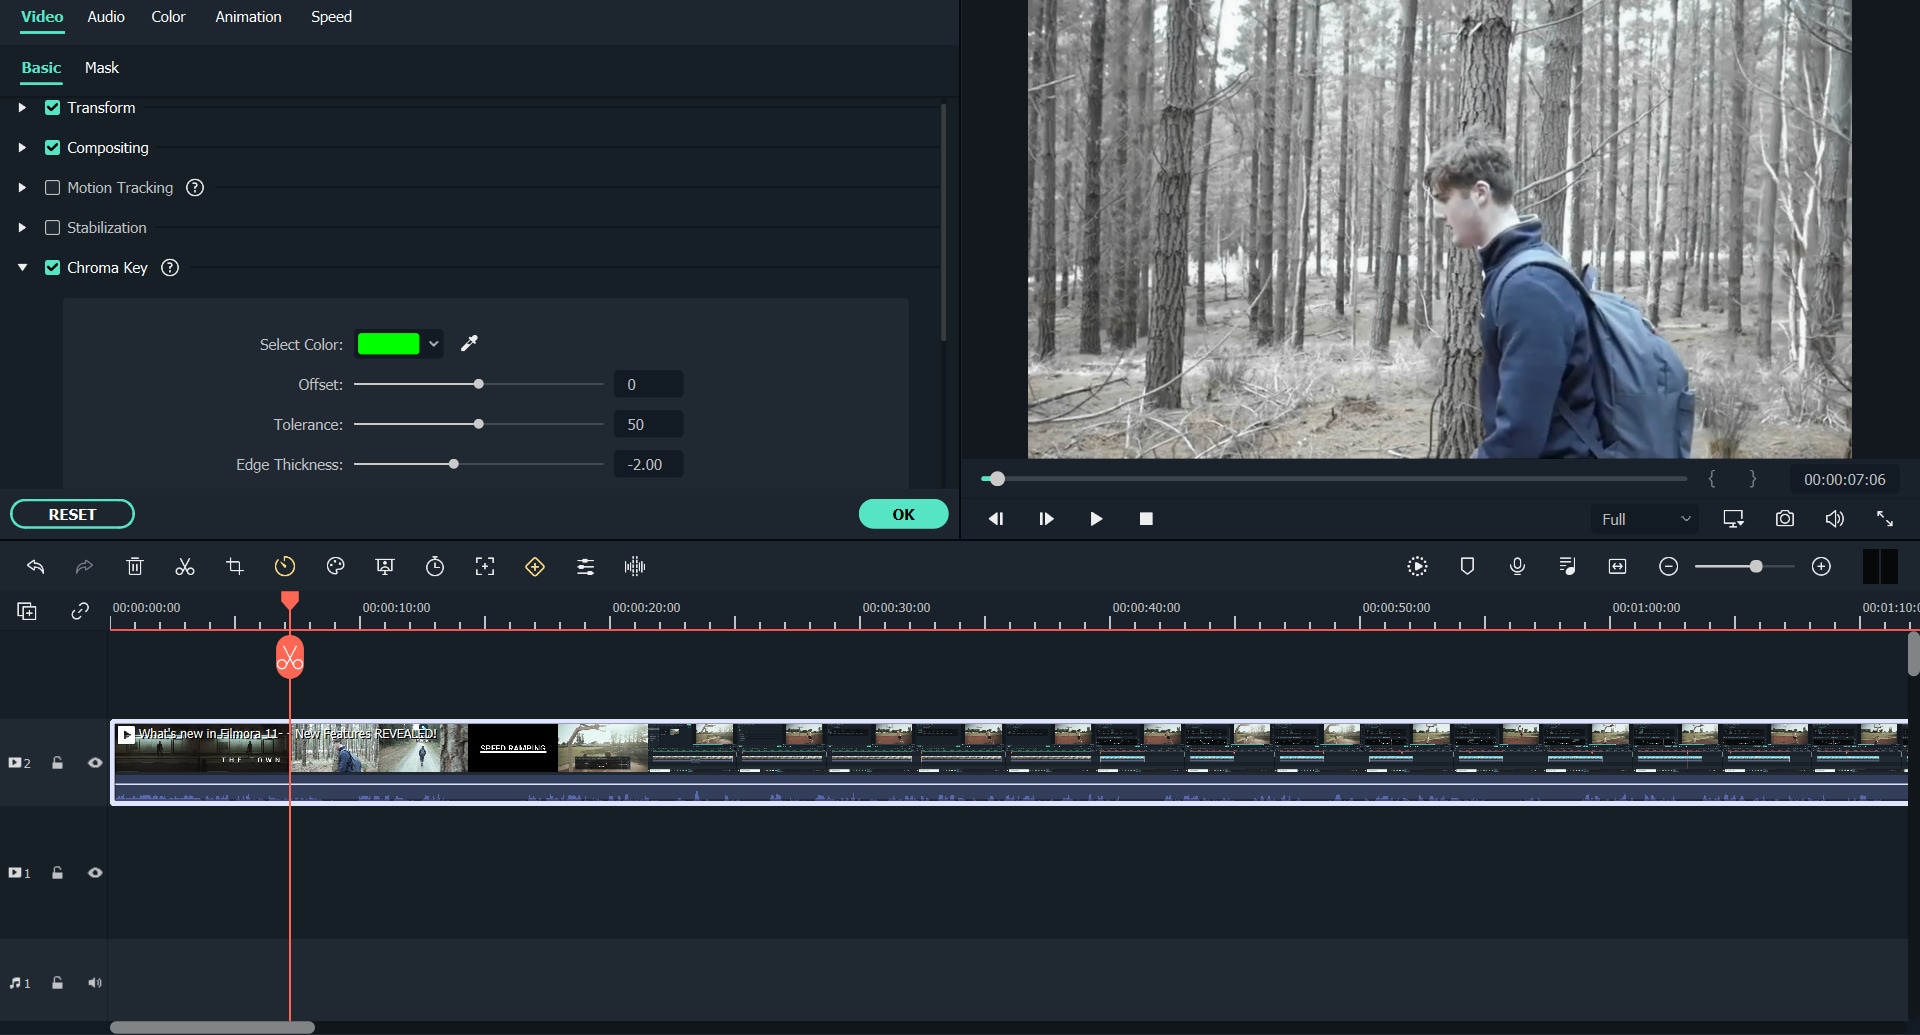
Click on the green screen clip in the timeline. See that little "Video" icon above the timeline? Click it!
This should open up the Video editing panel. Look for the "Effects" tab and scroll to find "Keying" section. Find the "Chroma Key" option. Check the box next to it.
Boom! Watch that green disappear faster than free pizza at a college party. If you can't find it, search for "green screen" in Filmora's effects panel. You can't miss it!
Step 4: Tweak It 'Til You Make It
Now, the fun part: adjusting the settings! Mess with the "Offset," "Tolerance," "Thickness," and "Edge Feather" sliders. Play around and see what looks best.
Sometimes, you might have a tiny bit of green fringing. Don't panic! The sliders are your friends. You may need to increase or decrease the tolerance level to remove it.
The goal is to make your subject look seamlessly integrated into the background. We’re aiming for Oscar-worthy, people!
Step 5: Position and Size Like a Pro
Click back on the green screen clip in the timeline and in the preview window, resize and reposition your subject. Want to make yourself look like a giant towering over a city? Go for it!
Is your character a tiny explorer lost in a jungle paradise? No problem! Filmora lets you shrink and move your subject with ease.
Step 6: Bask in Your Green Screen Glory
Hit play and behold your masterpiece! You've officially transported yourself (or your cat, or your rubber ducky) to a brand new world.
Add some music, some sound effects, maybe even a dramatic zoom or two. The possibilities are endless!
Extra Tips for Extra Awesomeness
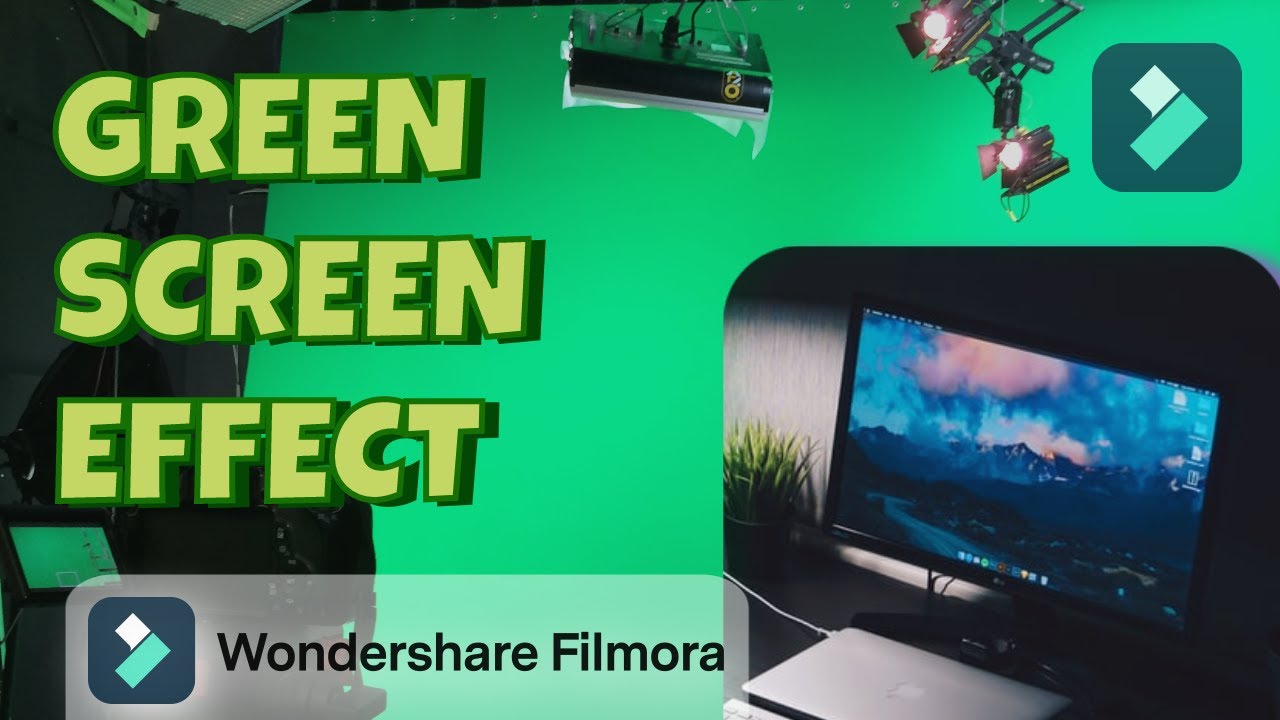
Lighting is key! Make sure your green screen is evenly lit to avoid shadows. A well-lit green screen makes the editing process SO much easier. Think of it as giving Filmora a helping hand.
Use a true green screen backdrop. Avoid using green walls as they can have shadows or texture. You may also use blue screen for your footages.
Don't be afraid to experiment! Filmora has tons of other cool effects to play with. Add some color correction or a fancy transition. Go wild!
So, there you have it! You're now armed with the knowledge to conquer the green screen world. Go forth and create something amazing, and don't forget to have fun!
Remember, the key to great green screen is practice and a healthy dose of silliness. So go on, get creative! You got this!