How To Do Lowlights At Home With Cap

Okay, so you're thinking about lowlights. Awesome! We're diving headfirst into the wonderful world of at-home hair transformations. Get ready to unleash your inner stylist, because we're doing this thing!
Gather Your Arsenal (aka, the Stuff You Need)
First things first, the supplies! You’ll need a lowlighting kit (the star of our show), a highlighting cap that looks suspiciously like a shower cap with tiny holes, and a plastic or metal crochet hook.
Don't forget gloves (unless you're going for the "stained hands are the new black" look). Grab a mixing bowl that isn't your favorite soup bowl, and a tint brush for applying the color.
Prepping for Awesomeness
Now, let's get prepared. Throw on an old t-shirt you wouldn't mind accidentally "tie-dyeing" with hair dye. Trust me, accidents happen.
Brush your hair to remove any tangles. You want smooth sailing, not a knotty nightmare.
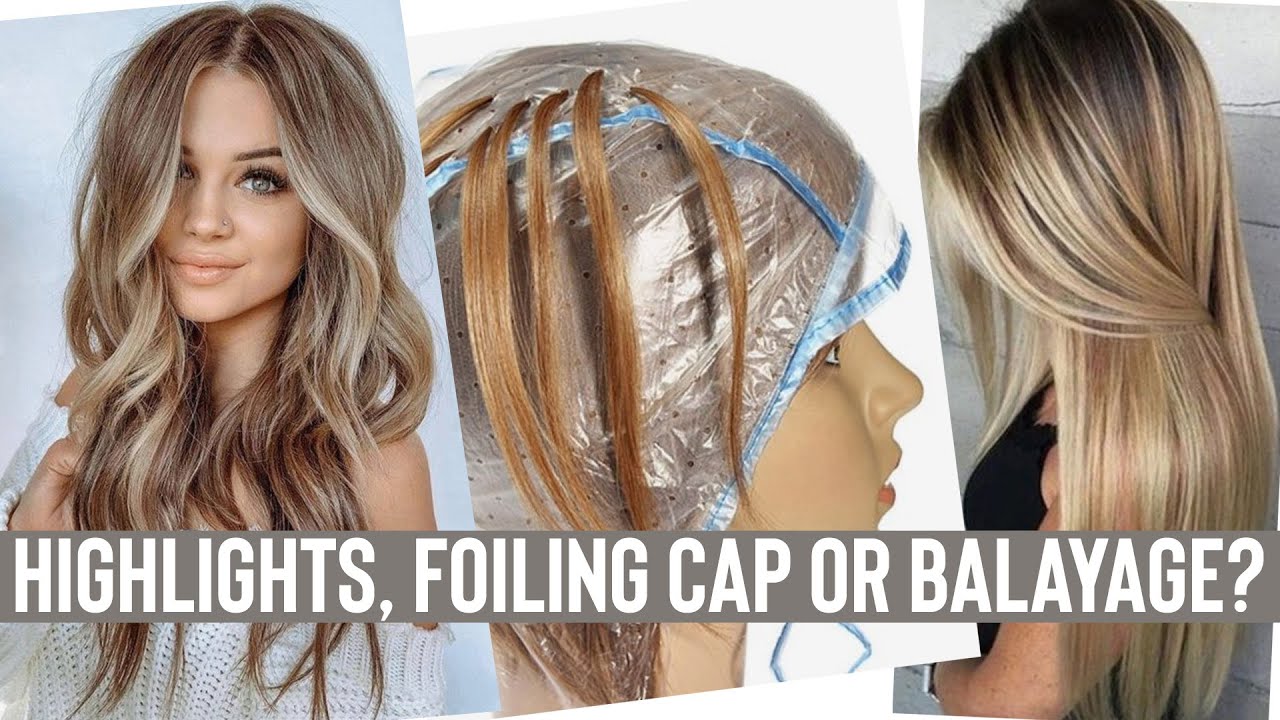
Cap It Off (Literally!)
Here comes the fun part! Wrestle that highlighting cap onto your head.
It might feel a little snug, like a tiny helmet made of plastic. Make sure all your hair is tucked inside.
Now, using your trusty crochet hook, start pulling strands of hair through the holes. Think of it as a super-stylish game of peek-a-boo with your hair.
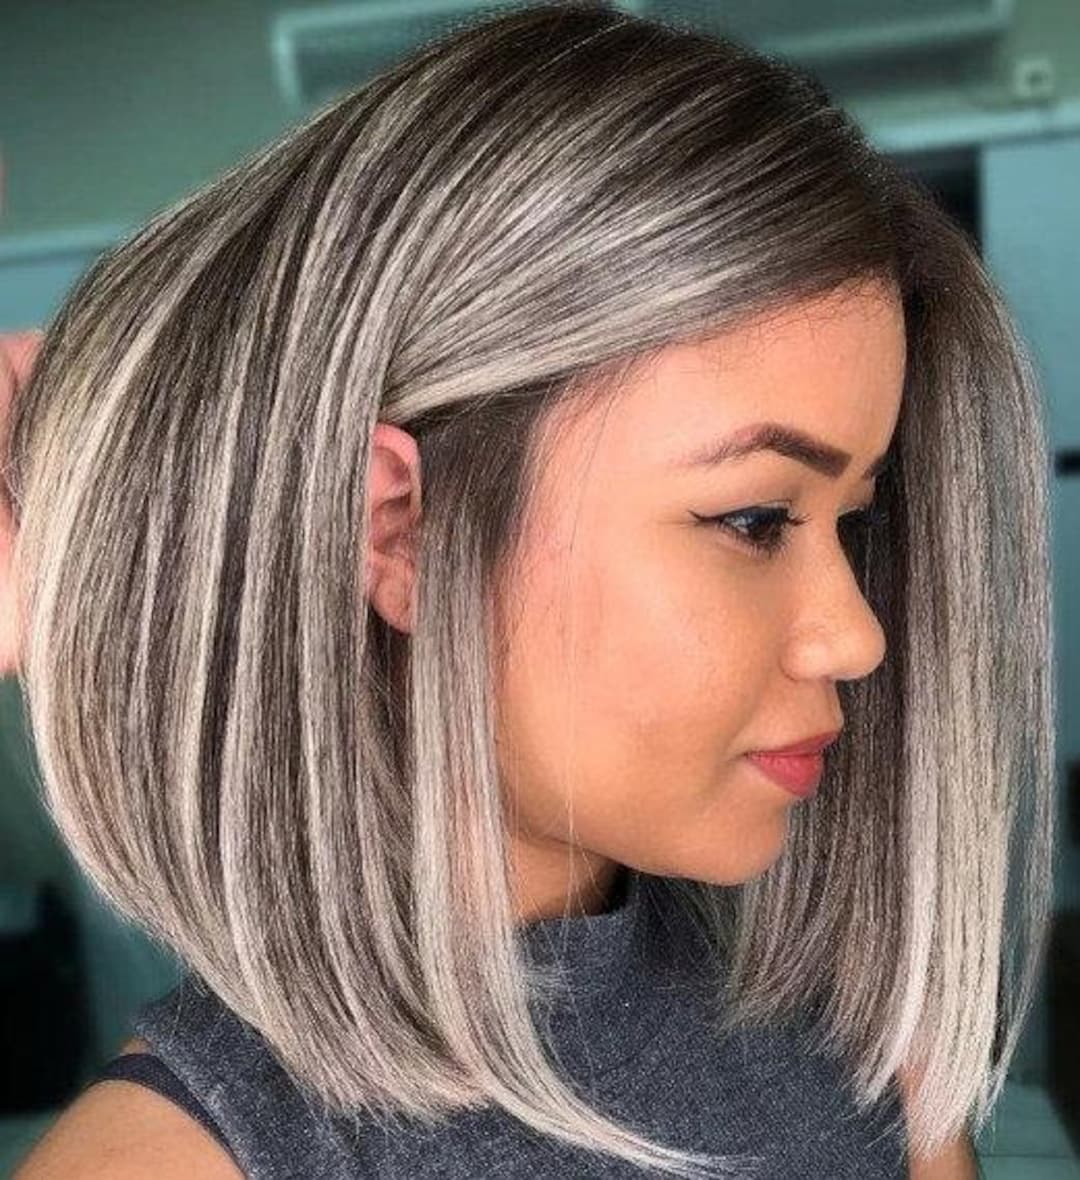
How many strands you pull through depends on how dramatic you want your lowlights to be. More strands = more drama, less strands = a subtle hint of depth.
Remember to space them out evenly. Unless you're going for the "zebra stripe" effect, which, hey, you do you!
Mix It, Apply It, Conquer It!
Time to mix up that color! Follow the instructions on your lowlighting kit like it's the secret recipe to eternal youth (or at least, really great hair).
Once it's ready, slather it on the strands you pulled through the cap. Be generous!
Make sure every strand is coated evenly, from root to tip. You don't want any patchy surprises later.
Now, the waiting game. Set a timer according to the instructions on your kit. This is the perfect time to binge-watch your favorite show, read a magazine, or contemplate the meaning of life.
Rinse and Reveal!
The timer's dinging! Time to rinse. Keep the cap on, and rinse your hair thoroughly until the water runs clear.
Next, carefully remove the cap. It might feel a little stuck at first, but gently wiggle it off.
Now, shampoo and condition your hair like you normally would. Treat your tresses to a little extra love after their dye adventure.
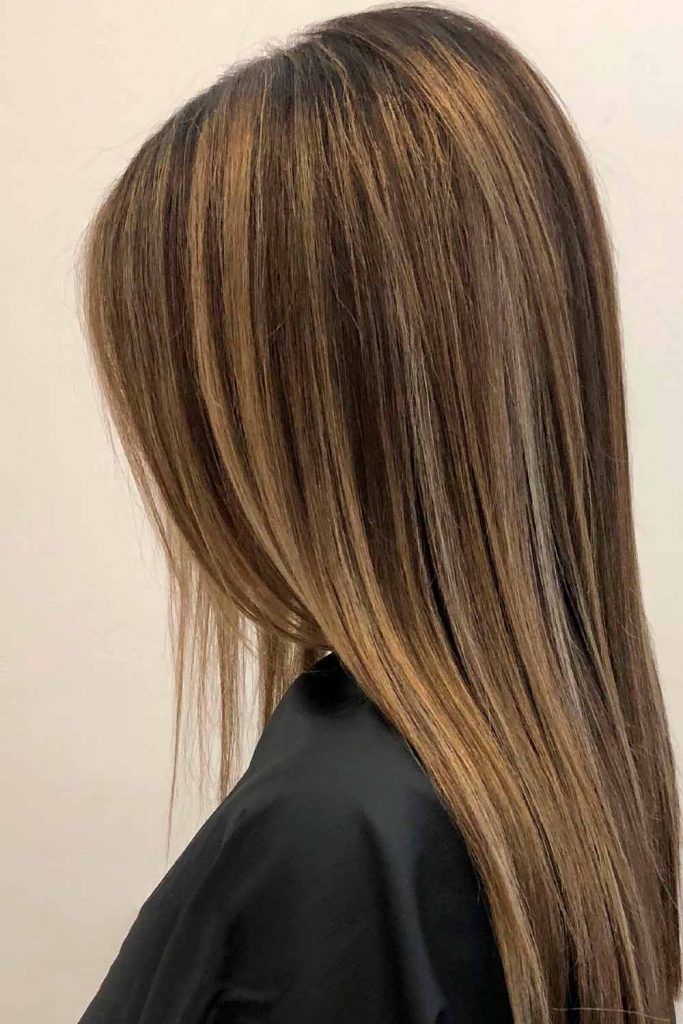
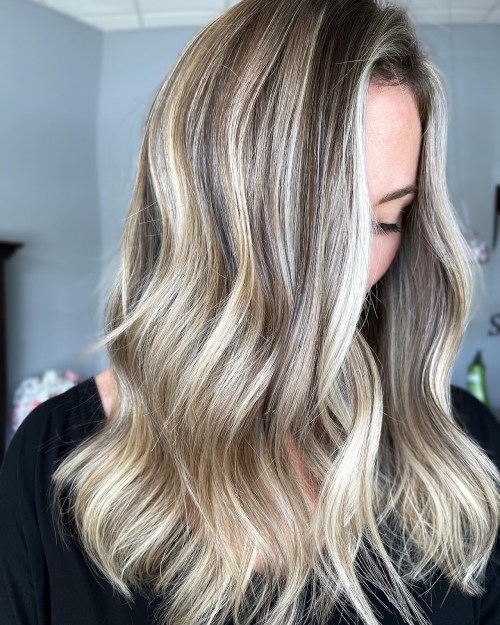
Behold! Your Lowlighted Masterpiece!
Step out of the shower, towel dry your hair, and prepare to be amazed! Gaze upon your gorgeous, lowlighted locks.
If you followed the steps, you should have a beautiful, dimensional hair color that makes you feel like a million bucks. If you messed up a little? Hey, that's what hats are for!
Seriously though, even if it's not perfect, don't sweat it. Hair grows back, and practice makes perfect. You are now officially a lowlighting pro (or at least, a very enthusiastic amateur!).
Go forth and rock those lowlights!