How To Do Velocity On Premiere Pro

Ready to make your videos explode with coolness? Let's talk about velocity editing in Premiere Pro. It's like giving your footage a shot of espresso. Prepare for a wild ride!
Dive into the World of Speed Ramping
First, pop open Premiere Pro. Got your project ready? Awesome! Now, find that clip you want to transform.
Locate the Rate Stretch Tool. It's hiding in the toolbar, usually grouped with the Ripple Edit Tool. Click and hold to find it, like a secret agent finding their gadget.
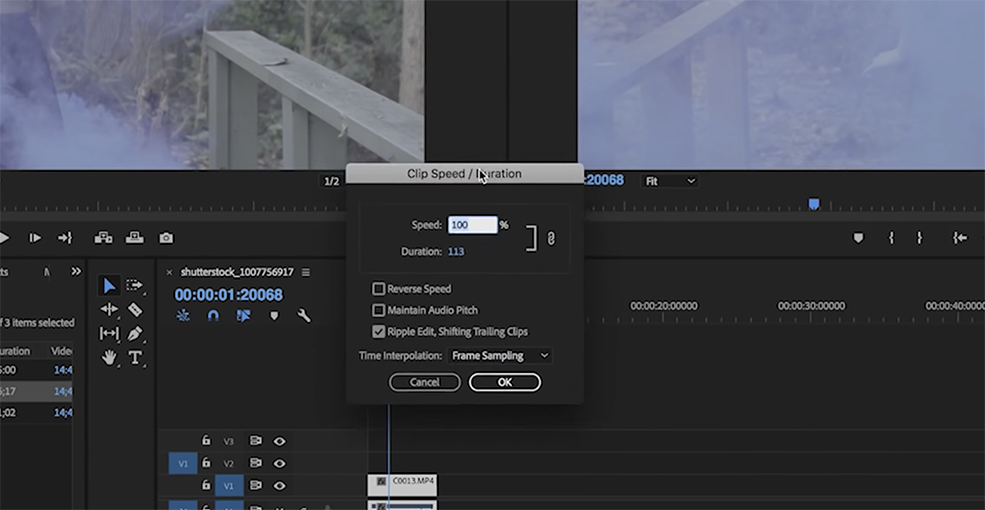
Drag the edge of your clip. This is where the magic begins. Shorten it to speed things up, lengthen it to slow them down. Feel the power!
But wait, there's more! For smoother transitions, let's talk about keyframes. Keyframes are your friends.
Keyframes: Your Secret Weapon
Find the Effect Controls panel. It's usually chilling near your Source and Program monitors. This is where you fine-tune everything.
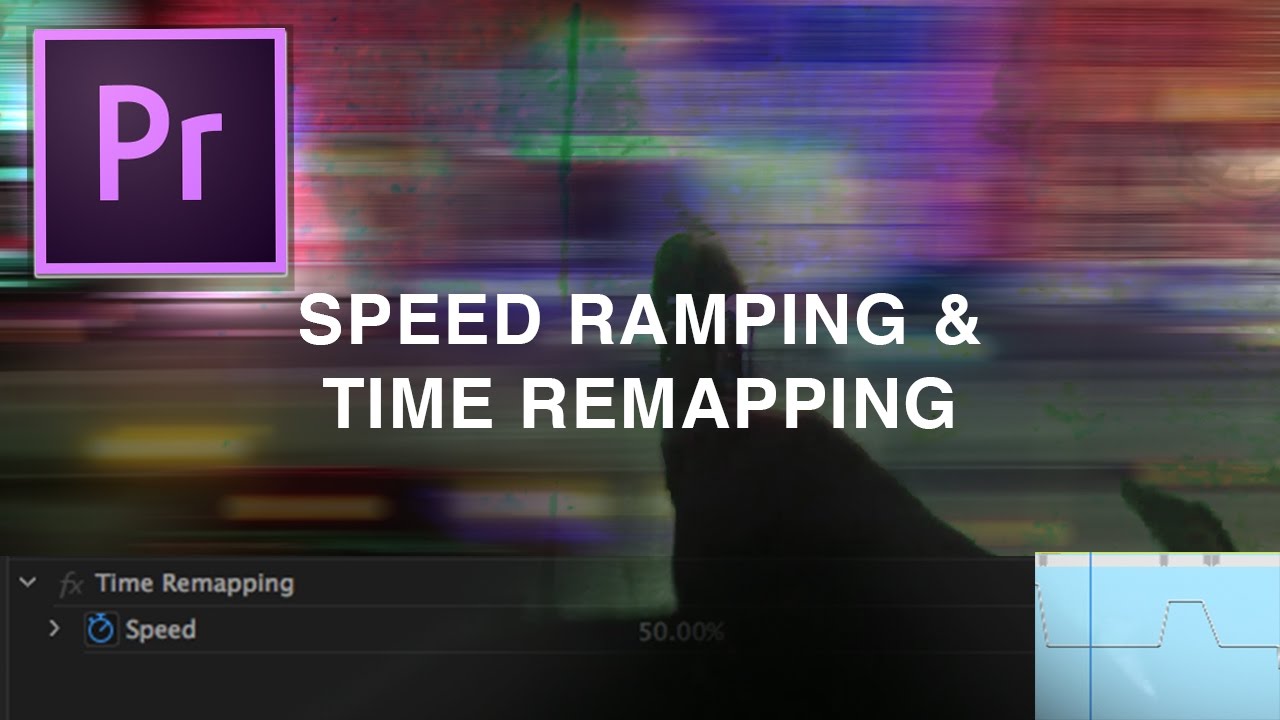
Under Time Remapping, you'll see "Speed." Click the stopwatch icon to add your first keyframe. It's like planting a flag in your video timeline.
Add another keyframe where you want the speed to change. Think of it as setting checkpoints along your video journey. Adjust the speed between these points.
Want a super smooth ramp? Right-click on your keyframes. Select "Bezier" under Temporal Interpolation. Watch the magic unfold as your speed changes become silky smooth!
Experiment with different speeds. Slow it down for dramatic moments. Speed it up for hilarious chaos. The choice is yours!
Making It Look Pro
Avoid jarring transitions. Abrupt changes in speed can look amateurish. A little finesse goes a long way.
Use velocity editing to emphasize key moments. A perfectly timed slow-motion shot can be incredibly powerful. Think of a superhero landing or a confetti drop.
Don't overdo it! Too much speed ramping can be distracting. Subtlety can be just as effective. Less is more sometimes, believe it or not.
Sync your speed ramps with the music. This can create a fantastic, energetic effect. The music should be your guide.
Play around with different interpolation methods. Linear, Bezier, and others all offer unique looks. Find what suits your style.
Example Time!
Imagine someone jumping over a puddle. Speed it up slightly as they approach the puddle. Slow it down dramatically as they're in mid-air. Speed it up again as they land. Boom! Epic puddle jump.
Consider a montage of travel clips. Speed up the mundane parts (packing, waiting). Slow down the beautiful scenery (sunsets, landmarks). Instant wanderlust!
Think about a sports highlight reel. Slow down the winning shot. Speed up the buildup. Make every moment count.
Unleash Your Inner Editor
Velocity editing in Premiere Pro is all about experimentation. Don't be afraid to try new things.
There are tons of tutorials online. Check out YouTube for inspiration. Learn from the masters.
Have fun with it! Editing should be enjoyable. If you're not having fun, you're doing it wrong.
So go forth and conquer the world of speed ramping! Make your videos unforgettable. Let your creativity run wild!
Remember, the best way to learn is by doing. Open Premiere Pro, load up some footage, and start playing! You'll be amazed at what you can create.
Who knows, you might just create the next viral video! Get out there and make some magic!


![How To Do Velocity On Premiere Pro Tutorial: How To Make The *BEST* Velocity - Premiere Pro [EASY] - YouTube](https://i.ytimg.com/vi/VO3iN7FctAw/maxresdefault.jpg)