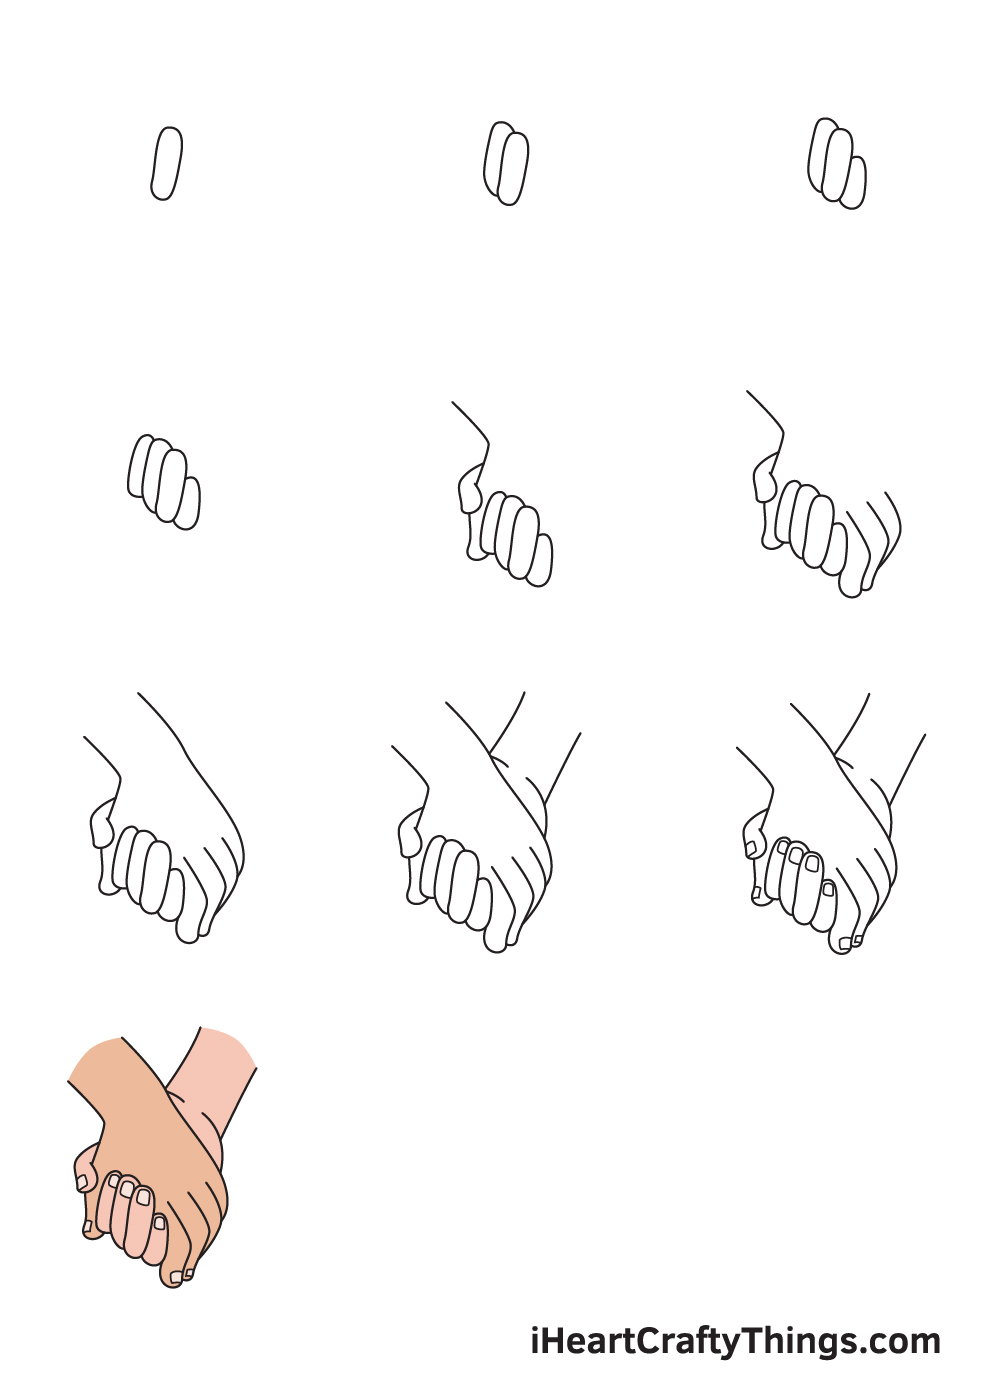
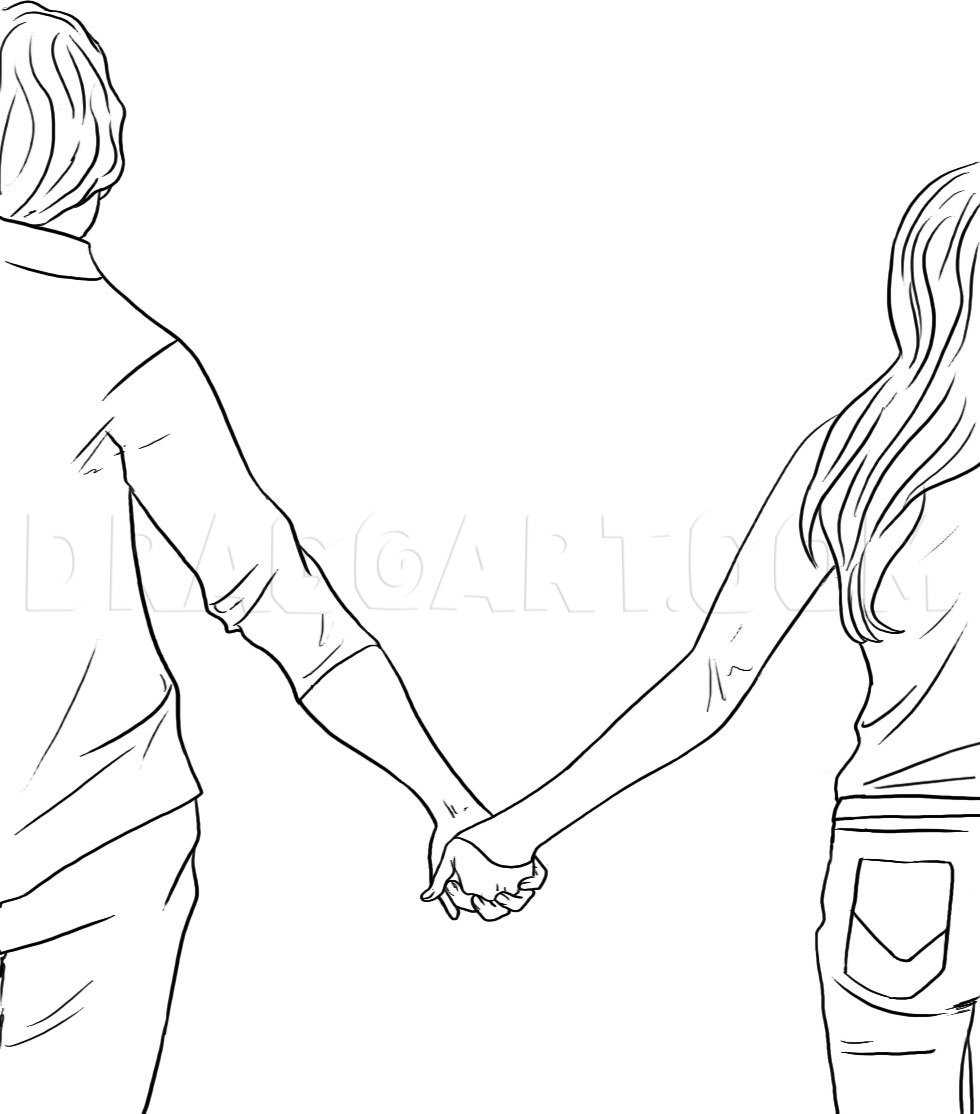
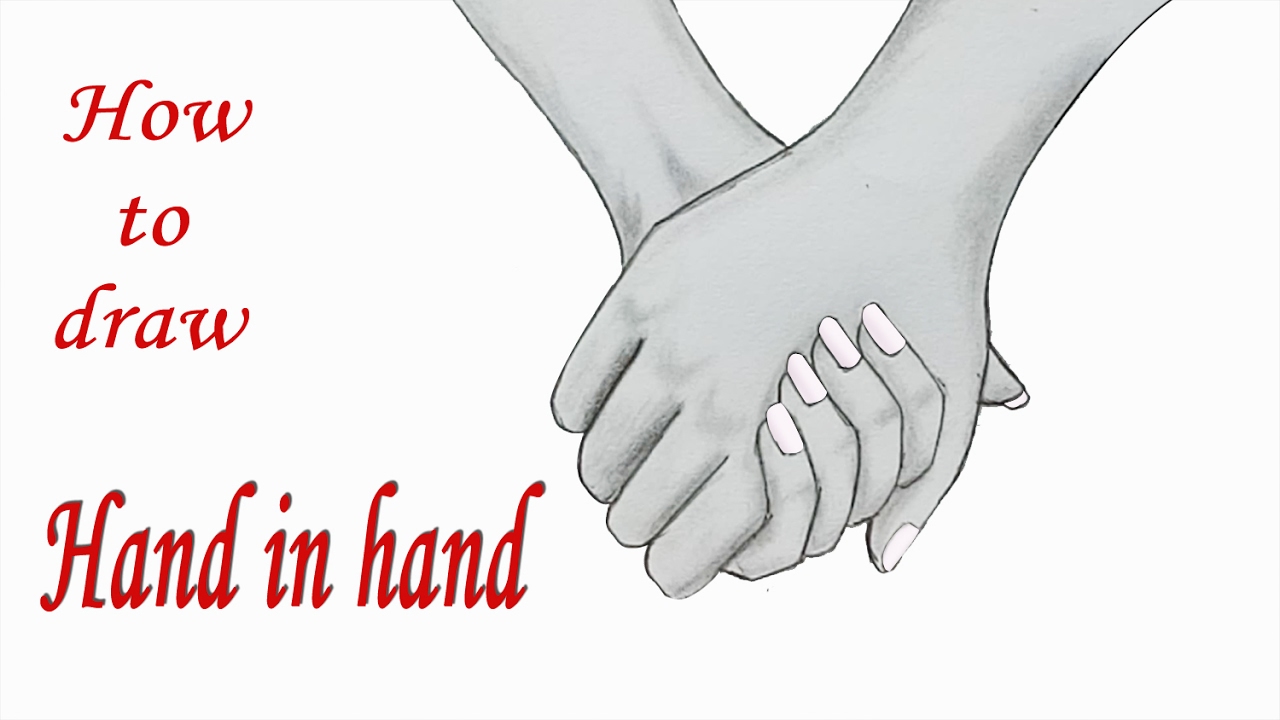
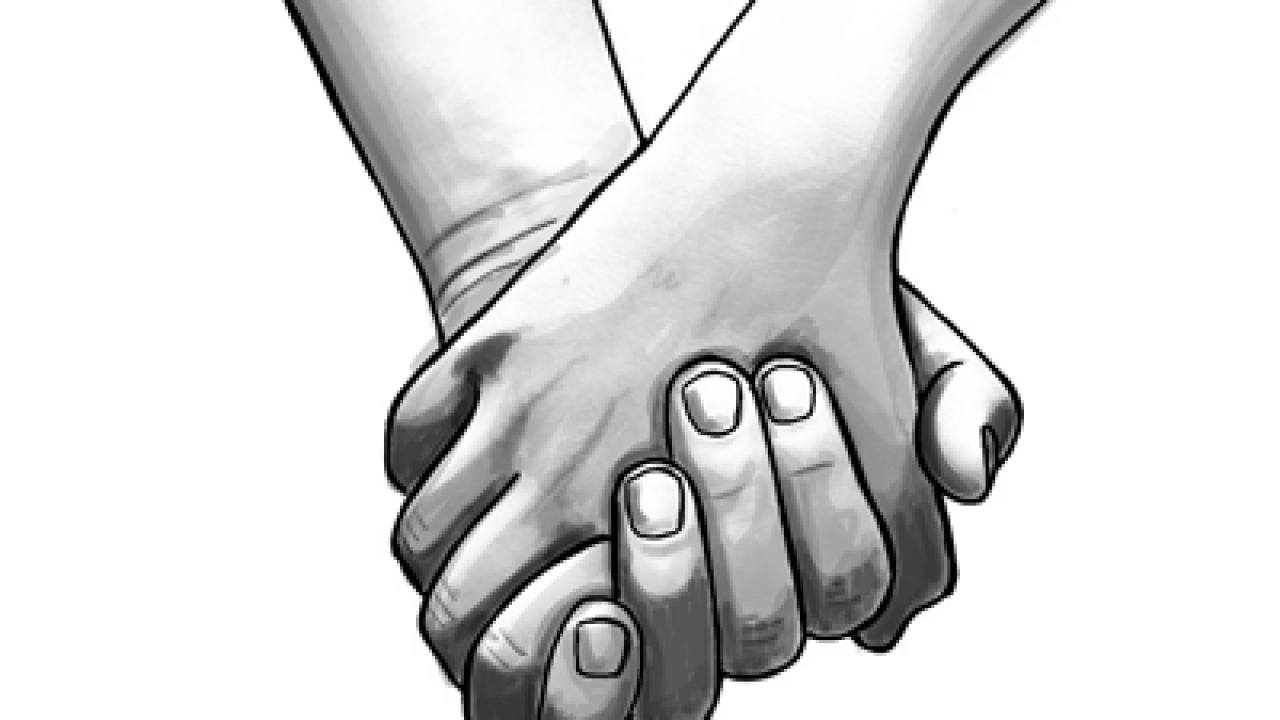
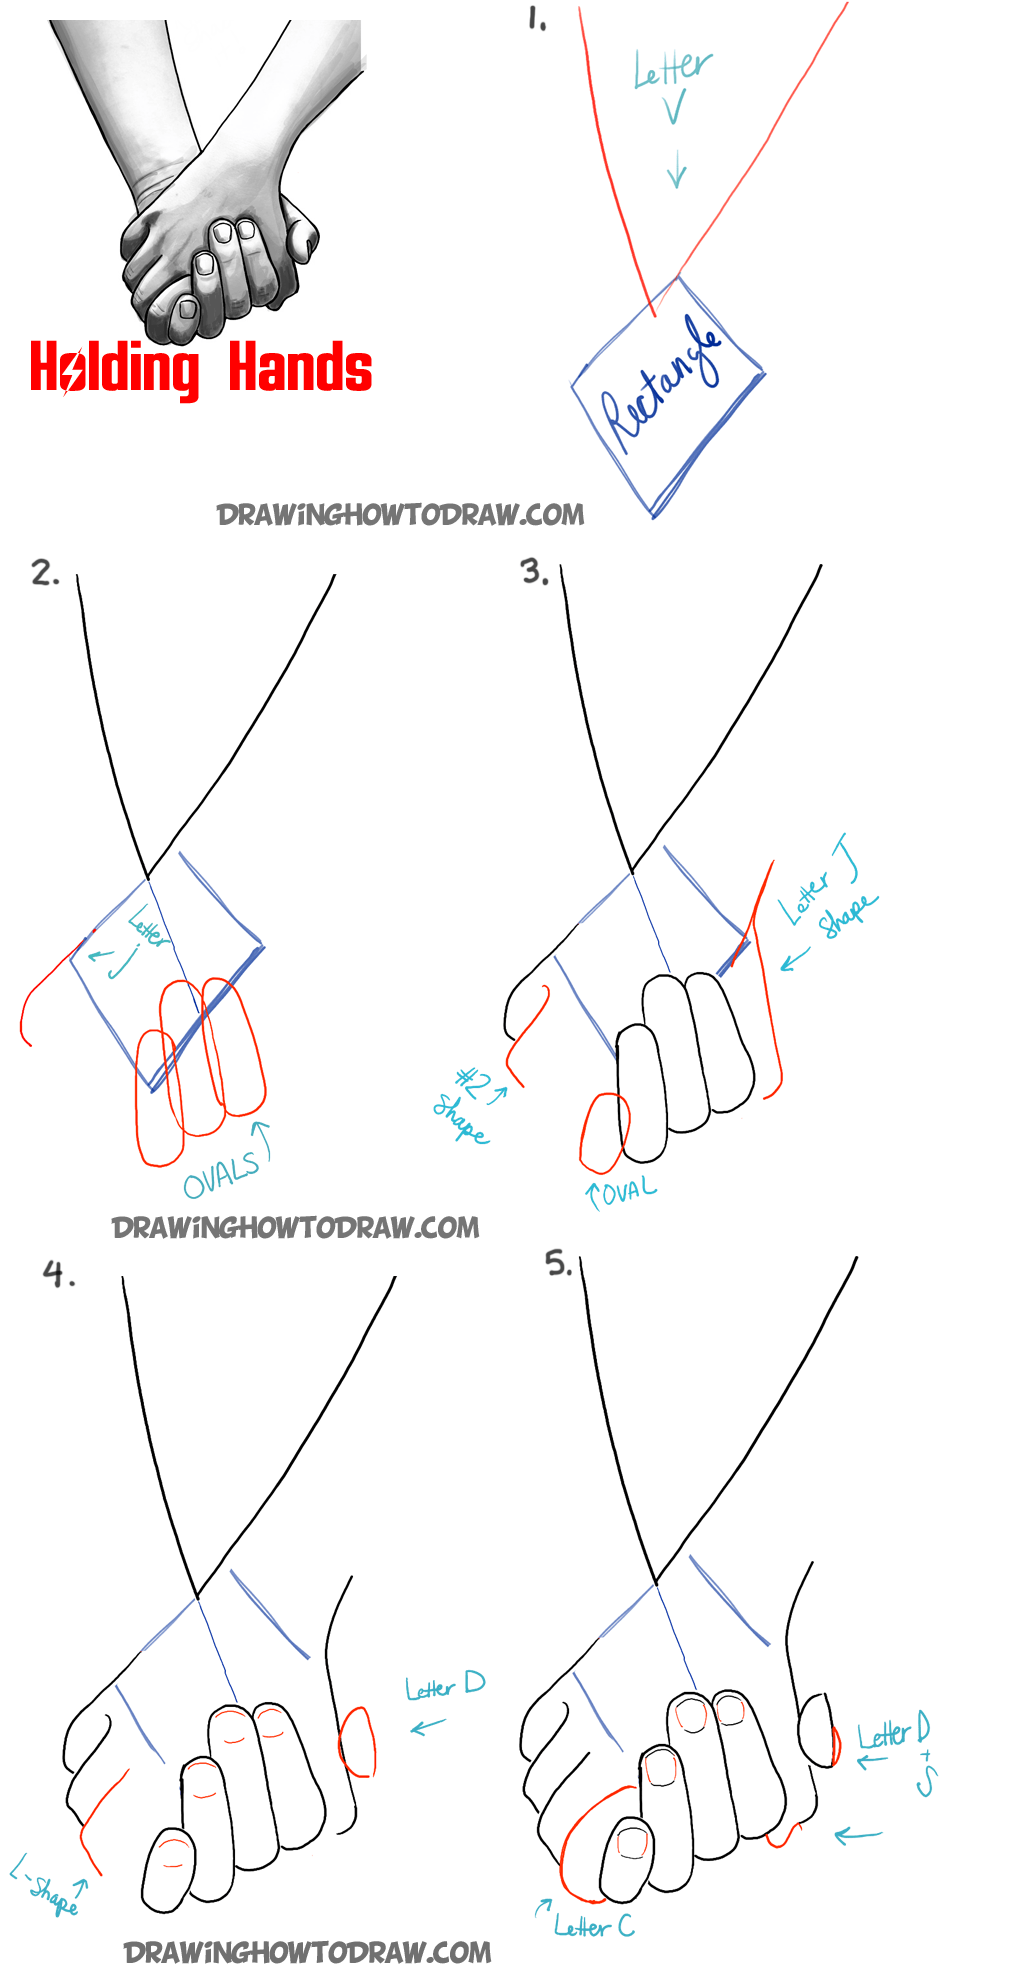
How To Draw Two People Holding Hands

Ever wanted to capture that perfect moment of connection, that silent promise whispered between intertwined fingers? Well, grab your pencils and paper, because we're about to unlock the super-secret art of drawing two people holding hands! Trust me, it's easier than parallel parking on a Tuesday morning (and way more rewarding!).
The Shape of Love (or at Least Hands)
Let's start with the basics. Think of hands as slightly wonky rectangles. Don't sweat the details; we're going for "affectionate stick figures" not a Rembrandt masterpiece (yet!).
Step 1: The Foundation – Rectangles Rule!
Draw two rectangles side-by-side. These will be the palms of our happy hand-holders. Make them slightly tilted towards each other, like they're leaning in for a hug. These rectangles are the heroes of our art adventure!
Step 2: Finger Fun – Sausage Time!
Now for the fingers! Imagine they're cute little sausages extending from each rectangle. Draw four slightly curved sausages on each rectangle.
Vary the lengths a little bit; nobody has perfectly uniform finger sausages. It's like a family of sausages, all different sizes and personalities!
Step 3: The Intertwining – Where the Magic Happens!
This is where the hand-holding magic truly sparkles! Have the fingers of one hand overlap the fingers of the other. This creates that sweet, sweet connection we're aiming for. Just imagine the hands are saying, "Hi, how are ya?".
Don't be afraid to experiment with different finger arrangements. Maybe one hand is gently clasping, or perhaps they're tightly gripped – it's all good!
Adding the Arm Appeal
Now that we have our foundation it's time to draw the arms connecting the hands. Arms are like the highways that connect the hands to their people!
Step 4: Arm Arrival – Connecting the Dots!
Draw two lines extending upwards from each rectangle. These are the beginning of our arms. The more realistic you want the arms to be, the more attention you need to pay to the curves!
Slightly curve the lines to give the arms a more natural feel. Nobody wants robot arms unless you are in fact drawing a robot.
Step 5: Detail Dive – Wrists and Sleeves!
Add some subtle details to make the drawing pop. A little curve at the wrist, a suggestion of a sleeve, these small touches can make a big difference. It’s like adding sprinkles to ice cream, only for art!
From Awkward to Awesome: Pro Tips!
Don't panic if your first attempt looks like a pair of squids wrestling. Drawing takes practice! The more you draw, the better you'll become. Drawing is a marathon, not a sprint!
Erase guidelines! Those initial rectangles and sausages helped us get started, but now it's time to say goodbye. Clean lines make your drawing look sharper and more polished. Bye bye guide lines!
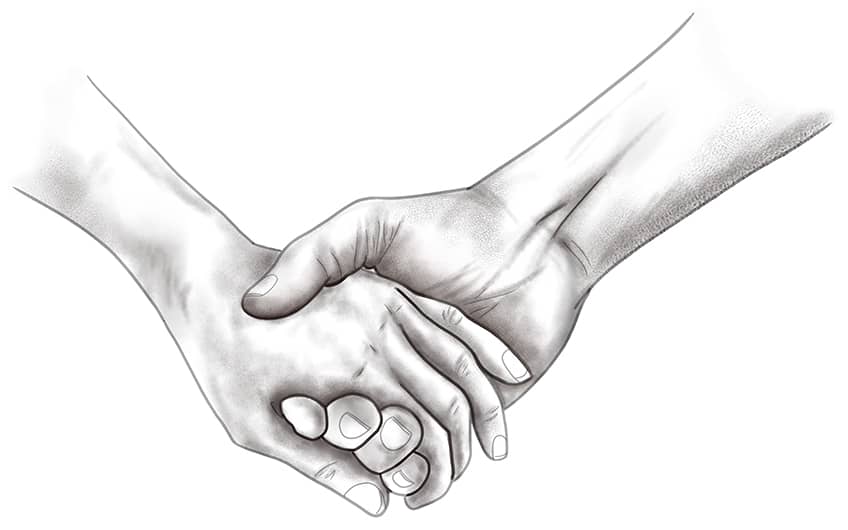
Use reference photos! If you're feeling stuck, grab a picture of people holding hands. Observing real-life examples can give you a better understanding of proportions and angles. Reference photos are your secret weapon!
Most importantly have fun! If you're not enjoying the process, you're doing it wrong. Put on some music, grab a snack, and let your creativity flow! Art is like a party, and you're the DJ!
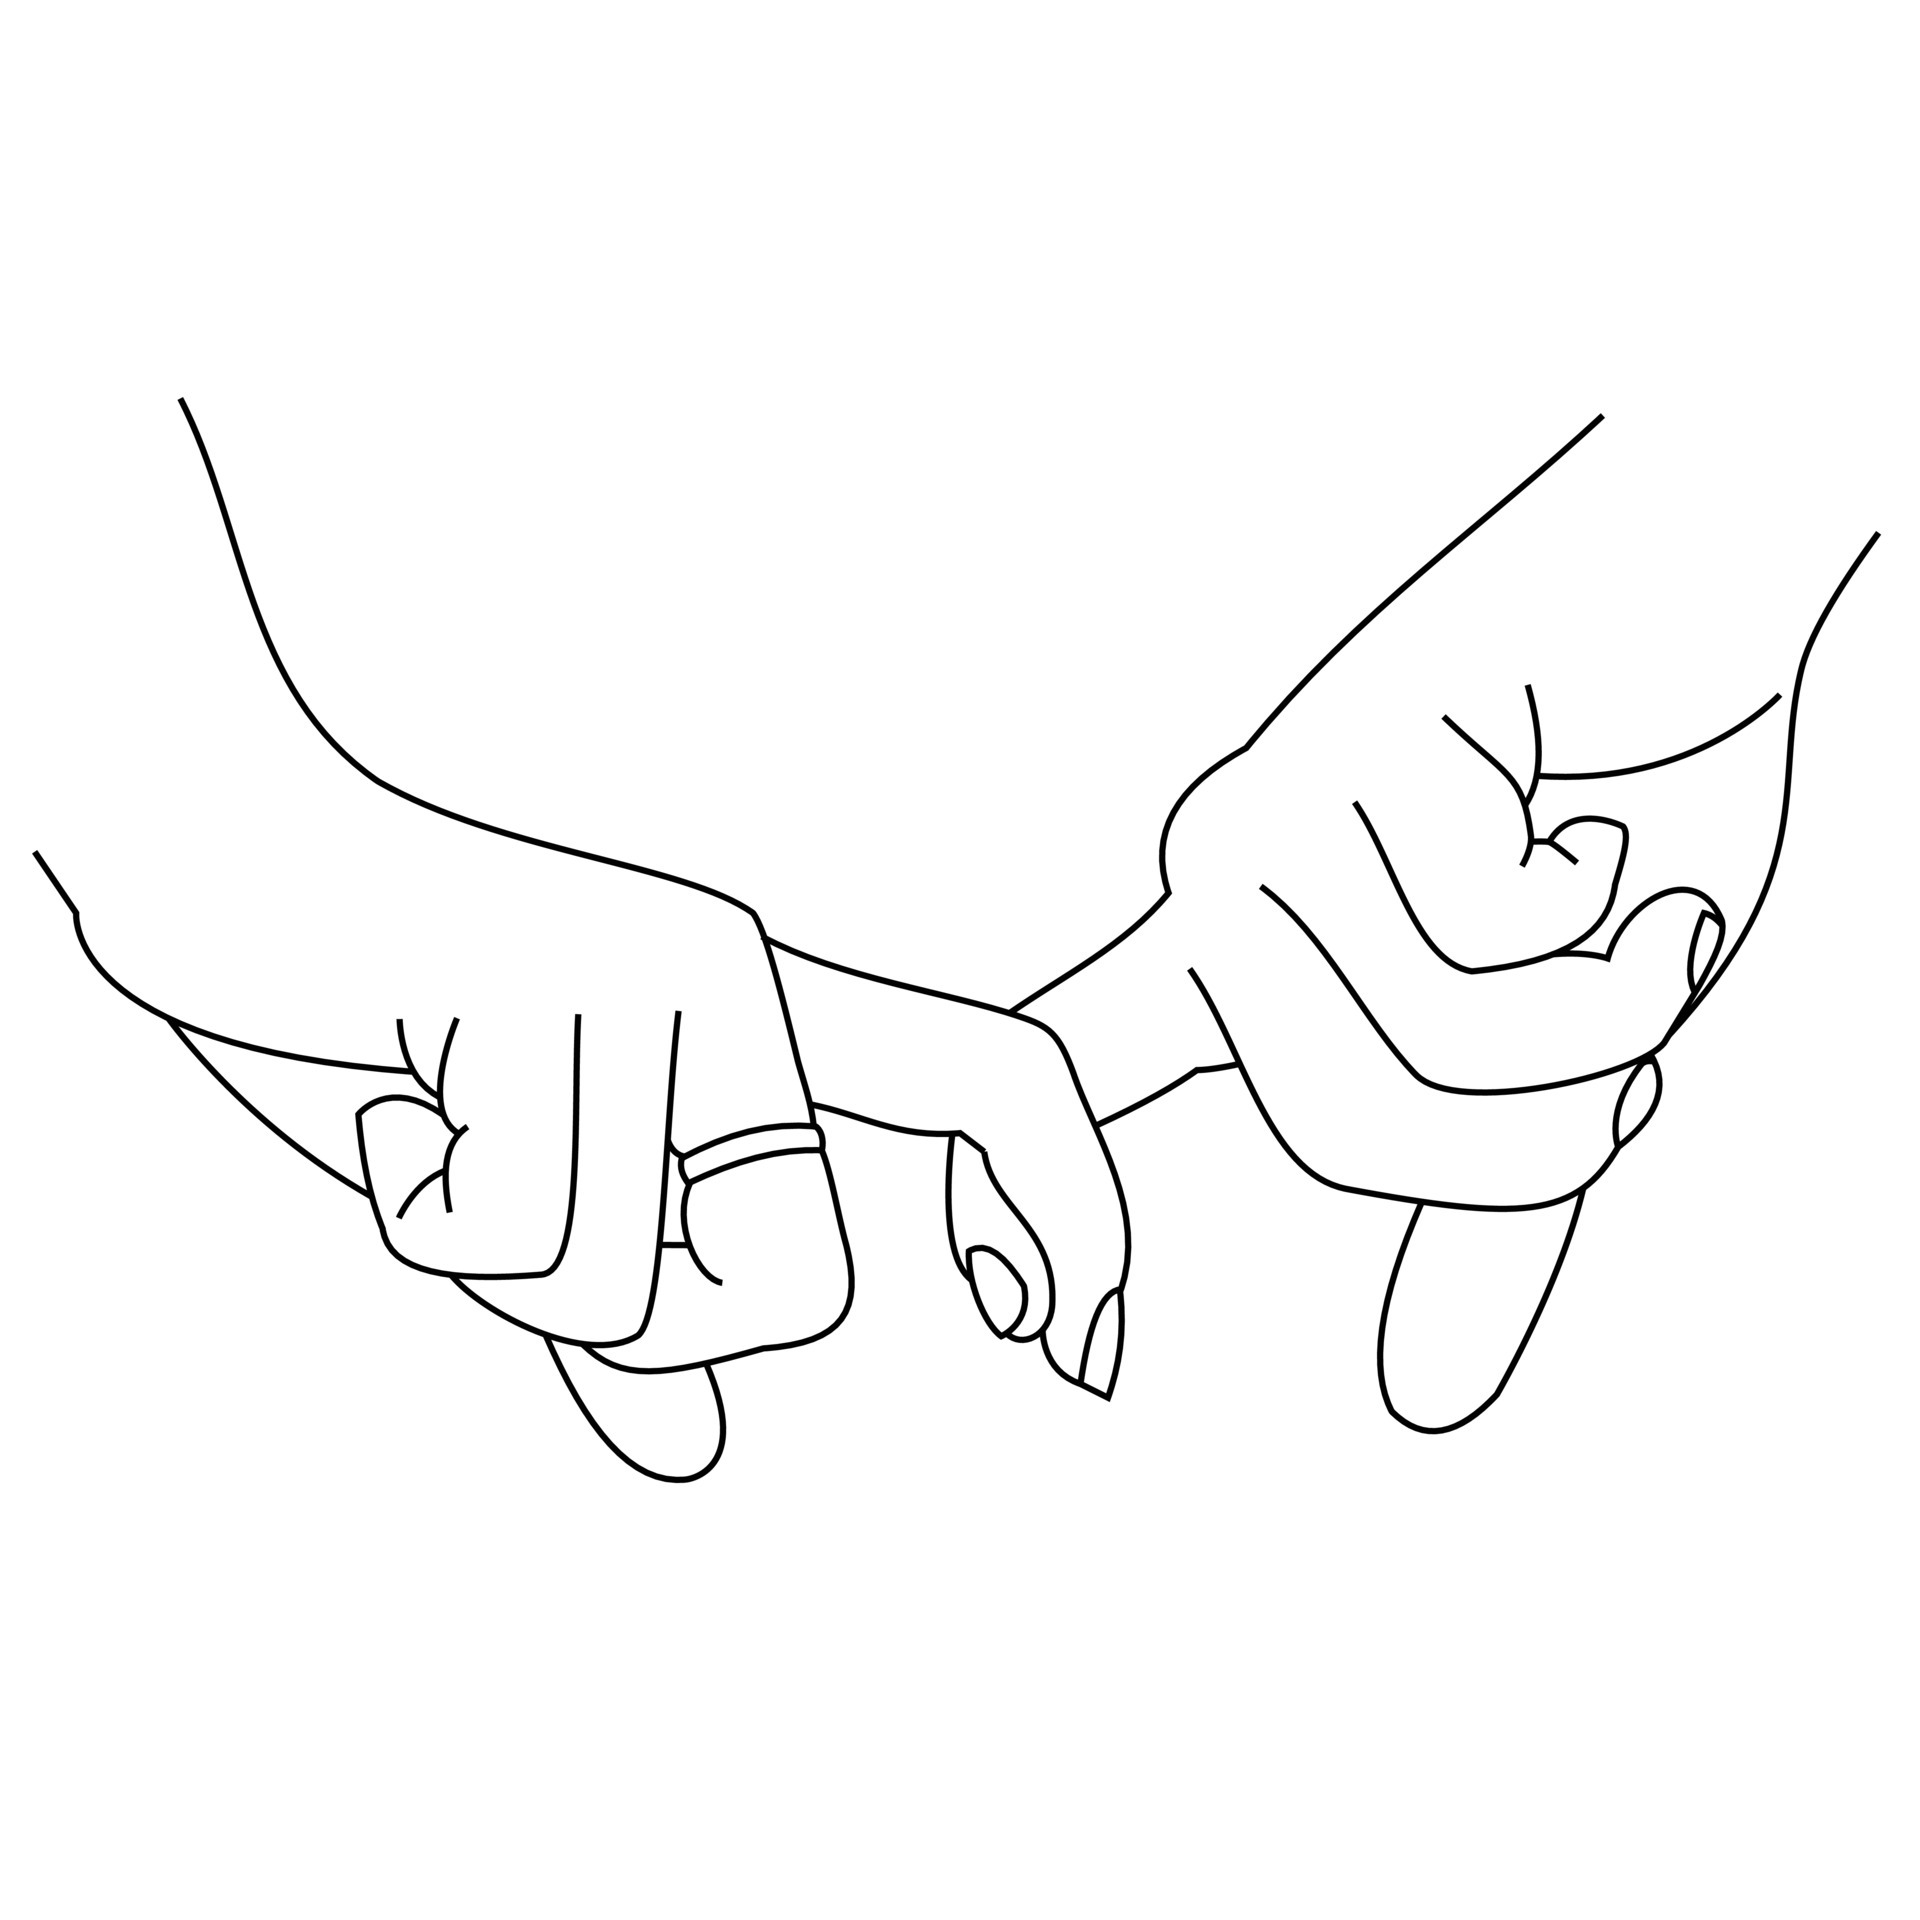
Experiment with different hand positions and styles. Maybe one person is wearing a glove, or perhaps they have a cool bracelet. Let your imagination run wild! After all it is your art. There are no wrong answers! Unleash the possibilities of art.
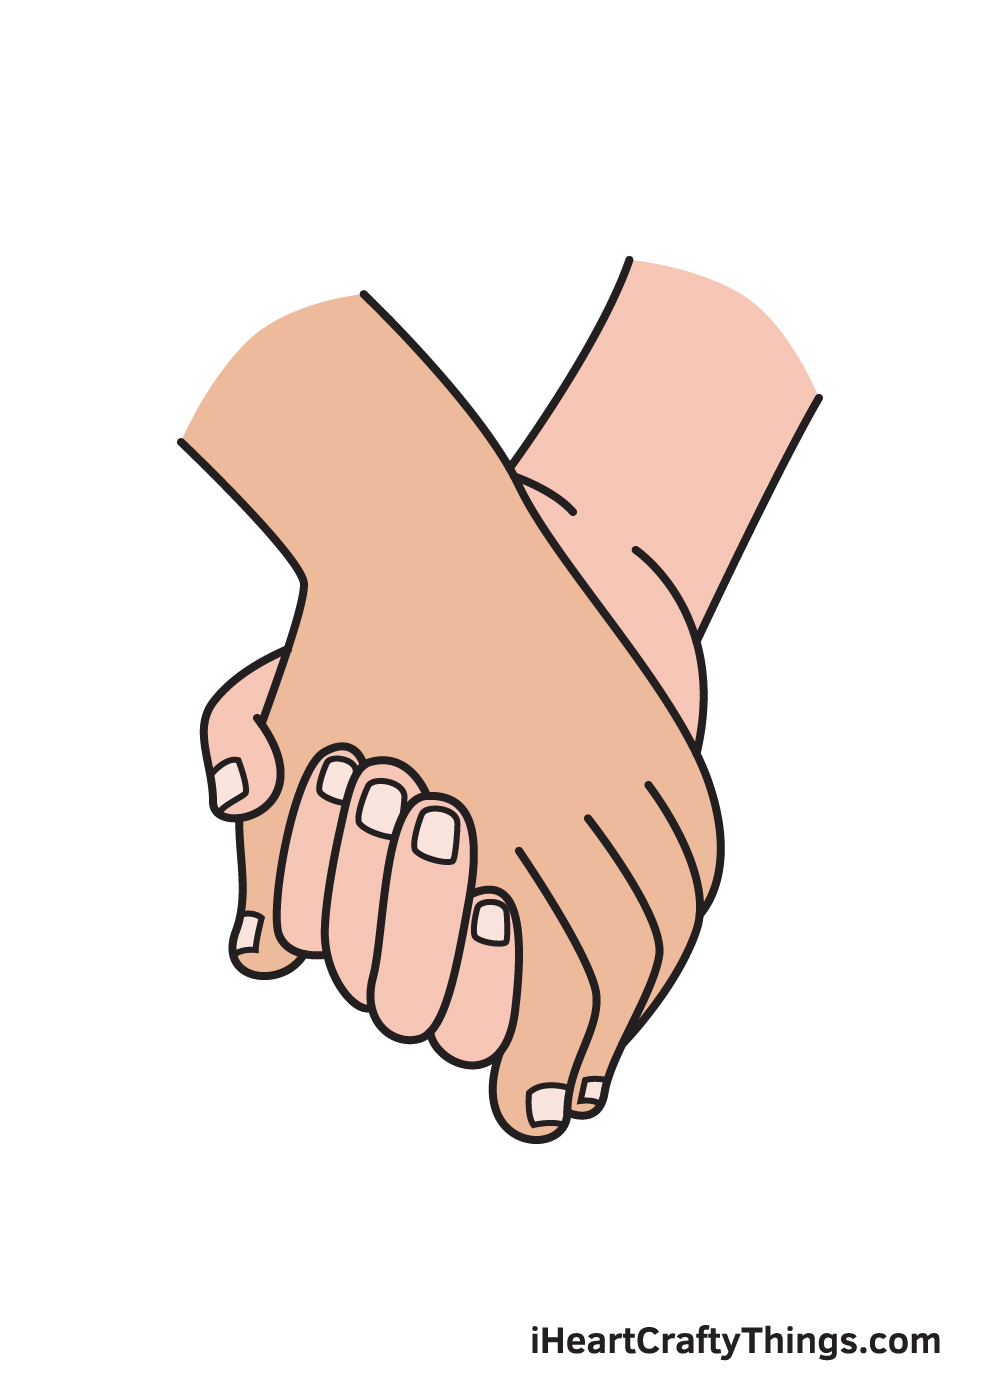
So there you have it! You are now armed with the knowledge to draw people holding hands. Now go forth and spread the artistic love!
And remember, the best part of art is that it’s yours! Share your masterpiece with the world or stash it away in a secret sketchbook – the choice is yours. You are the master of your own artistic destiny!