How To Fix Loose Sun Visor Toyota

Okay, picture this: you're cruising down the road in your trusty Toyota, singing along to your favorite tunes. Suddenly, the sun, that giant, fiery bully, decides to launch a sneak attack! You reach for your sun visor, your shield against the solar onslaught... and it just flops. Limp. Useless. Sound familiar?
Don't panic! Before you resort to driving exclusively at night (and risk becoming a nocturnal creature of habit), let’s talk about fixing that droopy Toyota sun visor.
The "Tighten-Up" Tactic
First, let's try the simple approach. Think of it as giving your visor a good pep talk, a metaphorical "pull yourself together!" routine.
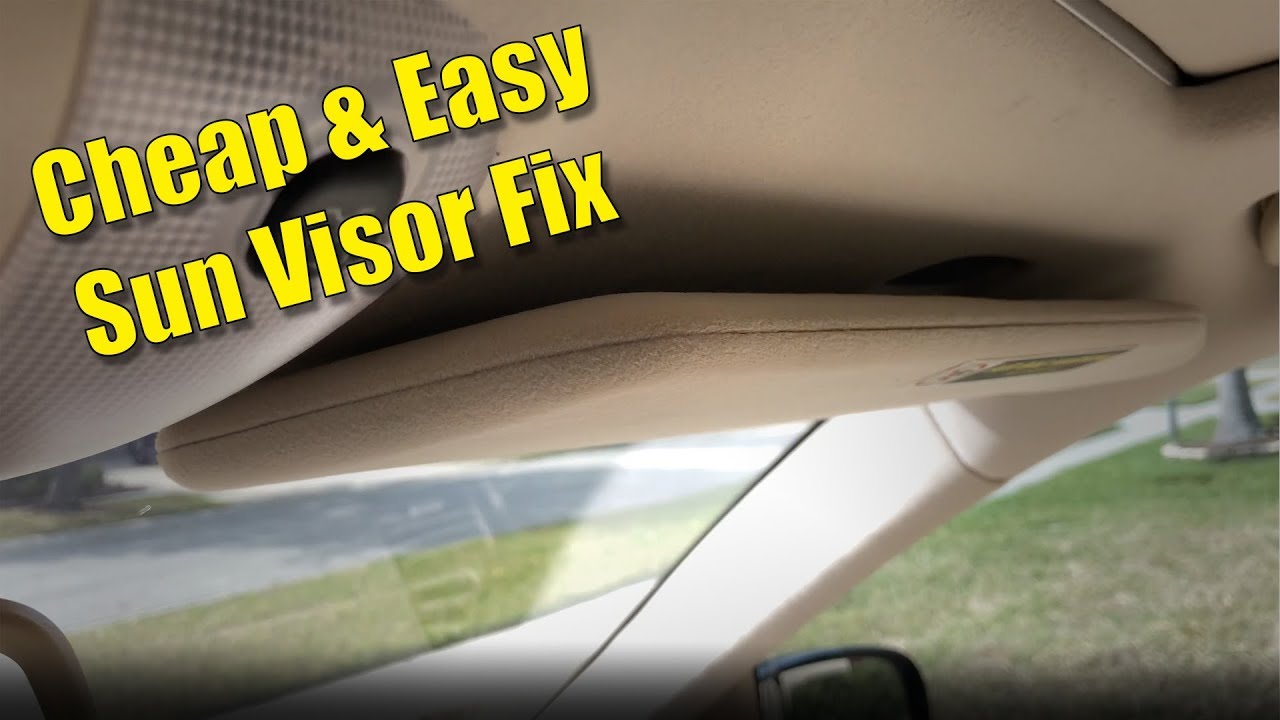
Locate the Screw
Look closely at the base of the visor, where it connects to the roof. You should see a small screw (or two!). It's usually a Phillips head, meaning it has a little cross-shaped indentation.
Grab your trusty screwdriver – the one you usually use to assemble that Swedish furniture (you know the one!) – and give that screw a gentle turn clockwise. Just a little nudge!
Test the visor. Does it feel a bit more… cooperative? If so, fantastic! If it's still acting like a wet noodle, move on.
The "Tension Spring Tango"
Sometimes, just tightening the screw isn't enough. The internal tension spring – the unsung hero of visor functionality – might be feeling a little weak. Time for some strategic intervention!
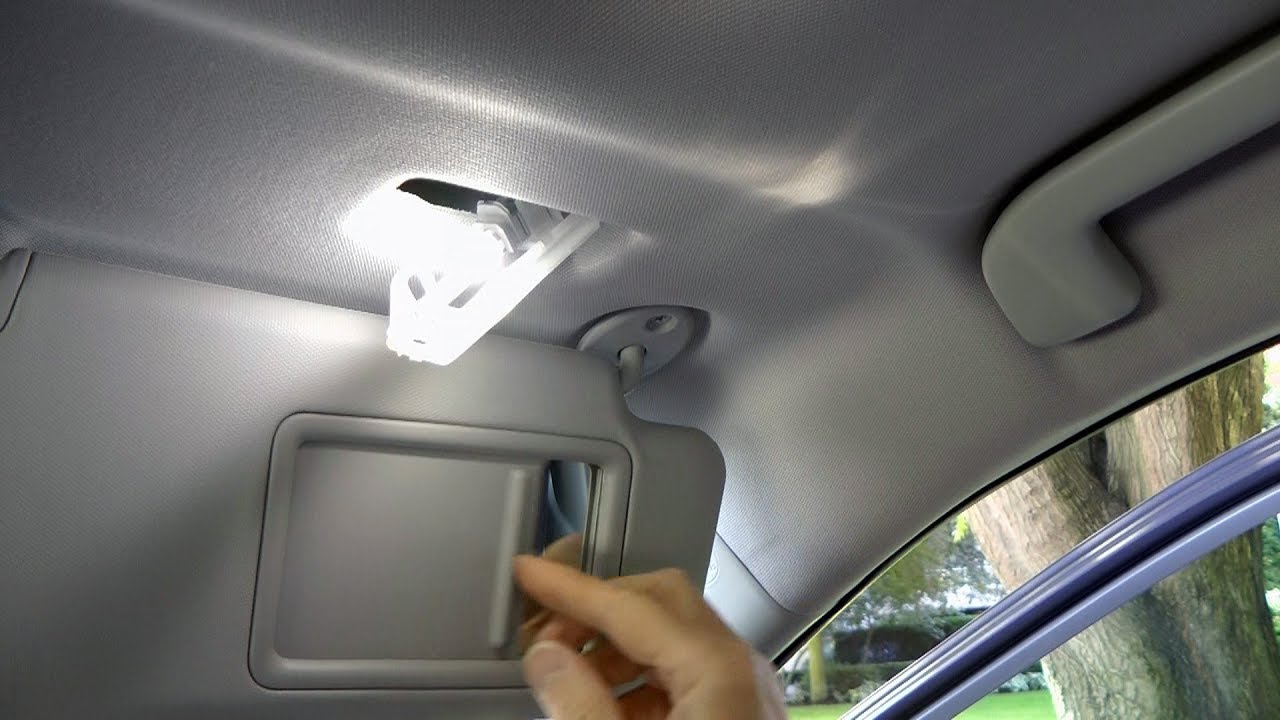
Pop It Open (Carefully!)
Gently pry open the plastic housing around the visor arm. A small, flat-head screwdriver or even a butter knife can work wonders here. Just be careful not to scratch or break anything. We're going for "surgical precision," not "demolition derby."
The Shimmy Shimmy Yay!
Okay, now you should see the tension spring (or what’s left of it). It’s usually a small, coiled piece of metal. Our goal is to increase the tension, like giving it a mini-workout.
Find a small shim – a thin piece of metal or plastic. A sliver of a plastic playing card, a bit of cardboard, or even a meticulously folded piece of aluminum foil can work in a pinch. Cut your material into strips of small pieces before using.
Wedge that shim in alongside the spring. This will add a bit of extra pressure and hopefully restore some of that lost tension. Think of it as giving the spring a tiny, yet supportive, hug.
Reassemble and Rejoice
Carefully snap the plastic housing back together. Test the visor. Is it holding its position better? Success! You, my friend, are a visor-fixing superstar!
The "Nuclear Option" (When All Else Fails)
Alright, so you've tightened screws, shimmied springs, and even given your visor a stern talking-to, and it's still acting like a disobedient toddler. It might be time to admit defeat… almost.
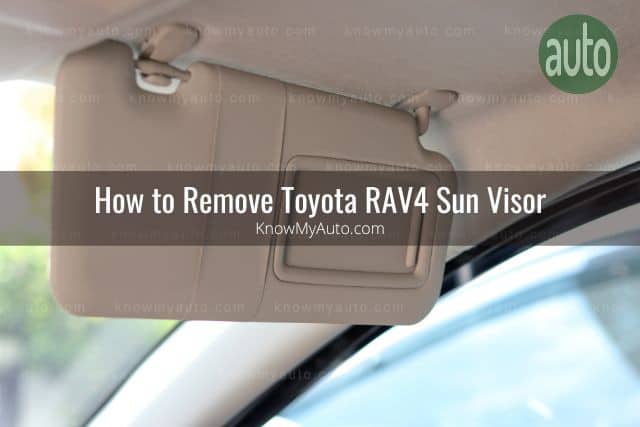
Replacement Time
The good news is that replacement Toyota sun visors are readily available. You can find them online (eBay and Amazon), at your local auto parts store, or even through your Toyota dealership.
Installation is a Breeze
Replacing the visor is usually pretty straightforward. Remove the old visor (usually held in place by screws) and install the new one in its place. It’s like swapping out a lightbulb, only slightly more glamorous.
And there you have it! You've conquered the dreaded droopy sun visor. Now you can cruise in comfort, shielded from the sun's relentless rays. Happy driving!