How To Hang Upper Cabinets By Yourself

So, you're staring up at that empty space above your countertop, dreaming of the day those beautiful new cabinets will finally grace your kitchen. Let's get to it!
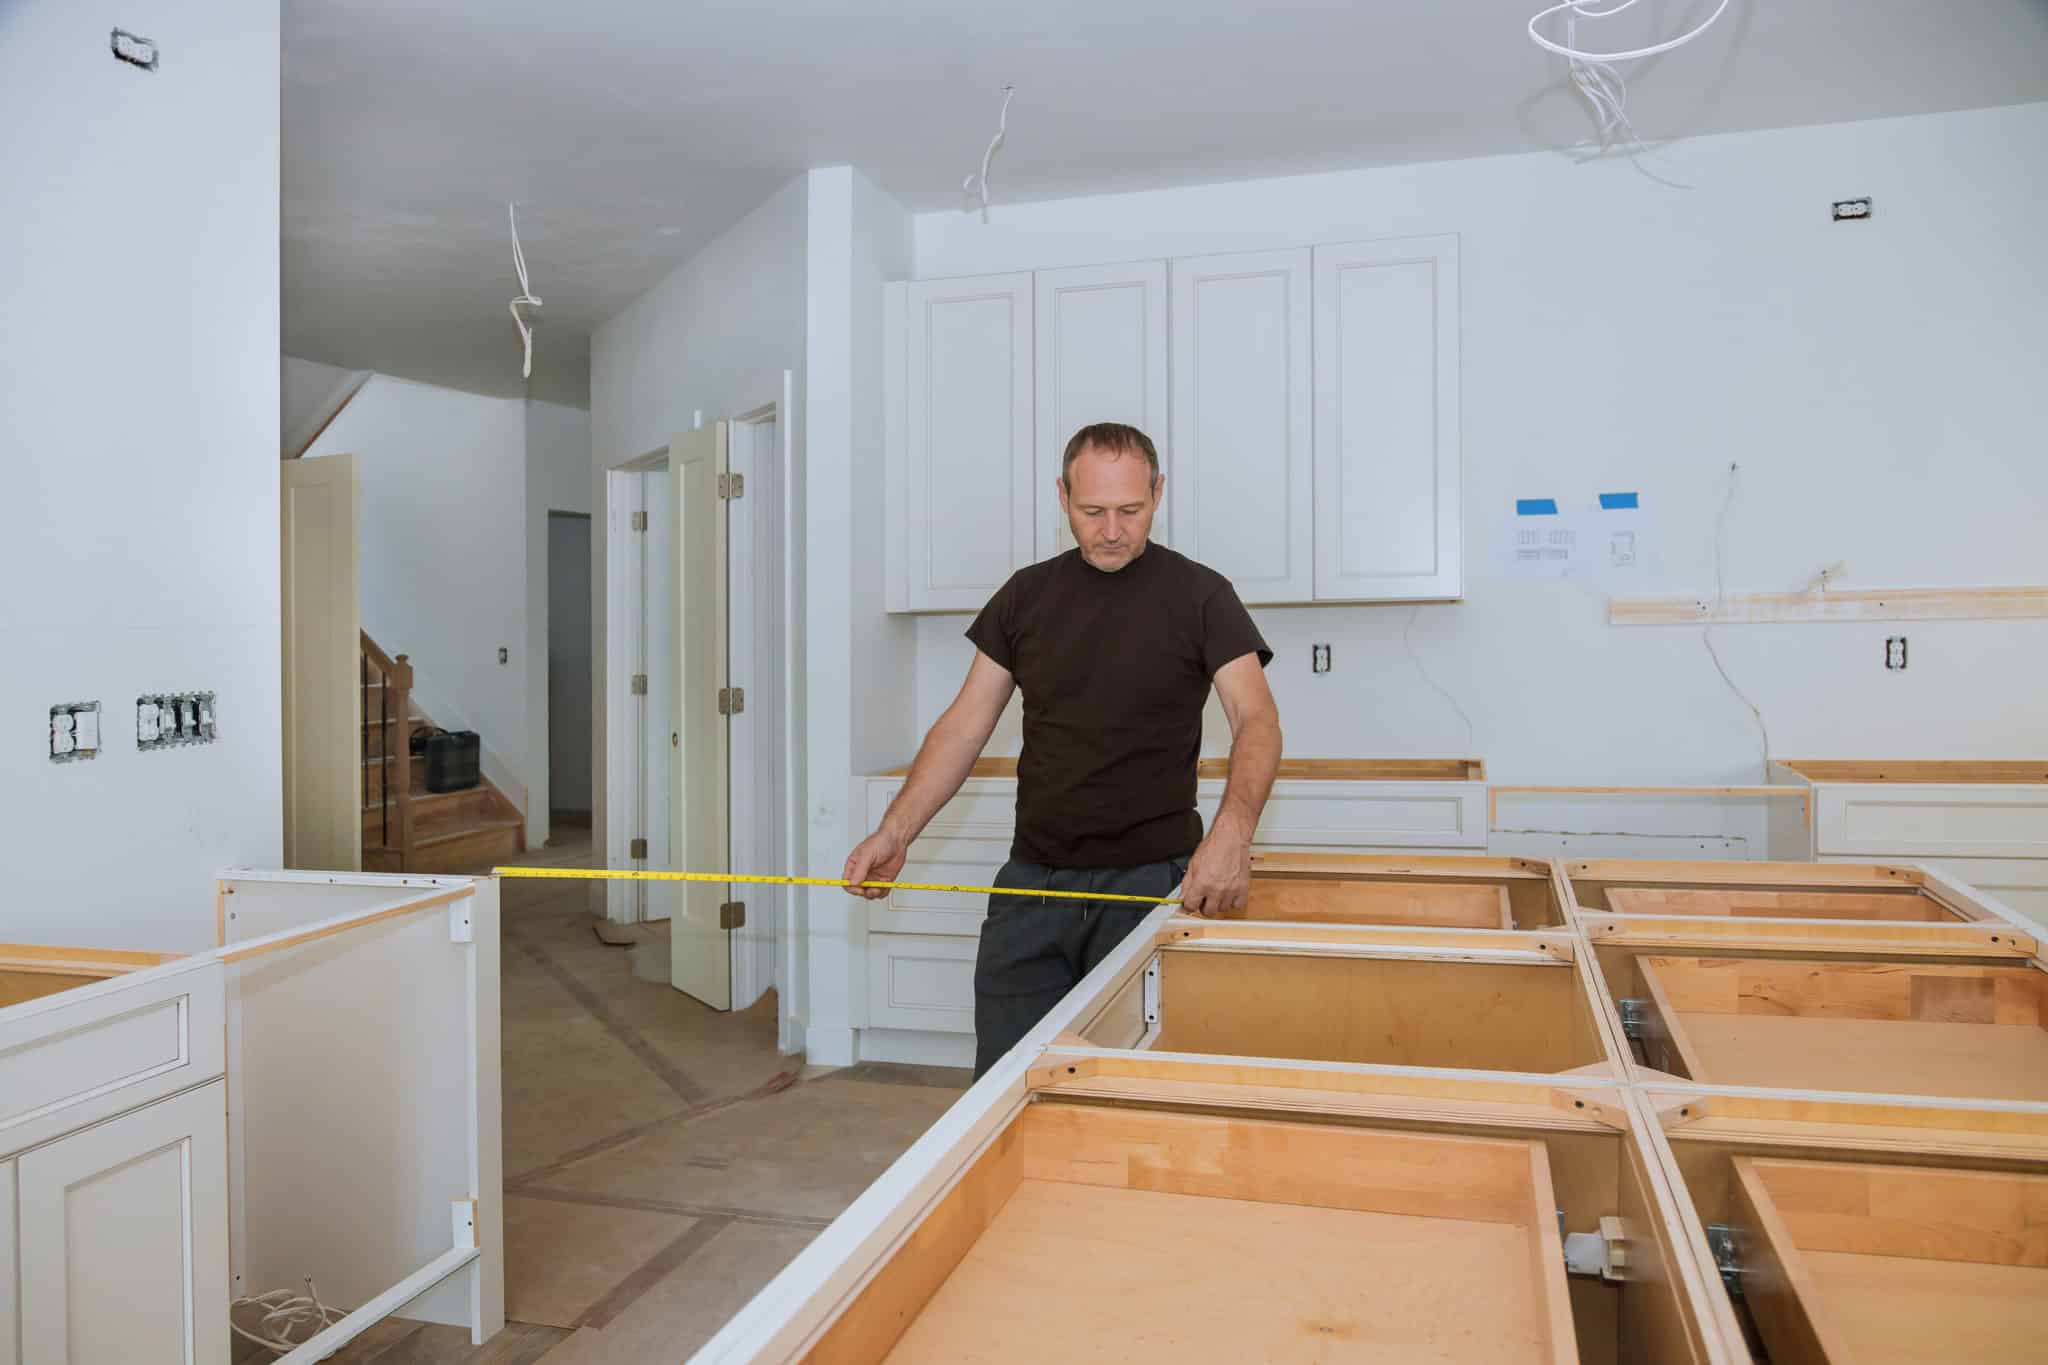
Getting Started: The Pre-Hanging Huddle
First, gather your supplies. Imagine yourself as a kitchen cabinet superhero, assembling your arsenal.
Grab your level. This isn't just any level; it's your truth-teller, the keeper of straight lines and parallel universes. Without it, your cabinets might end up looking like they're trying to escape the wall.
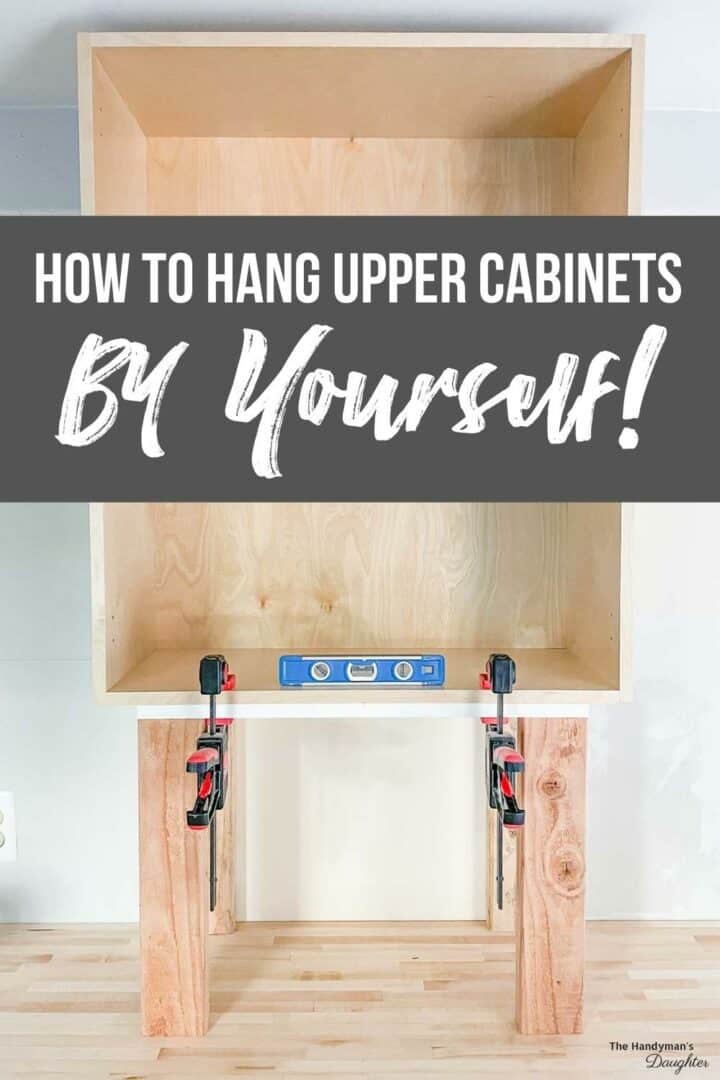
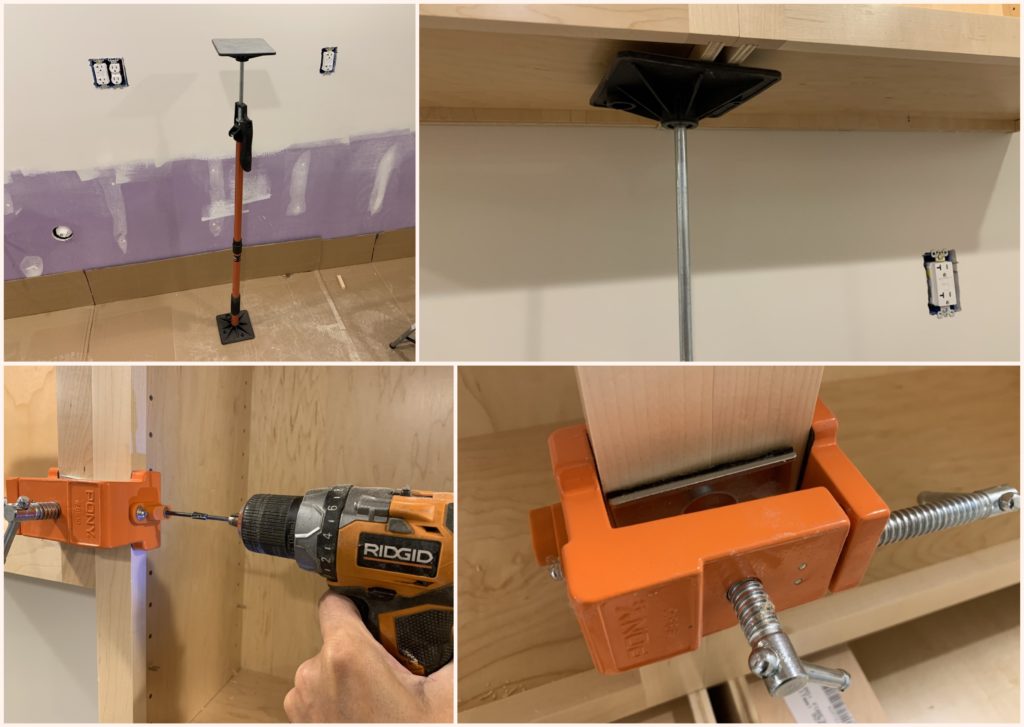
You'll also need a stud finder, drill, screws (the right size, of course!), and something to support the cabinets while you're attaching them. My personal favorite? A makeshift support system crafted from scrap wood and a prayer.
Finding Your Studs: The Great Wall Hunt
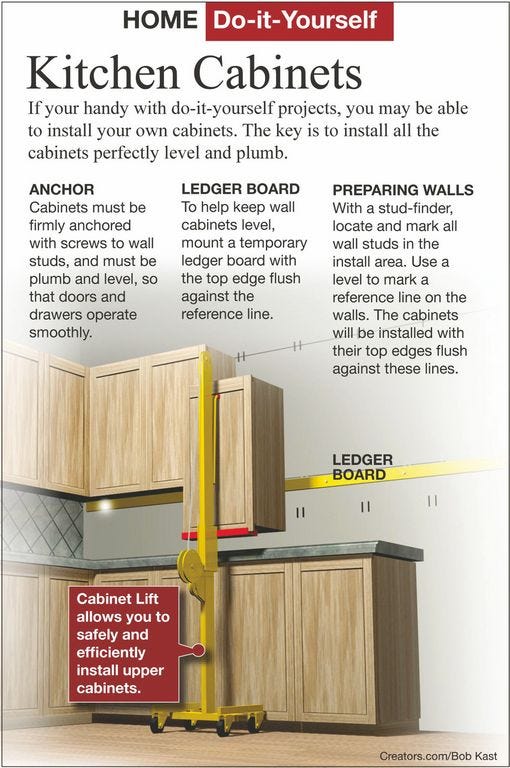
Now, the exciting part: stud-finding. Run that stud finder along the wall, listening for the beep that signals victory. It's like a high-tech treasure hunt, only instead of gold, you find wood. Very practical gold!
Mark those studs clearly. You'll need them to anchor the cabinets securely. I use a pencil, but feel free to get creative with glitter glue or a permanent marker. Just kidding... mostly.
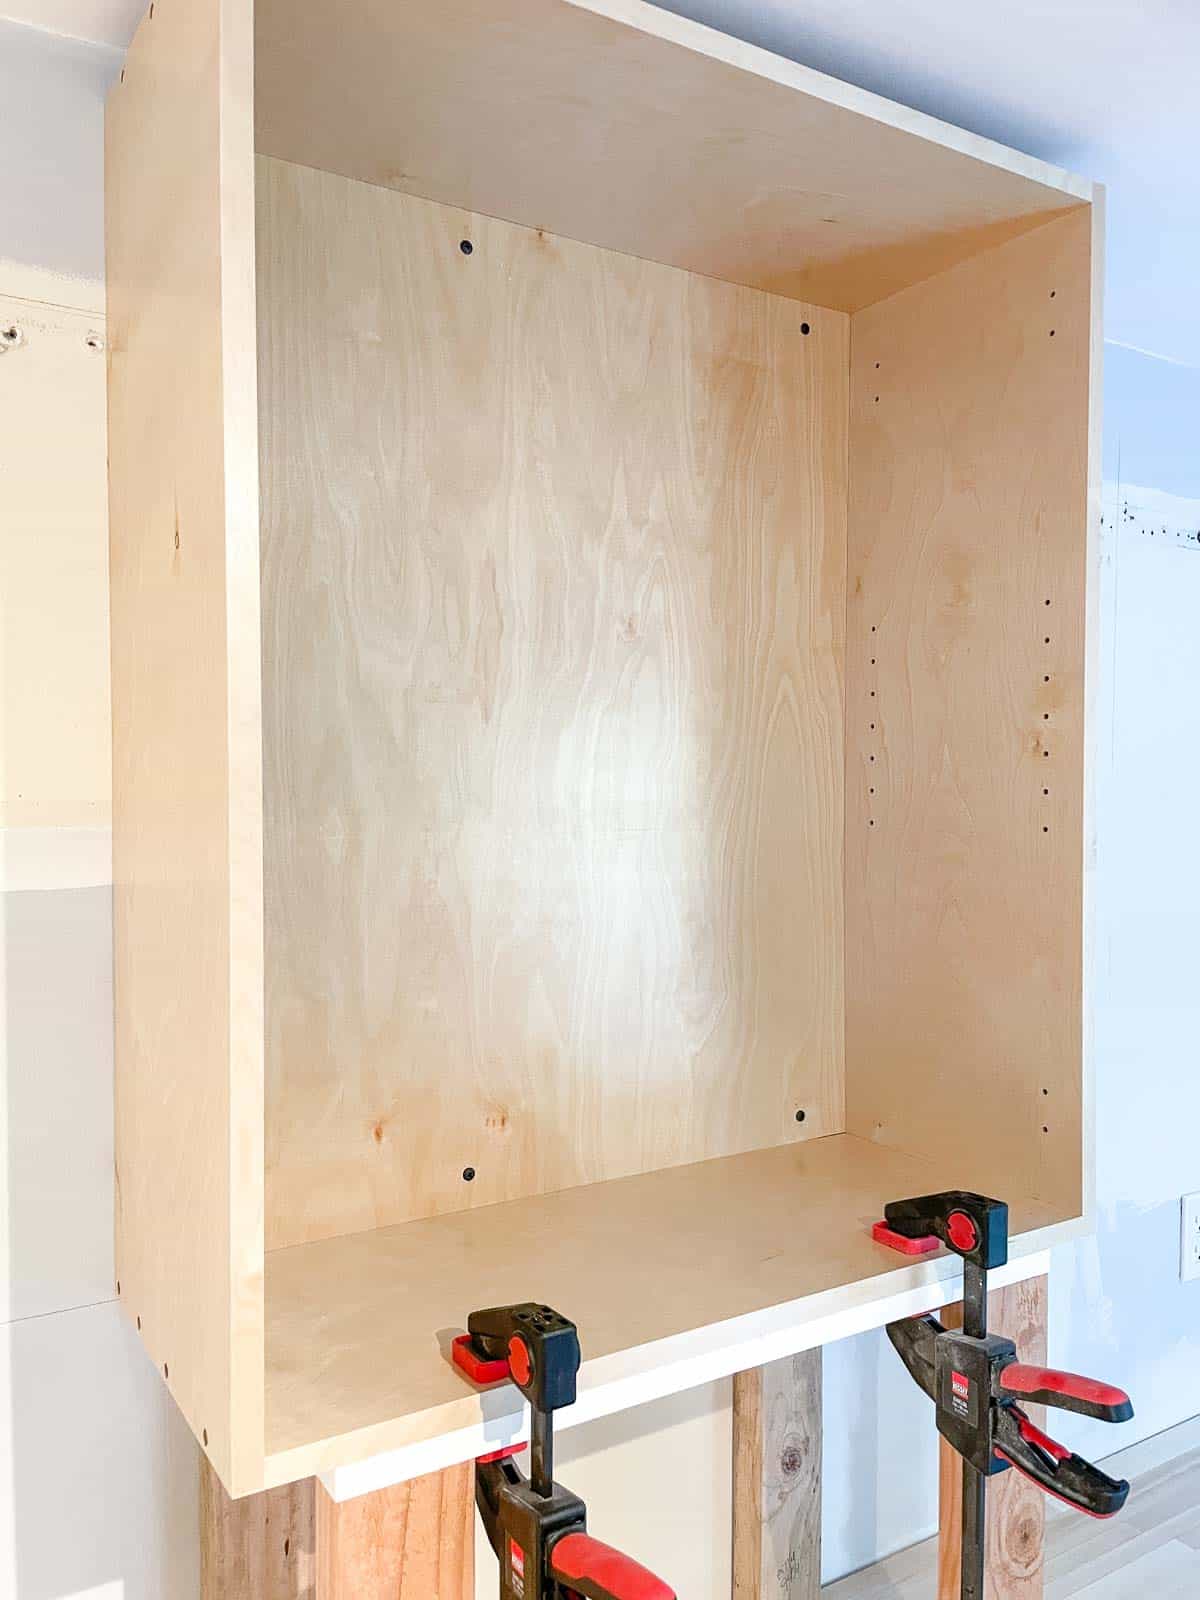
The Ledger Board: A Temporary Friend
Attach a ledger board to the wall. This is a horizontal support that holds the weight of the cabinets while you're attaching them. Think of it as a temporary friend, lending a hand (or rather, a board) when you need it most.
Leveling is Key
Make absolutely sure your ledger board is level. It’s the foundation for everything that comes next. A crooked ledger board means crooked cabinets. Nobody wants that!
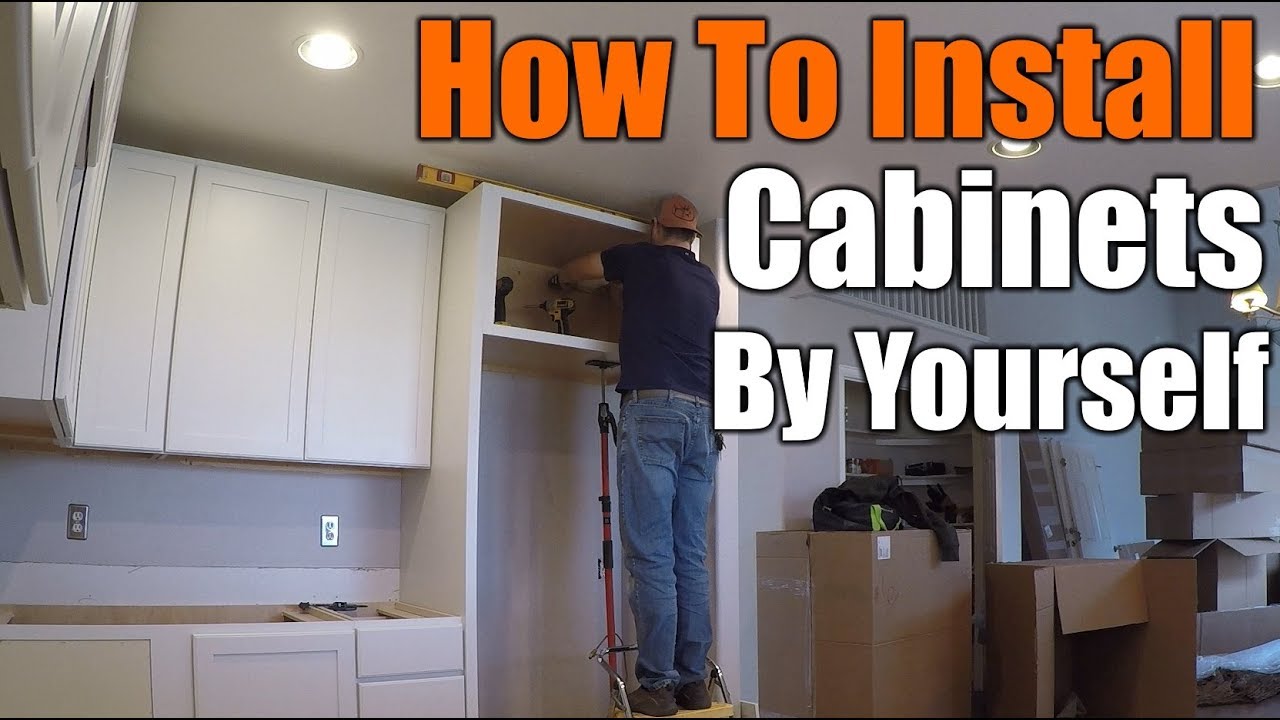
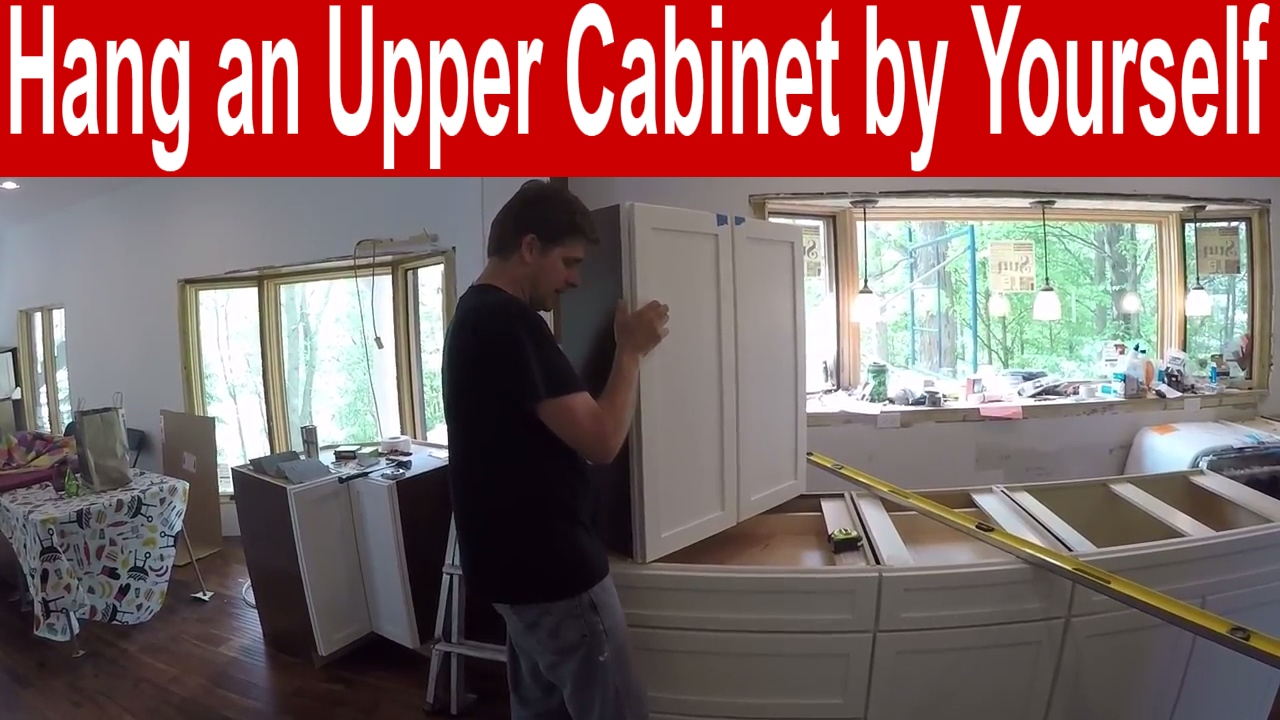
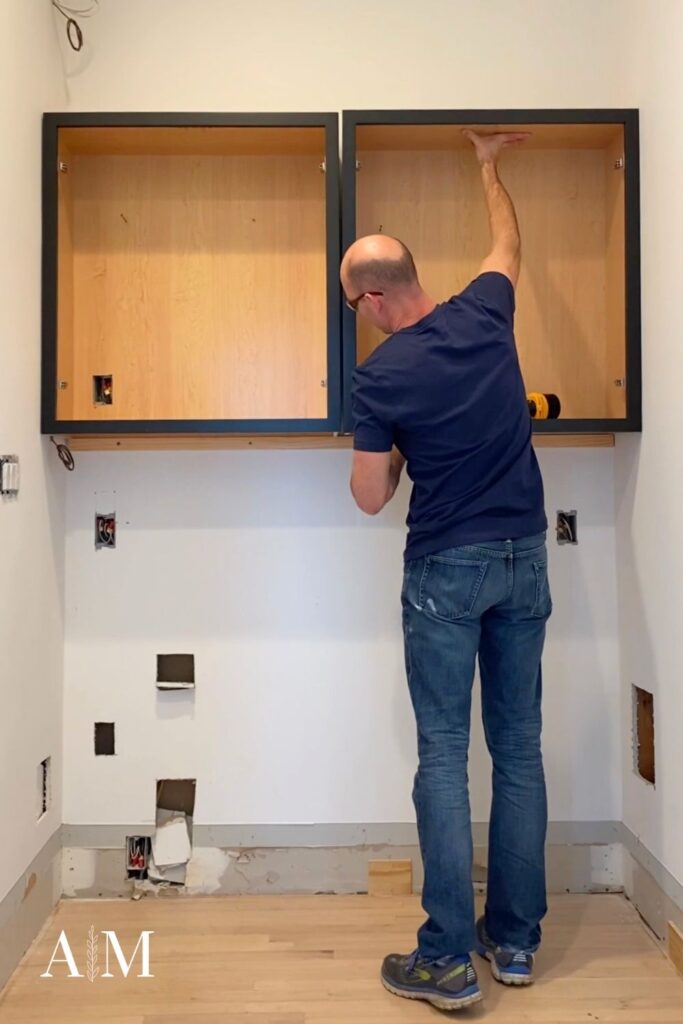
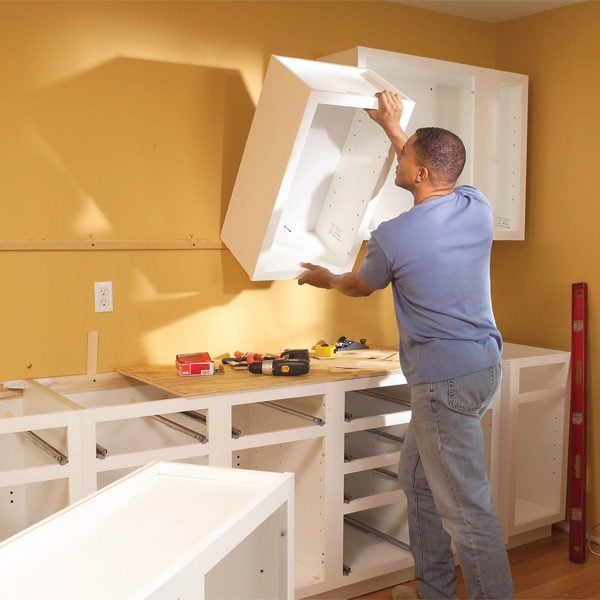
Cabinet Lift-Off: The Moment of Truth
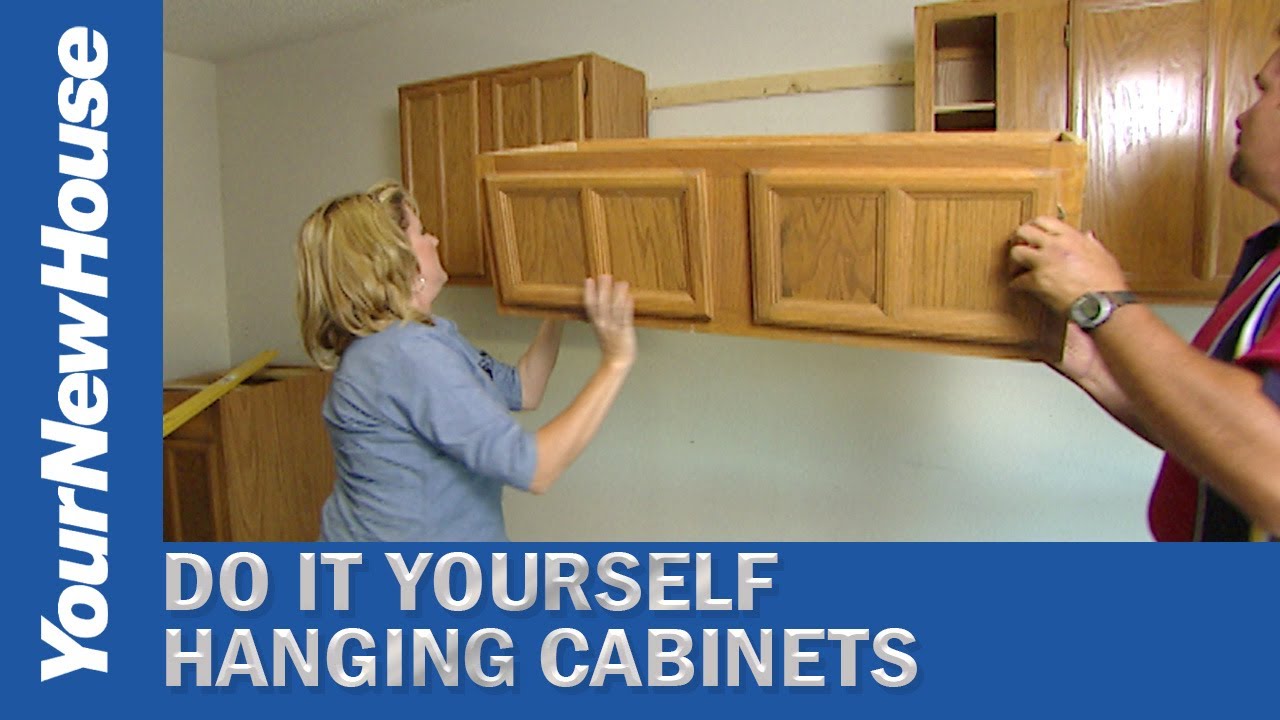
Time to lift those cabinets. This is where things get interesting, especially if you're doing it solo. Enlist the help of a friend or neighbor if possible. Pizza and eternal gratitude are usually sufficient payment.
Carefully maneuver the first cabinet onto the ledger board. Slide it into place, making sure it's snug against the wall and aligned with your markings. A gentle shove might be necessary, but avoid excessive force unless you want a new hole in the drywall.
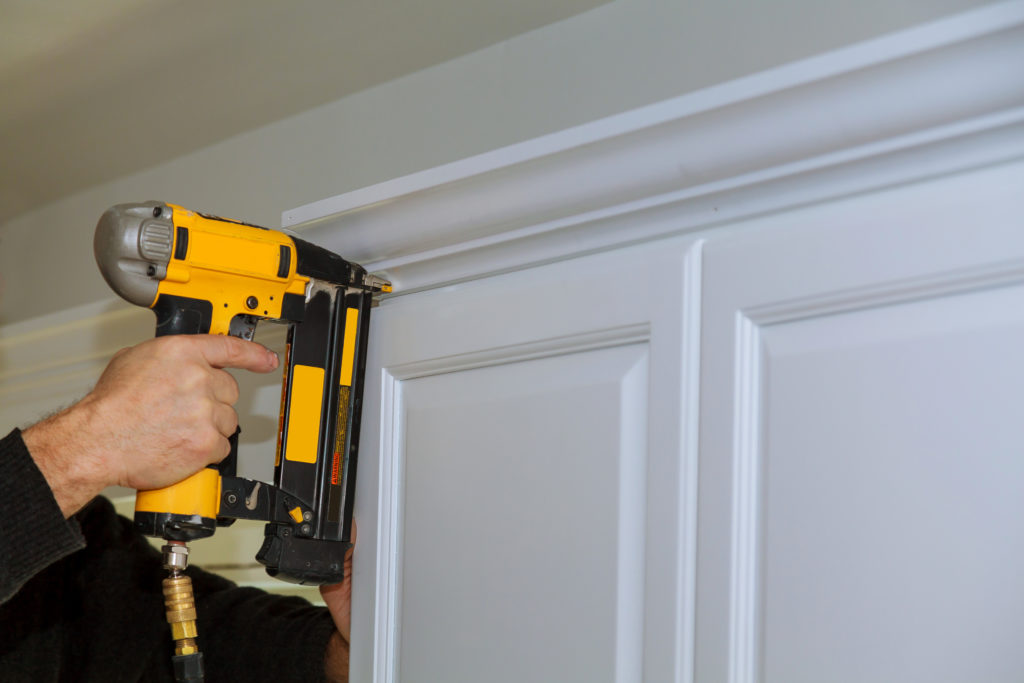
Screwing Around: The Attachment Phase
Drill pilot holes through the cabinet's back and into the wall studs. This prevents the wood from splitting and makes screwing much easier. Think of it as a polite pre-introduction for the screw.
Drive those screws in tight. Use screws that are long enough to penetrate the studs but not so long that they poke through the other side of the wall. Nobody wants surprise screws in the next room.
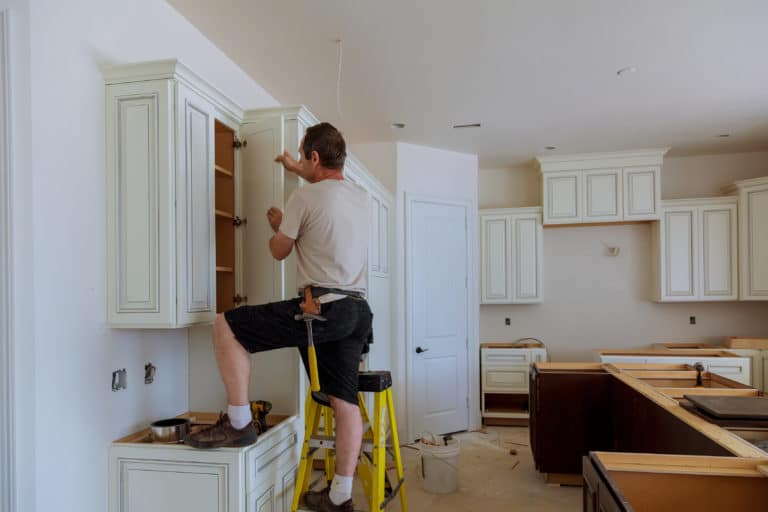
Repeat the process for the remaining cabinets. Work your way across the wall, ensuring each cabinet is level and securely attached to the studs. This is where the real magic happens.
The Big Reveal: Stepping Back and Admiring Your Work
Once all the cabinets are in place, remove the ledger board. This is like unveiling a masterpiece, except instead of paint, it's wood and screws.
Stand back and admire your handiwork. You did it! You hung those upper cabinets yourself. Feel the surge of pride, the thrill of accomplishment. You are a kitchen cabinet rock star!
Maybe they're not perfectly aligned. Perhaps there's a slight wobble. Who cares? You did it yourself! You conquered the kitchen cabinet challenge! Embrace the imperfections. They're proof of your struggle, your victory, and your newfound cabinet-hanging superpowers.
Now go fill those cabinets with dishes, snacks, and all the other things that make a kitchen a kitchen. You’ve earned it. Time to celebrate!