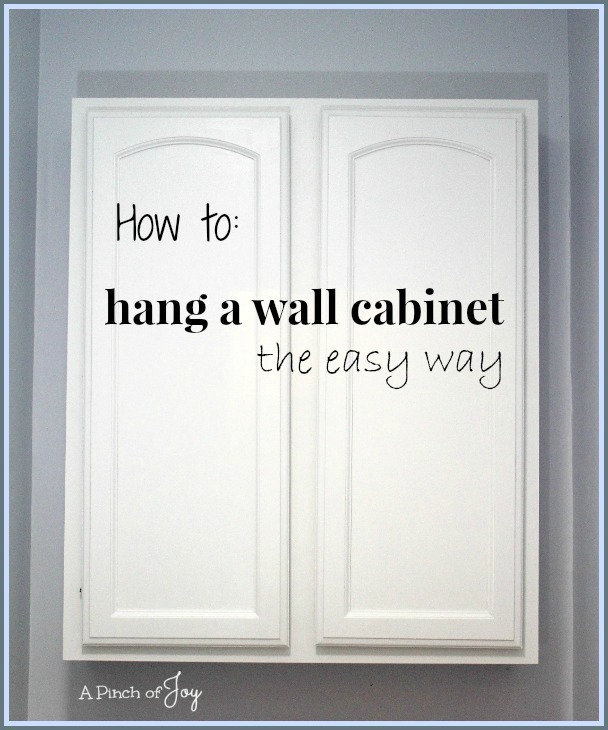
How To Hang Wall Cabinets By Yourself
So, you're staring at a wall. A blank canvas, if you will. And you've got these…things. Boxes, really. That are supposed to magically transform into glorious, floating storage. Wall cabinets. Right? Let's do this.
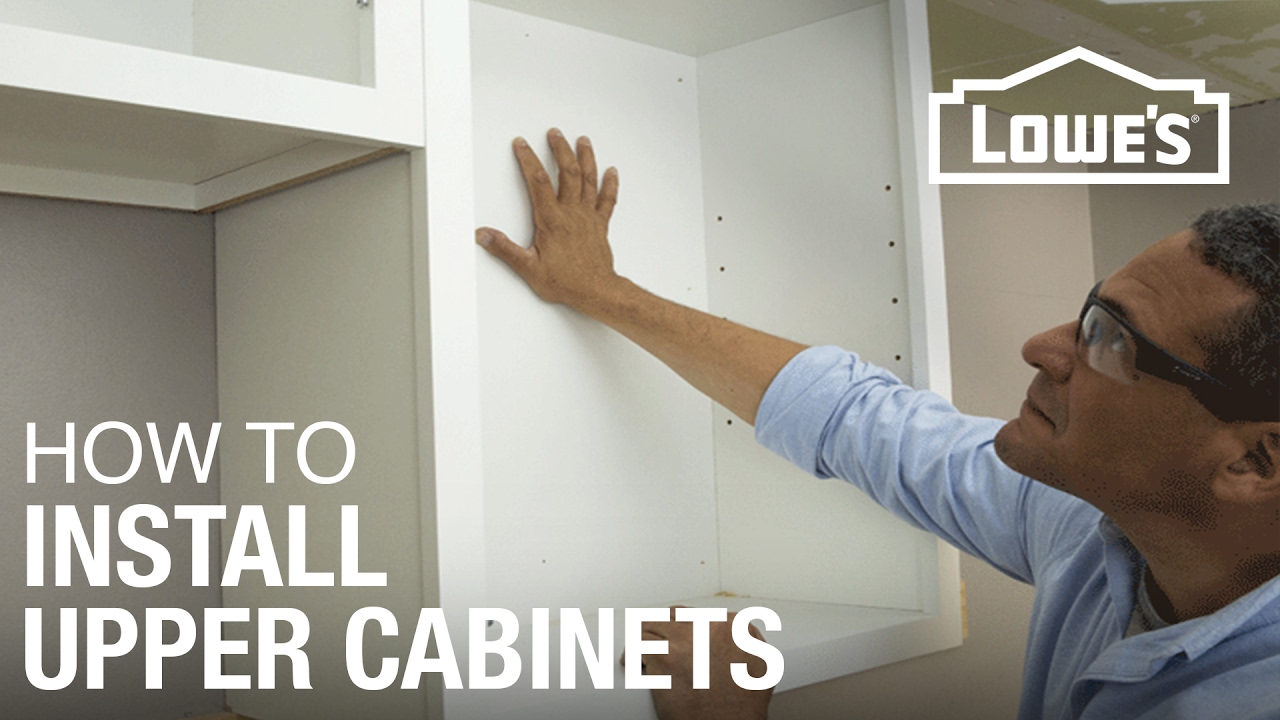
First, find your stud finder. Seriously. It's probably buried in that drawer with the batteries and the single, lonely glove. Think of it as a modern-day divining rod, leading you to the promised land of solid wood.
Mark those studs! Don’t be shy. A little pencil mark never hurt anyone (except maybe the paint, but we can fix that later). It's like leaving breadcrumbs, only instead of luring birds, you're luring stability.
The Ledger Board: Your New Best Friend
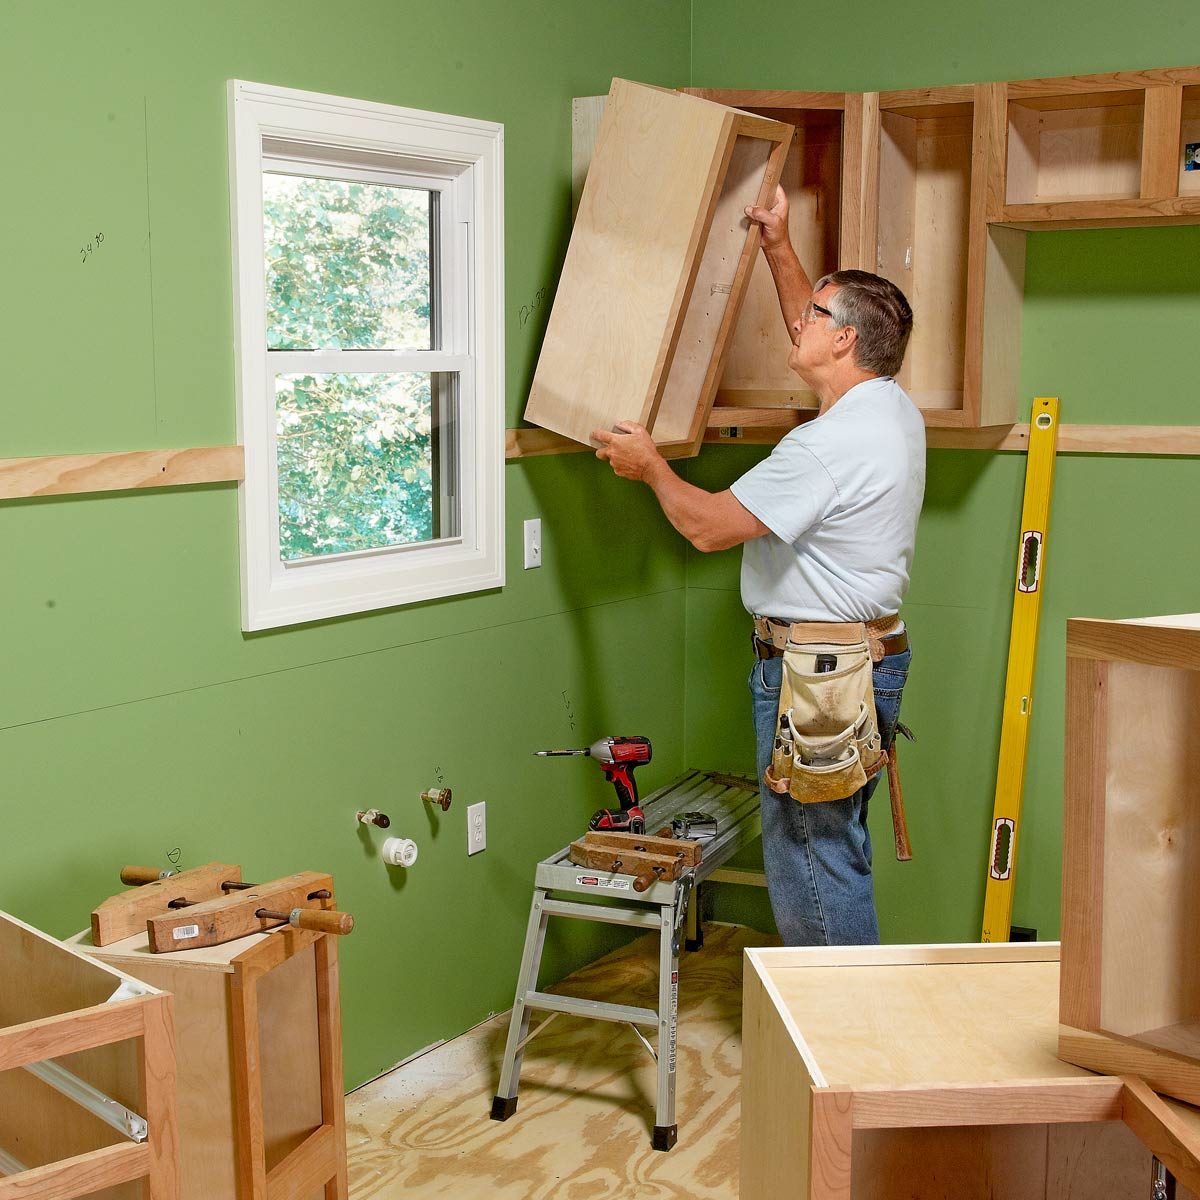
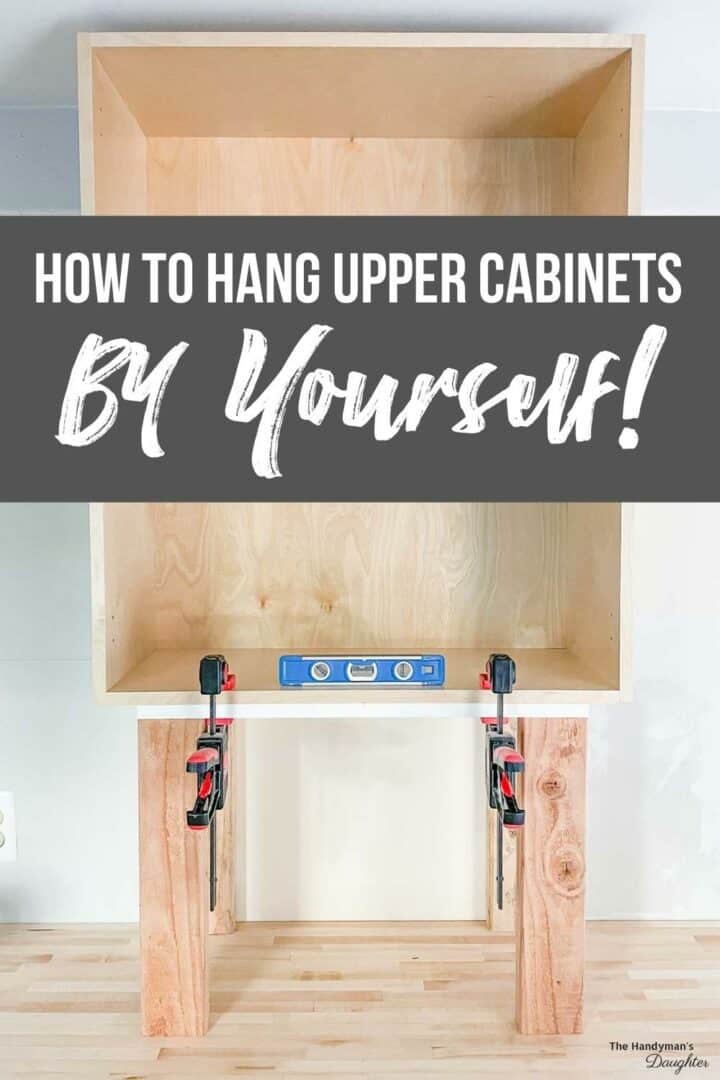
Now, this is where things get…interesting. Grab a board – any old straight board will do. It’s going to be your temporary shelf, your loyal sidekick, your…ledger board! Attach it to the wall, level, below where the bottom of your cabinets will sit.
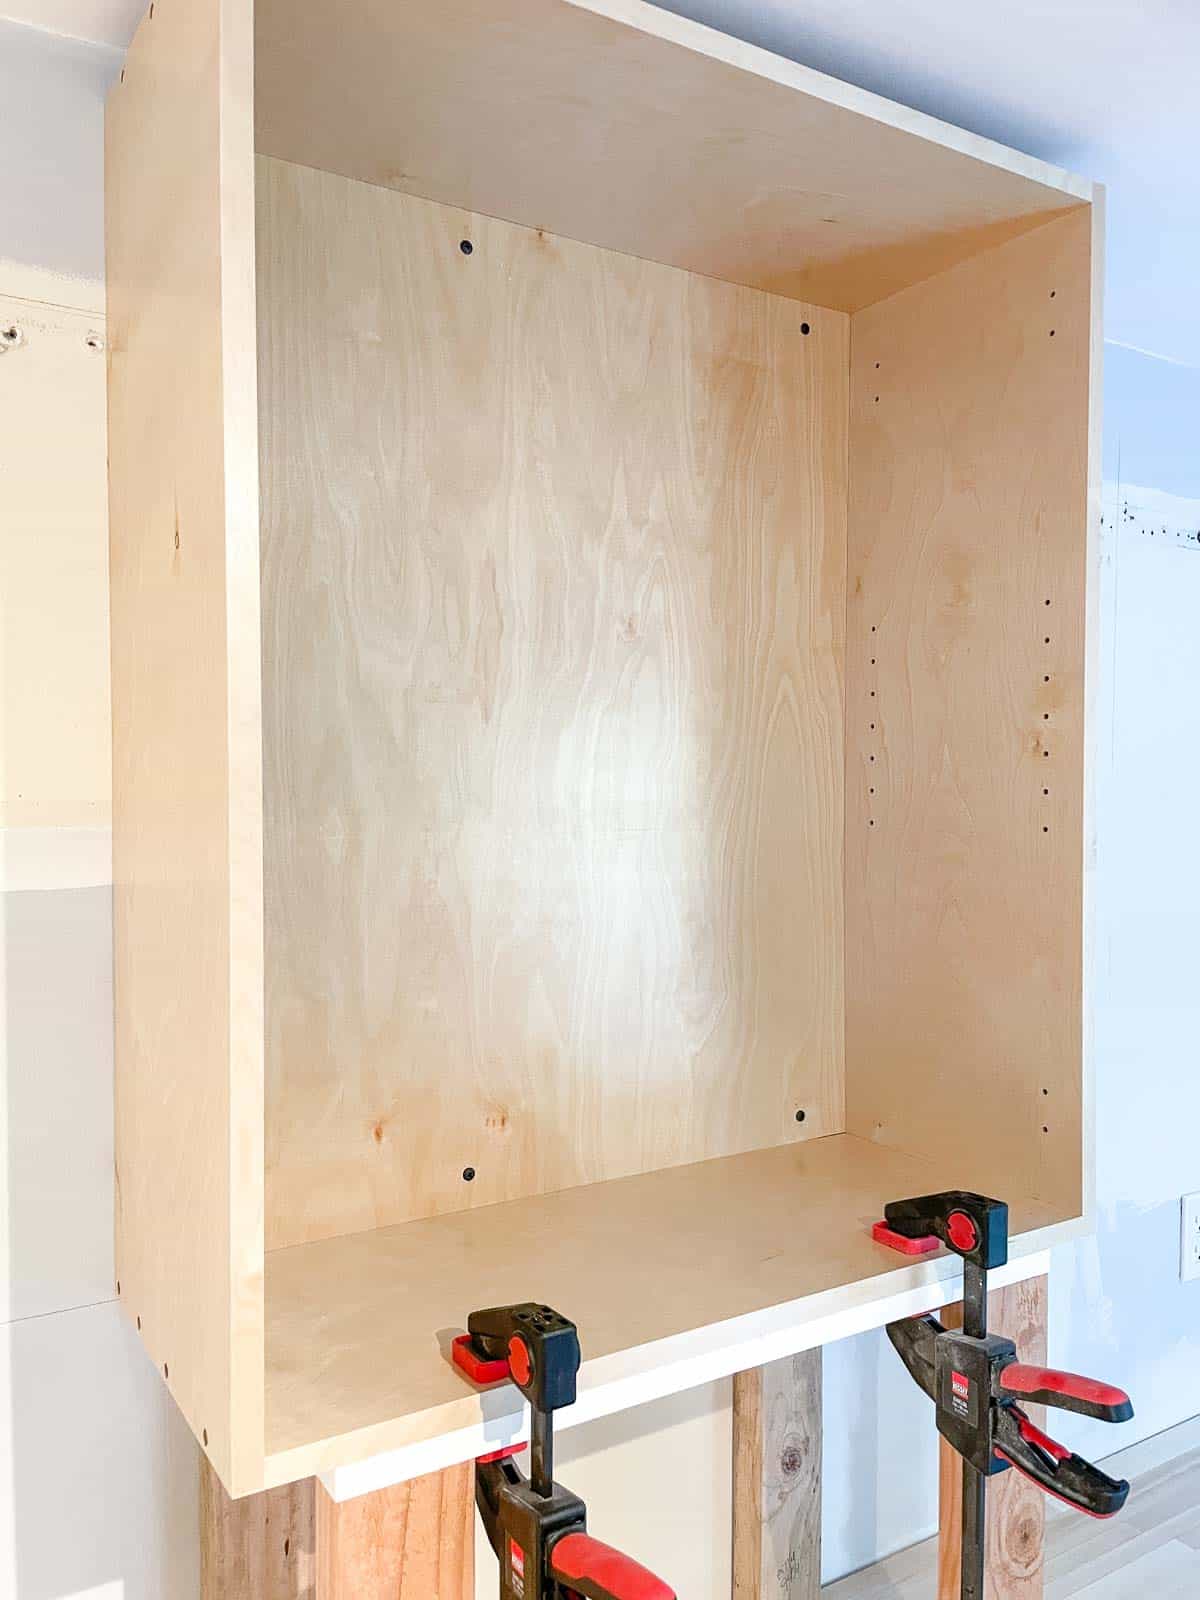
This trusty piece of wood is going to hold those heavy cabinets while you, superhero-like, attach them to the wall. It is a heartwarming tale of friendship between wood and wall.
Cabinet Up! (And Hopefully Not Down)
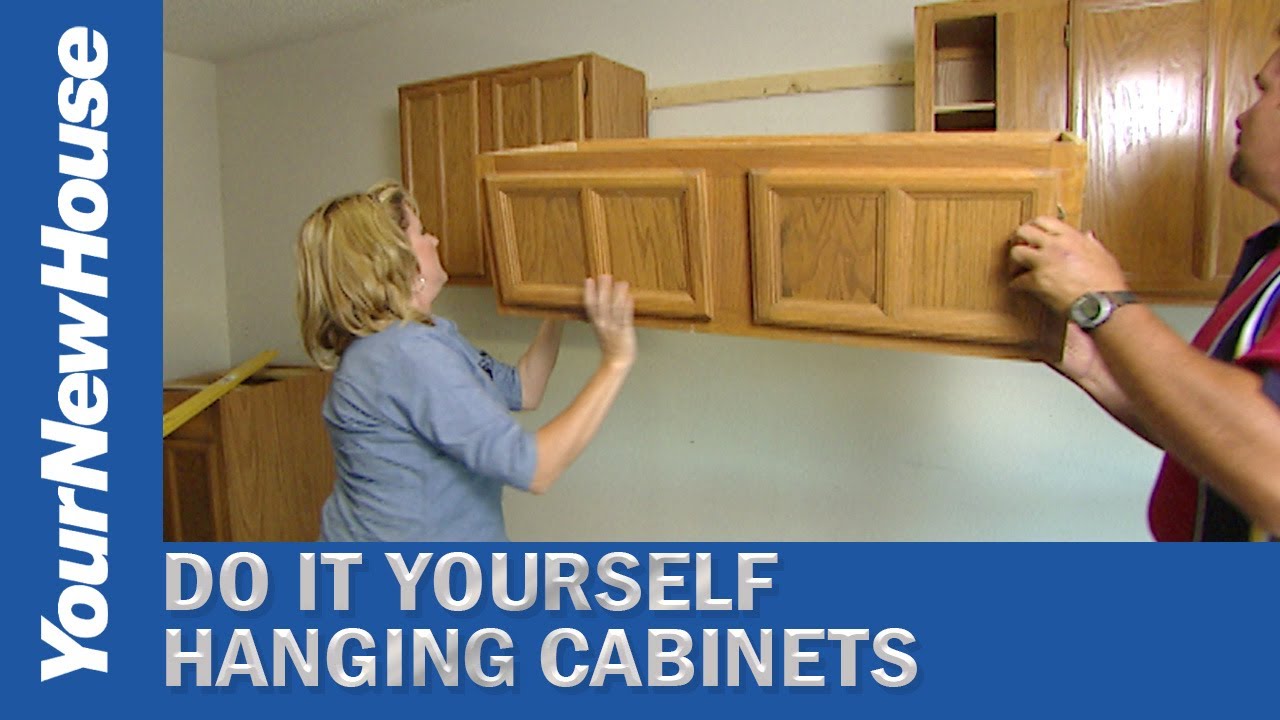
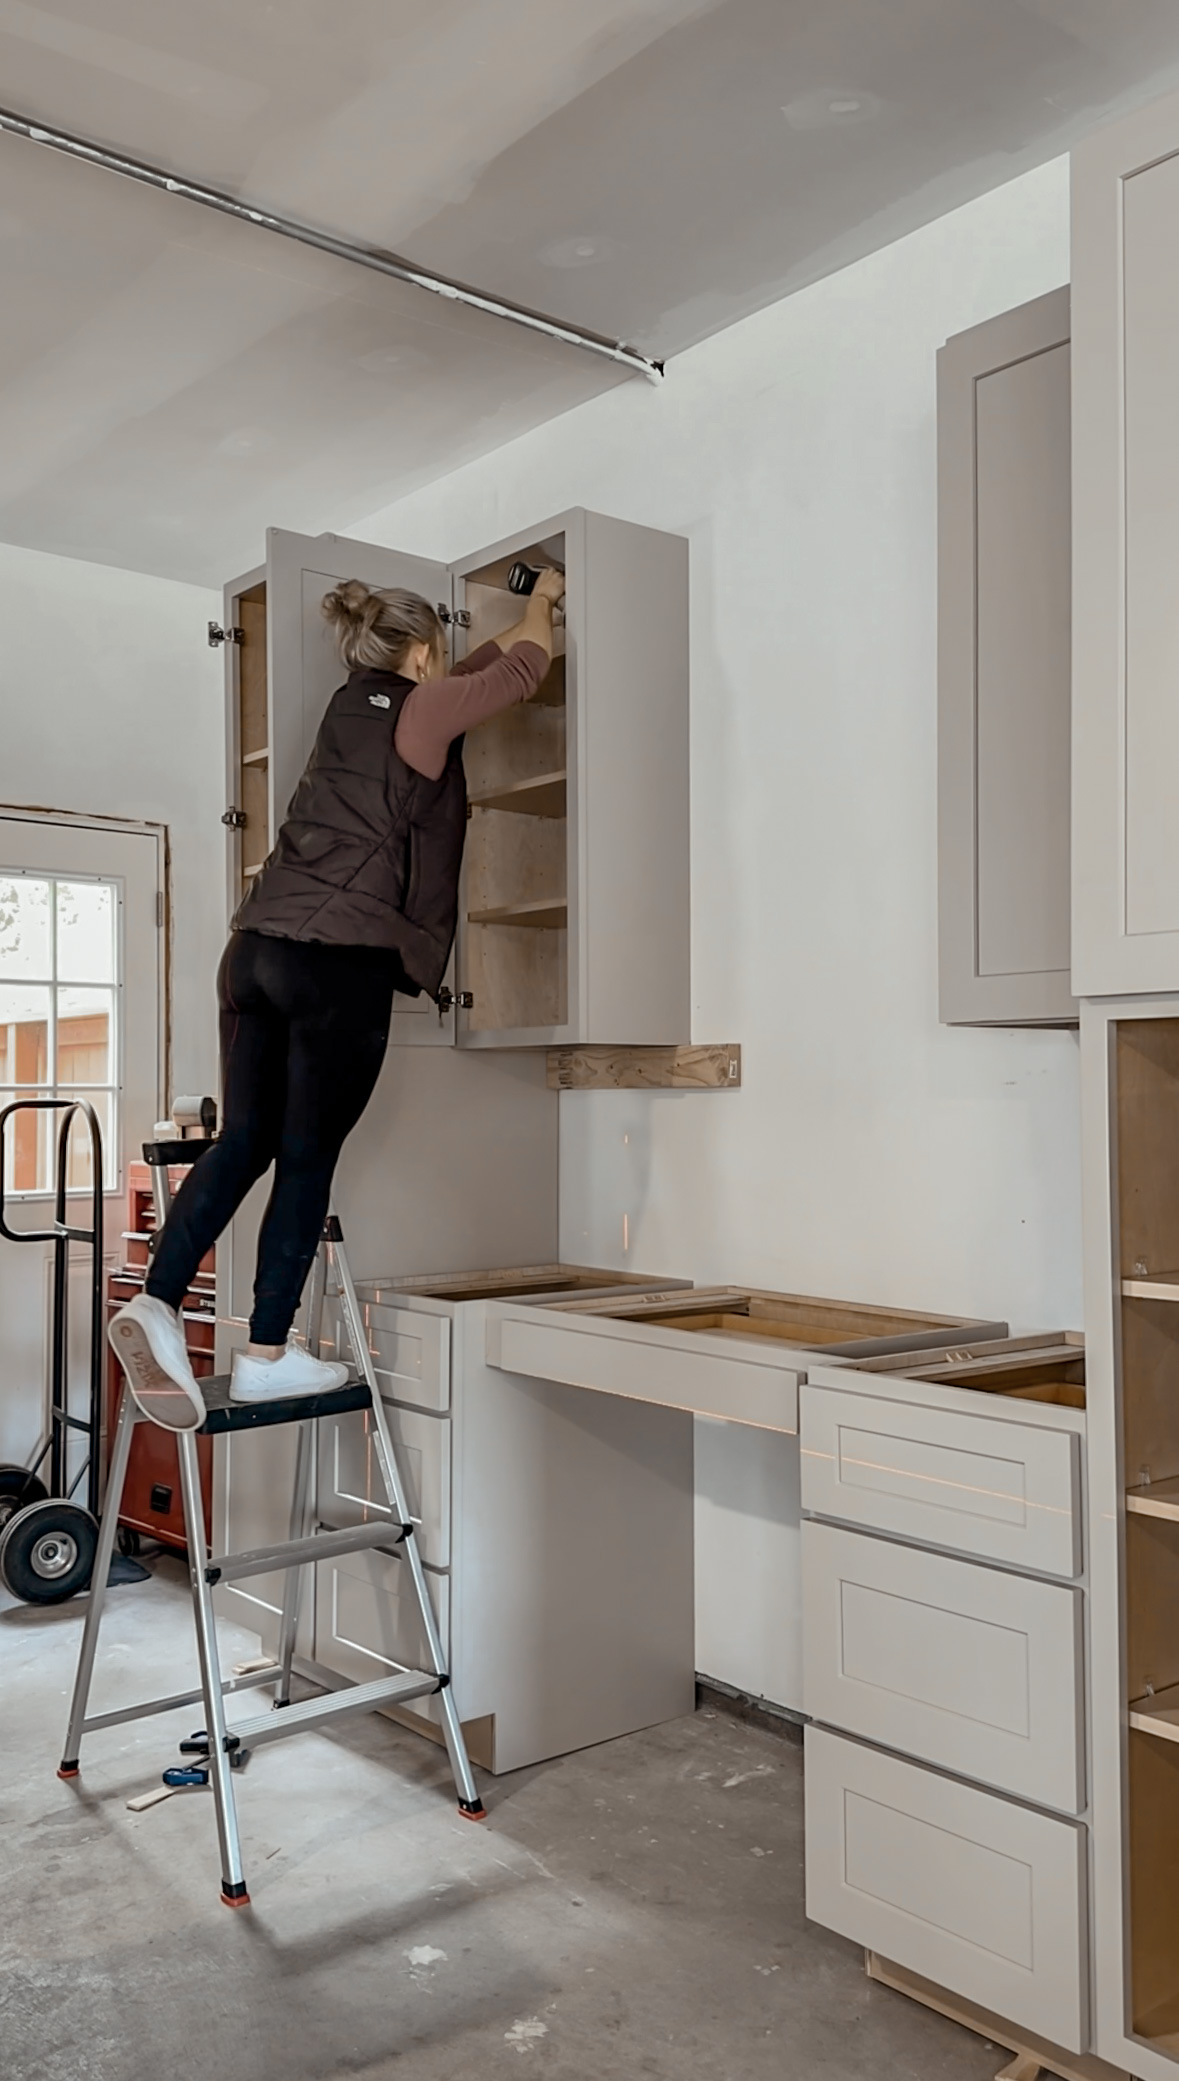
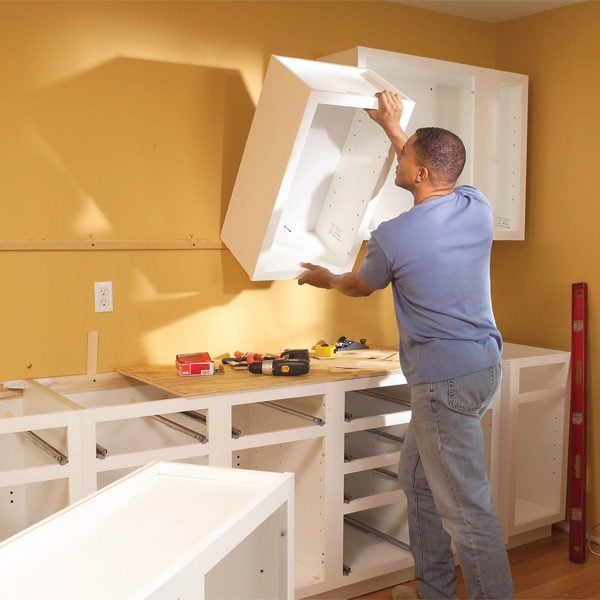
Here comes the fun part. Lift that first cabinet into place. Feel the weight! Maybe flex a little for the mirror. Wrestle it gently onto the ledger board.
It will feel like you're holding your breath the entire time. But remember, you are not alone, the ledger board is with you.
Now, screw that baby into the studs! Pre-drilling helps. Think of it as gently coaxing the screw into place, rather than forcing it in with brute strength. Don't strip the screws! Or do. It happens to the best of us.
Repeat the process with the other cabinets, making sure they're level with each other. This is where you might discover that your floors aren't actually level. Don't panic! Shims are your friends. Little wedges of plastic that can save the day. These are the unsung heroes of the DIY world.
Connecting the Dots (and the Cabinets)
With all the cabinets up, it’s time to connect them. Clamp them together tightly. This is like giving them a big, supportive hug before you permanently join them at the hip.
Now, screw the cabinets together through the face frames. This creates a unified front, a team of cabinets standing strong against the forces of…well, whatever you plan to store in them. This is the power of collaboration!
The Finishing Touches (and the Sigh of Relief)
Remove the ledger board. That’s it, you have succeeded. Patch any holes. Caulk along the edges for a clean, professional look. Stand back and admire your handiwork.
You did it! You transformed a blank wall into a functional, beautiful space. And you did it yourself. Be proud of your creation. Celebrate the small win.
Now, go fill those cabinets with all the things! And maybe, just maybe, give that trusty stud finder a little pat on the back. After all, it helped you conquer the wall.