How To Install Sony Bravia Tv Stand

Unboxing the Entertainment: Getting Your Sony Bravia on its Feet!
So, you've got a brand spankin' new Sony Bravia TV. Awesome! Now comes the slightly less glamorous, but equally important, task: attaching the stand. Don't worry, it's easier than mastering the remote (and that's saying something!).
Let's get that cinematic centerpiece upright and ready for action! Think of it as the TV's big moment to shine. You are the director in this scenario.
Finding the Right Parts: A Treasure Hunt of Screws and Stands
First, the treasure hunt! Scour the box for all the goodies. You're looking for the stand pieces, usually two separate feet. Also, locate the baggie of screws, the unsung heroes of TV assembly.
Each set usually comes with its own manual. Locate the instruction manual to ensure you can successfully assemble the parts. The manual can be your best friend during this process.
Check that you have all the parts specified in the Sony Bravia's manual. Don't panic if one screw is missing, but definitely make a note of it. Let's get started, the adventure begins.
Laying the Groundwork: Protecting Your Precious Screen
Before we get physical, let's protect that beautiful screen. A soft blanket or towel spread out on a flat surface is your best friend. This prevents scratches and keeps your TV looking its best. Consider it a spa day for your TV, before its big debut.
Carefully lay the Sony Bravia screen-down on your prepared surface. Handle it with care; remember, it's fragile! Think of it as handling a precious artifact.
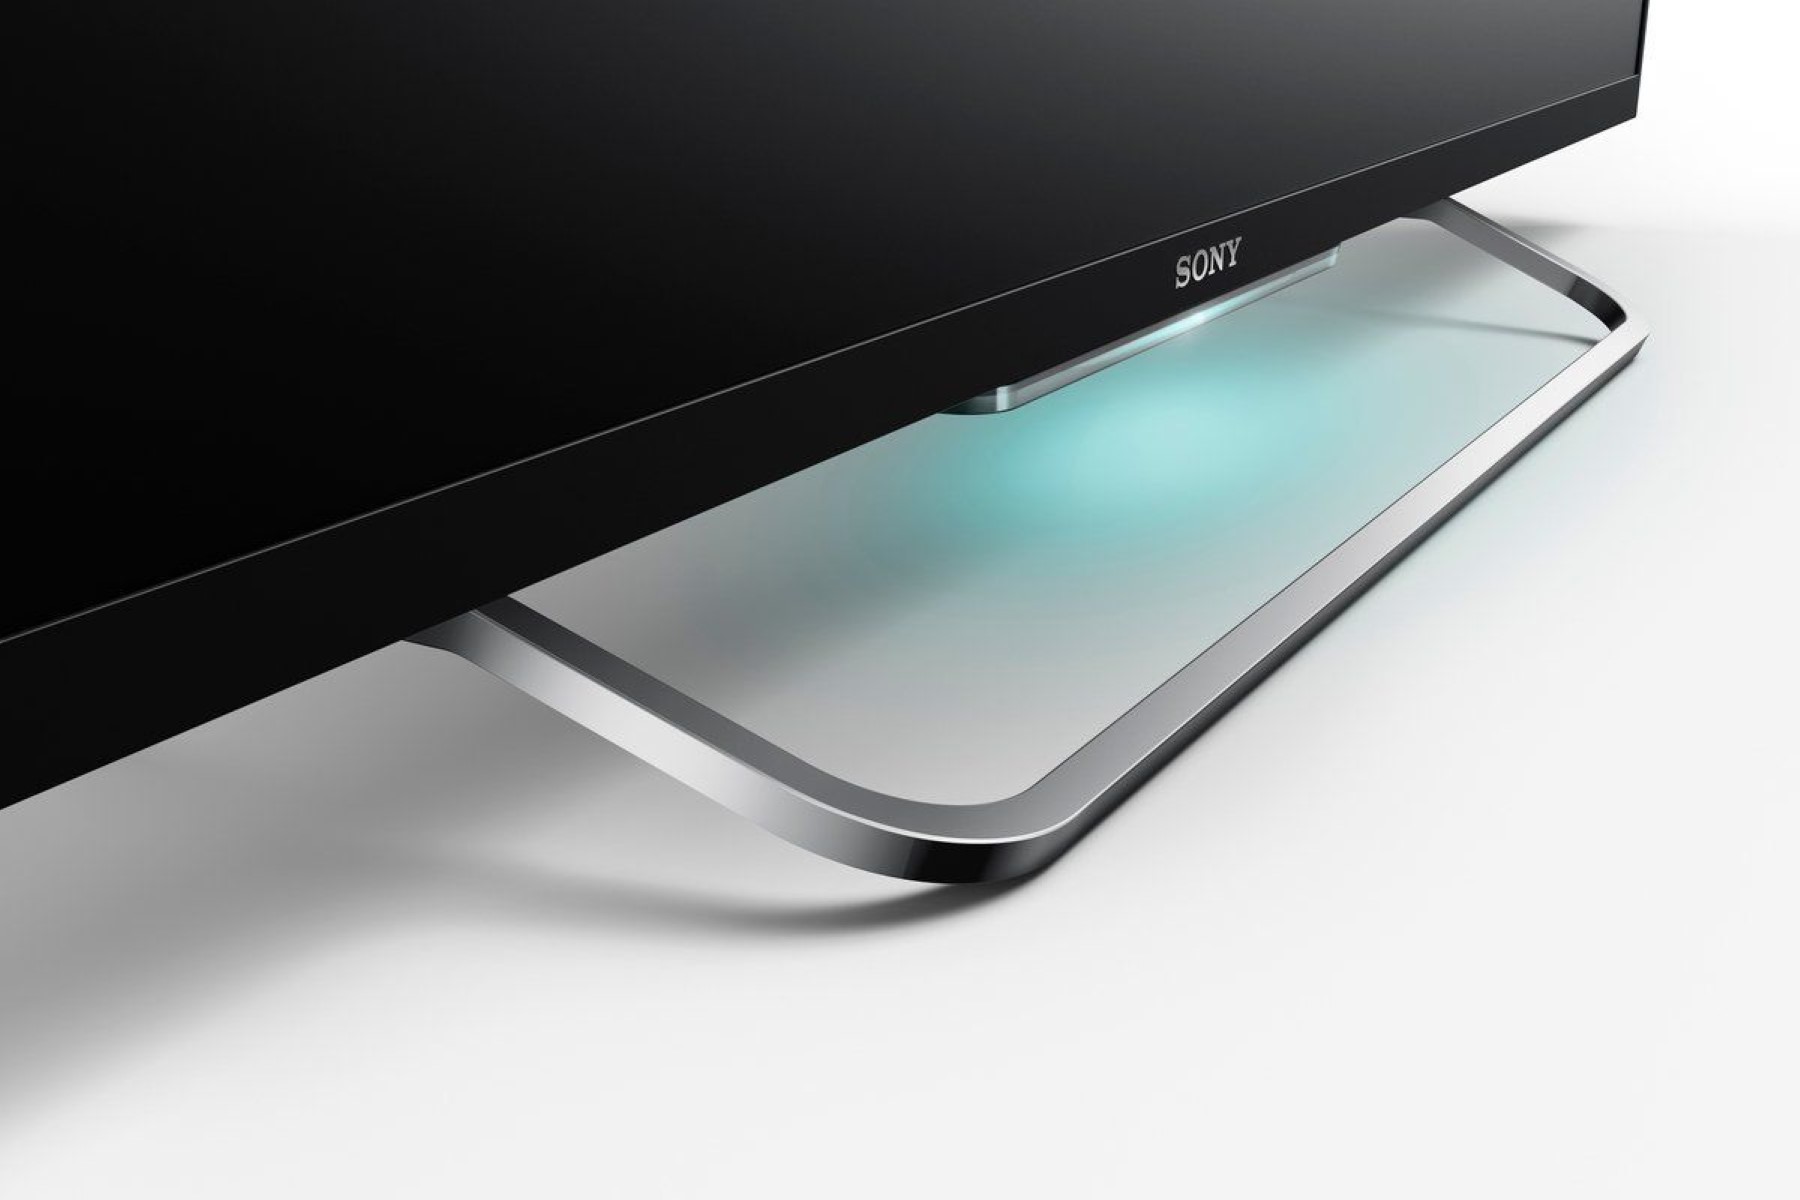
Attaching the Stand: The Main Event!
Now for the fun part! Grab one of the stand pieces. Align it with the designated screw holes on the back of the TV.
Check your manual for the exact placement; each Sony Bravia model is slightly different. It's like following a secret recipe for entertainment success.
Take the appropriate screws and gently screw the stand piece into place. Don't overtighten! Snug is good. Too tight is… well, tight. It's all about balance.
Repeat this process for the other stand piece. Make sure both stands are securely attached. Symmetry is key!
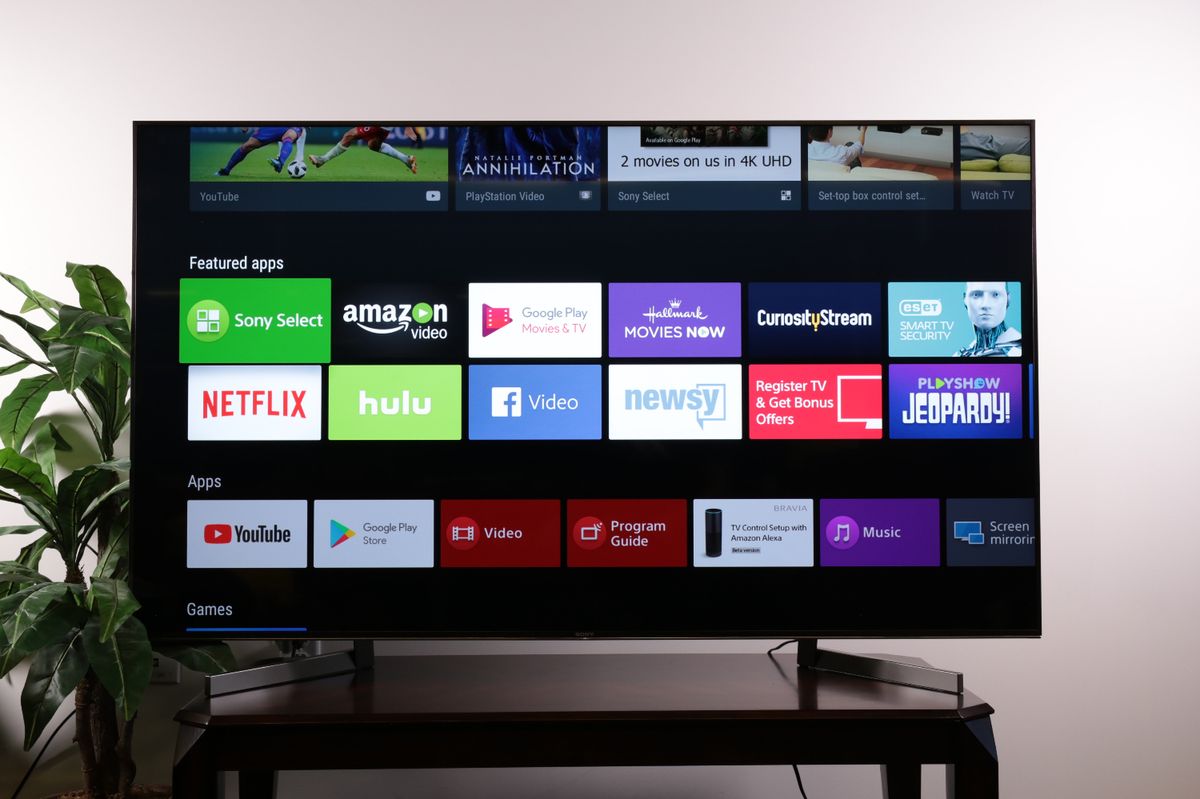
The Grand Finale: Standing Tall and Proud
With both stand pieces firmly in place, carefully lift your Sony Bravia into an upright position. Have someone help you if it's a particularly large screen. This is a team effort!
Marvel at your handiwork! Your TV is standing tall and proud. Ready to deliver hours of entertainment. This is your moment.
Double-check that the stand is stable and secure. Give it a gentle wobble to be sure. No one wants a toppling TV disaster!
Cable Management: Taming the Snake Pit
Okay, your TV is standing. Great! But those cables… they're a mess, right? Time for some cable management! You can use zip ties, velcro straps, or even decorative cable organizers to tame the snake pit.
Tidy cables make your setup look so much cleaner and professional. It's like giving your entertainment center a makeover.
Power Up and Enjoy: The Reward for Your Efforts
Plug it in, turn it on, and bask in the glory of your newly assembled Sony Bravia! You earned it. Time to grab the popcorn, settle in, and enjoy the show!
Now that your TV is all set up, it's time to invite your friend and binge watch your favorite shows! You did it!
Congratulations! You've successfully installed your Sony Bravia TV stand. And you didn't even break a sweat (hopefully!).