How To Install Xvid Codec On Kodi
Alright, buckle up buttercups! We're about to dive into the thrilling world of making your Kodi experience even better. Get ready to unleash the full potential of your media library!
First Things First: The Repository Roundup
Think of a repository like a giant online supermarket for Kodi add-ons. First, we need to find one that carries the good stuff. Specifically, we want one that has the Xvid codec.
You've got options here, but a reliable choice is often a popular, well-maintained repository. Do a quick online search for "best Kodi repositories 2024" (or whatever year it is!). That should point you in the right direction.
Adding the Repository Like a Boss
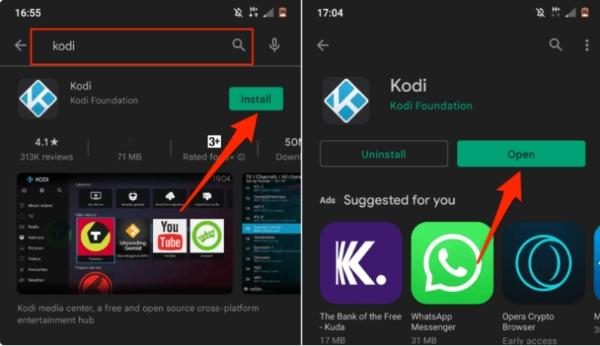
Now, let's get that repository added to Kodi. Fire up Kodi, looking all sleek and ready for action.
Navigate to the settings menu. It usually looks like a little gear icon, hiding in plain sight. Don't be shy, click it!
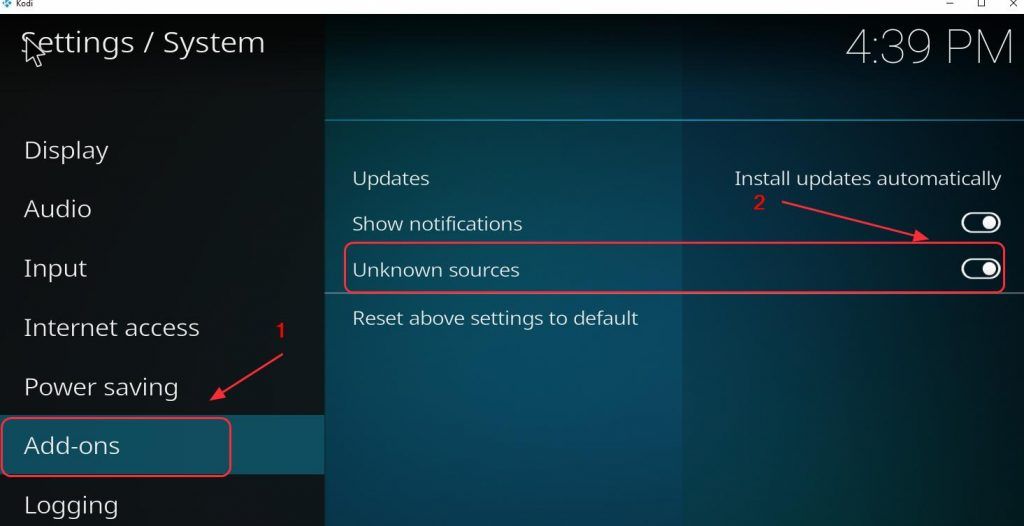
Next, click on System. This is where the magic really begins. Don't worry, it's not scary, I promise!
In the System menu, find Add-ons. This is where we tell Kodi about our new supermarket (repository). Almost there!
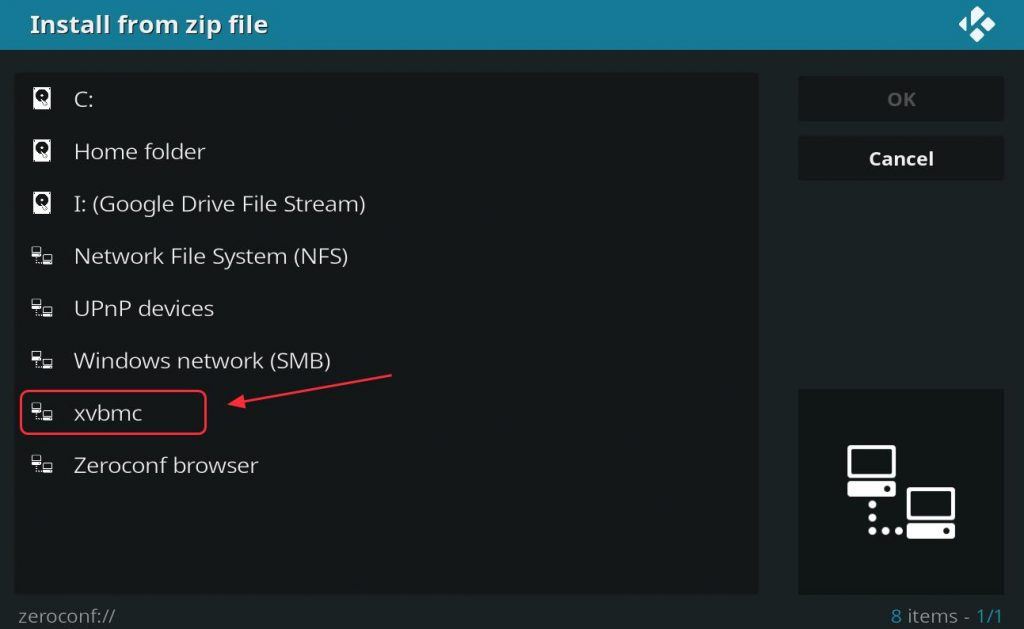
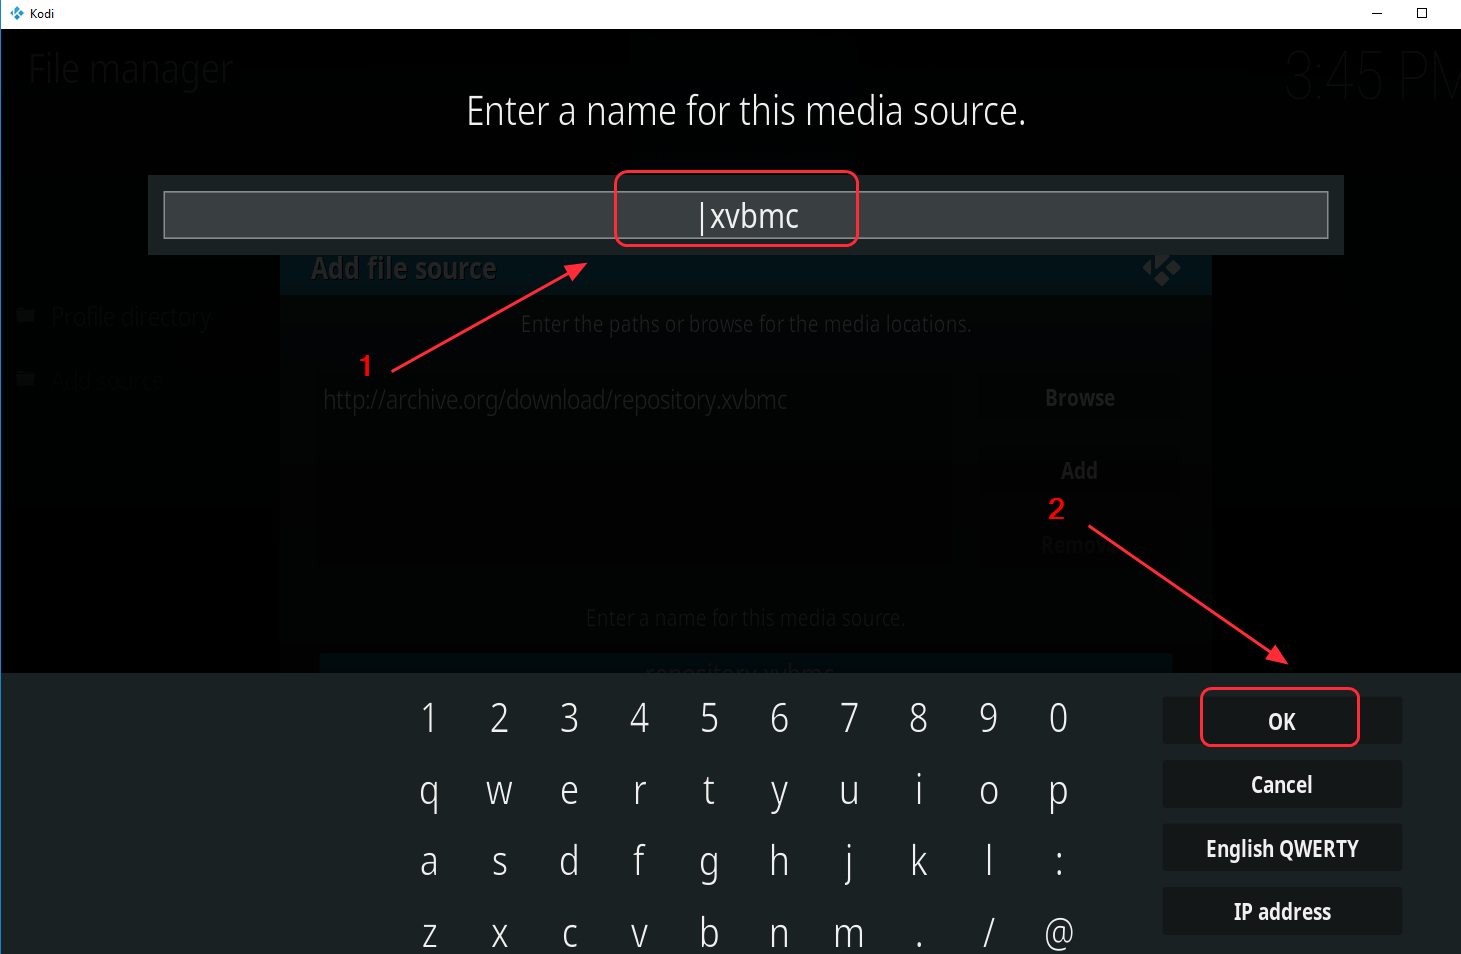
Click on Install from zip file. Yes, a zip file. Even though it feels like you're downloading a file, you're actually adding a gateway to tons of add-ons. It's like finding the hidden door to the best candy store EVER.
Now, Kodi will ask you where this zip file is. If you downloaded the repository zip file, just navigate to wherever you saved it on your computer or device. Select it and BAM! The repository is now installed!
Time to Snag That Xvid Codec!
With the repository installed, we can finally get our hands on the Xvid codec. Prepare for the final stretch!
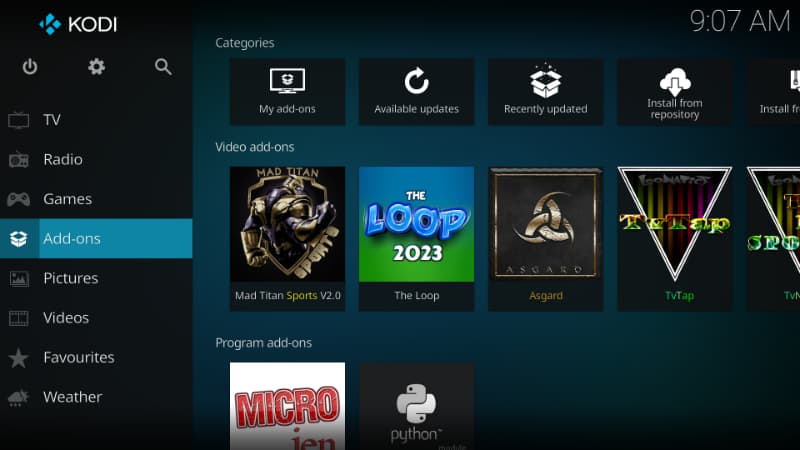
Go back to the Add-ons section from the main menu. Now, select Install from repository.
A list of all your installed repositories will pop up. Find the repository you just added and click on it.
Inside the repository, you'll be looking for something like "Video codecs" or "Codecs." Repositories are organized in different ways, so explore a little until you find the codec section. It's like a treasure hunt!
Now, in the codec section, you should find the Xvid codec. It might be listed as "Xvid" or something similar. Click on it!
Finally, click the Install button. Kodi will download and install the Xvid codec. This might take a few moments, so be patient, young grasshopper.
Hooray! You've Done It!
Congratulations! You've successfully installed the Xvid codec on your Kodi. High five! You're officially a Kodi codec conquering hero!
Now, kick back, relax, and enjoy your newly enhanced media library. You've earned it. Your videos will play smoother, look better, and generally be more awesome because of your efforts. You are a champion!
If you ever run into problems, don't be afraid to search online for solutions or ask for help in the Kodi forums. The Kodi community is generally very supportive. Happy viewing!
Remember, always download add-ons from reputable sources to avoid any unwanted surprises. Happy streaming!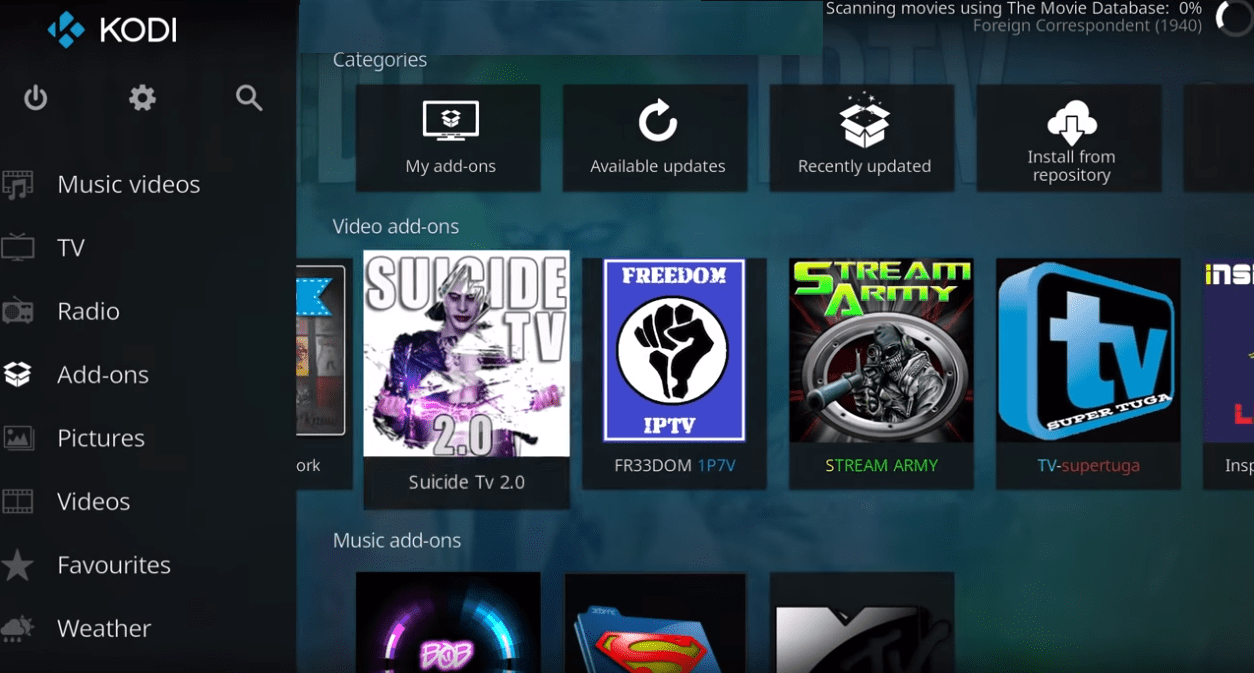


![How To Install Xvid Codec On Kodi [MMD Tutorial] How to install Xvid codec in MMD x32 | Codec](https://i.ytimg.com/vi/CSsiyWArulM/maxresdefault.jpg?sqp=-oaymwEmCIAKENAF8quKqQMa8AEB-AH-CYAC0AWKAgwIABABGF0gXShdMA8=&rs=AOn4CLBID78KCTB6rvMyZ1ncijBYZ1xQBg)