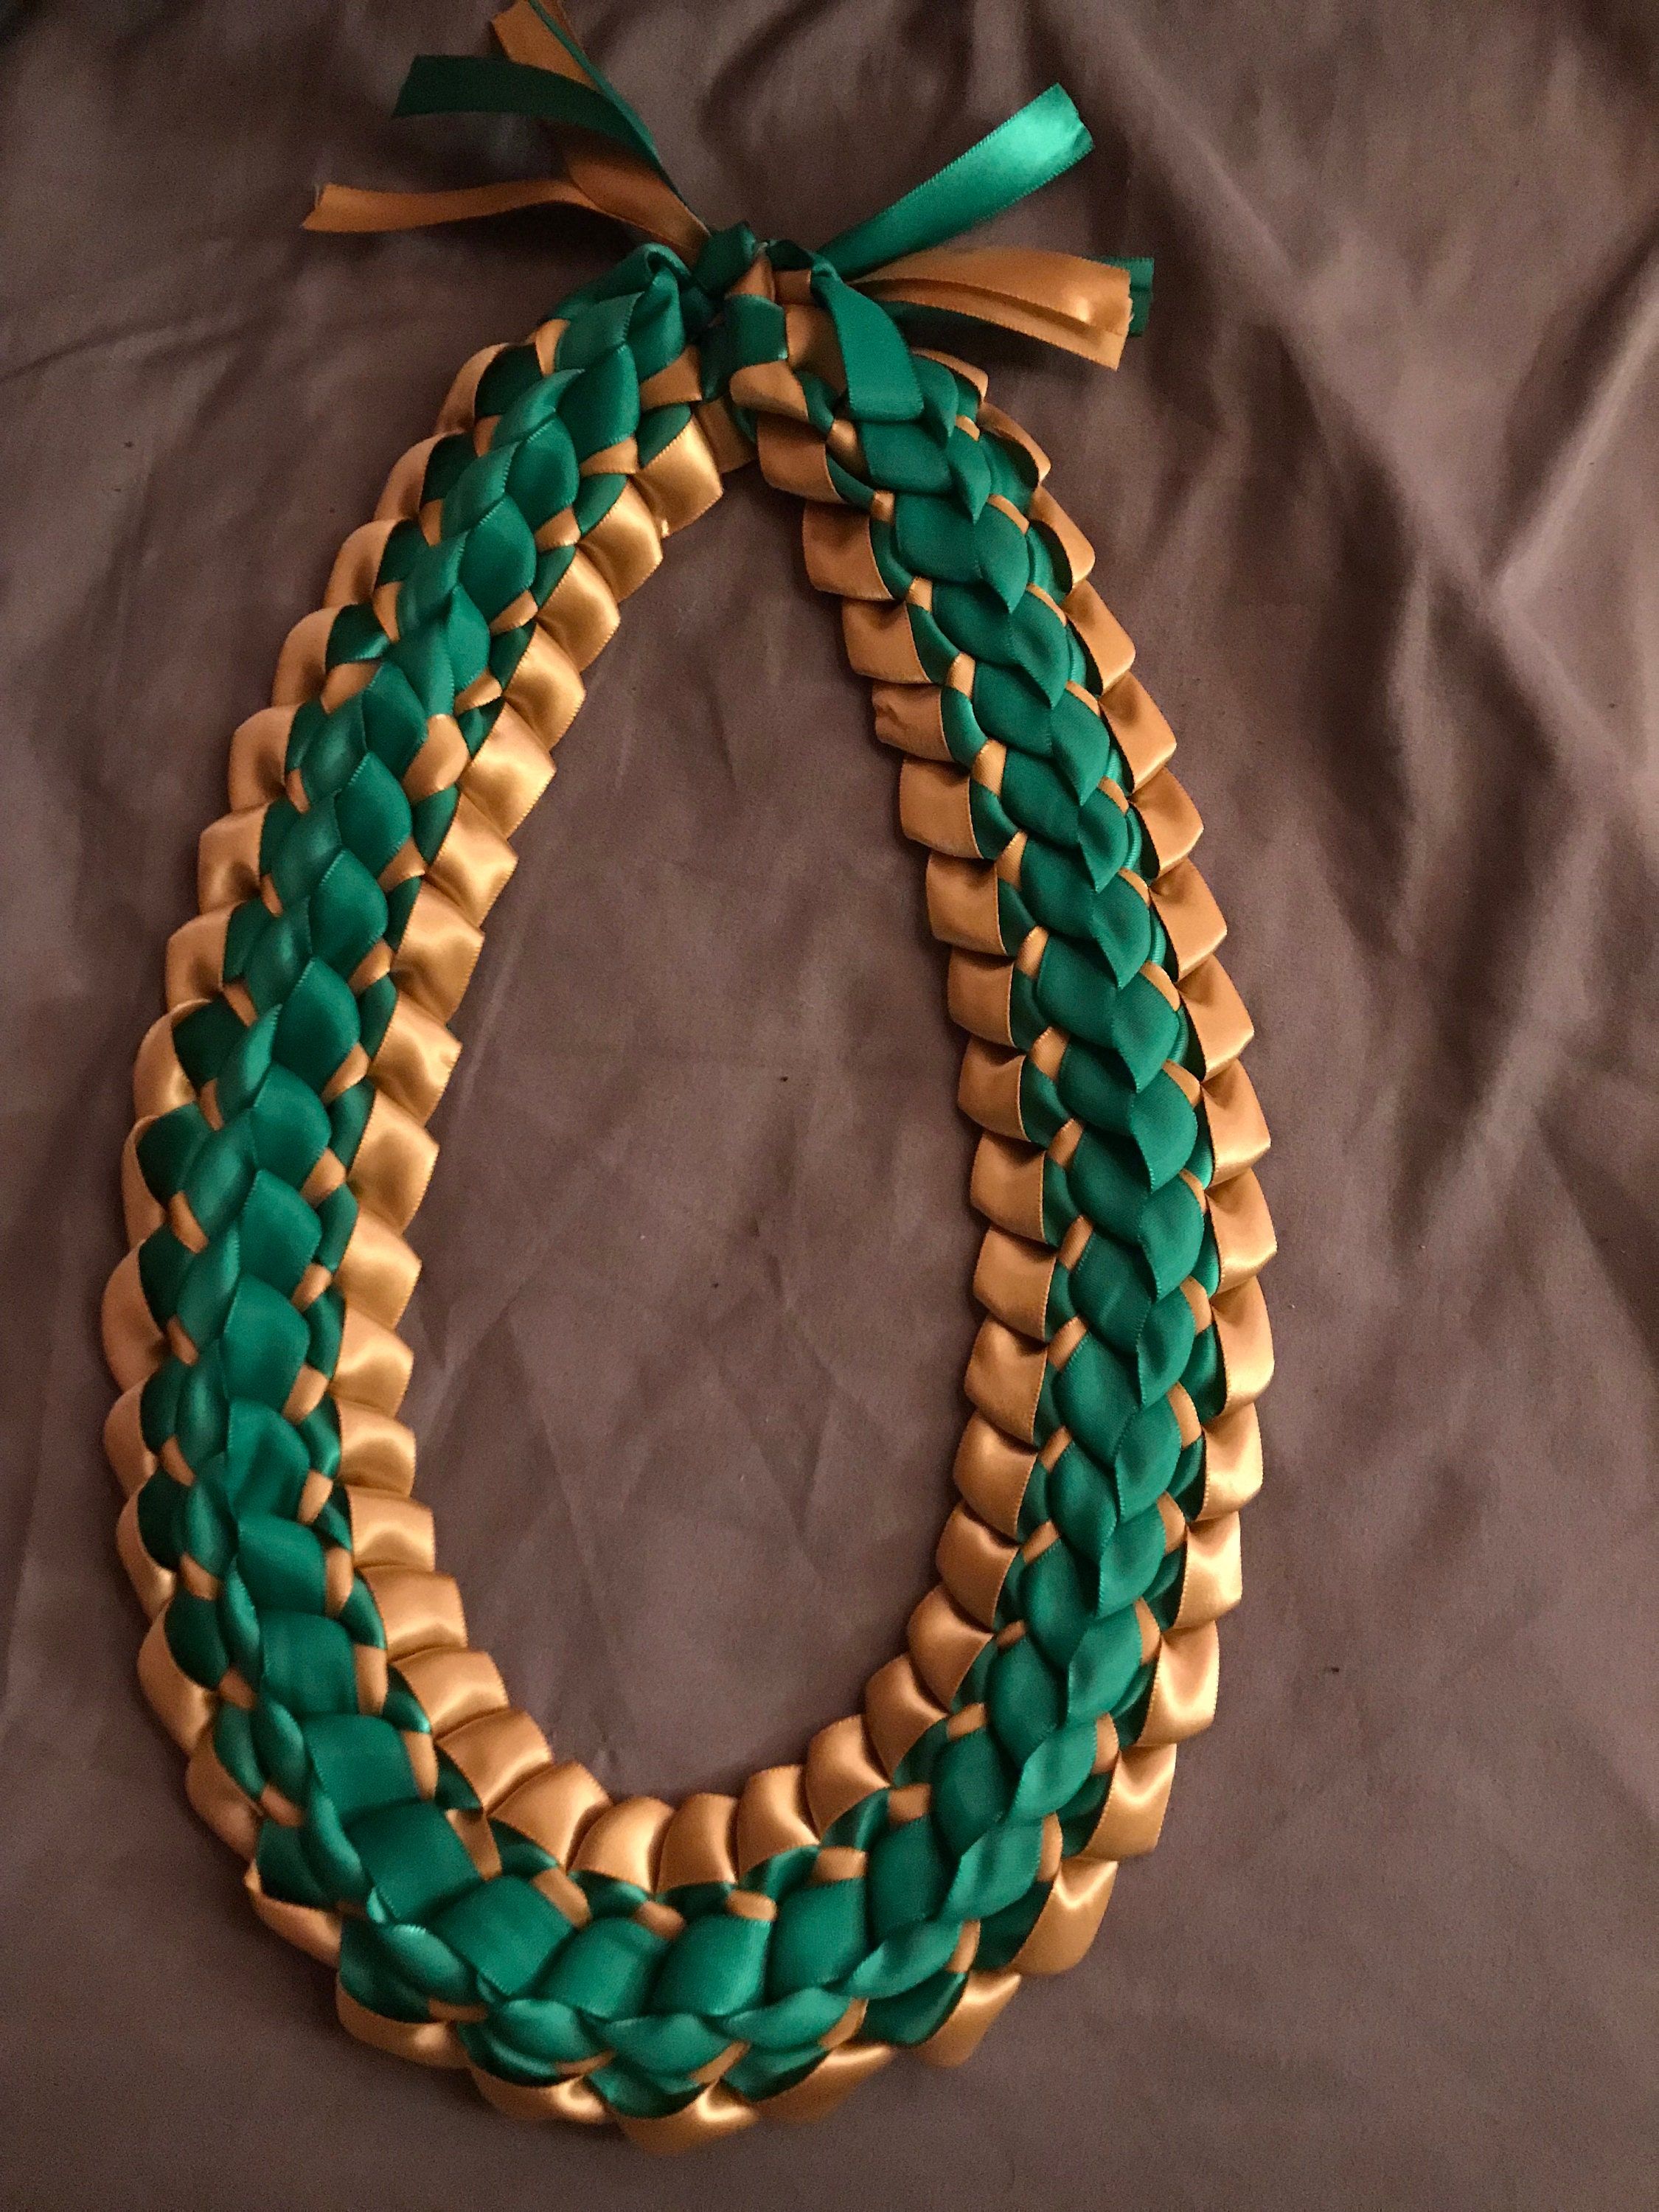
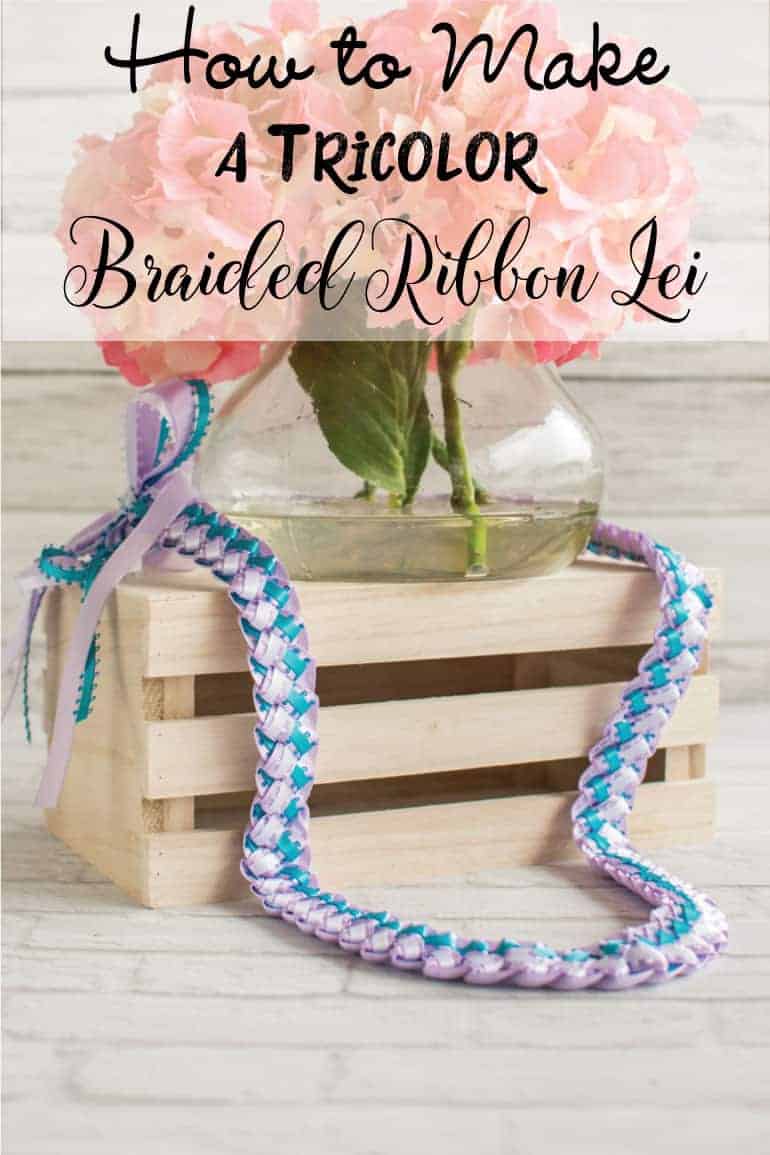
How To Make A Braided Ribbon Lei

Ever wanted to feel like you just stepped off a plane in Honolulu, even if you're just heading to your grandma's birthday party? The answer, my friend, lies in the magic of a braided ribbon lei! Trust me, it's way easier than hula dancing (though if you can do both, more power to you!).
Gather Your Glittery Goodies
First, you'll need some supplies. Picture this: a craft store, bathed in the glorious glow of artificial lighting, beckoning you with its shimmering treasures. You'll need ribbon! Lots and lots of ribbon!
I'm talking at least three different colors, maybe even four if you're feeling extra fancy. Get about 25-30 yards of each color. Don't skimp! You can always use the leftovers to bedazzle your cat (though Fluffy might not appreciate it).
Next, grab a pair of scissors that aren't dull enough to cut butter. A ruler or measuring tape is your friend here too. You'll also need something to tie it all together – embroidery floss, yarn, or even dental floss (minty fresh leis, anyone?).
Ribbon Cutting: The Art of Snipping
Now comes the slightly tedious, but ultimately zen-like, part: cutting the ribbon. Cut each ribbon into strips that are about 12 inches long. Imagine you're giving each ribbon a little haircut.
Pile up those colorful strips. You'll feel like a ribbon magnate, rolling in your shimmering riches. Almost enough to make you forget you're still wearing pajamas at 2 PM.
Braiding Bonanza: Weaving Your Way to Paradise
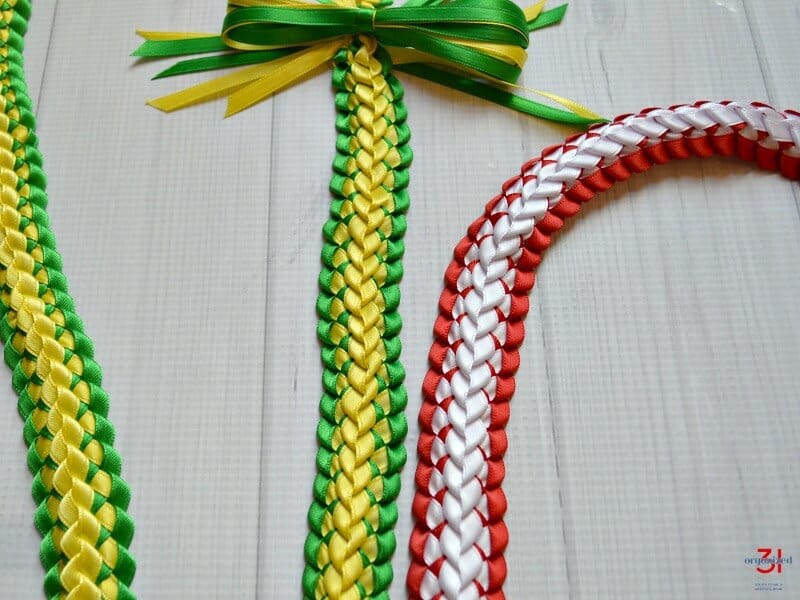
Time to braid! Take three strips of ribbon, one of each color (or however many colors you're rocking). Tie them together at one end using your floss or yarn. Make a knot secure enough to survive a hurricane (or at least a particularly enthusiastic hug).
Now, braid those bad boys! Do a simple, classic braid, like you're braiding your own hair…except hopefully with more colorful results. Keep the braid nice and tight. It should be firm, and should not droop!
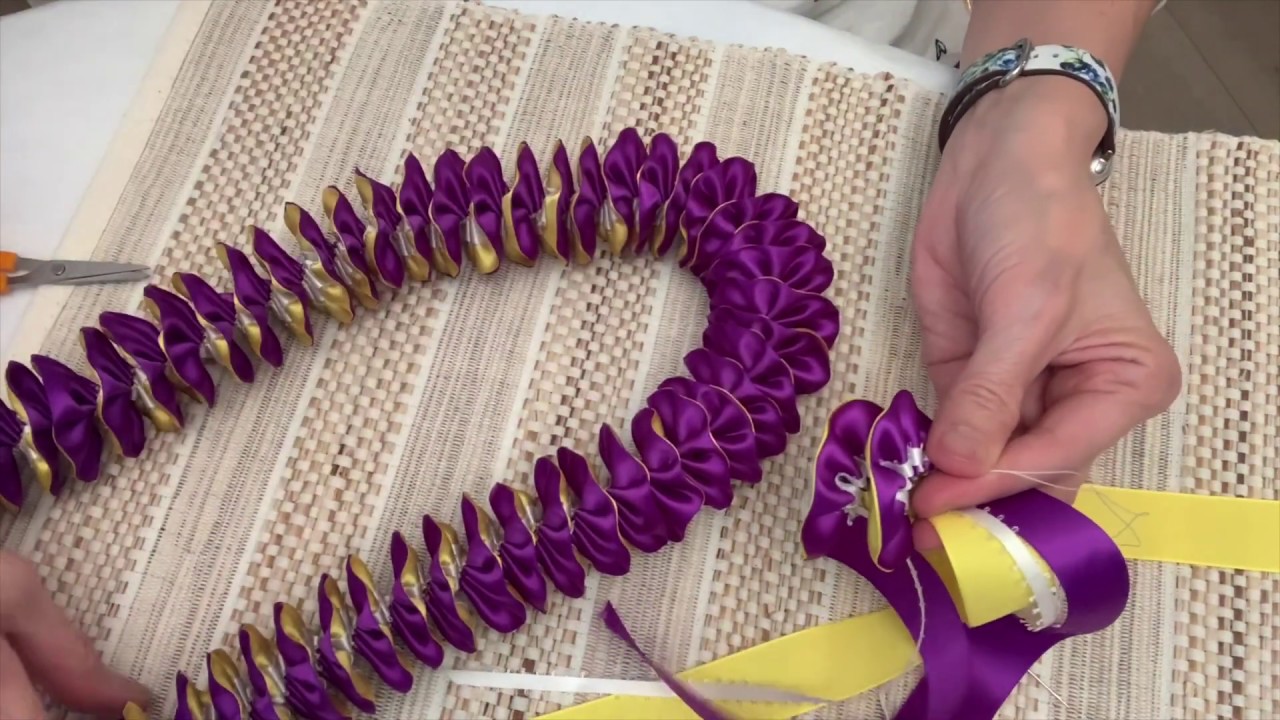
As you braid, add in new strips of ribbon. When one strip gets short, just tie a new one onto it using a simple knot. Hide the knot within the braid, like a secret spy concealing their identity.
Keep braiding! You're basically a ribbon-weaving superhero at this point. Let the rhythm take you! Try to maintain consistent tension as you braid.
Lei Length: Measure for Maximum Merriment
Keep braiding until your lei reaches the desired length. A good rule of thumb is about 40-42 inches. You want it to be long enough to comfortably fit over someone's head.
Remember, it's better to err on the side of too long than too short. Nobody wants a lei that chokes them, unless you're going for a very… *avant-garde* look.
Finishing Flourishes: Tying it All Together
Once you've reached your desired length, tie off the end with another super-strong knot. Trim any excess ribbon or floss. Step back and admire your handiwork!
You, my friend, have just created a braided ribbon lei worthy of royalty (or at least a really awesome luau). Feel free to add embellishments! Think beads, sequins, even tiny plastic pineapples.
Wear your lei with pride. Give it as a gift. Use it to accessorize your pet iguana (again, maybe not). The possibilities are endless! You can make a big one or a small one, depending on your preference.
Remember, making a lei is about more than just following instructions. It's about embracing the spirit of Aloha, spreading joy, and maybe, just maybe, convincing everyone that you're secretly a Hawaiian princess. So get crafting and get ready to lei-d back!