How To Make A Candy Vending Machine Out Of Cardboard

So, you want to build a candy vending machine out of cardboard? Excellent choice! Forget coding. Forget 3D printing. We're going old school!
Step 1: The Great Cardboard Caper
Raid your recycling bin. Ask your neighbors. Beg your local pizza place. You'll need a lot of cardboard. Seriously, a lot.
Different sizes are ideal. A big box for the main body. Smaller ones for the candy chutes. And scraps? Those are for… well, everything else!
Unpopular opinion: Duct tape is your best friend. Forget fancy glue. Duct tape holds the world together. And your cardboard candy empire!
Step 2: Designing Your Dream Machine
Sketch it out. Seriously, grab a pencil. A rough idea is better than no idea at all. Think rectangles and squares. Keep it simple, folks.
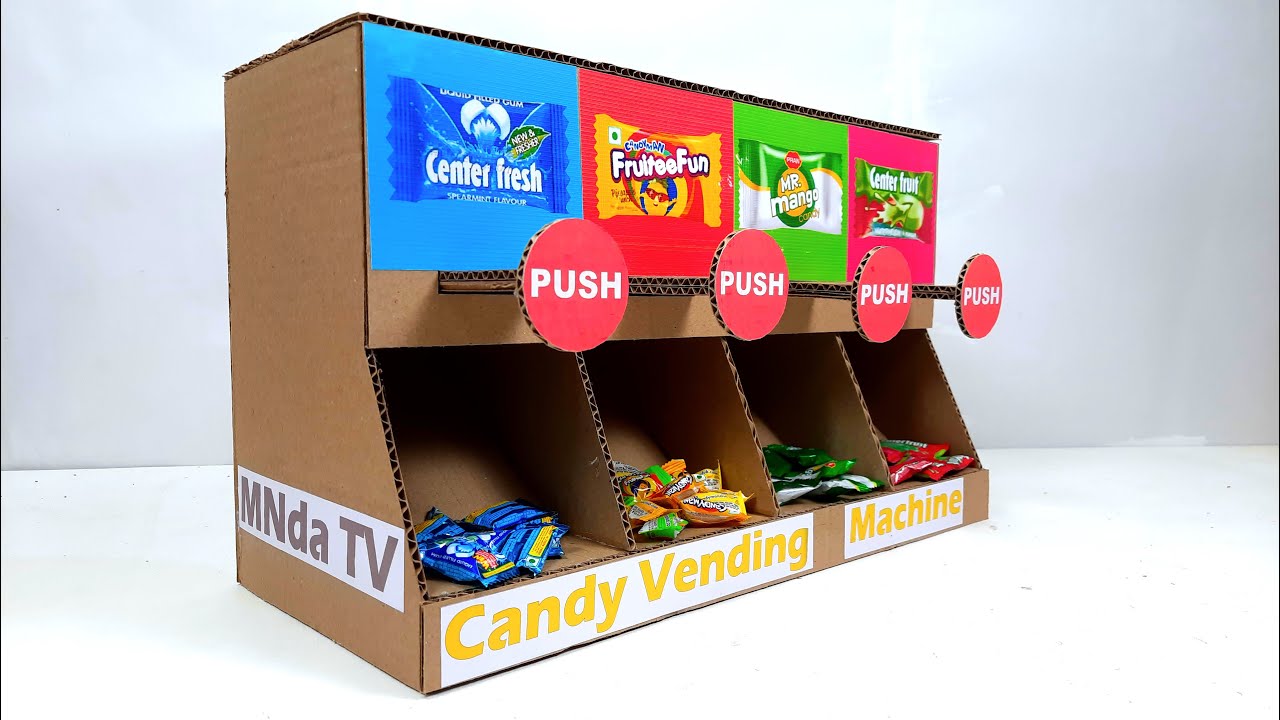
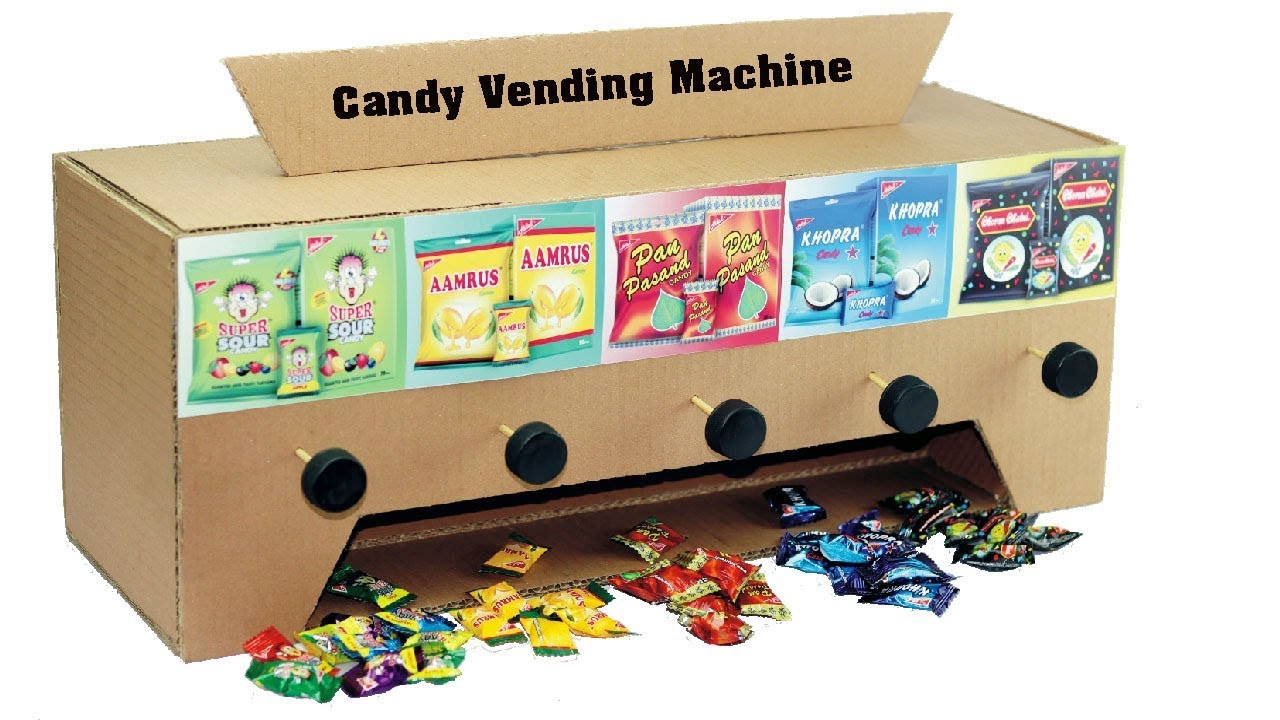
Decide how many candy options you want. Three? Five? Maybe go crazy and aim for ten! But remember, more options mean more work.
Consider the size of your candy. Fun-size Snickers? Perfect. Giant jawbreakers? Probably not. Unless you're building a very large machine.
The Coin Mechanism (Sort Of)
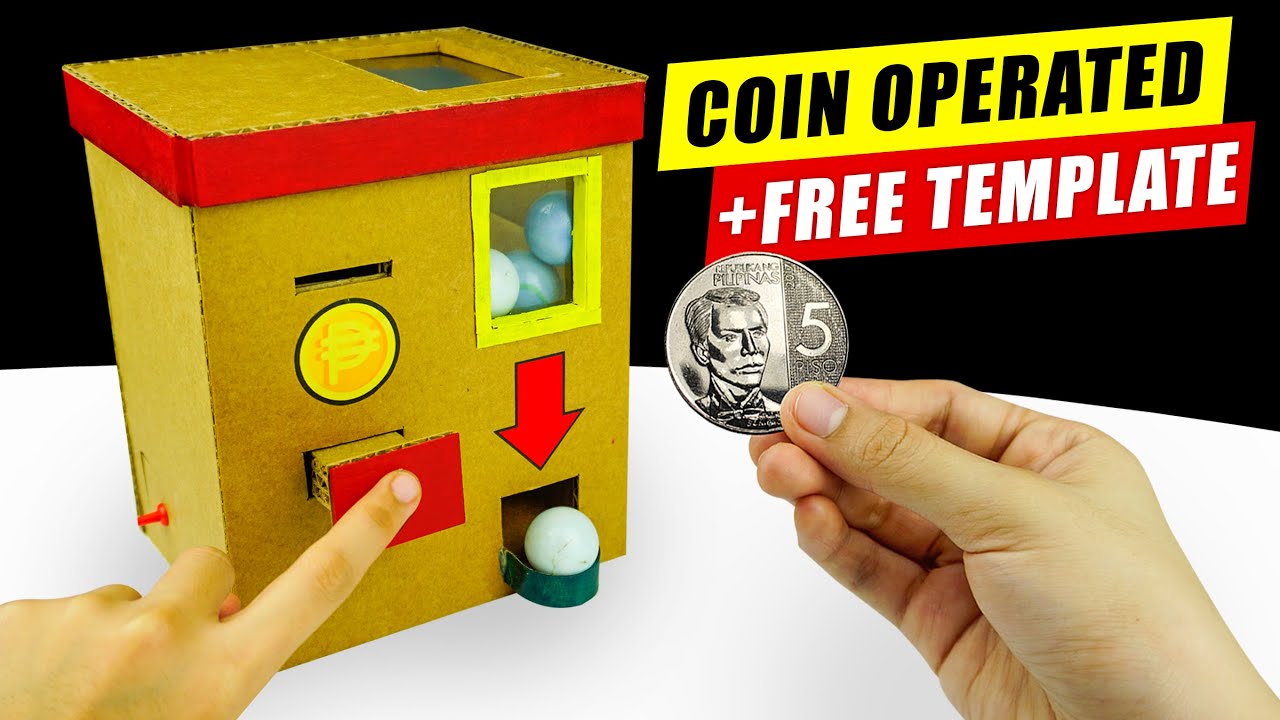
Let's be honest, it's not a real coin mechanism. It's a cardboard slot. And a cardboard lever. Pretend it works. Imagination is key!
Cut a slot slightly larger than your "coin." A bottle cap? A flattened marble? Your call! Just make it consistent.
The lever needs to trigger the candy release. Think simple. Think gravity. Think "will this actually work?" (Probably not perfectly, but that's okay!)
Step 3: The Assembly Line (Your Living Room)
Time to cut! And tape! And maybe swear a little. This is where the magic (and frustration) happens. Use a sharp craft knife. Be careful!
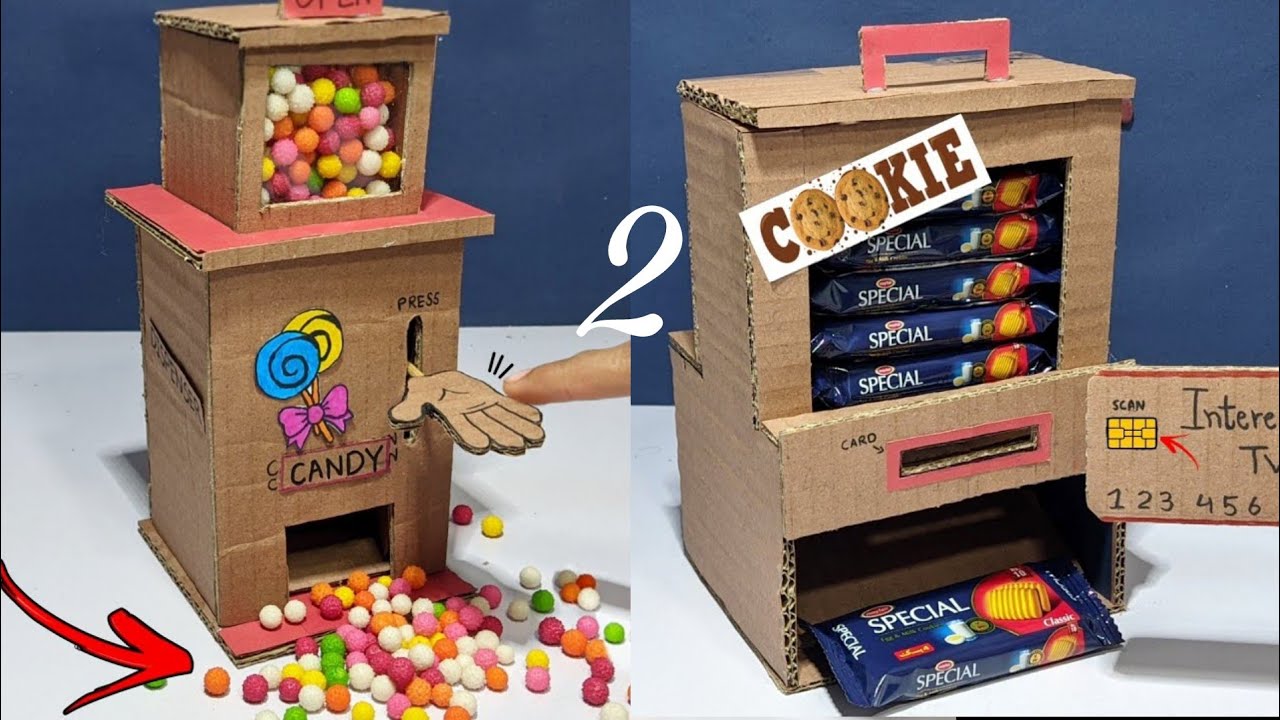
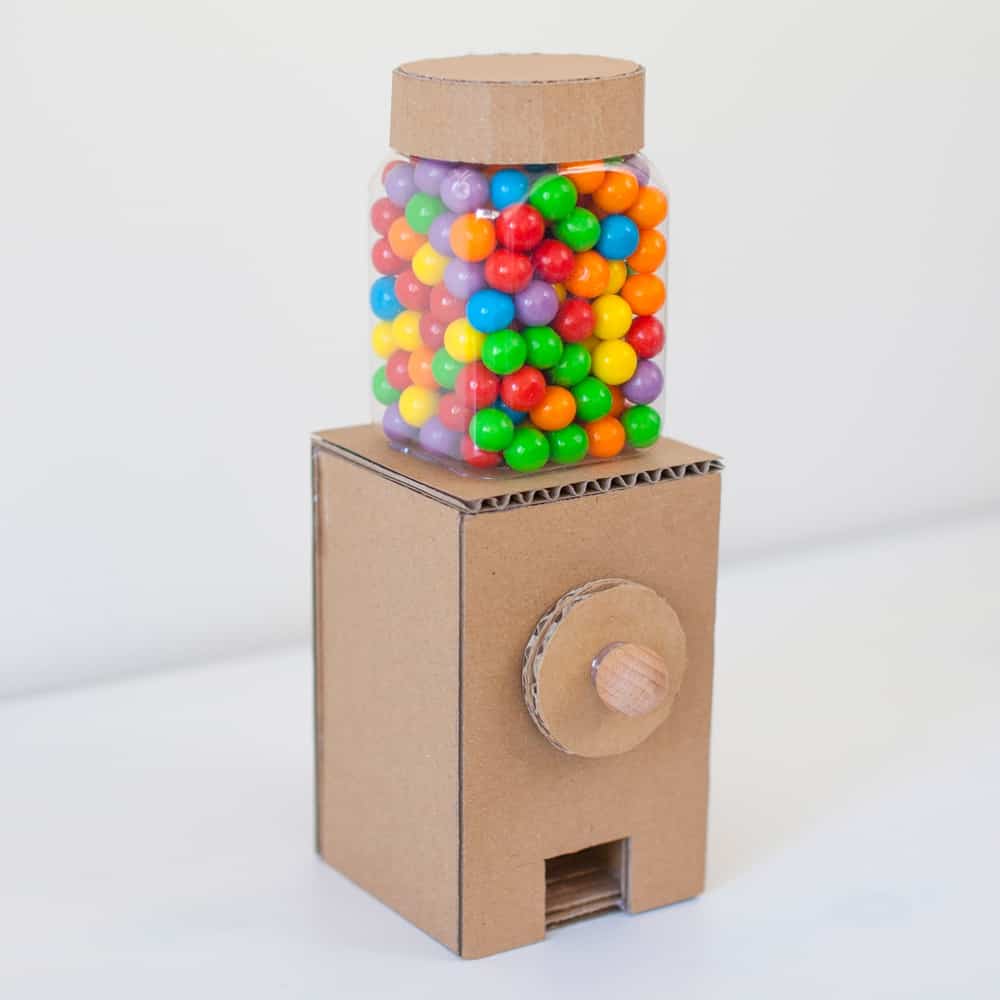
Build the main body of the vending machine first. A tall rectangle usually works. Reinforce the corners with extra cardboard and tape.
Create the candy chutes. Angled cardboard tubes leading from the candy compartments to the dispensing area. Make sure the candy can actually slide down!
Attach the coin mechanism (or the illusion of one). Make sure the lever interacts with the candy chutes somehow. Experiment! Improvise!
Step 4: Candy Loading and Testing
Load up your machine with your favorite treats. Mini chocolate bars. Gummy bears. Anything that fits! Make it colorful and appealing.
Test, test, test! Does the candy dispense? Does the lever jam? Does the whole thing fall apart? Adjust as needed. More tape is always an option.
Don't be discouraged if it doesn't work perfectly. Remember, it's a cardboard candy vending machine. Imperfection is part of the charm.
Step 5: The Grand Opening (Your Kitchen)
Decorate your masterpiece! Markers, paint, stickers, glitter – go wild! Make it look like a real vending machine (sort of).
Add a price list. Hand-written, of course. And maybe a catchy slogan. "Get Your Sugar Fix Here!" Or "The Best Cardboard Candy This Side of the Mississippi!"
Invite your friends and family to try it out. Charge them a "coin" (or a hug). Enjoy the sweet taste of success (and candy!).
Unpopular opinion: It's okay if it breaks after a few uses. You built a candy vending machine out of cardboard! That's already a win!
And remember: Duct tape fixes everything. Even broken dreams of cardboard candy vending glory.
Now go forth and build! May your cardboard be strong and your candy plentiful!