How To Make A Flower With Sticky Notes

Ever feel like your desk is screaming for a little… pizzazz? Like it's staging a silent protest against the beige-ness of it all? I feel you! Forget expensive decorations; we're going full-on DIY, baby! Get ready to transform your humble sticky notes into blooming beautiful flowers.
Seriously, who needs a garden when you have a stack of sticky notes and a can-do attitude? Let's turn that office supply into a masterpiece!
Gather Your Supplies
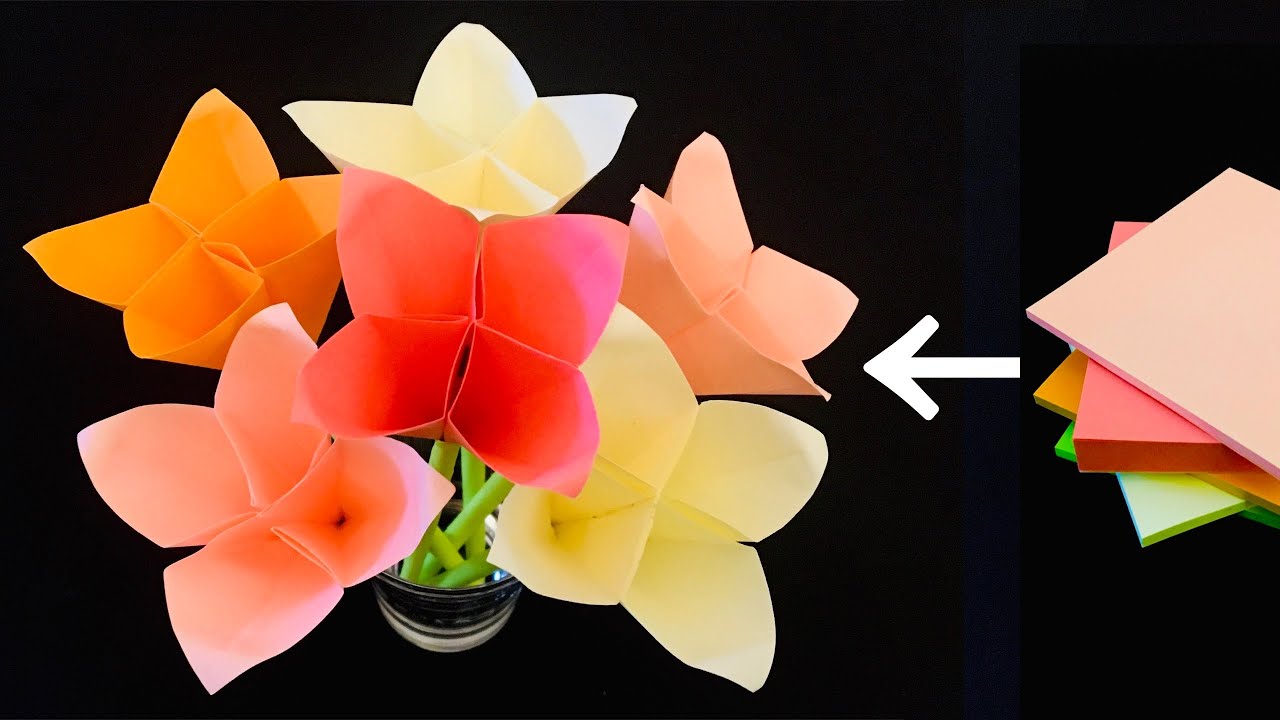
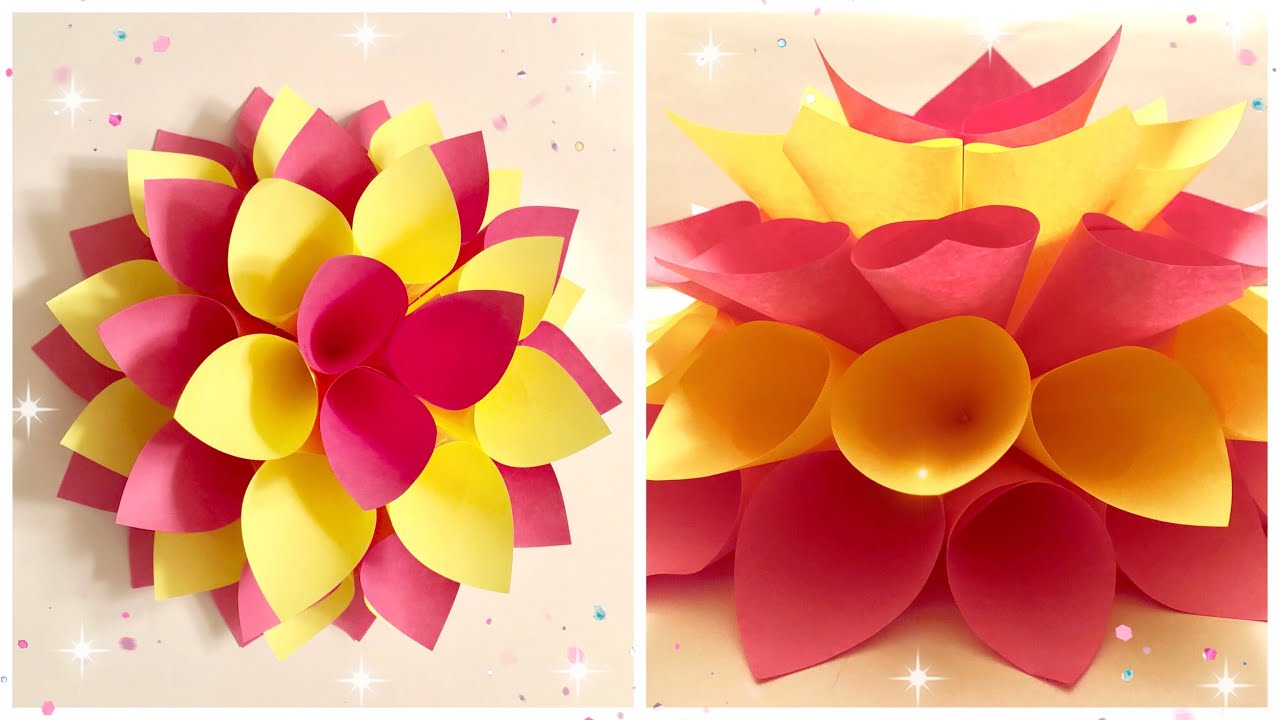
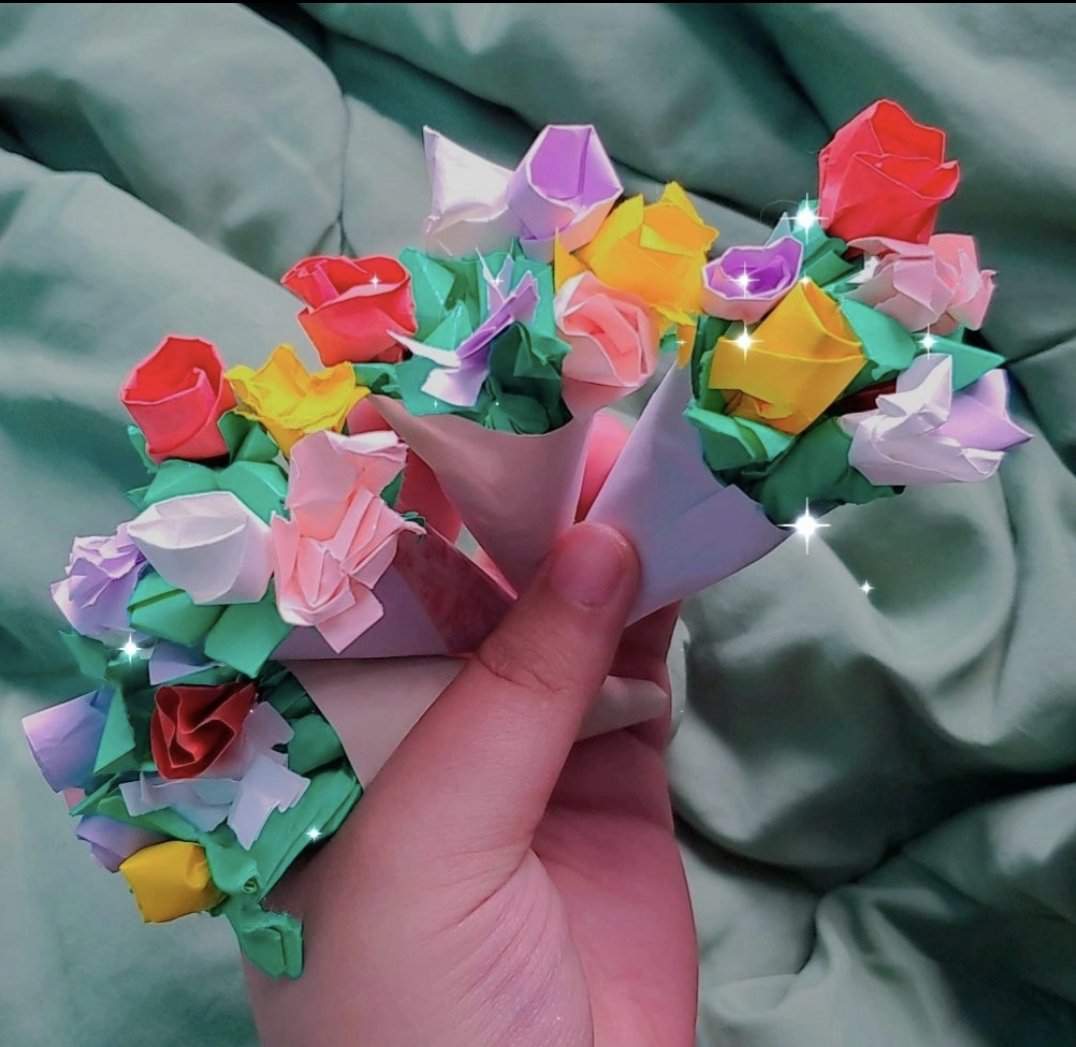
First things first, raid your desk drawer! You'll need a pad (or three!) of sticky notes. The classic square ones are perfect, but feel free to get wild with colors and sizes. Imagine a rainbow bouquet; it's going to be epic!
Next, grab a pair of scissors. Safety first, folks! And finally, you will also need a pen or pencil, and some glue. Remember, we're aiming for *slightly* organized chaos here.
Let's Make Some Petals
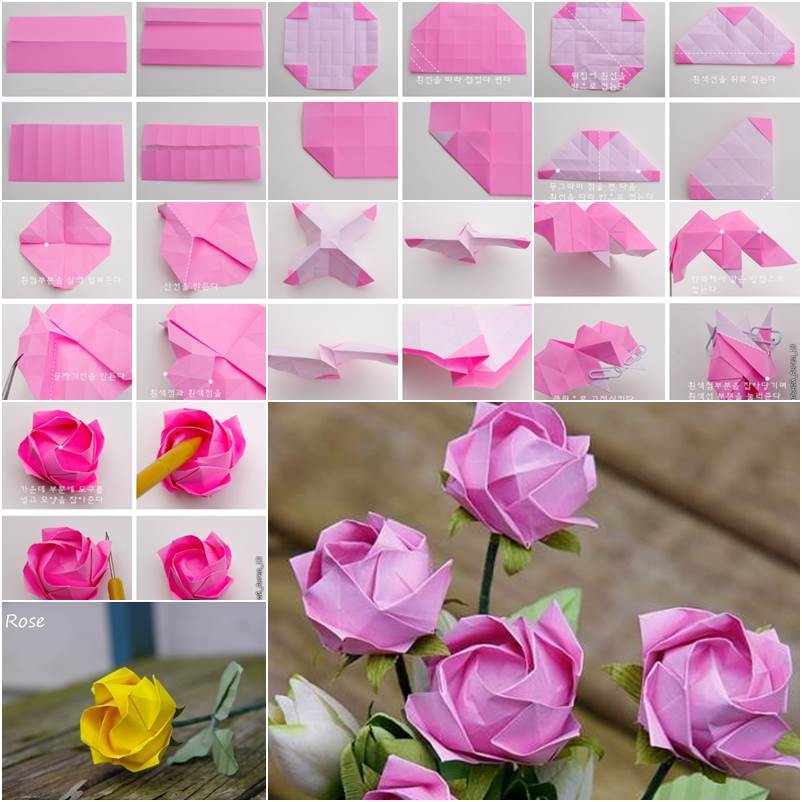
Okay, petal time! Take one sticky note. Fold it in half diagonally, making a neat little triangle. Think of it as a tiny sticky-note origami adventure. Do it again! Another fold and you will have a smaller triangle.
Now, draw a curved line on the open side of the triangle, like you're drawing a half-heart. This is your petal template! This is where the magic happens. Carefully cut along that line. Unfold your creation and behold: a petal!
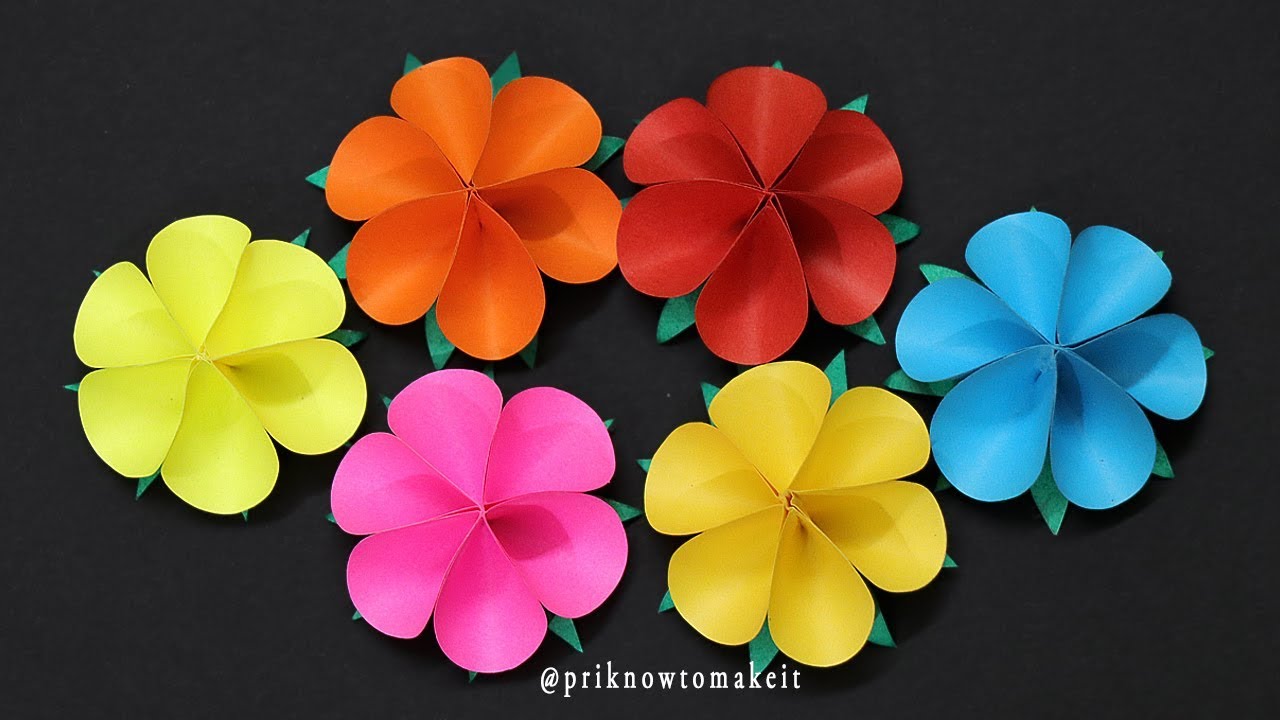
Repeat this process until you have a whole bunch of petals. I'm talking at least eight to ten. The more petals, the fuller and fluffier your flower will be. Don't be afraid to experiment with different sizes and shapes for a unique look.
Crafting the Heart of the Flower
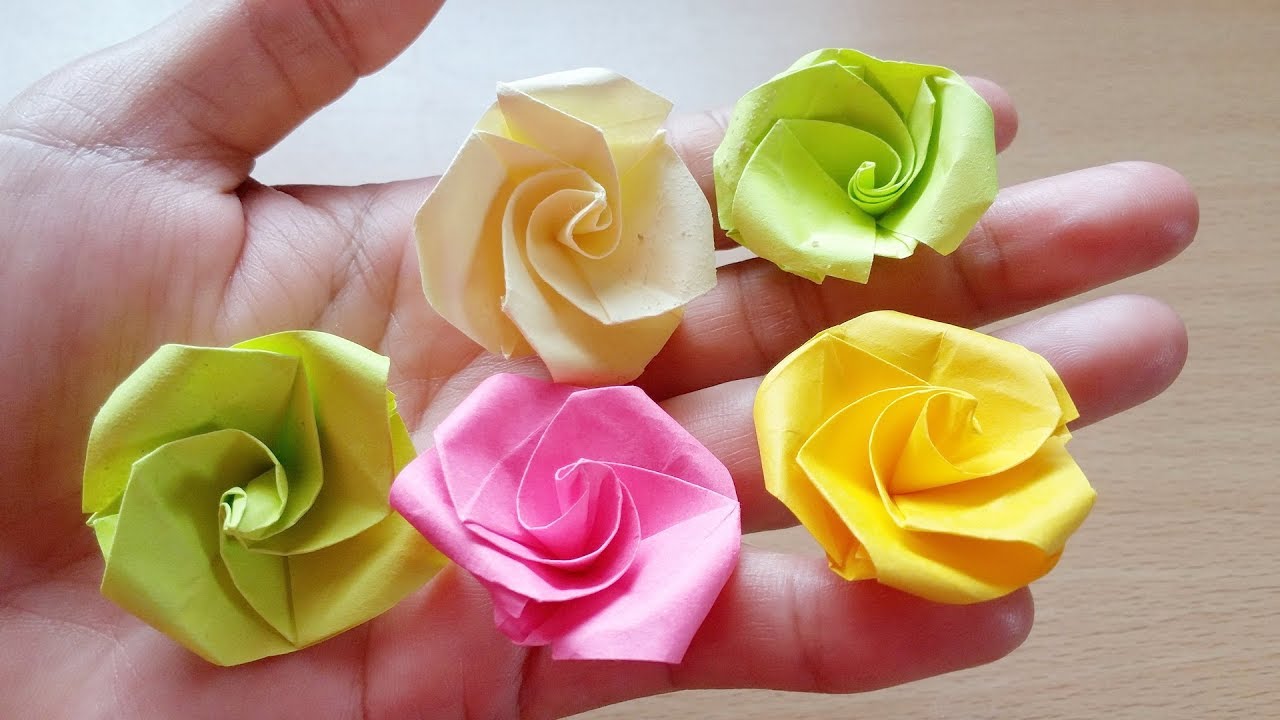
Alright, let's build the flower's heart. Take one sticky note, and this time, don't fold it! Roll it up tightly like a tiny little burrito. Secure the end with a dab of glue.
This is the center of our flower, the super important foundation that holds everything together. Make sure it's nice and snug!
Putting it All Together
Here comes the fun part! Now, you will need to glue your petals. Apply a tiny bit of glue to the bottom corner of a petal. Attach it to the base of your rolled-up center. Hold it for a few seconds until it sticks.
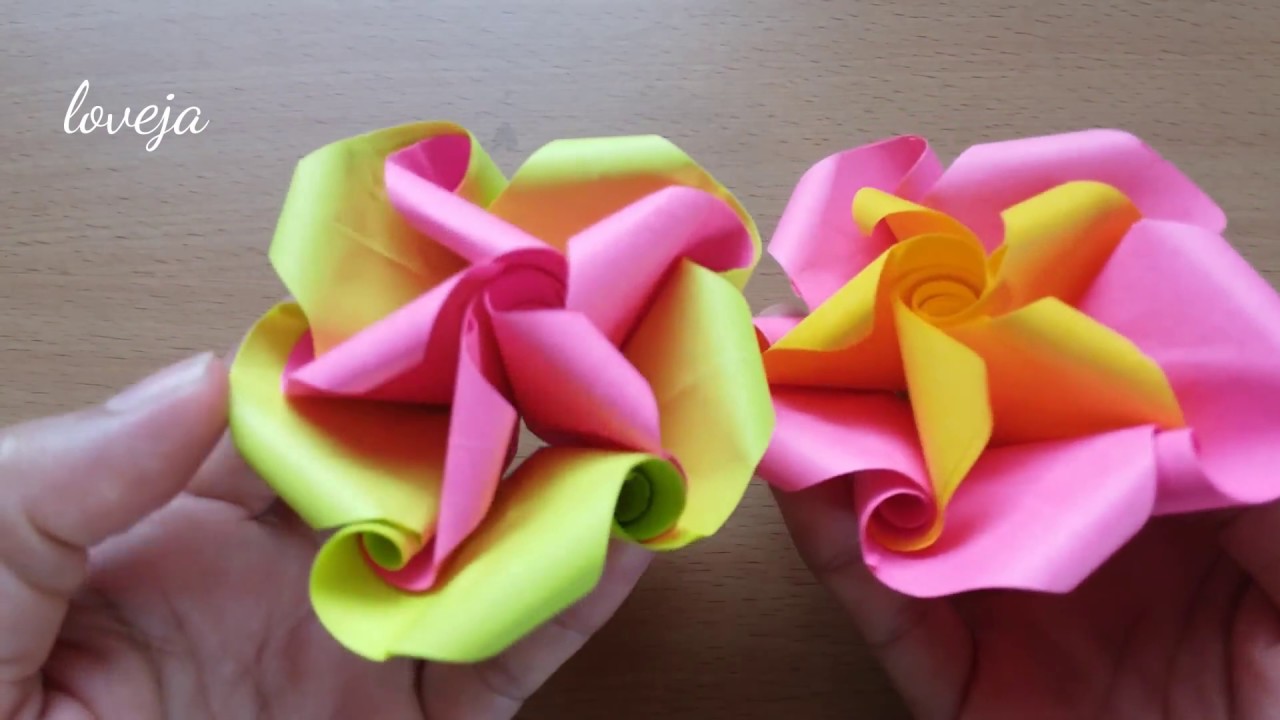
Repeat, repeat, repeat! Layer those petals around the center. Overlap them slightly as you go. Imagine you're building a fortress of floral fabulousness! Be patient; Rome wasn't built in a day, and neither are sticky-note flowers!
Keep adding petals until you're happy with the fullness and shape of your flower. It's okay if it's a little wonky; that's part of its charm! Remember, imperfections are what make it unique and special.
Adding a Stem
Want to take your flower to the next level? Give it a stem! You can use a green pipe cleaner, a straw, or even just a rolled-up piece of green paper. Attach it to the back of the flower with glue.
Boom! Instant botanical beauty! Now you have a stem for your beautiful creation.
Display Your Masterpiece
Now comes the most important step: showing off your creation! Stick your flower to your computer monitor. Decorate your cubicle. Shower your unsuspecting coworkers with sticky-note bouquets!
Seriously, spread the joy! These flowers are guaranteed to brighten anyone's day. And who knows, you might just inspire a whole office full of sticky-note artists!
And there you have it! You've transformed a humble stack of office supplies into a work of art. Go forth and create a sticky-note garden of your very own!
Remember, making a sticky-note flower isn't just about crafting; it's about embracing your inner artist and adding a touch of whimsy to the everyday! Happy crafting, my friends!